Upcycled Jewelry Made From Aluminum Soda and Beer Cans
Do you like to make your own jewelry? I do. It is fun and when you use recycled materials it is very affordable.
I have been playing around with recycled aluminum cans this week and here is what I created.

In my last post, I made some beads from aluminum cans, and in this post, I will share some jewelry pieces from those beads.
You can check out all the pieces in the video below.
Upcycled Aluminum Jewelry Set – Bracelet and Earrings
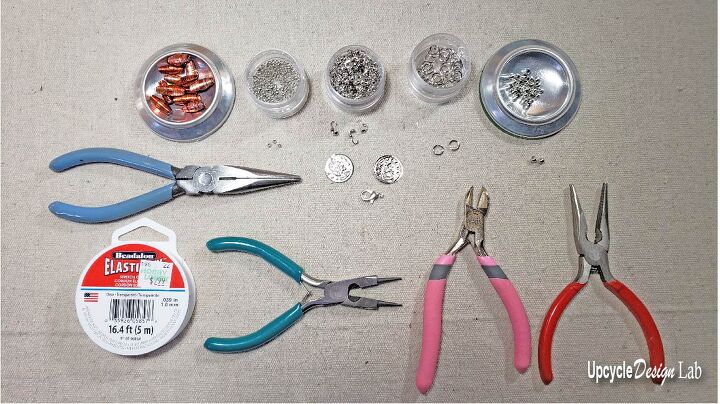
Step 1 – Gather Supplies
Advertising Disclosure: Upcycle Design Lab may be compensated in exchange for featured placement of certain sponsored products and services or your clicking on links posted on this website.
To make one 7 1/2 inch bracelet and one pair of earrings, you need the following.
- 12 aluminum can beads (see link for bead tutorial)
- 9 silver spacer beads
- 6 crimp beads
- 6 9mm silver be ad covers
- 2 silver jump rings
- 1 magnetic jewelry clasp
- 12 inches of beading elastic
- 2 silver earring hooks
- needle nose pliers
- round jewelry pliers
- cutting pliers
- alcohol ink
- Mod Podge high gloss
- Small scissors
Step 2 Secure Ends
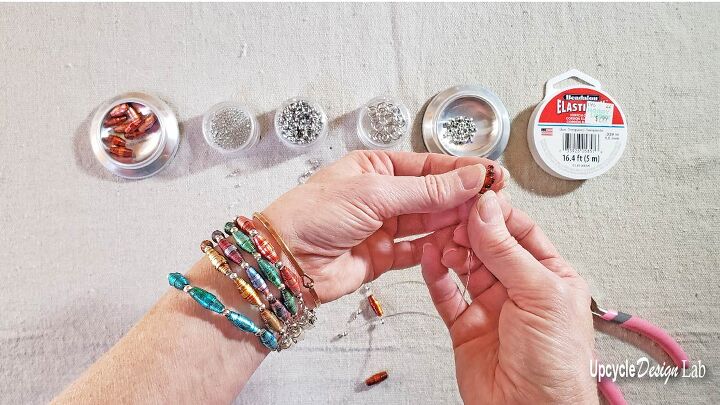
To make one bracelet cut approximately 9 inches of beading elastic and two pieces 4 inches long for the earrings.
To secure one end of each piece, slide one 9mm bead cover and one crimp bead on each piece of bead elastic. Then use the needle-nose pliers to secure the crimp bead close to one end of the cord.
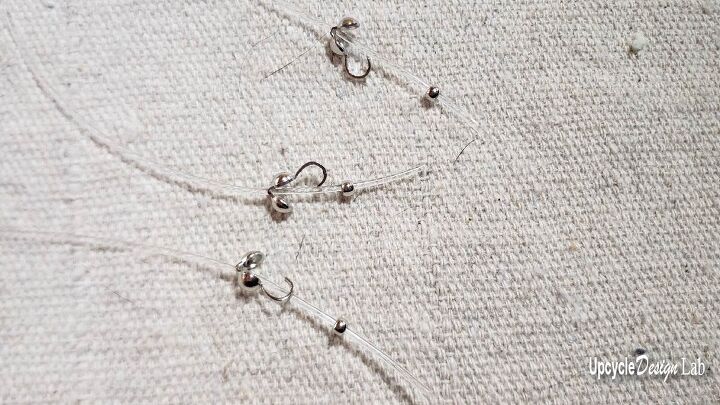
Trim the excess cord and slide the bead cover over the crimp bead.
The last step to secure the end is to close the bead cover using the needle-nose pliers.
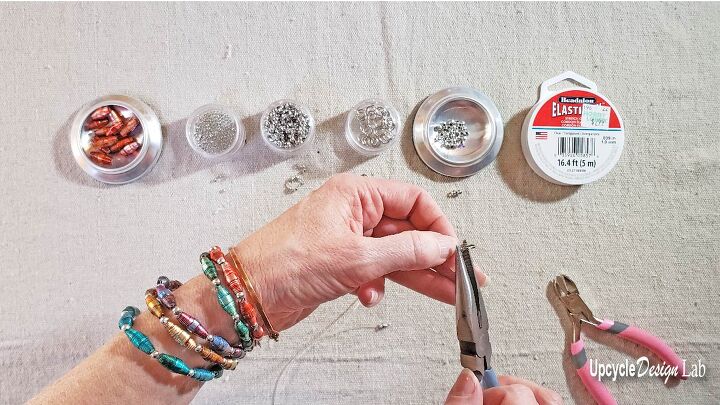
Step 3 – String Bracelet and Earrings
I used a simple alternating pattern for my bracelet and earrings. Add one aluminum can bead and a spacer bead until all the beads are strung on the elastic. I used eight rolled aluminum can beads and seven silver spacer beads for the bracelet. The earrings used two rolled beads and one spacer bead each.
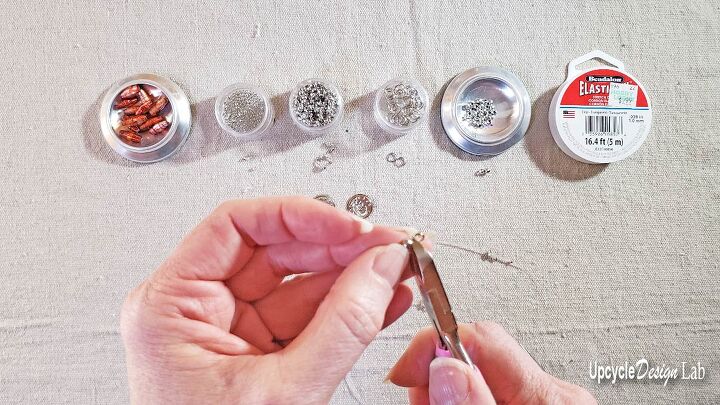
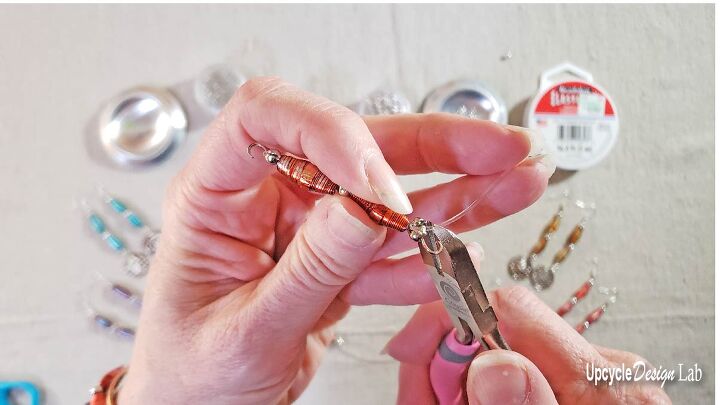
Step 4 – Secure Beads
To secure the beads in place, I used another clamshell bead cover and crimp bead, this time making sure to hold the beads tight on the cord before crimping the bead and closing the clamshell. Repeat this process for all three pieces.
Step 5 – Finishing
To complete the bracelet, I used the round-tipped pliers to close the ring tip of the clamshell bead cover and then attached my magnetic jewelry clasp to both ends using a jump ring.
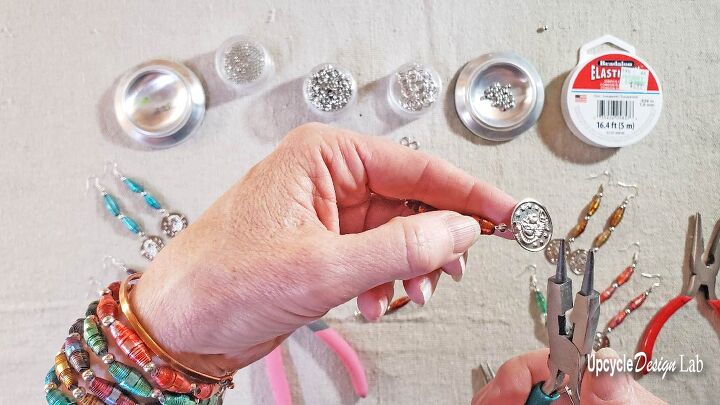
To complete the earrings, I attached the earring hooks to the hook on the bead cover before using the round jewelry pliers to close it. Then I repeated the process on the opposite end, this time adding a decorative coin medallion.
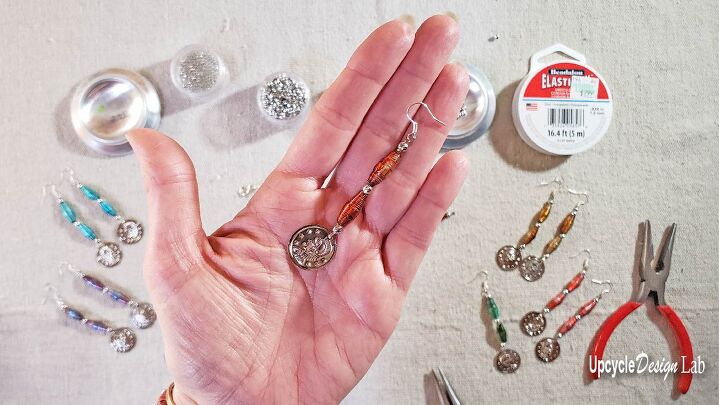
I love how shiny and colorful they turned out. For more details, check out the video tutorial.
If you are interested, you can find all my bead templates below in SVG format on my blog post if you would like to use them with your cutting machine. If you would like more information on cutting aluminum cans with a Cricut check out this link.

Here are the finished earrings and bracelet.
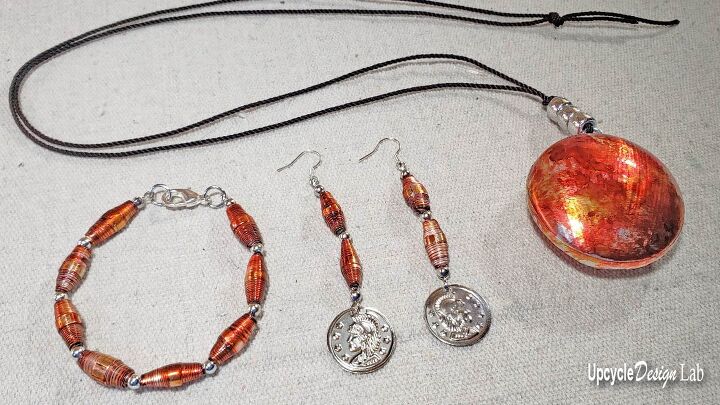
I also made some pendants from the aluminum cans. You can find out more about them on my blog or in the video tutorial above.
Thanks for checking out my project.
Happy Upcycling,
Cindy
The author may collect a small share of sales from the links on this page.


Comments
Join the conversation