How to Create a Bead Brooch

I saw a beautiful beaded brooch online recently and thought what a fantastic way to use up and recycle my old beads!
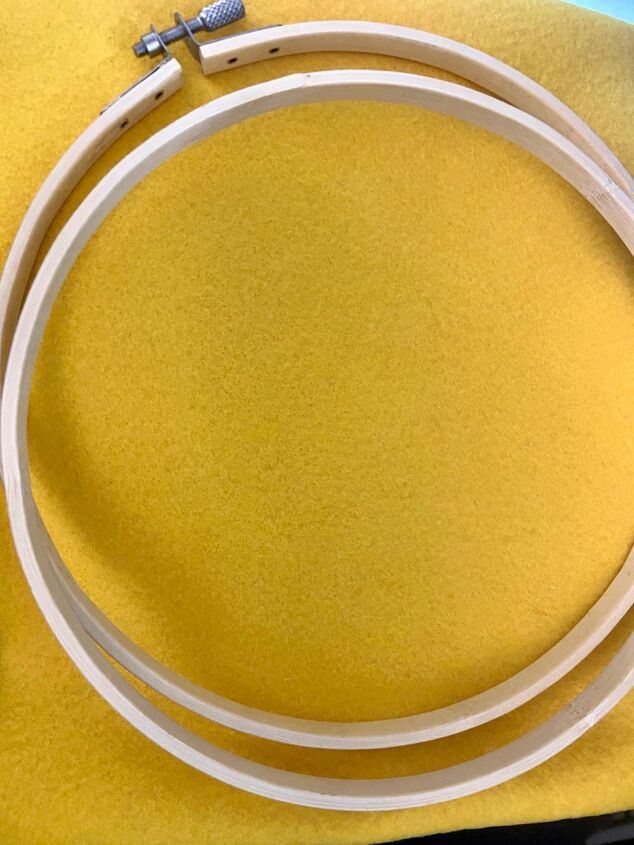
I used an embroidery hoop with felt backing.
I cut the yellow felt backing sheet to fit the size of the hoop and place in inside the wooden circle and tighten the outer one so it’s securely in place. Of course you can use whatever colour felt and beads you have handy.
I use a roll of tape to give an outline template for my brooch. Draw with a pen directly on to felt.
I use cotton thread on a medium sized needle with a fairly big eye so I can see to thread it!
I have so many various coloured beads in different shapes and the delight is in designing the placement of them!
I begin sewing them to the felt in centre and secure them by extra slide through back to keep cotton taught and bead in place.
I continue to thread more beads into the felt circle and build up my brooch design.
Keep adding more beads to make it pretty and making sure I see them very close together.
When all beads are sewn it’s time to cut around it and begin sewing a backing piece of felt on it.
its good that the circle of felt covers the stitched back to make it tidy and allows brooch pin to be attached.
I sew a little patch of felt to secure the brooch pin .
At last my beautiful beaded brooch is complete - ready to wear💗
Enjoyed the project?
Suggested materials:
- Embroidery Hoop (Amazon)
- Beads (Amazon)
The author may collect a small share of sales from the links on this page.




Comments
Join the conversation