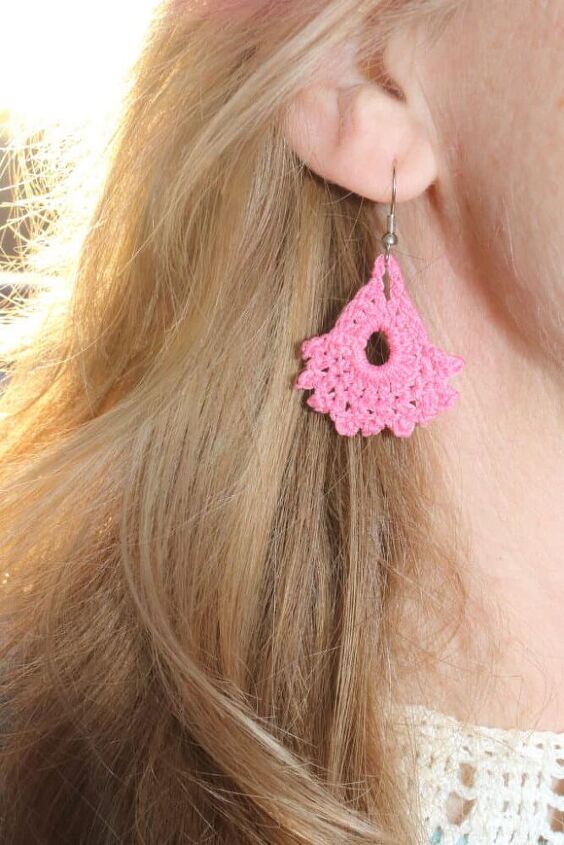
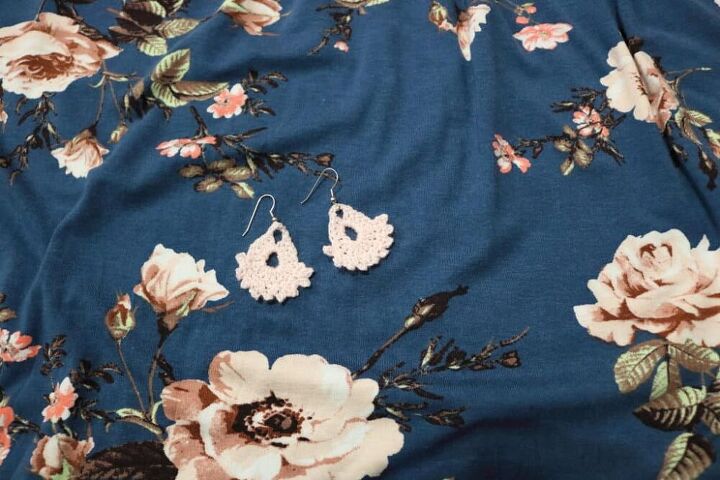
Easy Crocheted Earrings
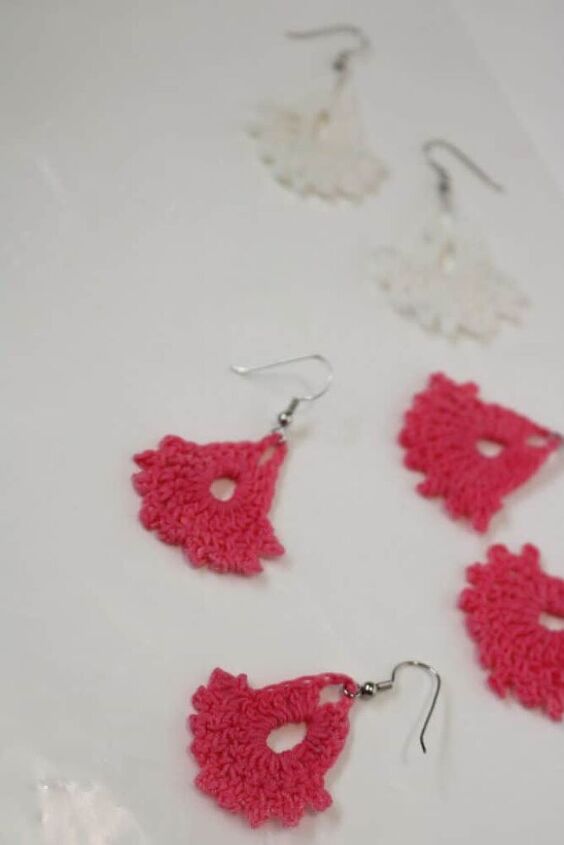
Wow! I found the pattern for these earrings about ten years ago. I made a pair and have worn them for ten years! I also made some for others as gifts. Well, I decided that I would like to have some new colors. So I made some more for me and for others as gifts. Pink looks nice, don’t you think?
Years ago when I found the pattern I pinned it. I am so glad that I did so that I could find it again! I really should print this pattern out just in case something happens to it online! Here is the Pin for the pattern.
Free pattern: HERE
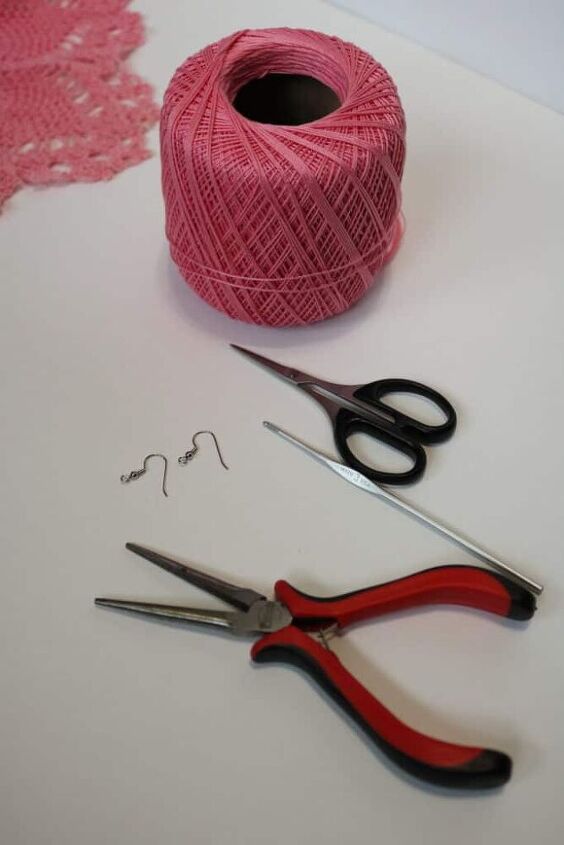
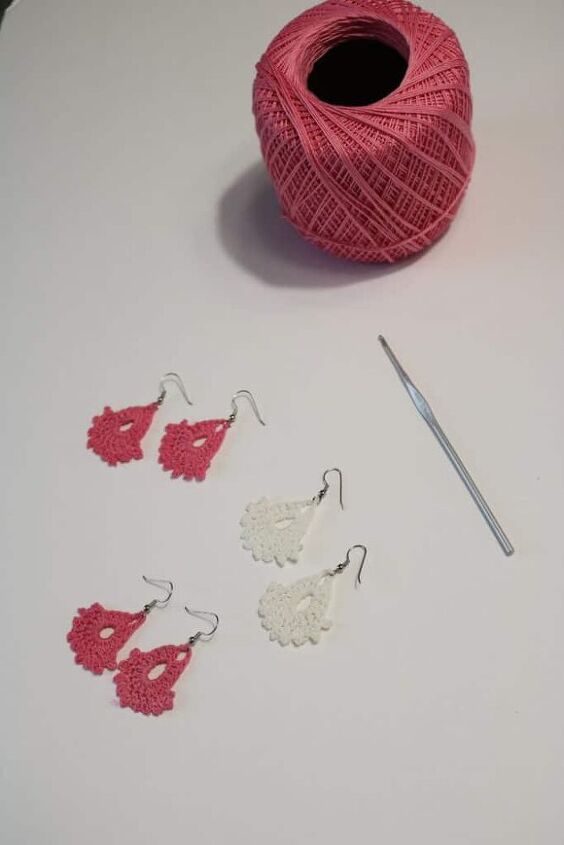
Here are the supplies and tools you will need:
- doily thread number 10 or smaller
- scissors
- small crochet hook (mine is a 3)
- earring hooks, available at the craft store
- pliers to open and close the earring hooks
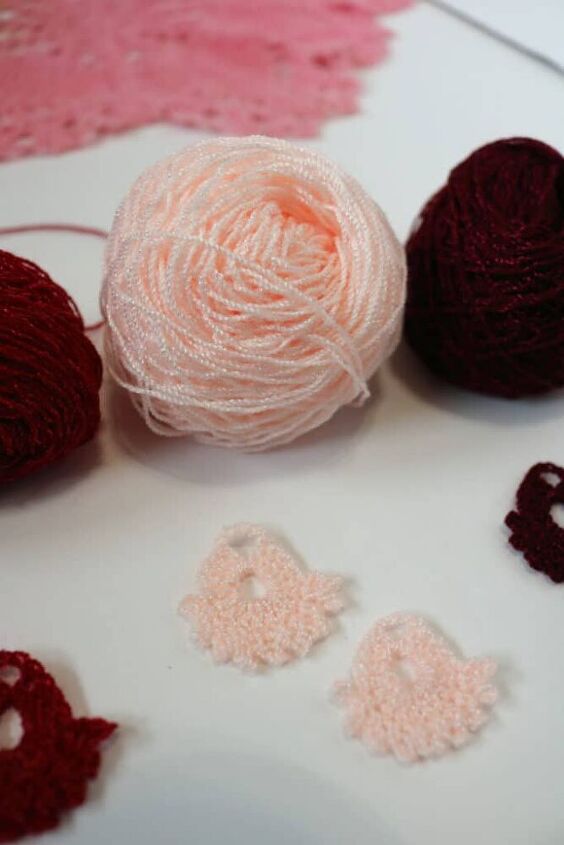
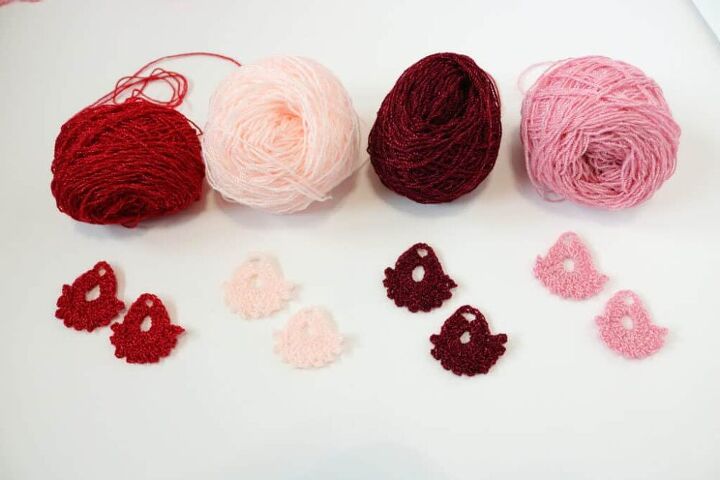
I had some other colors besides pink. The thread below in the peach, red, burgundy, mauve, are all not available in stores. They are a thin yarn that I bought in Mexico many years ago on a missions trip from a lady who sold it out of her house. If you look carefully, you will see a little sheen to the yarn. I made little decorative crochet dresses with some of it.
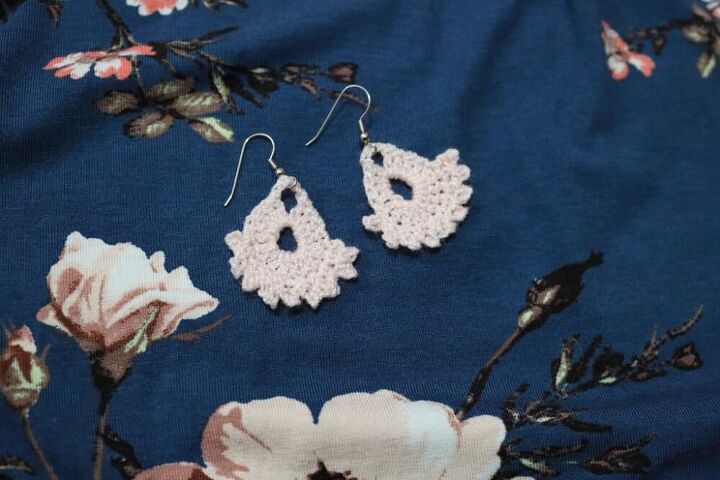
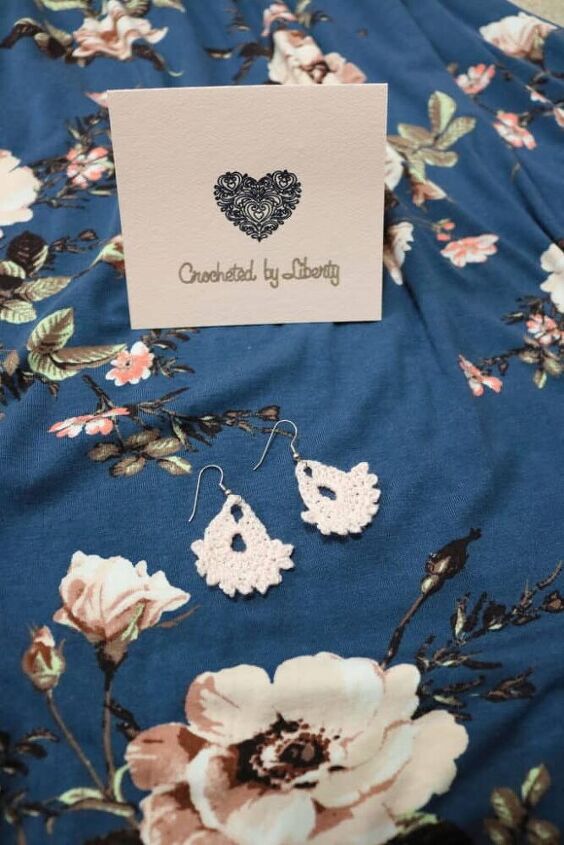
Isn’t the peach color beautiful? It perfectly matches a new dress that I have.
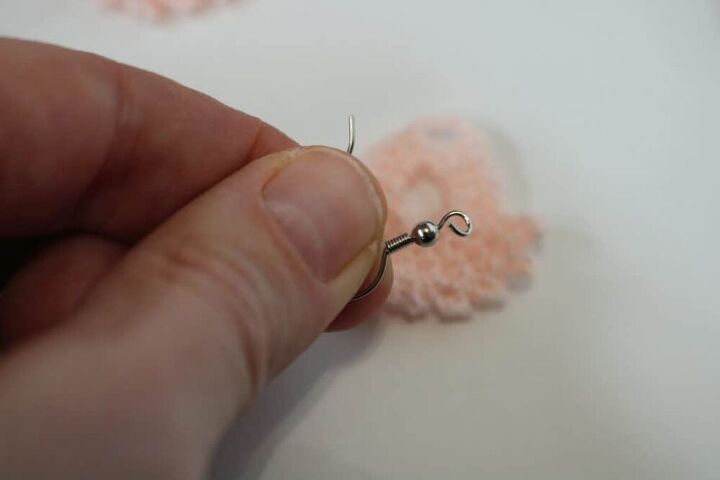
Once you have the crocheted part made, use the small pliers to carefully open up the metal loop on the earring. Then slide the crocheted part onto it, being careful to think which way is the front. Put the front of the crocheted part so that it will face front when the earring is being worn. Then use the pliers to close the loop.
I love that this unique color matches one of my dresses!
See all of the pretty colors? Which one is your favorite?
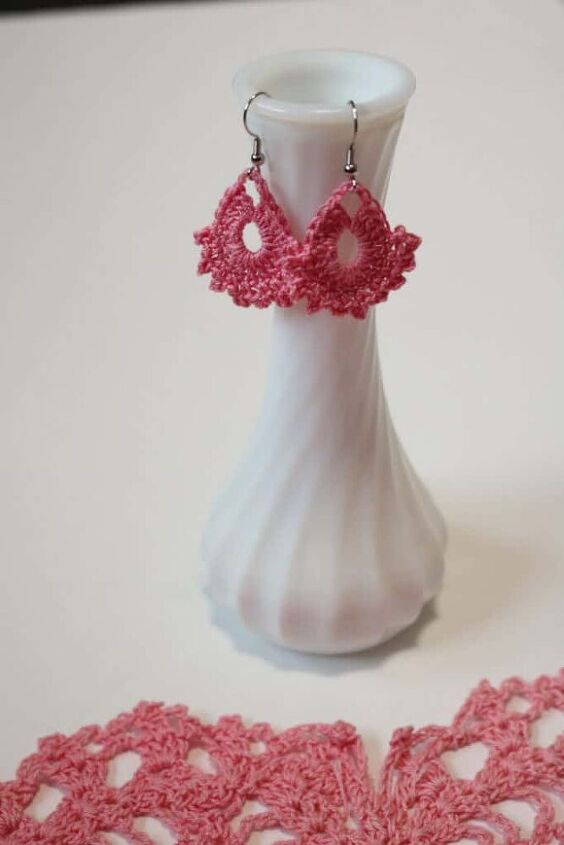
Here are the pink ones with the regular doily thread. One of the reasons that I love these earrings is that they are very lightweight. You can’t even tell you have them in your ears.
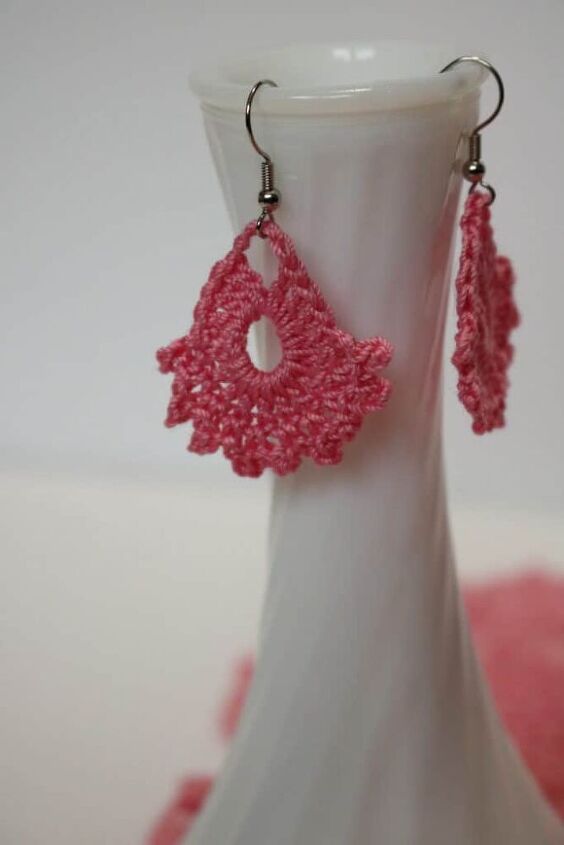
Yes, I made the pink doily that you see in the background, but it has now faded in some places. And yes, I made it from copying another one like the method I described above! I’m not sure how I ever succeeded.

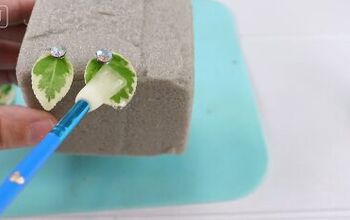
These earrings will curl up when you wear them, so I used Stiffening Starch to stiffen mine. It does not affect how they look. Here is what I used.
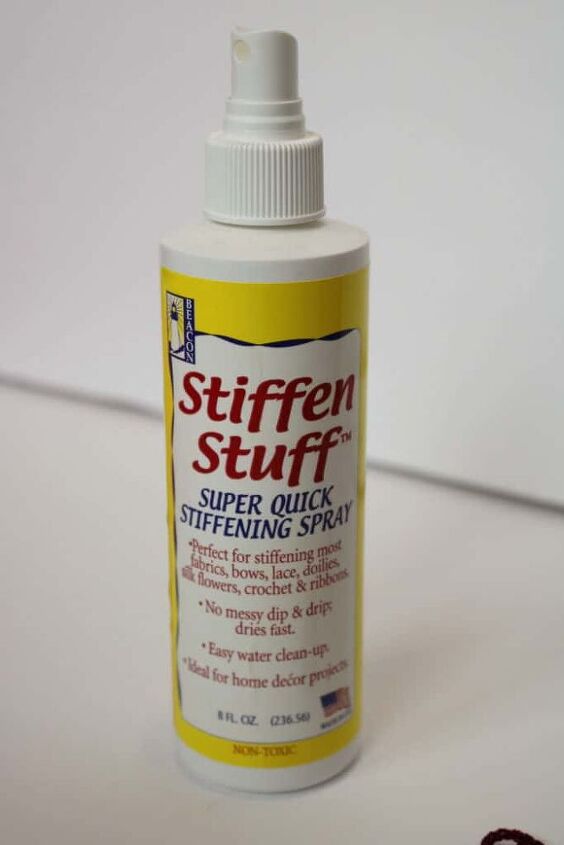
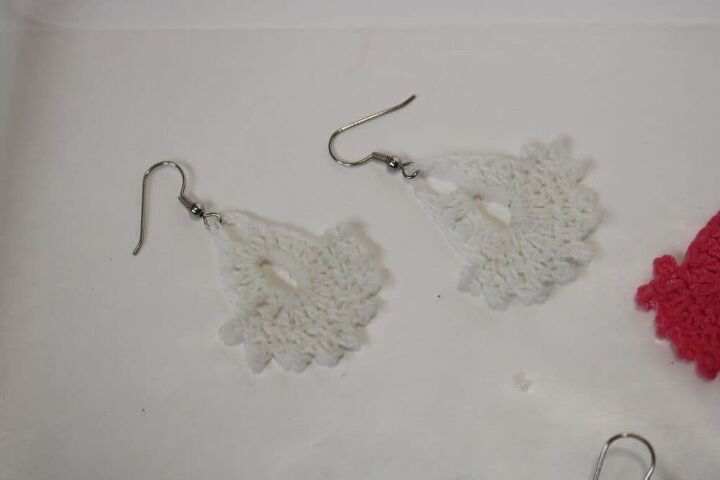
Use enough spray to saturate the earring. Lay it on wax paper to dry. After it is mostly dry you can hang it up somewhere to finish drying completely. Here is a white pair all wet and drying.
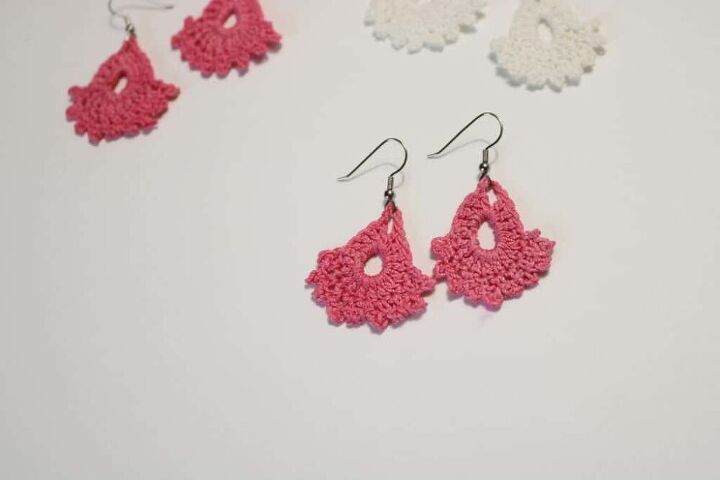
Here are the pink ones with stiffening starch on them.
Here are the earrings after they dried.
See? They look just as nice as before.

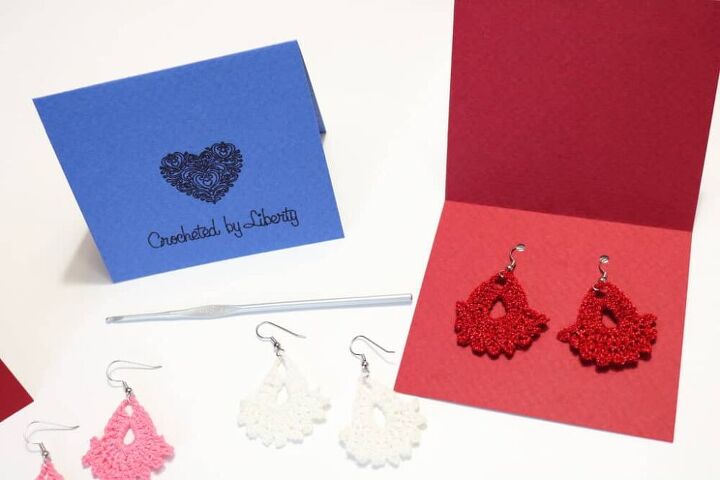
When I was ready to give some of these away, I wanted a nice card to put them in. I created just what I wanted in Cricut Design Space. It was so fun and so easy!! You don’t need a Cricut Maker to design one of these– just a mini hole punch. But having my Cricut Maker draw, score, and cut this all out for me was just too easy! : ) If you do have a Cricut or know someone who does, they can use my design by finding it here.
I had sooo much fun making these earrings and the card tags to go with them. Do you know anyone who would like a pair of earrings like these?
The author may collect a small share of sales from the links on this page.


Comments
Join the conversation
Very pretty. I love them. Am going to make some with black thread and a few tiny Swarovski crystal beads.
thank you!
I can picture this as a summer pendant on a thin gold chain too. Hmmmm.