How to Make Resin Earrings Using Alcohol Ink

In this tutorial I will show you how to make resin earrings with the alcohol ink technique. This is a very simple technique that creates stunning jewelry pieces.
If you have never used resin before, this alcohol ink technique is for you, because it’s super easy. So, let’s get started!
Tools and materials:
- Silicone earring molds
- Alcohol ink
- Clear epoxy resin
- Popsicle sticks
- Plastic gloves
- Protective mask

What to know about alcohol ink
There is a price-range for alcohol ink, like everything else. In this tutorial I used inexpensive ink. It works just fine, but I have found that the more expensive inks are even better.
White alcohol ink is heavier than the other colors, and it’s the white ink that makes this technique work so well. When you drop white alcohol ink on top of any other color, the white ink pulls the other color down to create a beautiful droplet and swirl effects.
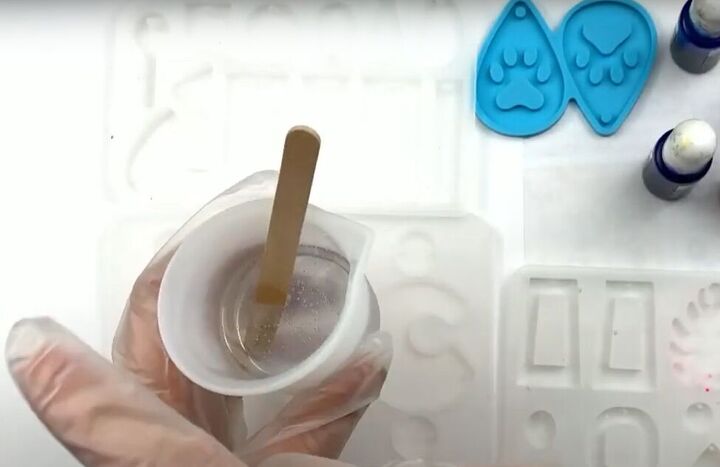
1. Start with the resin
Mix your resin slowly for 3 – 5 minutes in a silicone cup, according to package directions. Make sure there are no wisps or tails of resin remaining.
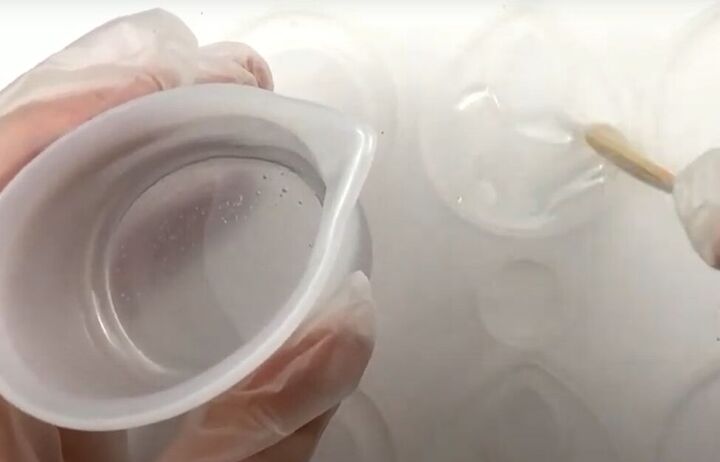
Pour the resin into your silicone earring molds.
Do not fill your mold, just make sure there is a nice even layer of resin in the mold, with room left to add your drops of alcohol ink.
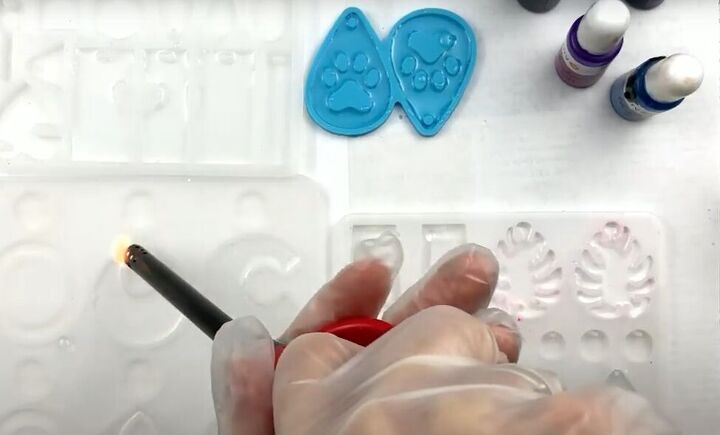
Remove any air bubbles from your resin by exposing the filled molds to a little heat.
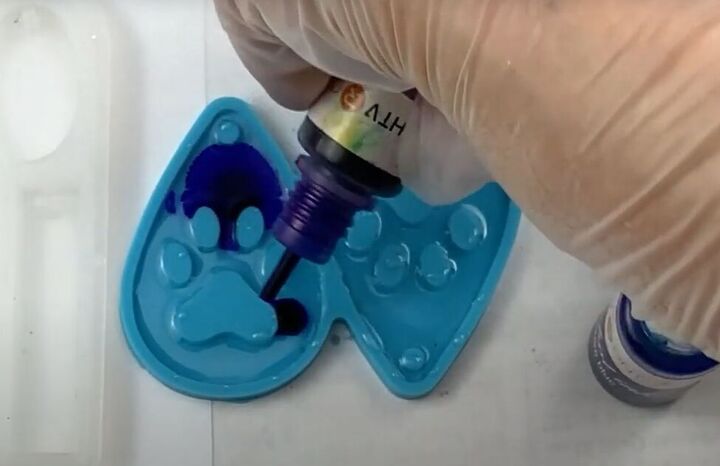
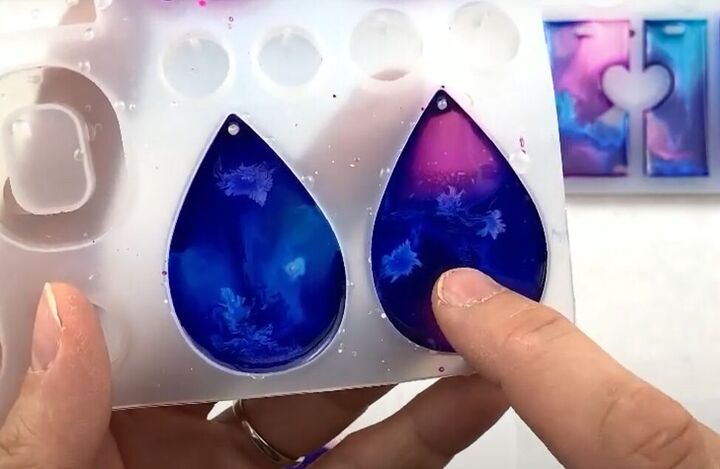
2. Add the alcohol ink
Always shake up your ink before using it, because the color will settle at the bottom.
Add 2-4 drops of colored alcohol ink to your mold (depending on the size of your mold.)
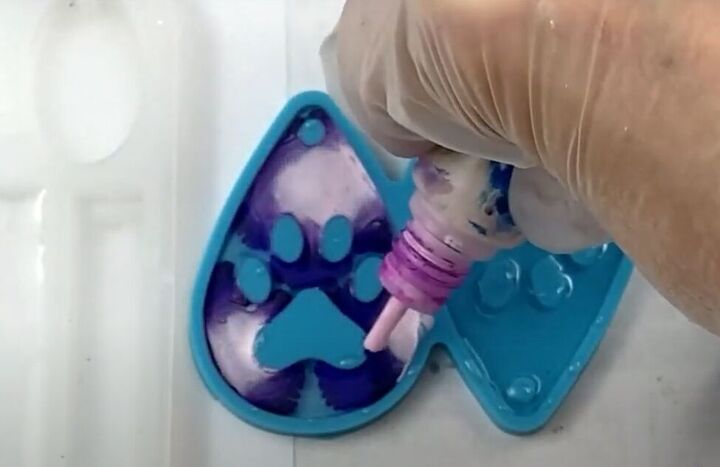
Then add the same amount of white alcohol ink over the colored ink.
Watch the magic begin!
You can add more color if you wish, but remember that every time you add more color you also need to add more white.
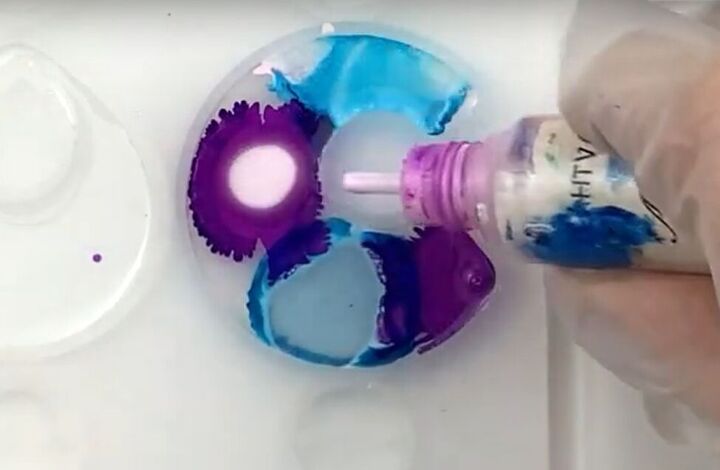
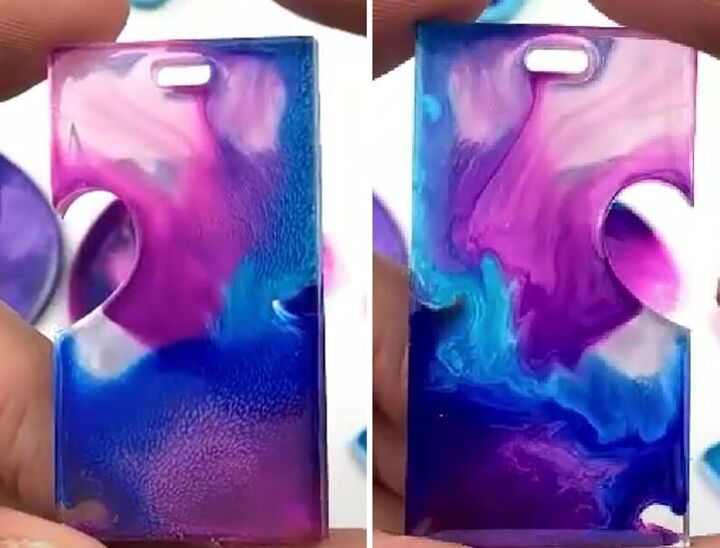
You can also do more than one color in a single mold. Just remember that you don’t have total control over how it will spread, so be prepared for an element of surprise!
3. Wait for the final result
You have to wait 24 hours for the resin to harden, and then you’ll see the final result!
Tip: Don’t wait too long between adding the white to the color. If you do, then you will end up with splotches like this, instead of swirls.
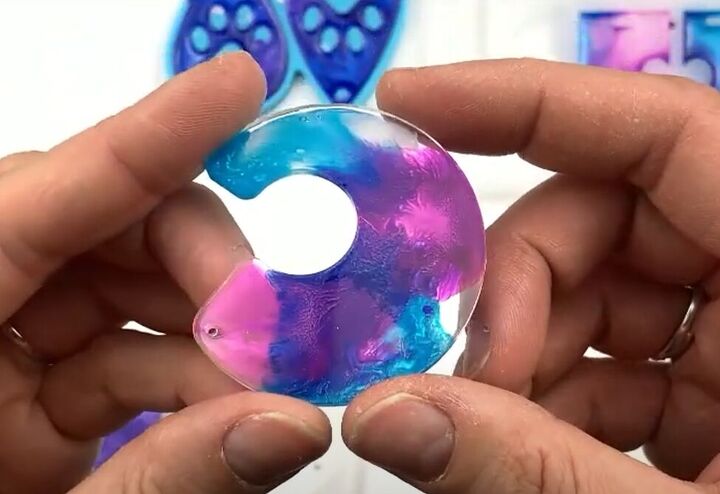
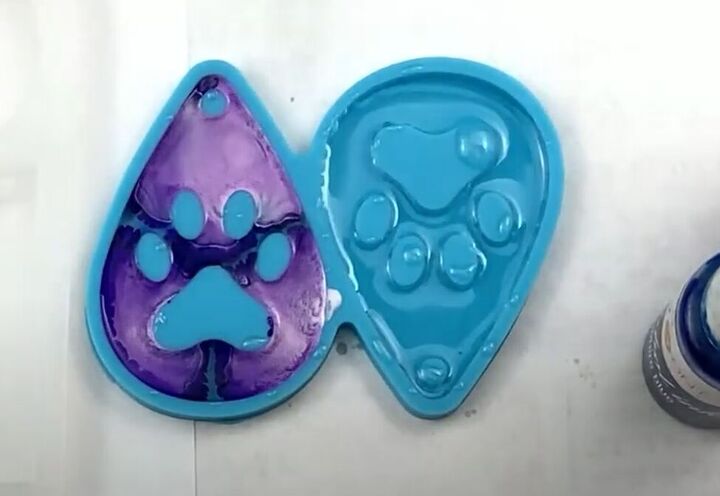
4. Unmold and see the other side
When you unmold the earrings, and look at the other side, you’ll see the color through the clear resin layer. And it’s even more stunning!
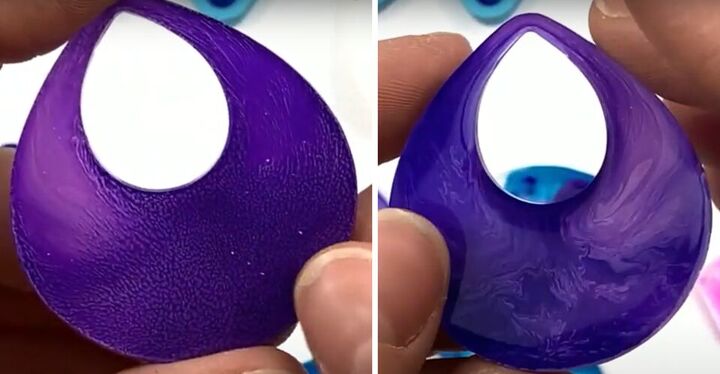
Here is the front and back of two different earrings. You get to decide which side you want as the front!

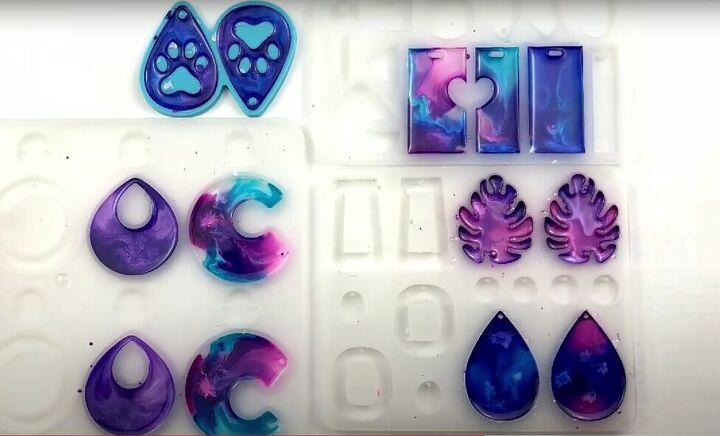
How to make resin earrings
Just add your hardware and then you’ve completed your gorgeous, unique, DIY resin earrings, made with the alcohol ink technique.
If you love these as much as I do, leave a comment to let me know how your DIY resin earrings turned out.
For more resin DIYs, check out my post on How to Make a UV Resin Pendant with Dried Flowers.
The author may collect a small share of sales from the links on this page.


Comments
Join the conversation
Where can you get the resin molds?