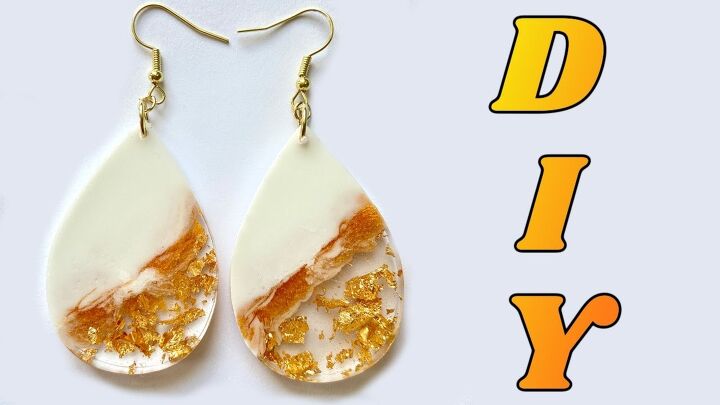
How to Make Resin Earrings With Molds: Cute White & Gold Jewelry

Today, I’m going to show you how to make resin earrings with molds! This video was actually inspired by a video on resin coasters I saw. When I saw it, I was like I want to make that into an earring or a pendant, so that’s what we’re making today. Let’s get started!
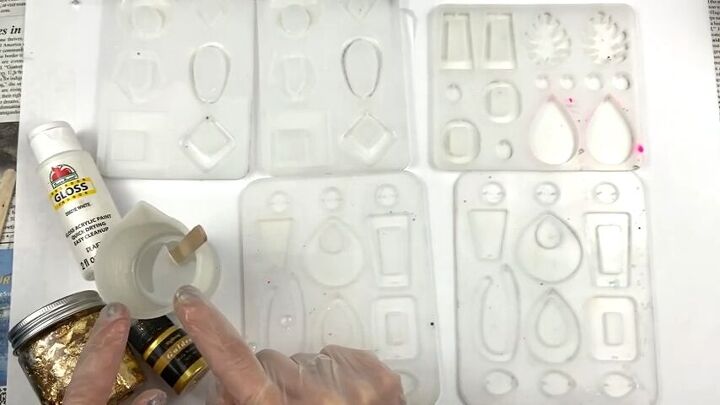
Tools and materials:
- Epoxy and resin
- Resin molds
- Safety gear
- Cups
- Craft sticks
- Resin paint
- Mica powder
- Gold foil
- Tweezers

1. Take safety precautions
Before we begin, make sure you’re safe with your resin.
Resin and epoxy are both super toxic chemicals. Everyone reacts differently so put on gloves, a mask, and clothes you don’t mind being destroyed, and have a window open so you can have proper circulation and ventilation.
2. Mix the epoxy and resin
Mix equal parts of your resin and epoxy together. If you mix too fast and there are too many bubbles, you can just let it rest for a bit to get them to go away.
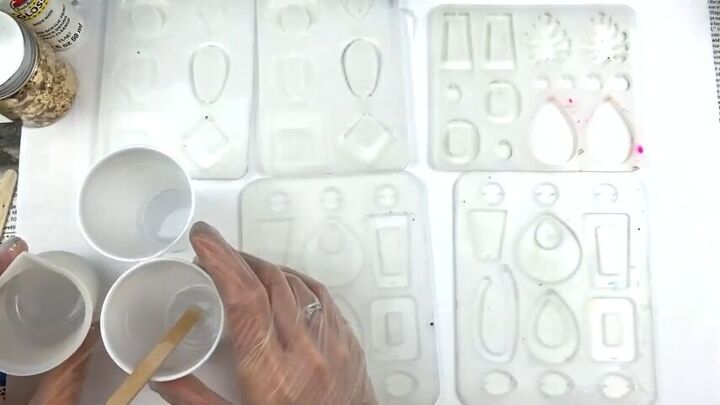
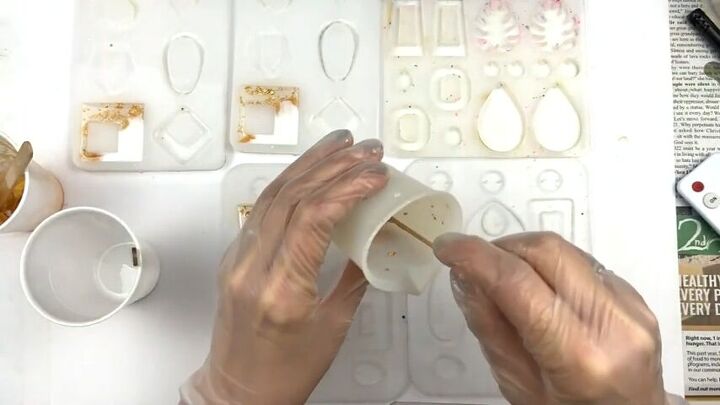
3. Divide the mixture into three cups
Divide your epoxy resin mixture into three different cups. You’ll need a cup for white, a cup for the foil, and a cup for gold.
You won’t need as much resin for the gold, so aim for 48:48 for the white and gold and the remaining percent for the gold. It doesn’t have to be this specific - whatever feels right.

4. Add white paint to the resin
Shake your white paint and then do a couple of drops in the designated cup. Don’t go too overboard, or it’ll become a really thick slime that’s not very good. So don’t use too much or too little.
Mix the resin and paint together. You can check the color by lifting the stick. Add more or less paint until you’re satisfied.
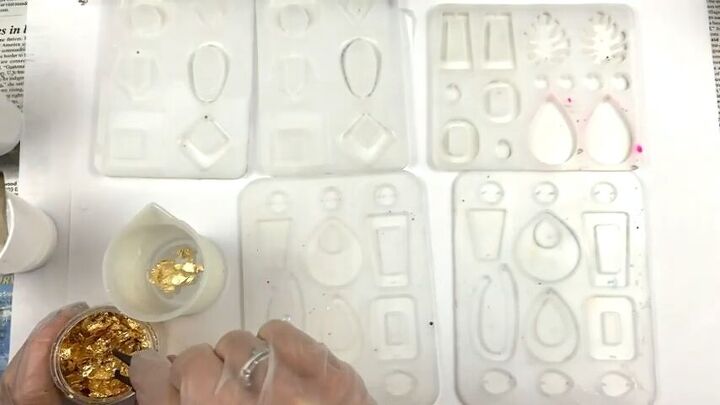
5. Add gold foil to the resin
Use a pair of tweezers to grab bits of foil to add to the resin. Don’t grab clumps as they’re too hard to pull apart. You want to make it where you can still see some clear spots, so don’t add too much.
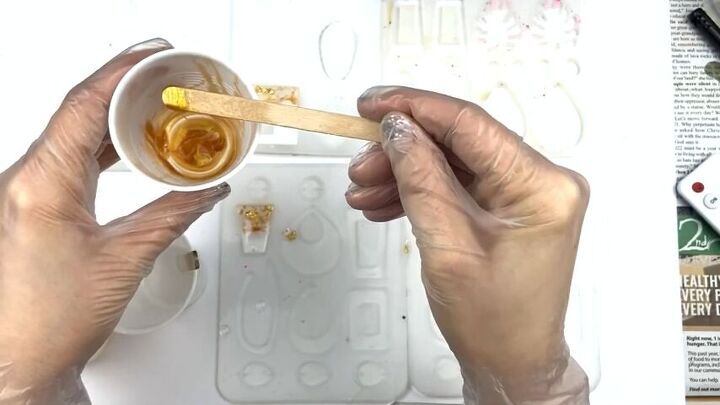
6. Add mica powder to the resin
For the gold resin, you want to add gold mica powder to get that really opaque gold pigment.
7. Pour resin into the molds
Now that our resin is all mixed, I’m going to show you how to make earrings out of resin by pouring our resin into the molds. You can get really creative with this, but I’m going to show you a few ways I did it.
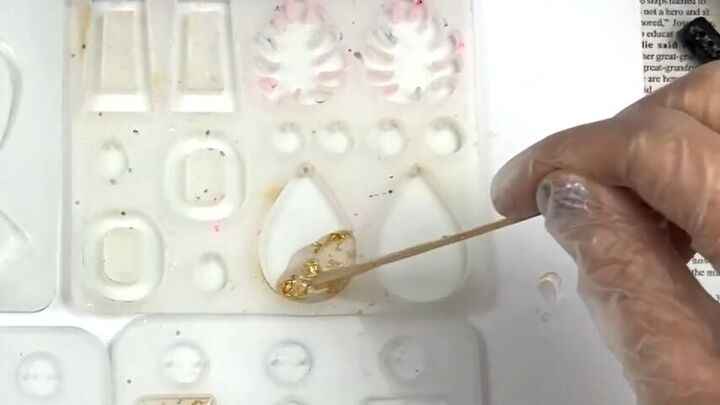
For the first one, I poured my foil resin into the bottom of the mold at a diagonal.
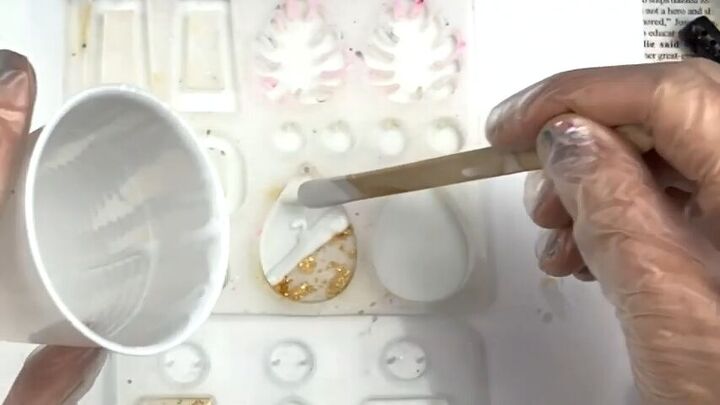
Then, I filled up the rest of the mold with the white resin by first making a line so the foil doesn’t leak, and then filling the rest up. Don’t fill the mold entirely, though, as you’ll need room for the gold resin to spread.
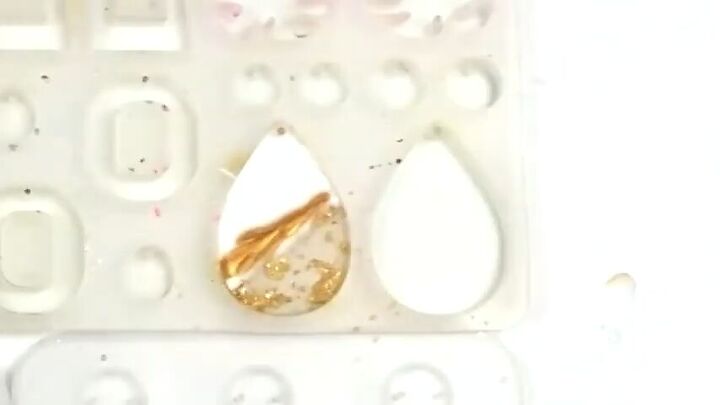
Then, I took the gold resin and I drew a line between the two colors.
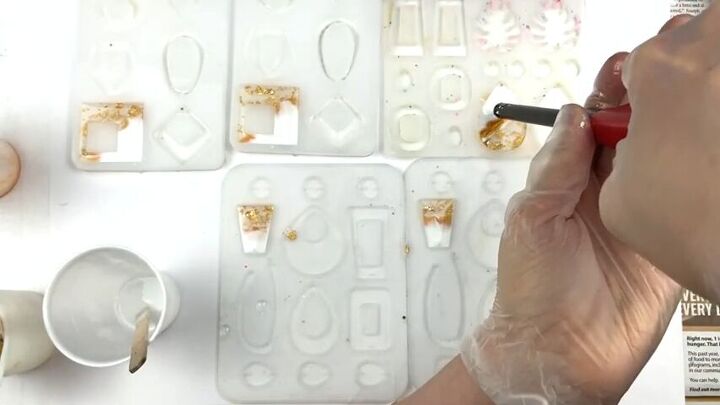
Finally, use a lighter to get the bubbles out. If the bubbles are too stubborn, just add more epoxy on top and then hit it with fire again.
That’s essentially the technique on how to make resin earrings for beginners. The clear, the white, and then the gold which spreads beautifully. You can use this technique to make so many different, but equally gorgeous designs.
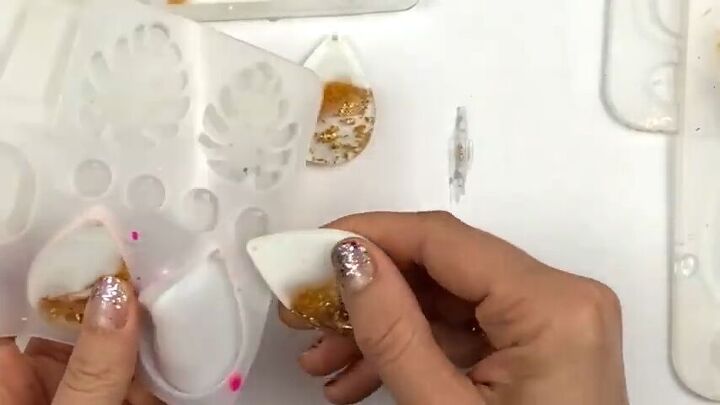
8. Unmold
It’s the next day and they’re dry, so let’s unmold and view the finished resin earrings
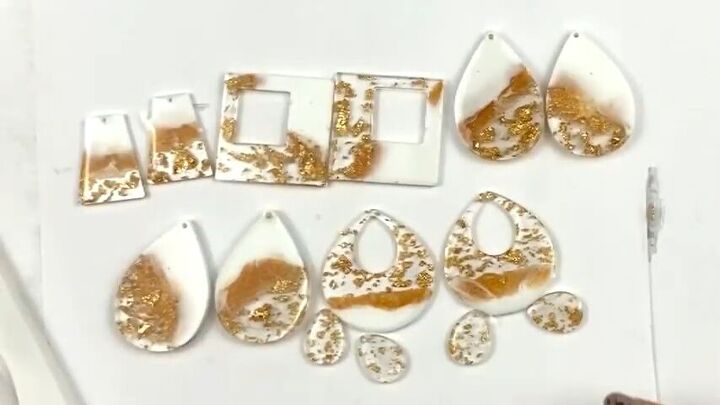
How to make resin earrings with molds
Here are the finished resin earrings! I also used one as a necklace pendant to make a matching set. I love these so much. These jewelry pieces really pop and they’re so beautiful, and I really love how the gold spreads on some of them.
Let me know down below what you think and if you did the same exact thing I did or if you went completely rogue!
The author may collect a small share of sales from the links on this page.


Comments
Join the conversation