Make Your Own Marbled Clay Earrings In a Few Steps

Polymer clay is fun and easy to use. If you’ve ever wondered how to marble clay, you can easily do this with polymer clay. Here’s a little fun DIY project that you can make for yourself or gift someone. These marbled clay earrings are trendy, fashionable, and the best part- it’s enjoyable to do. You will be amazed by the exquisite marbled clay result. Let’s get started!
Tools and materials:
- Black polymer clay
- White polymer clay
- Tissue blade
- Gold leaf
- Roller
- White acrylic paint
- Black acrylic paint
- Gold acrylic paint
- Liquid clay
- Disposable gloves
- Paper
- Pasta Machine
- Cookie Cutter
- 800-2000 grit sandpaper
- Sanding machine
- Nail drill
- Matte varnish
- Gloss varnish
- Earring Backs
- Jump rings
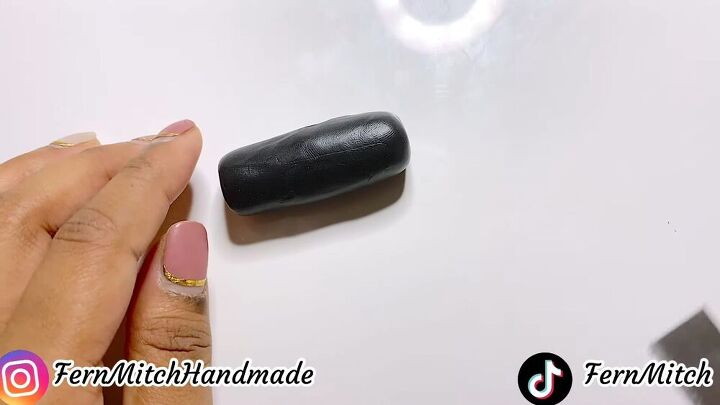
Roll clay into log & cut into tiny pieces
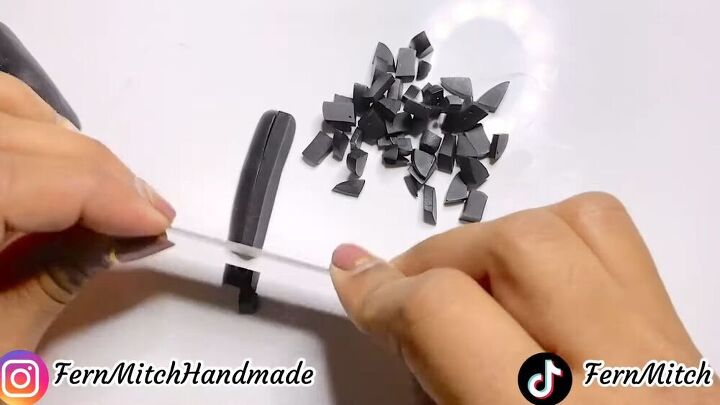
Start by rolling your clay into log shapes as pictured above. Next, with a tissue blade, cut your clay into tiny pieces. The smaller the piece, the more marbled it will be. Transfer the clay pieces onto a piece of paper because the next step is a little messy.
TIP:
If your clay is soft, pop it in the freezer for around 10-15 minutes for it to harden; it’ll be much easier to work with.
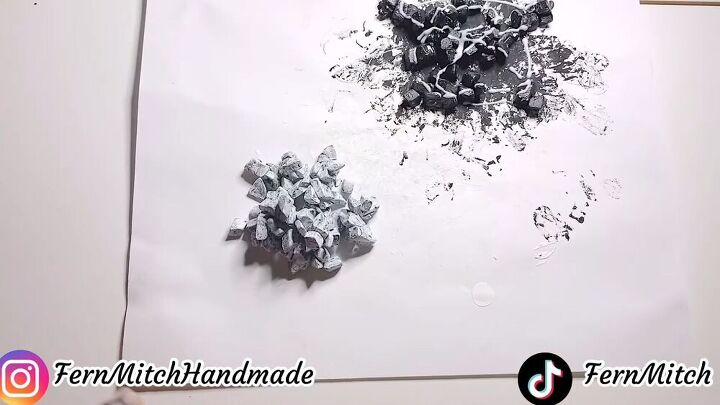
Coat with black & white acrylic paint, respectively
Once your clay has been cut and transferred onto a white piece of paper, scoop a decent size of white acrylic paint and simply coat your clay pieces with it. Once you’re finished with the black clay, do the same process, but this time with white clay and black acrylic paint. Make sure they are evenly coated and let them fully dry.
TIP:
For this step, it’s better to use a disposable glove to prevent messy fingers.
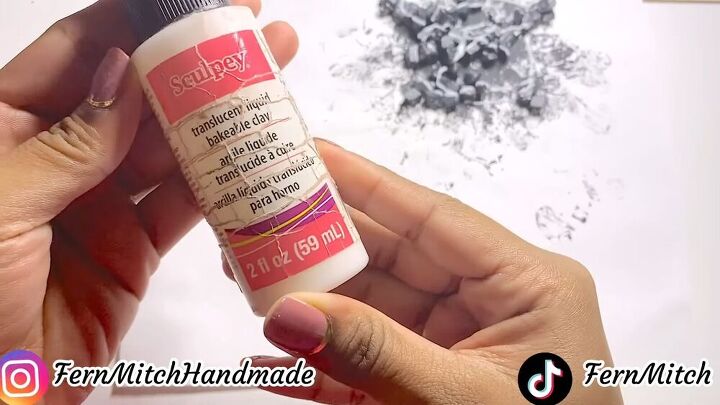
Squirt liquid clay on each batch
Wait for both batches of acrylic pieces to completely dry. Squirt a nice amount of liquid clay on each batch and evenly distribute it. The liquid clay will ensure that they bond back together.
Once this is complete, shape the clay back into a log again using your fingers and the palm of your hand.
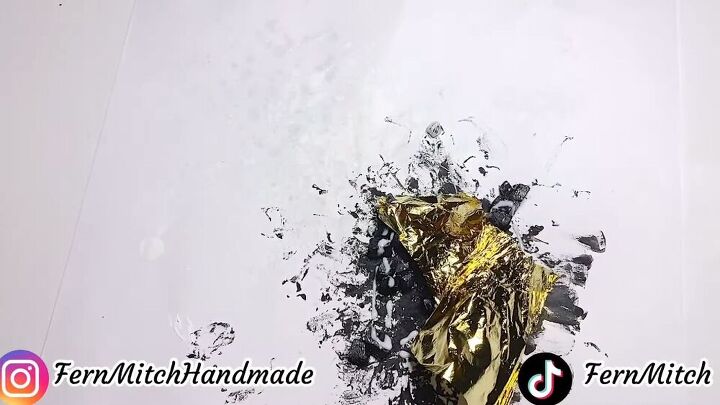
I used a gold leaf before I rolled by black clay batch, at first it was an experiment but it turned out amazing. You can add the gold pieces right before you shape the clay into a log. Once both batches are done, put them in the freezer for 10-15 minutes so that they harden.

Cut the log in disc-like shapes
With a tissue blade, cut the log in small disk-like circles. You will immediately see the beautiful marble pattern.

Assemble the discs together on a slab or on a white sheet of paper.
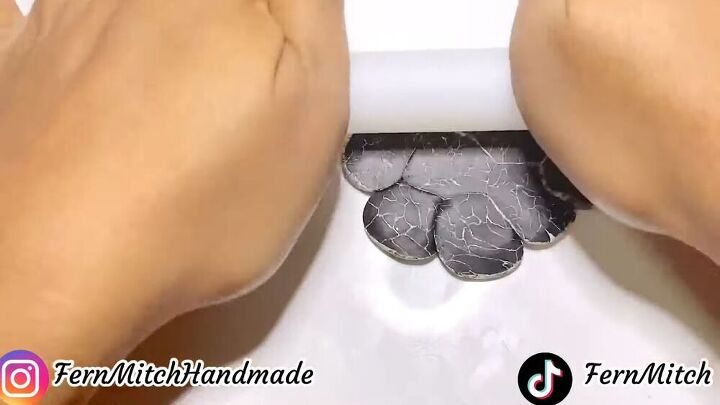
Next, take a roller and even it out so that it's completely assembled. Also, place a sheet of paper on top and roll it again so that it becomes smooth and sticks together.
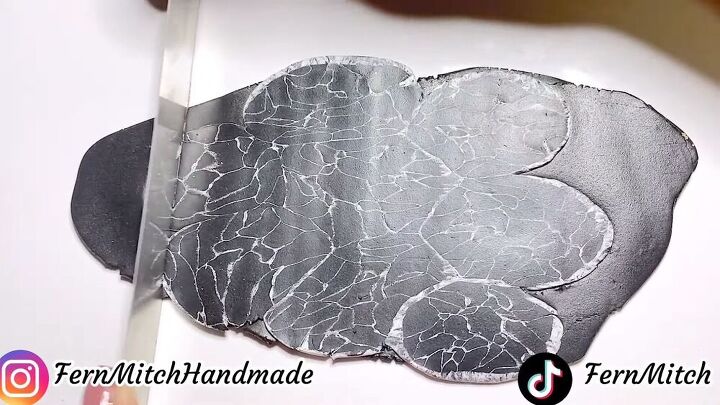
Once you have manually smoothed it out, add a clay background sheet and run your clay through a pasta machine on the size 3 setting, which should be around 3 millimeters thick. Do the same with your white batch too and cut out the edges that don't have a marbled effect.
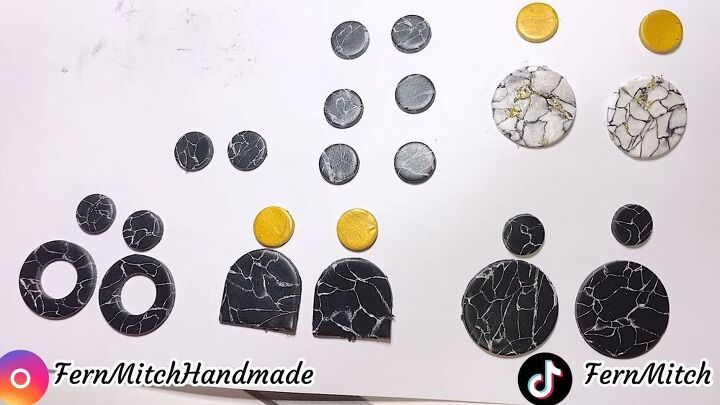
Shape your hardened clay into circles
It's time to cut your clay! Once your clay is completely smooth, shape them into various sized circles and other shapes of your choice. You can use a cookie cutter or a blade. You’ll notice that I used gold clay to create some offset components. Bake it in the oven for approximately an hour at 225-275 Fahrenheit. My oven is quite old, so it needed a little more time and more heat.
TIP:
Before doing this step, play around with some samples to see what's the ideal setting to use on your oven to achieve a cured clay result.
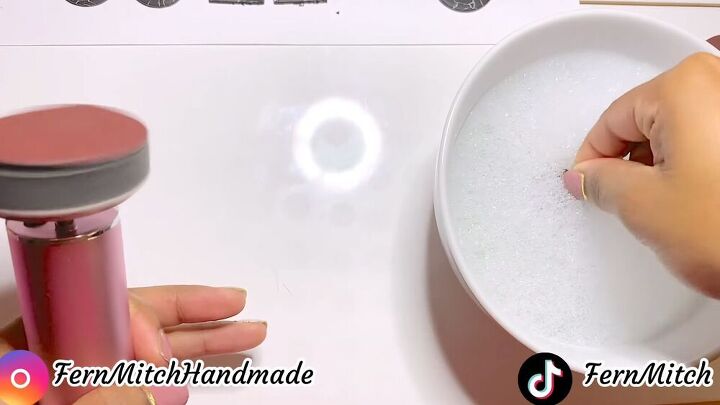
Sand each piece accordingly
Now that the curing process is complete and your pieces have cooled down, sand the edges using a wet sanding method & 800 grit sandpaper. Dip your polymer clay piece in a bowl of warm water with a drop of dishwashing liquid.
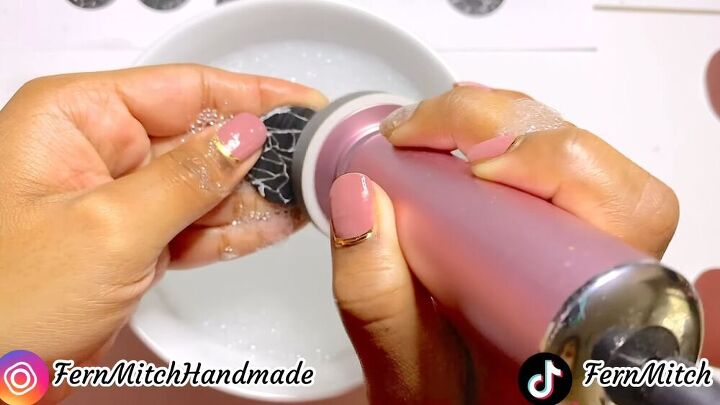
Sand the surface of your pieces too. Sanding will help to remove paint and give you clean marble lines.
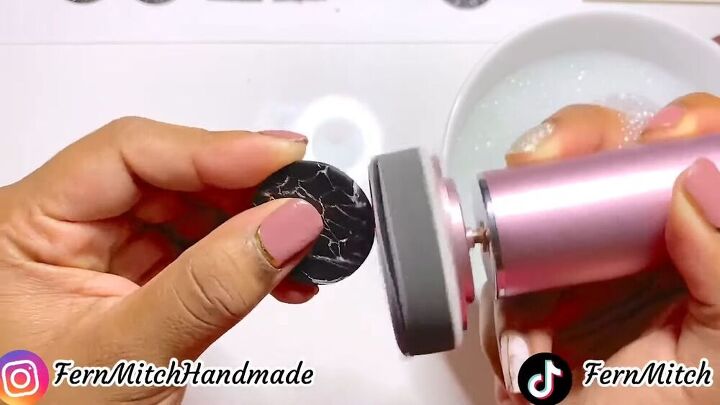
Repeat the process with 1000 grit sandpaper. This will help eliminate tiny residue and give off a clean, perfect finish. Finish off sanding with 2000 grit sandpaper. The process looks long but, it’s pretty quick and you will be able to see a huge before and after difference- definitely worth it!
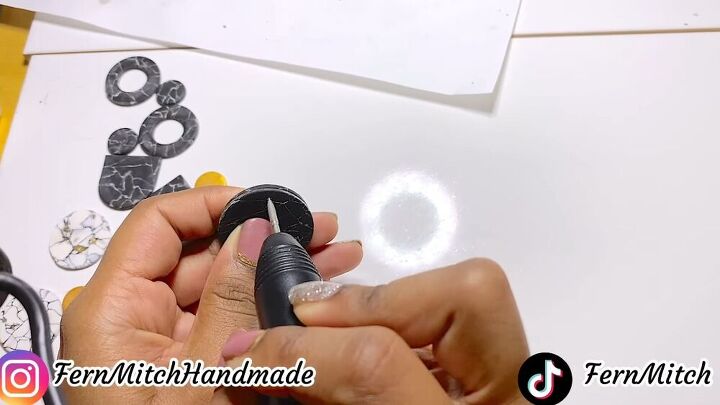
Drill holes through your pieces
Drill holes on top of each polymer clay circle with a nail drill piece.
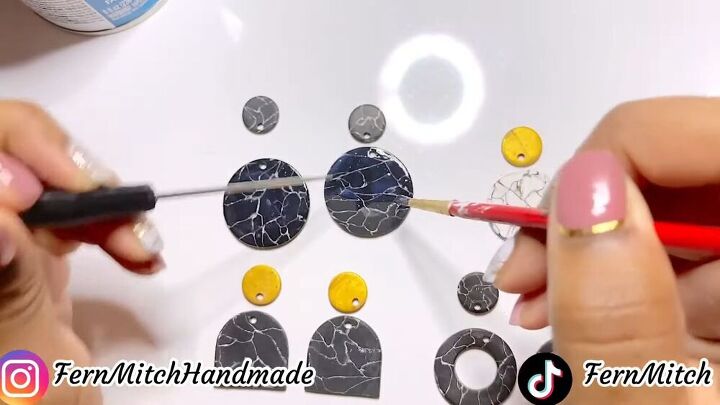
Varnish each piece with a paintbrush
Once you’ve drilled through your holes, you will need to seal each piece. Here I used two different kinds of seals; for each respective color. Use a matte varnish for the black marble clay and for the white marbled clay, use a gloss varnish. Use a paintbrush to brush on the varnish and of course, wait for everything to dry before proceeding to the next step.
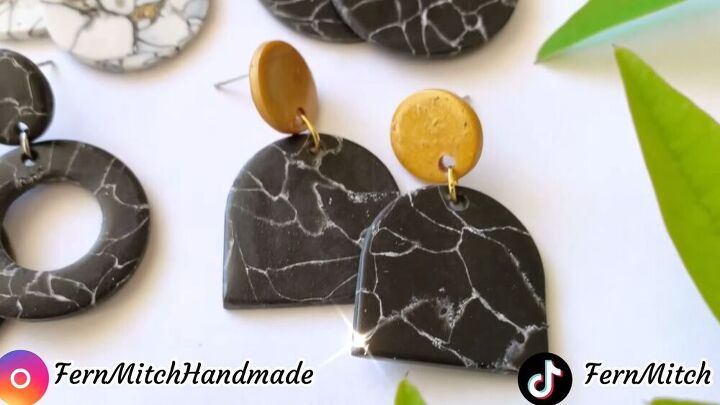
Add earring backs & jump rings
Now it’s time to add the final pieces- earring backs and jump rings. Loop them through each hole and add each offset together with the main marble polymer clay piece.
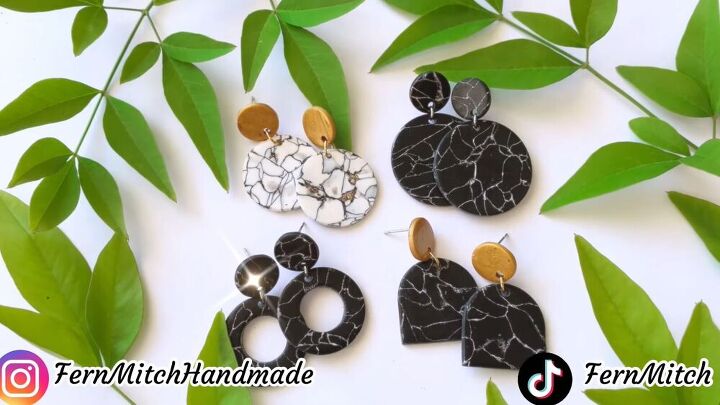
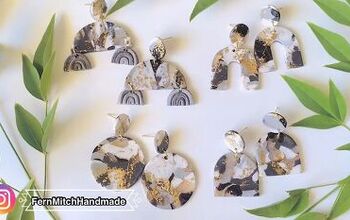
There you have it, you have a stunning collection of marble polymer clay earrings in both black and white. I can assure you this is a super fun project and the result is just awesome. You can also gift these handmade earrings or wear them yourself- whatever you choose, you now know how to make marbled clay earrings!
The author may collect a small share of sales from the links on this page.


Comments
Join the conversation
Love the marbled jewelry look and this looks like enough to make some gifts as well!