How to Make Polymer Clay Crystal Jewelry Inspired By Glittery Geodes

Hi, everyone! Welcome to this polymer clay crystal jewelry tutorial. This time, we’re going for a faux crystal geode look.
This technique can be used for many different jewelry items, it’s so fun to do, and it looks incredible. Let’s get started!
Tools and materials:
- Base clay
- Transparent clay
- Liquid clay or bake & bond
- Glitter shards
- Paint
- UV resin
- UV lamp
- Roller pin
- Shape cutter
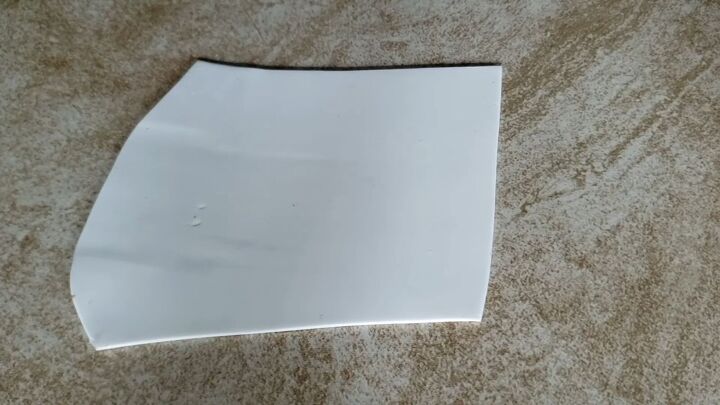
1. Flatten the clay
Take your base clay and condition it by using a roller pin to get it as smooth and flat as possible.
I also put mine through the pasta machine a couple of times, but if you don’t have one, the rolling pin should do the trick.
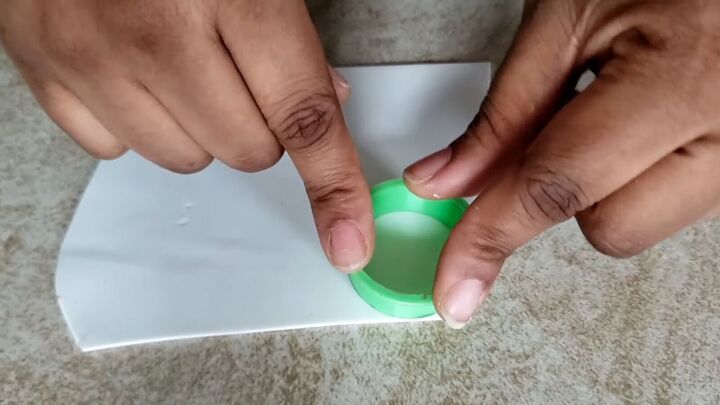
2. Cut out the clay
Use a shape cutter to cut out a few pieces of the clay. You don’t have to stick with the circle - any shape will do.
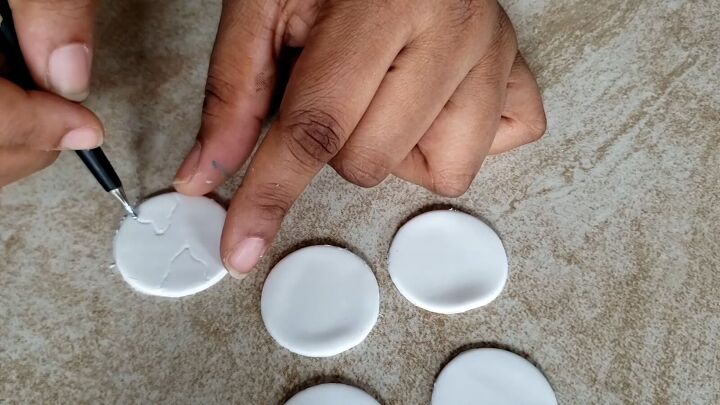
3. Trace the shape of the geode
Now, trace out the shape of the geode in the clay. This is where we’re going to put our crystals. I’m using a dotting pen, but you can use any tool like a hairpin or a pencil.
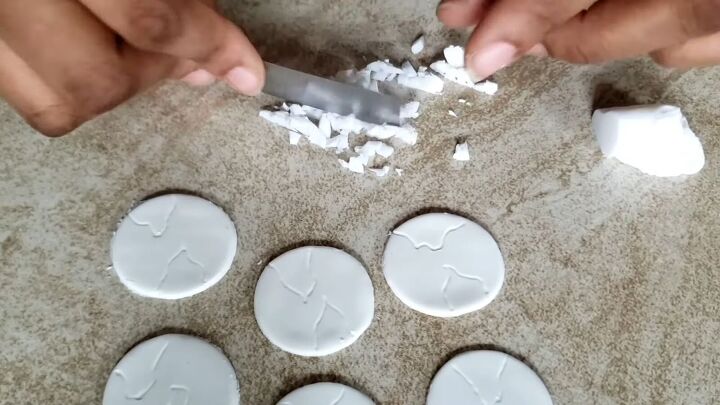
4. Chop up translucent clay
Next, chop your translucent clay into very tiny pieces. The bigger your geode, the bigger the piece, but for this project, they should be rather small.
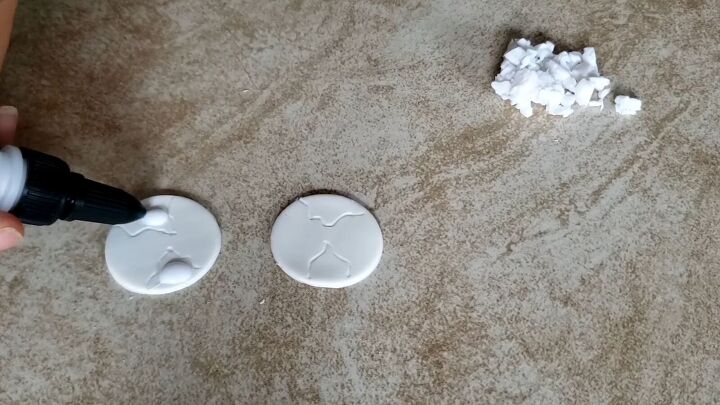
5. Apply liquid clay or bake & bond
Now, you want to take your liquid clay/bake & bond and add a little bit to your geode shape.
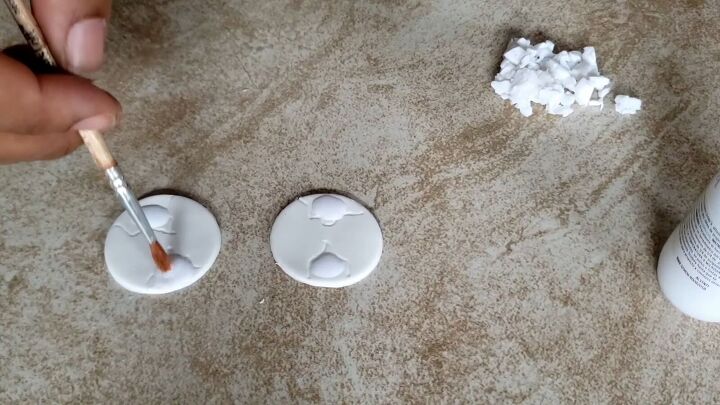
Spread it out evenly with a brush, or whatever you have on hand.
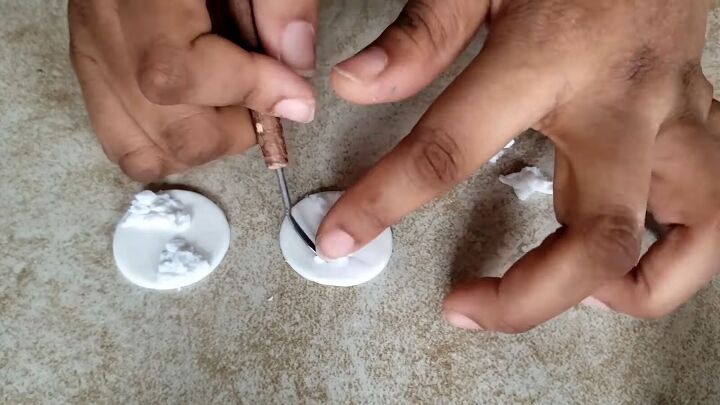
6. Add pieces of translucent clay
Very carefully add the pieces of translucent clay to the liquid clay/bake & bond.
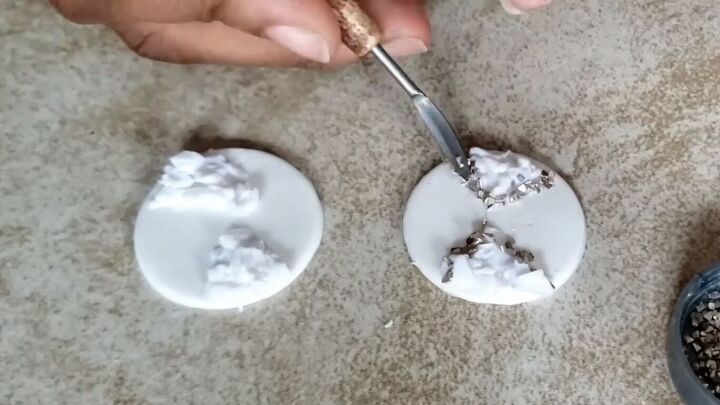
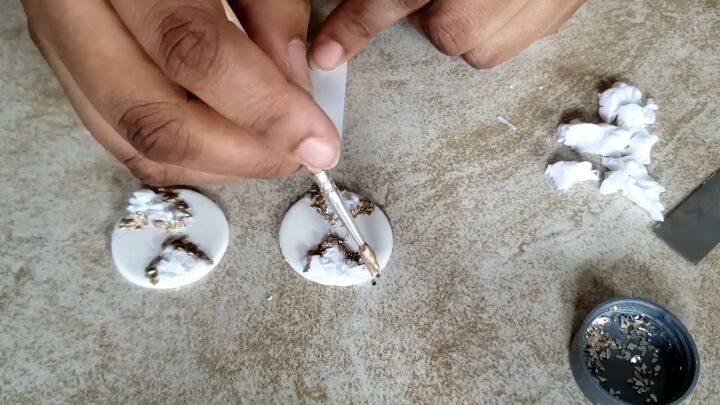
7. Add glitter around the edges
Time to add glitter! Add a bit of liquid clay/bake & bond to the tool and carefully pick up the pieces of glitter.
Start by attaching the gold glitter to the outside of the small pieces of translucent clay to create the geode shape.
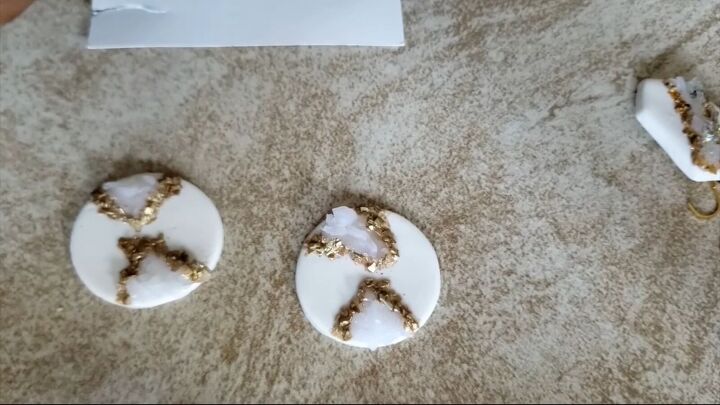
8. Add paint around the edges
I like to use paint around the edges of the geode as the glitter shards can bleed a little bit, and this antique gold paint will help cover any redness that seeps through.
9. Bake
Bake at 250°F for 25-30 minutes.
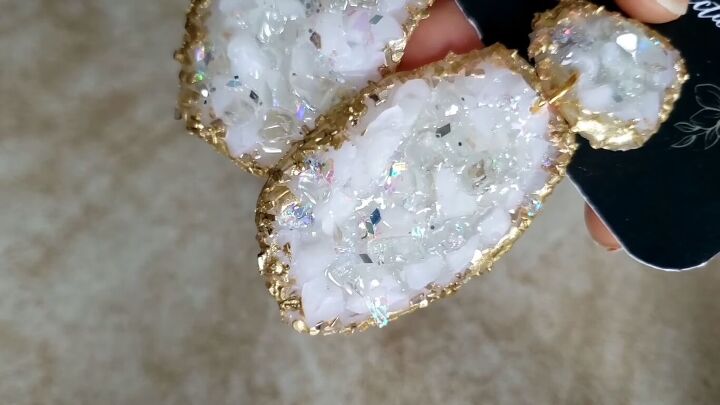
10. Apply UV resin
Once they’re finished baking, apply UV resin to the translucent clay.
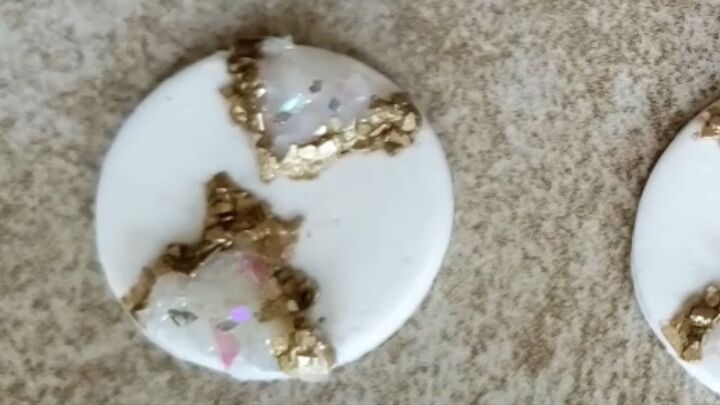
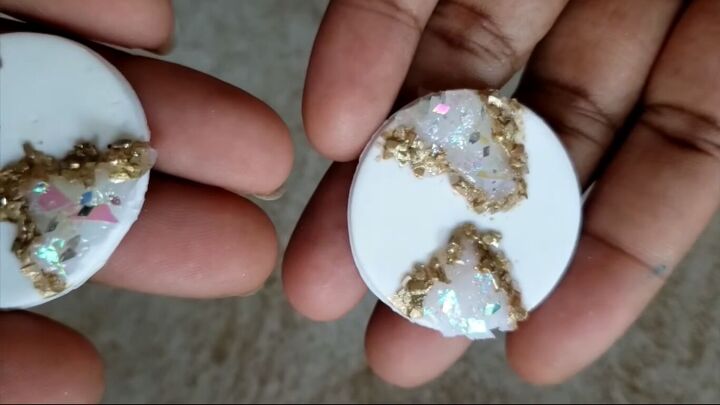
11. Add glitter to the inside of the geode
More glitter! I’m adding this fun mix of opal and rainbow glitter shards on top of the uncovered translucent clay to create the crystals within the geode.
Don’t forget to use liquid clay/bond & bake to help it attach easier.
12. Cure
Cure under a UV lamp for about 4 minutes or outside under the sun for 20 minutes.
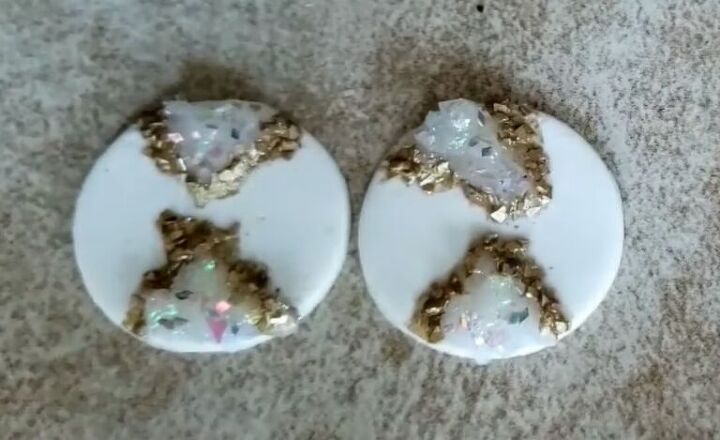
Here’s the final look alongside another project I’ve done with this technique. You can use these pieces as necklace pendants or earrings - add fastenings as you prefer.
Polymer clay crystal jewelry tutorial
I hope you guys enjoyed learning how to make a geode from polymer clay! If you liked this tutorial, let me know in the comments below.
The author may collect a small share of sales from the links on this page.


Comments
Join the conversation