Need Some Faux Crystal Earrings? Try This Polymer Clay Geode Tutorial

Today I have a fabulous polymer clay geode tutorial for you. This tutorial is super easy and teaches you how to make a geode from polymer clay. These crystals are so beautiful and realistic! No one will realize that it’s just clay.
Tools and materials:
- White clay
- Color clay
- Translucent clay
- Mini rolling pin
- Shape cutter
- Chopping card
- Sculpey liquid clay
- Small paintbrush
- Sharp pointed stick
- Gold acrylic paint
- Oven
- UV resin
- Opal glitter
- Dotting tool
- Sculpey gloss (optional)
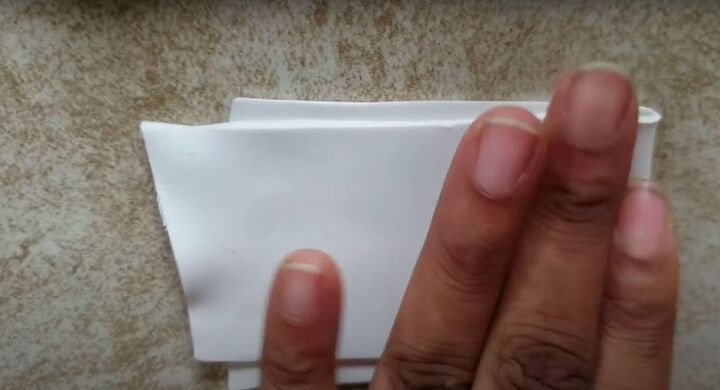
1. Condition base color clay
Roll out your white base color clay. Get it as thick or thin as you would like. I like to put mine through a pasta machine.
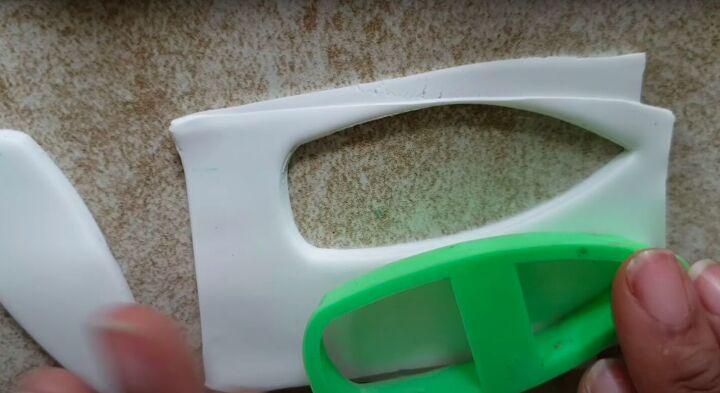
2. Cut out the shapes
Use a shape cutter to cut out the shapes.
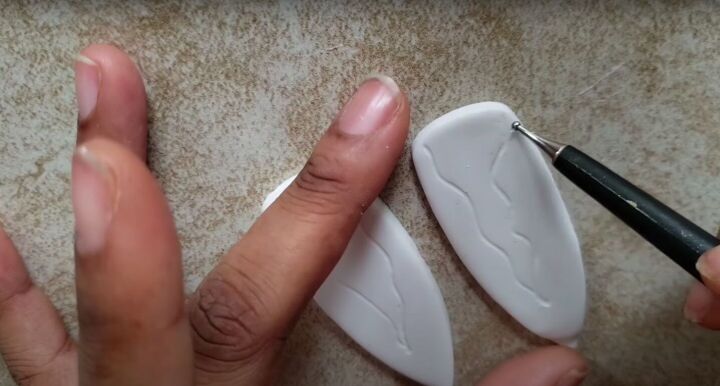
3. Trace out your geode shape
Use your dotting tool to trace out your geode shape. You can always add a little more if you make it too thin.
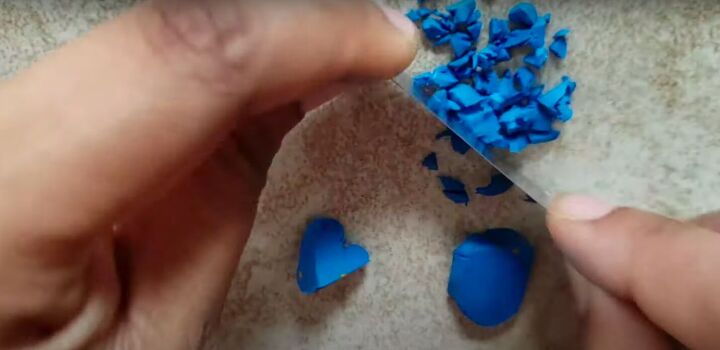
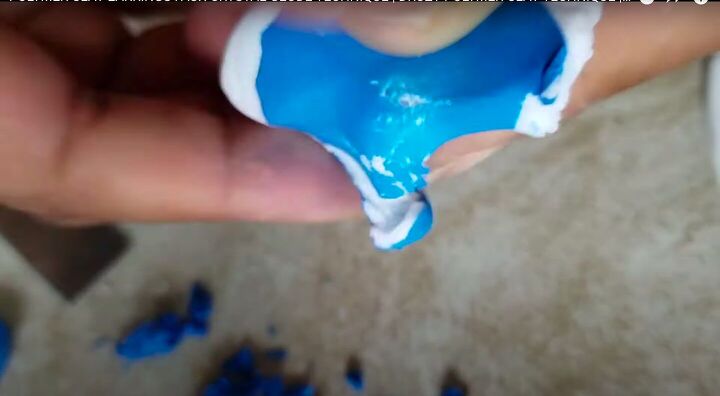
4. Chop
Chop up a chunk of your colored clay into really small pieces.
5. Combine clay
Combine the translucent lay and your remaining colored clay and fold them into each other to create a lighter color.
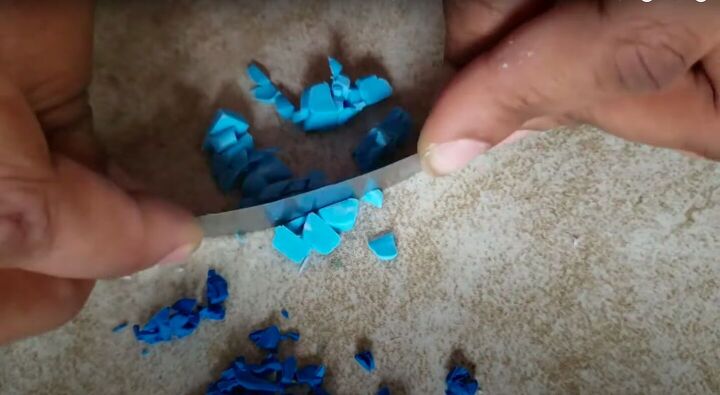
6. Chop
Chop up the combined clay into tiny pieces.
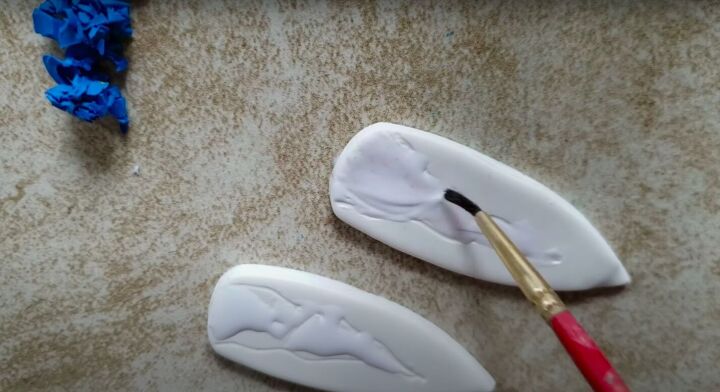
7. Add glue
Spread some liquid Sculpey (this is liquid polymer clay inside your geode tracing lines. Adjust the precision with a small paintbrush
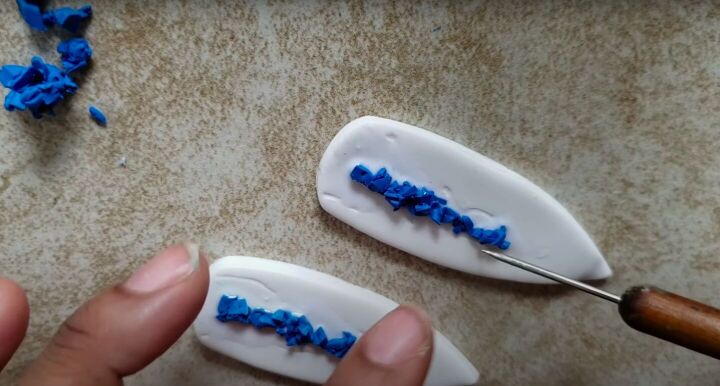
8. Add color
Use a sharp, pointed stick to add bits and pieces of the colored clay in between the geode lines.
You want to create a line down the middle. It does not have to be wide, it can be a thin line.
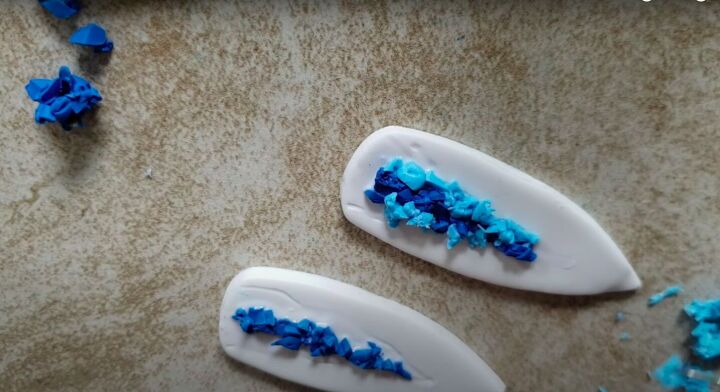
9. Add the lighter color
Add in the lighter shaded clay bits all the way around the original line.
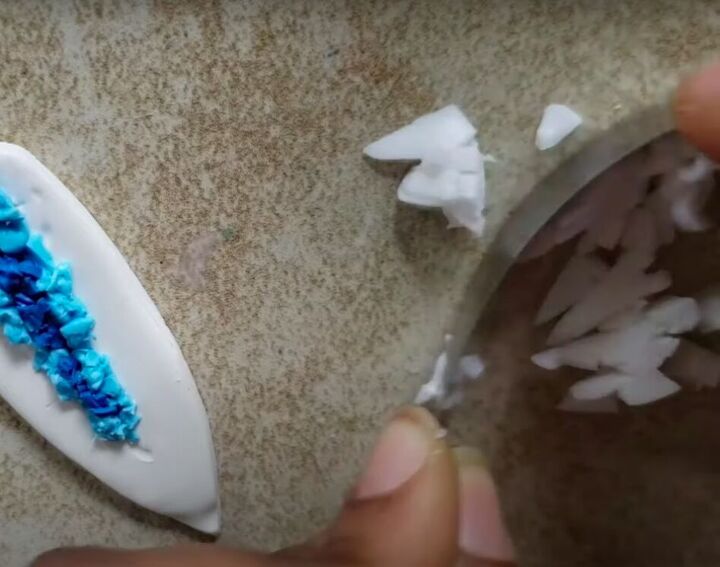
10. Chop
Chop up plain translucent clay into small bits and pieces.

11. Add the translucent clay
Add in the translucent clay around the perimeter of the lighter shaded clay.
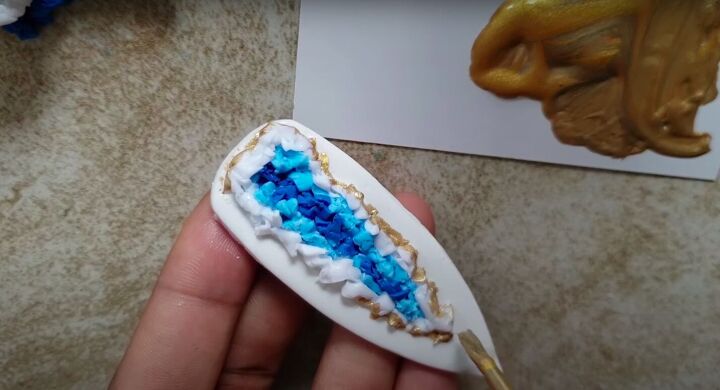
12. Paint
Use a really thin paintbrush to paint the perimeter around the translucent border. I am using gold acrylic paint.

13. Bake
Bake in the oven at 260°F for about 25-30 minutes.
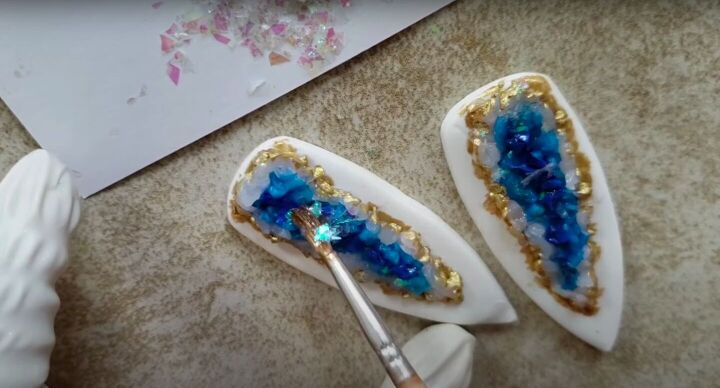
14. Paint on UV Resin
You can leave your earrings the way they are when they come out of the oven but I like to add a little shine.
I like to use a thin paintbrush to paint on the UV resin over the colored parts of the clay.
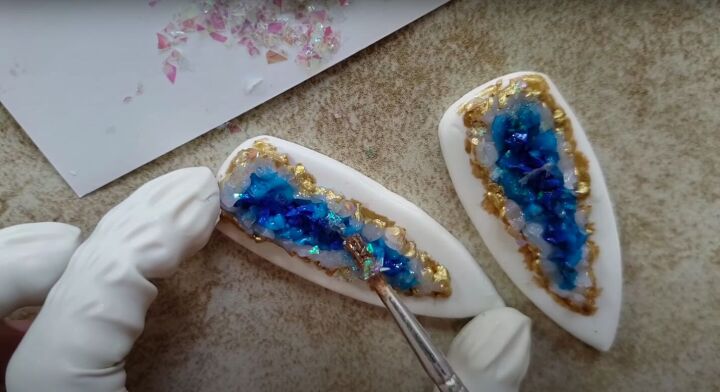
15. Add the opal glitter flakes
Once you paint on the UV resin, add on bits of pieces of the opal glitter flakes. You only need one layer. Let it set outside or under a UV light.
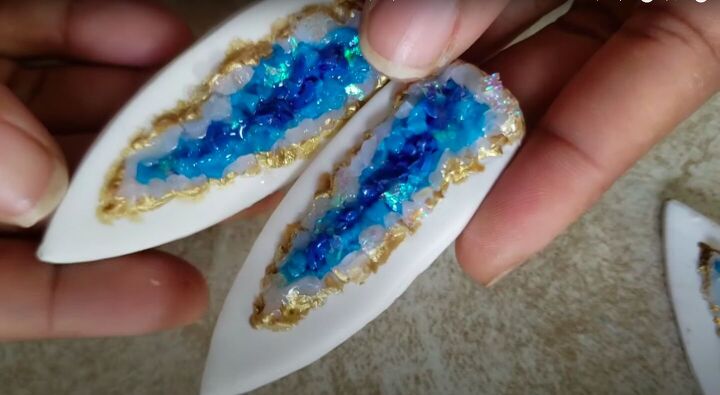
This is the finished result. If you do not have opal glitter flakes or UV resin, it is totally fine. I just like the extra shine.
Polymer clay geode tutorial
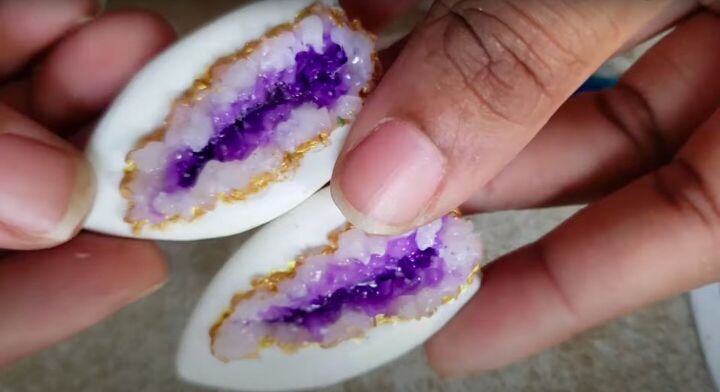
For this pair, instead of using opal flakes for the shine, I used a Sculpey gloss/glaze. I just painted it over the colored parts of the clay and then baked it in the oven again after that.
I hope you have enjoyed this polymer clay geode tutorial! These geode crystals are super-realistic and easy to create at home. Try it out for yourself and you will see.
Let me know what you think in the comments.
The author may collect a small share of sales from the links on this page.


Comments
Join the conversation
Those look great. A great craft to do with my granddaughters. Thanks for sharing and the step by step instructions.
WOW! These earrings are FABULOUS! I have to try this inspiring idea, thank you very much! 🤩