Adorable Polymer Clay Pumpkin Earrings Tutorial

Just in time for Halloween, I’m going to show you how to make polymer clay pumpkin earrings in this tutorial.
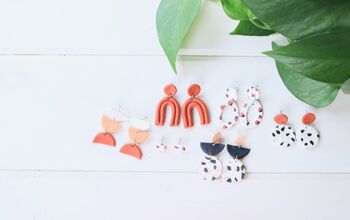
These DIY Halloween earrings are really cute, and you can pair them with just about any costume.
Tools and materials:
- Polymer clay in peach, orange, green, black, white and gold
- Pasta machine or rolling pin
- Craft knife
- Cookie cutters
- Polyurethane varnish
- Oven
- Sanding tool and sandpaper
- Earring hardware
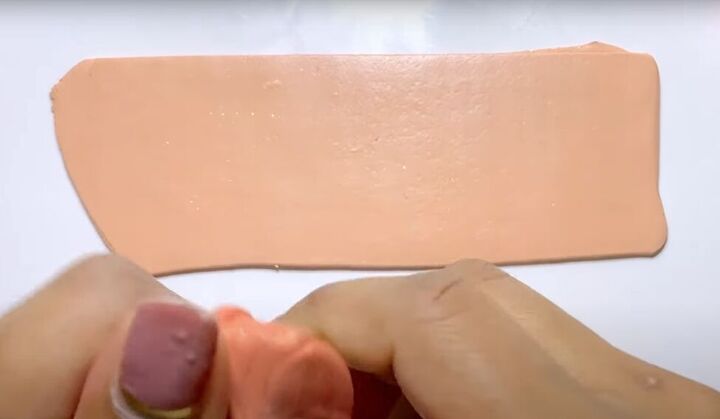
1. Roll out the polymer clay
Roll out some peach-colored polymer clay using a pasta machine, if you have one, on the thickest setting.
If you don’t have a pasta machine, use a rolling pin and have thick pasta in mind, which is about 2 millimeters (0.07 inches) thick.
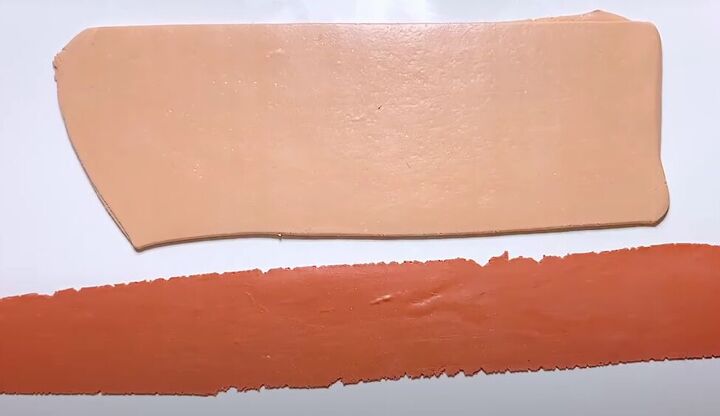
Then roll out some orange clay on the thinnest setting of your pasta machine.

2. Make pumpkin shapes
Cut out pumpkin shapes from the orange clay by first cutting a wider-than-normal apple shape with a sharp craft knife.

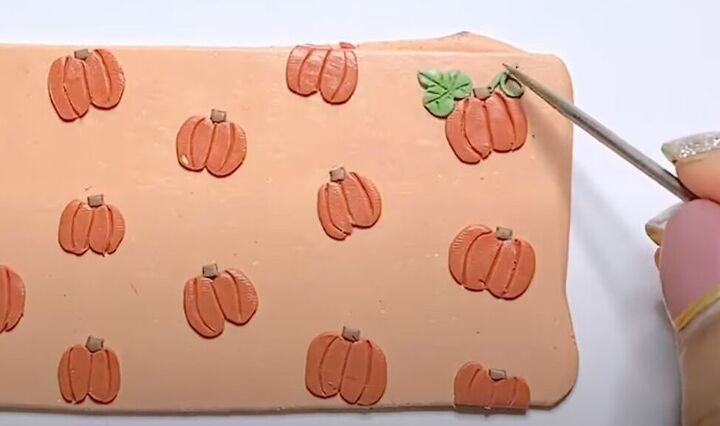
Place the orange pumpkin shapes on the peach-colored clay and use a needle tool to carve the vertical ribs in the pumpkin shapes.
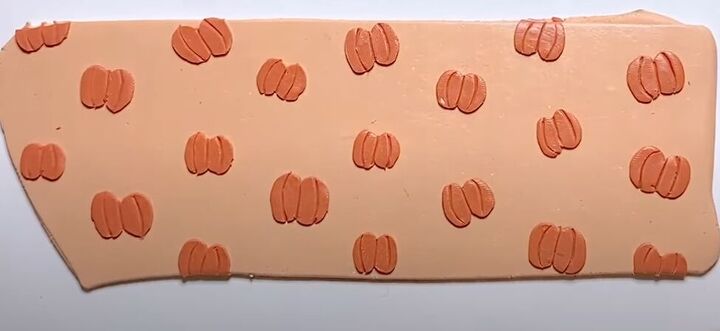
Repeat until your whole peach-colored clay piece is covered in evenly spaced pumpkins.

Roll some brown clay on the thinnest setting of your pasta machine and cut small squares from it for the pumpkin stems.
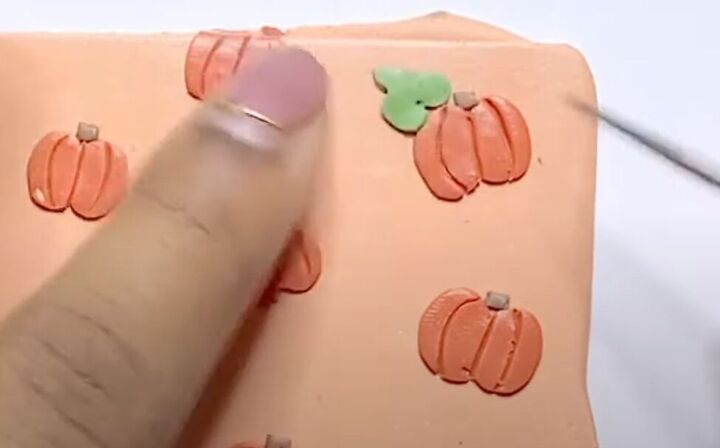
3. Add leaves and vines
To make some leaves for the pumpkins, roll out green clay on the thinnest pasta machine setting.
Then, cut out heart shapes and use a needle tool to pinch the heart on both sides near the bottom. Place a leaf next to each pumpkin stem.
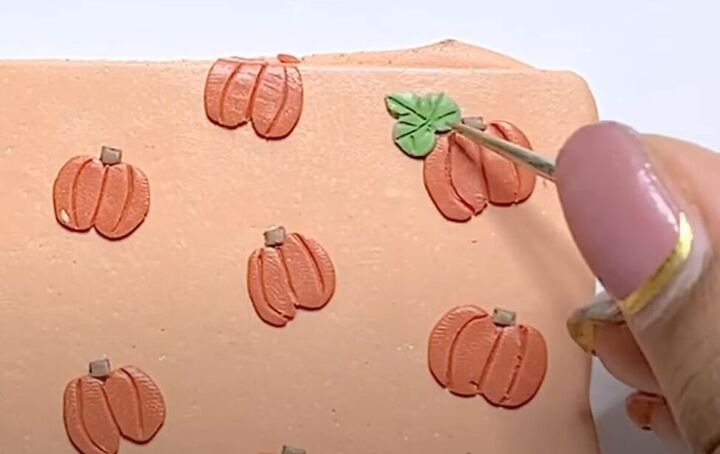
Use a needle tool to etch veins onto the leaf.
Roll out a thin rope of green clay and twist it into a vine shape. Place the vine on the other side of the stem, opposite the leaf.
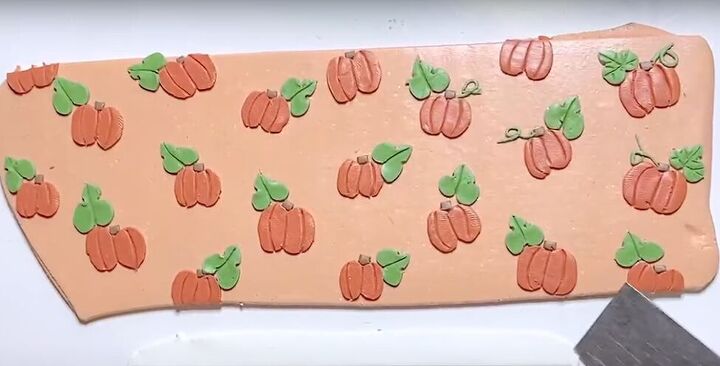
Repeat making leaves and vines for all your pumpkins, alternating the sides for placement of leaves and vines to vary the pattern.

4. Make candy corn for your earrings
Run white, yellow and orange clay through the thinnest setting of your pasta machine.
Straighten the edges of those strips and then line them up. You can run this piece through your pasta machine one more time to seal the edges.
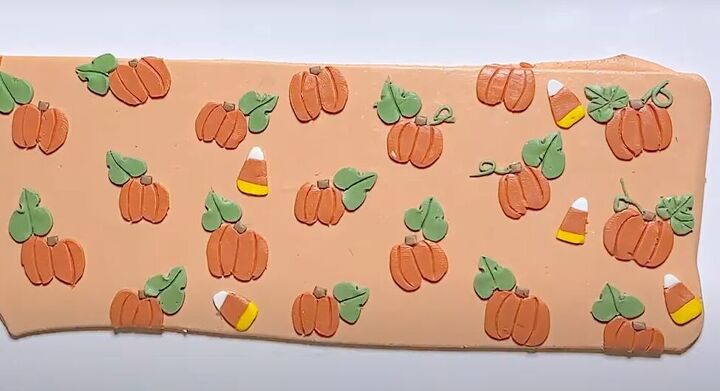
Now cut out candy corn shapes and place them on your peach-colored clay.
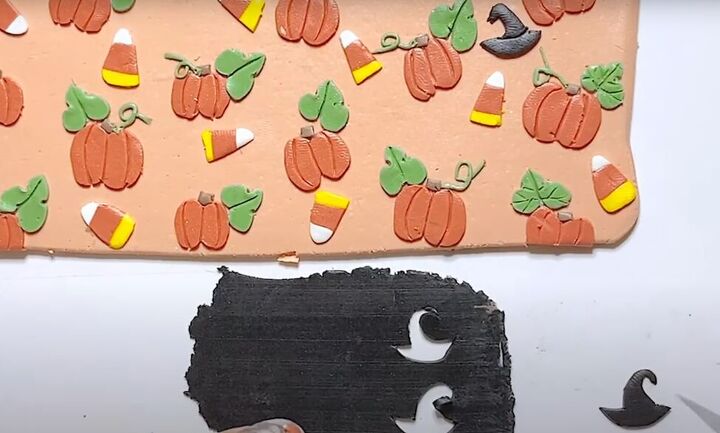
5. Add some witch’s hats
Roll out, cut and place witch’s hats on your peach-colored clay, just as you did with the other shapes.
To demarcate the brim of the hat, add a curved line with your needle tool.
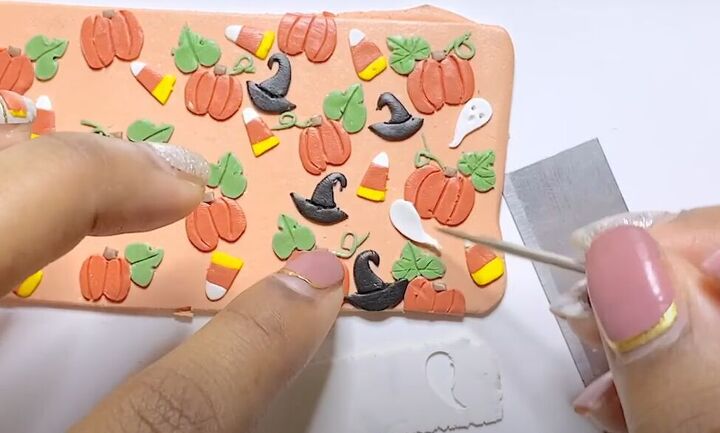
6. Don’t forget Halloween ghosts
Cut curved tear-drop shapes from flattened white polymer clay and use your needle tool to give them eyes and a mouth. Add the ghosts to your pattern.
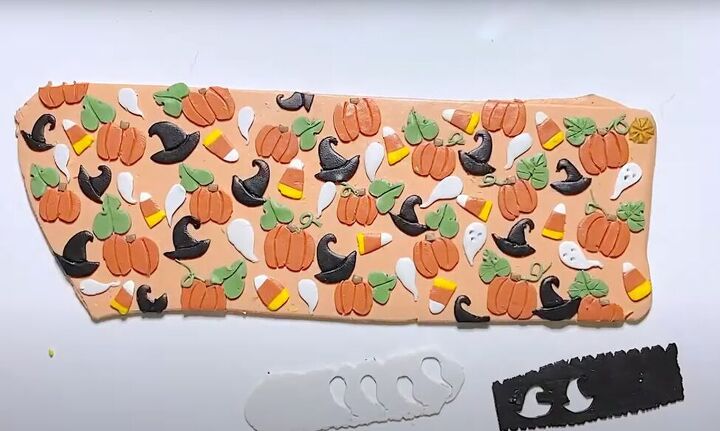
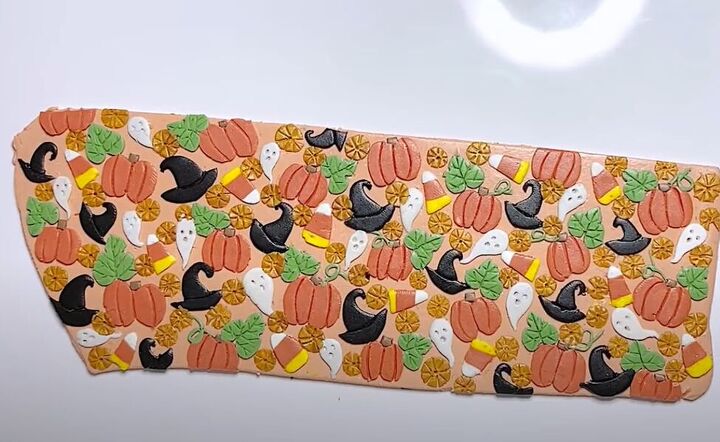
Here is my almost completed pattern.
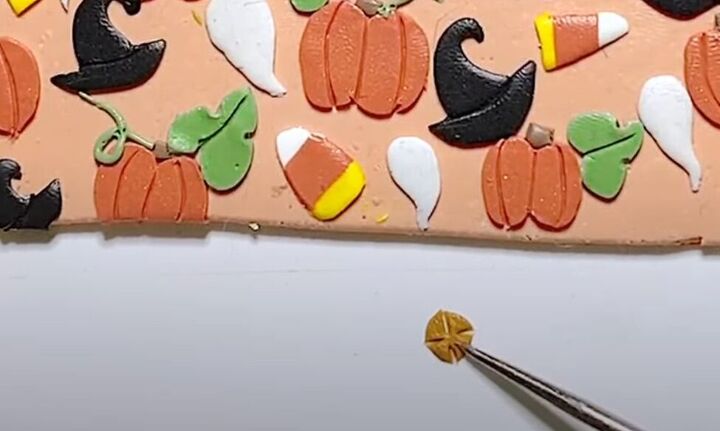
Lastly, I used some flattened small disks of gold polymer and my needle tool to make some small flowers to fill the empty gaps in my pattern.
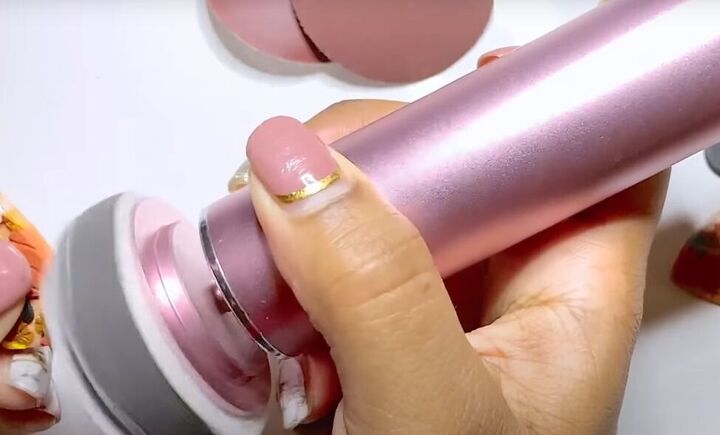
7. Burnish your pattern
Lay a piece of paper over the whole pattern and rub over the paper gently with a small roller. This will give everything a slightly burnished look.
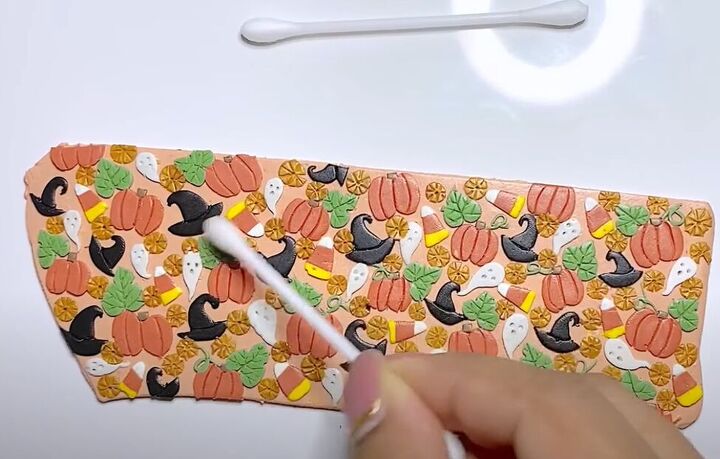
8. Clean the final pattern
Use rubbing alcohol and a cotton swab to remove any lint or dust from your pattern.
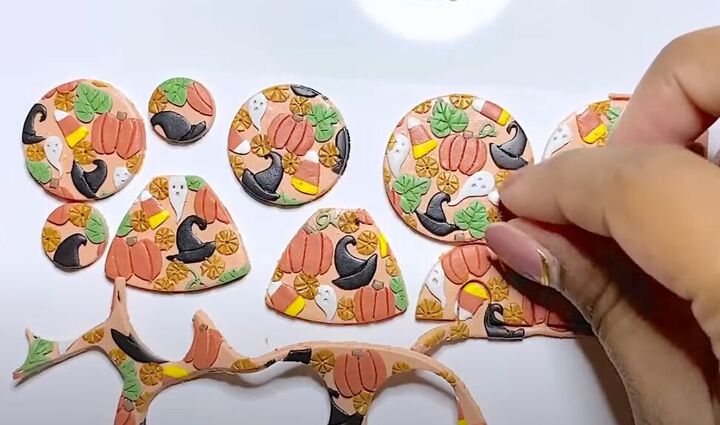
9. Cut out your Halloween earrings
Use small cookie cutters or 3-D-printed cutters to cut out earring shaped from your pattern.
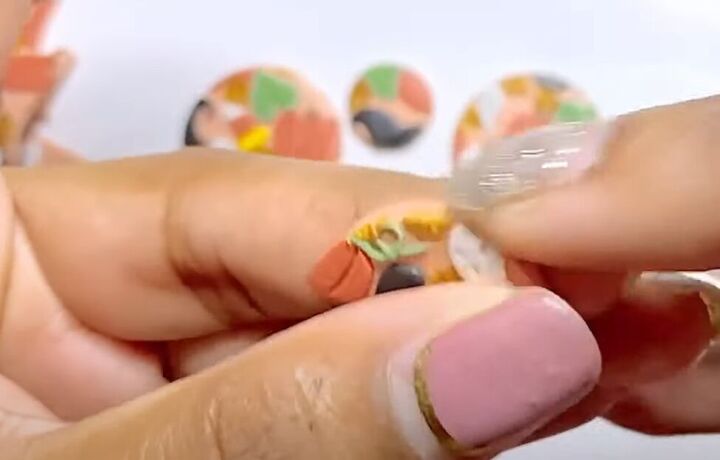
Use a fingertip to smooth the cut edges, if necessary.
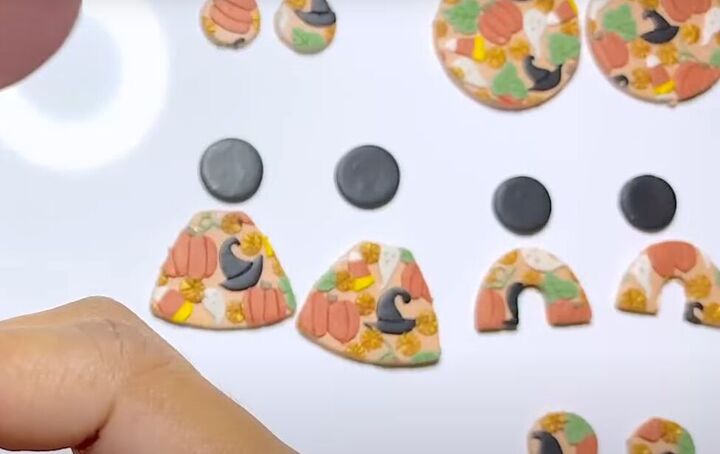
You may always want to make some small black circles for your earrings, while you’re at it.
10. Bake and sand your polymer clay earrings
Poke a small hole into the top of each earring piece and then bake your earrings in the oven at 225 – 275 degrees Fahrenheit for one hour.
Tip: Bake some samples first to find the ideal temperature for your oven.
Cool your earrings completely after baking. Then, lightly sand the edges of your earrings using 800, 1,000 or 2,000 grit sandpaper.
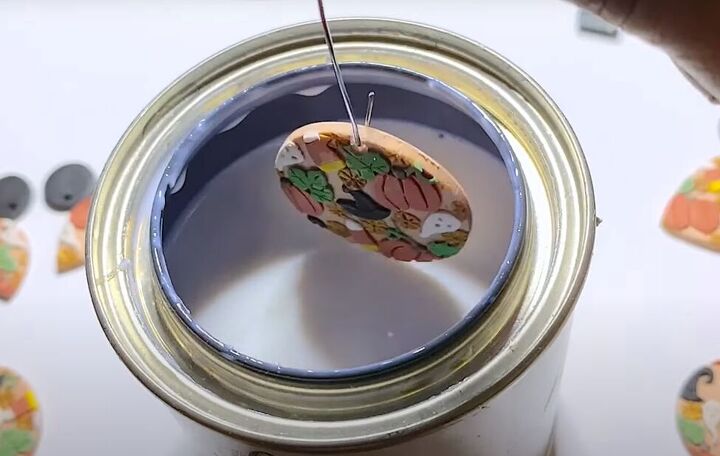
11. Varnish your earrings
Varnish your earrings with a water-based polyurethane varnish.
To avoid brush marks, dip your earrings into the varnish rather than paint it on. Then let the varnish drip off and hang your earrings to dry.
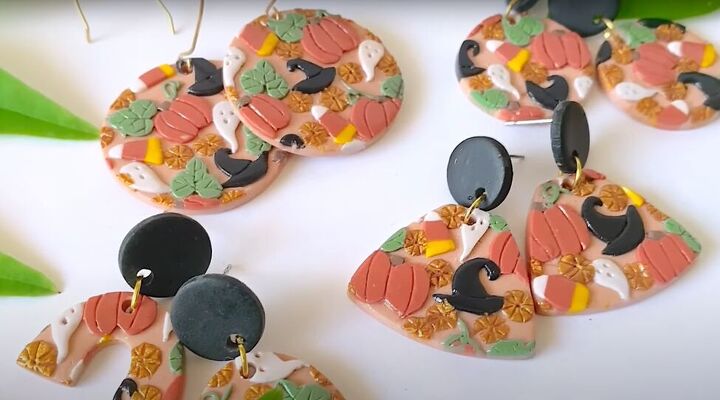
Once the varnish has dried, just add your earring hardware and you’re all done! Check my other tutorials for instructions to add earring hardware.
Polymer clay pumpkin earrings
I hope you try making some DIY polymer clay Halloween earrings yourself this year! Leave a comment to let me know how yours turned out!
The author may collect a small share of sales from the links on this page.


Comments
Join the conversation