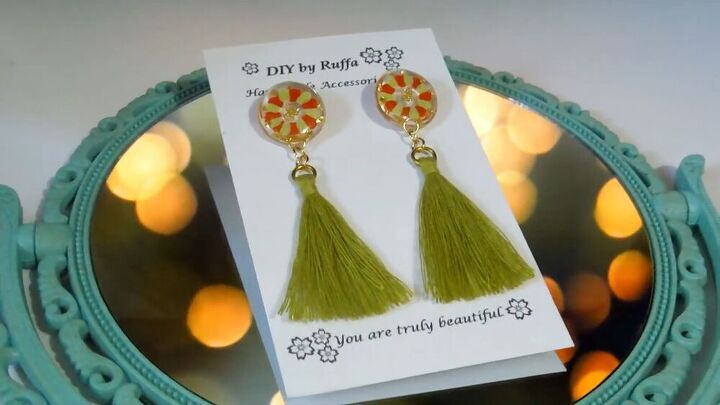
Have You Tried Making Resin Earrings? Check Out This DIY Tutorial

I’m going to show you how to make these DIY resin earrings from scratch. So many artists are using resin to make the most beautiful jewelry pieces. It's actually easy to work with, and the results are simply mesmerizing.
If you have worked with resin before, or want to try it for the first time, then you've come to the right place. These resin flower earrings are unique and so glam! Ready to see the magic unfold? Let’s do this!
Tools and materials:
- Gloves
- Resin
- UV lamp
- Filling decorations like glitter
- Pliers
- Tweezers
- Dotting tools
- Jump rings
- Earring loops
- Silicone mat
- Double-sided tape
- Plastic mat
- Steel nail file
- Abrasive paper
- Toothpick
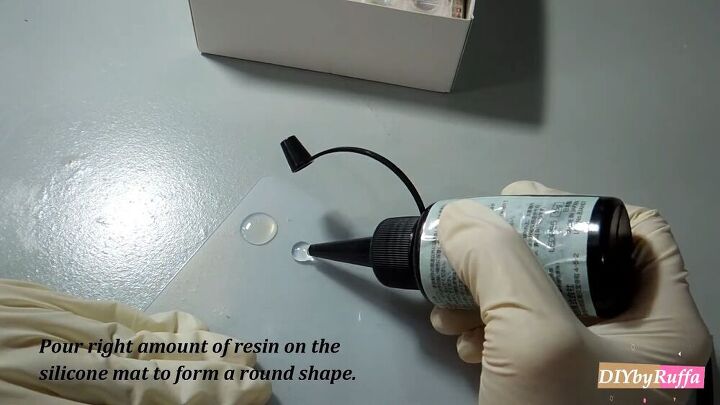
1. Form shapes
Using a silicone mat, pour a blob of resin onto the mat. Make sure each piece is the same size and has the same shape. I'm making two shapes of earrings, one rounded and one square.
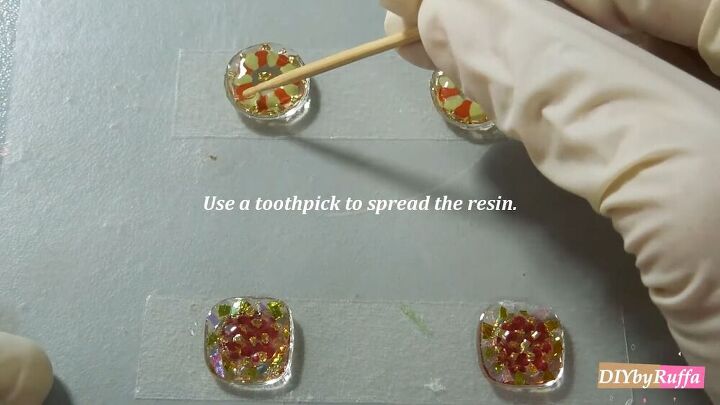
Then, use a toothpick to eliminate any bubbles. Also, the toothpick will help spread the resin to your desired size.
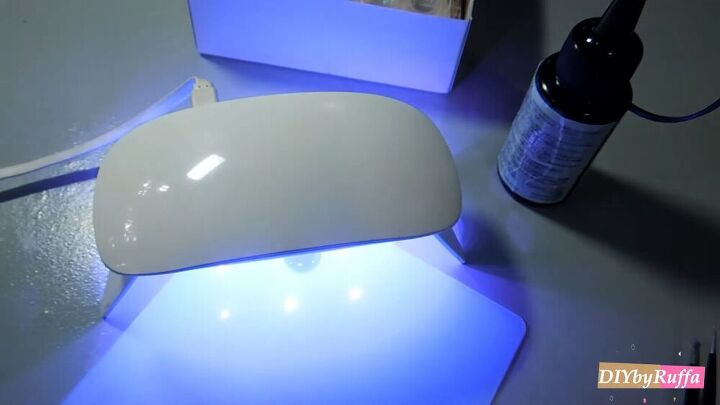
2. Cure the resin
Put a portable UV lamp right onto the pieces to cure the resin. The whole process should take 3-5 minutes.
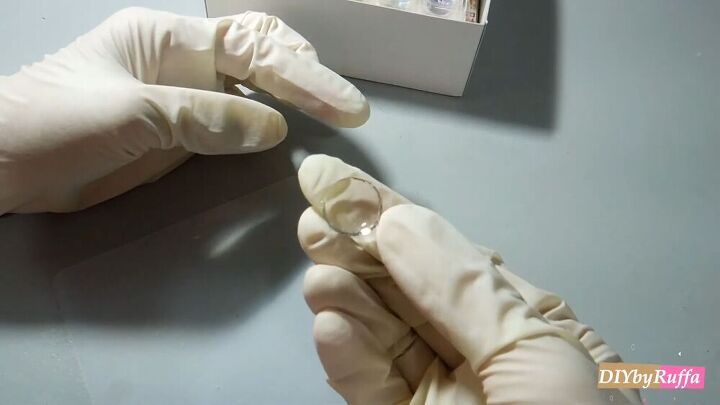
You should now be able to peel off the pieces with ease. This is what it should look like.
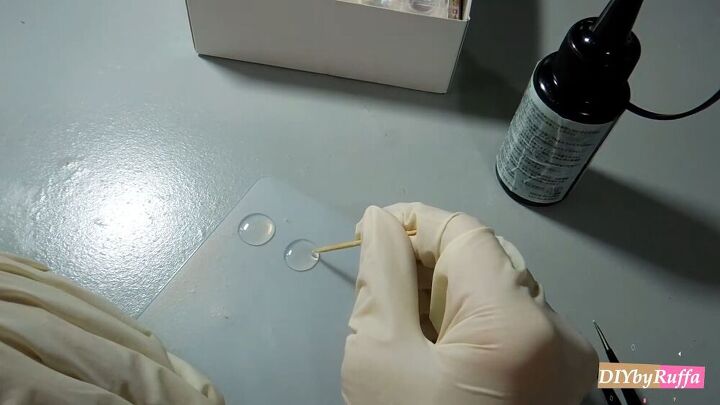
3. Design the resin earrings
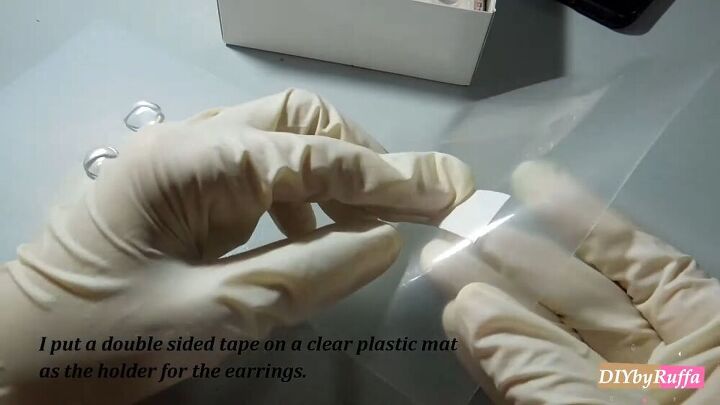
Put double-sided tape on a plastic mat and lay your resin earrings on the tape. This is an amazing hack as it acts as a holder for the resin pieces. The backsides should face up.
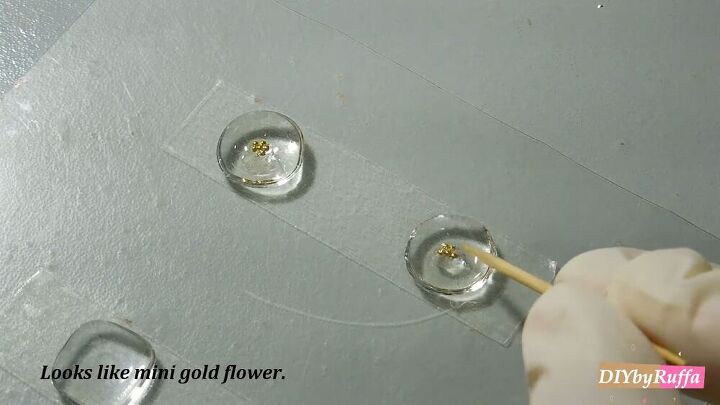
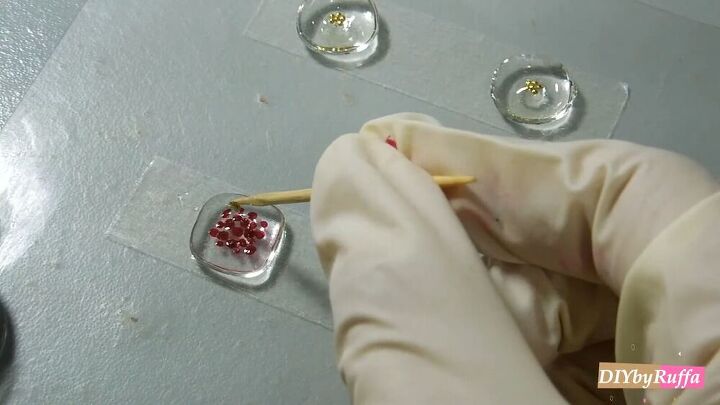
Add a tiny blob of resin to the center of the piece. Then, using a toothpick, add around six beads. I decided to form mine into a flower shape.
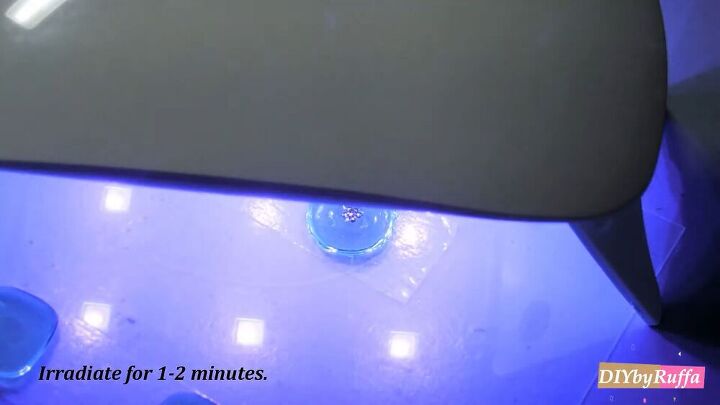
Cure for 1-2 minutes.
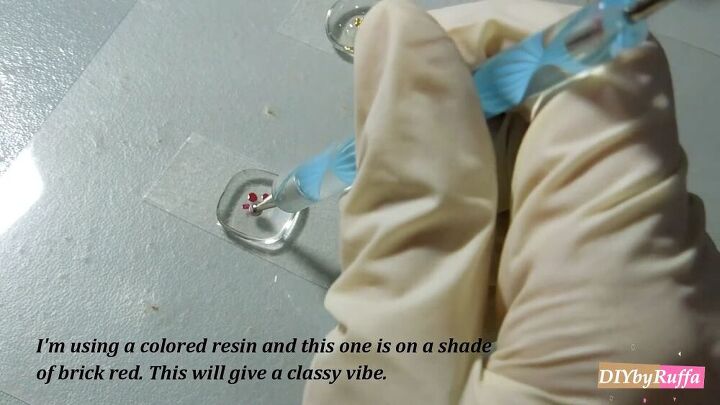
For the square set of resin earrings, I’m adding specks of red resin with my dotting tool. As with the first pair, after dotting, cure for 1-2 minutes.
Next, add a little more resin, and this time and some gold glitter. Cure for another 1-2 minutes.
For the round set, I am adding some petals using a lovely bright red color. Place it back under the UV lamp for 1-2 minutes.
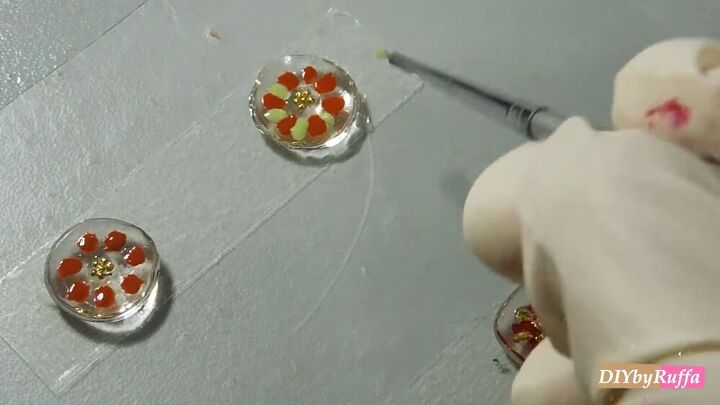
Now, I’m using a lovely green shade to add more petals in between the red ones. Remember to cure again, and this is crucial after each step.
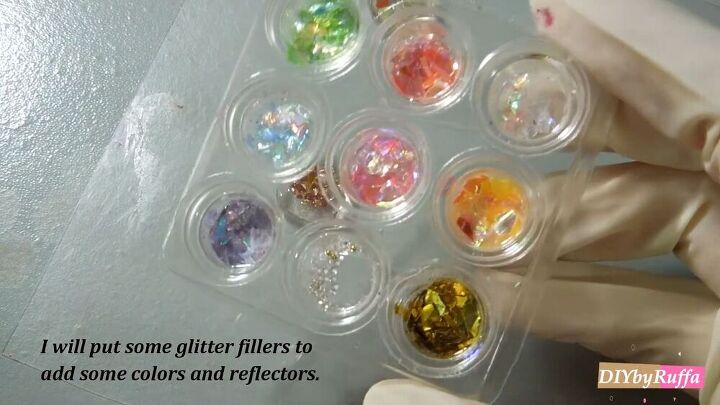
Remember, you can get as creative as you like. So, I am using some reflectors and more glitter to jazz up my resin earrings.
Tip: Remember to add small amounts of resin as you apply each design.
4. Finish off the earrings
Add a blob of resin to the center of each earring piece and use a toothpick to spread the resin evenly. This is like the top layer, so be sure to work on it carefully. After the final layer is set with no bubbles, put it under the UV lamp for around 4-5 minutes.
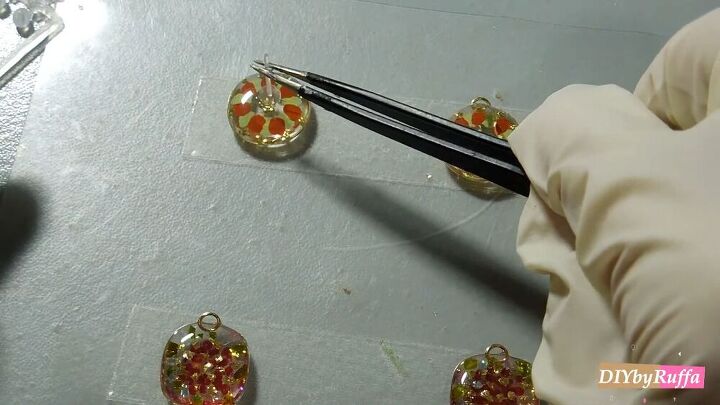
5. Attach the jump rings
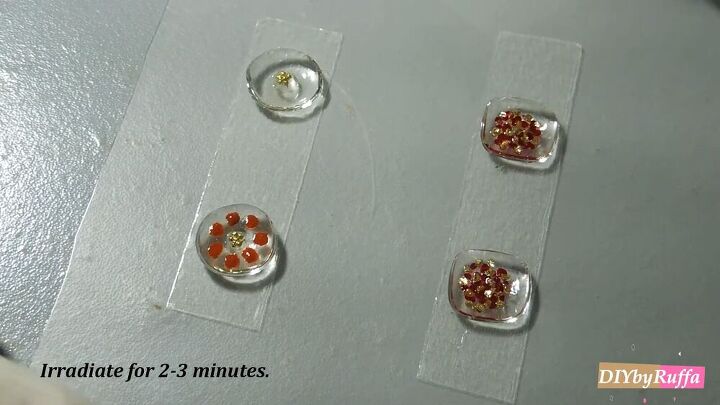
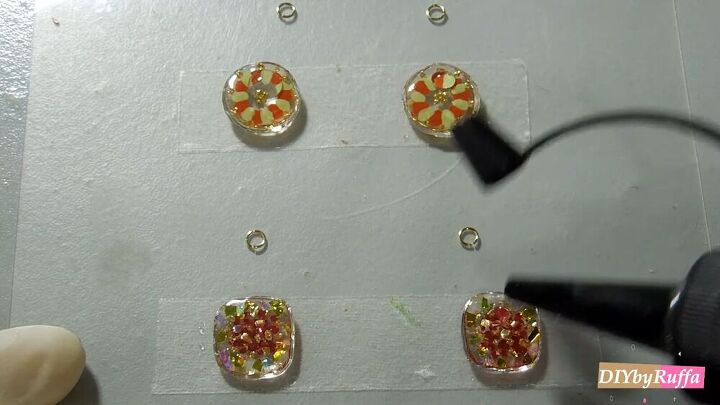
To attach the jump rings, add a tiny amount of resin to the top of each flower earring. Using your tweezers, place each jump ring on the wet resin. Make sure half of it sticks out.
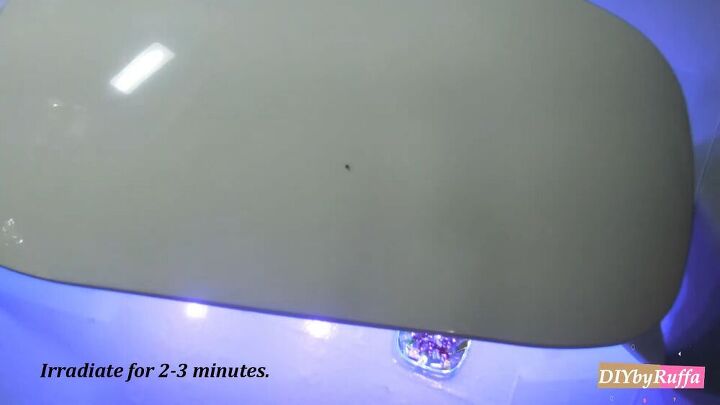
Yup, you guessed it! Irradiate for another 2-3 minutes, so it sets.
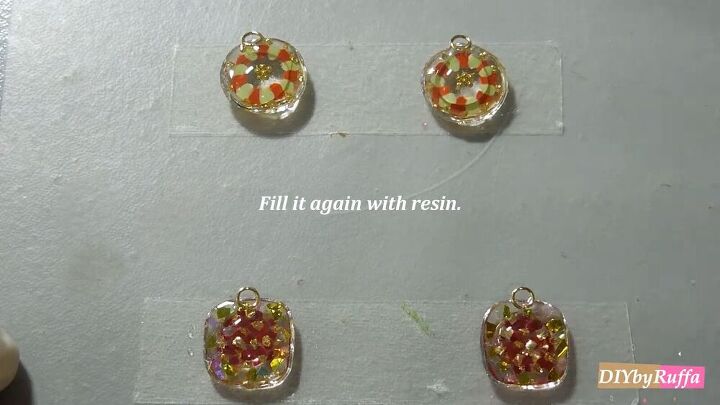
Fill the whole earring again with resin and let it sit under the UV lamp for 3-5 minutes.
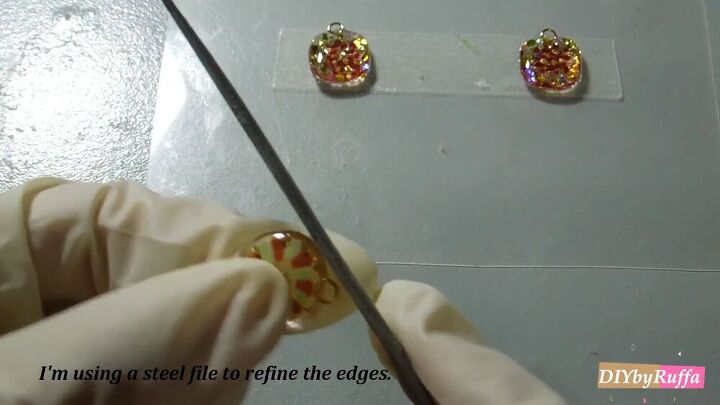
6. File down the edges
Now, with a steel nail file, file the edges to make an even surface. Then, even it out using abrasive paper.
7. Attach the earring fixings
For stud earrings, add a tiny amount of resin to the center. Using tweezers, place the stud in the center. Then, cure for 3-5 minutes.
Finish the earring with a thin amount of resin around the clasp area.
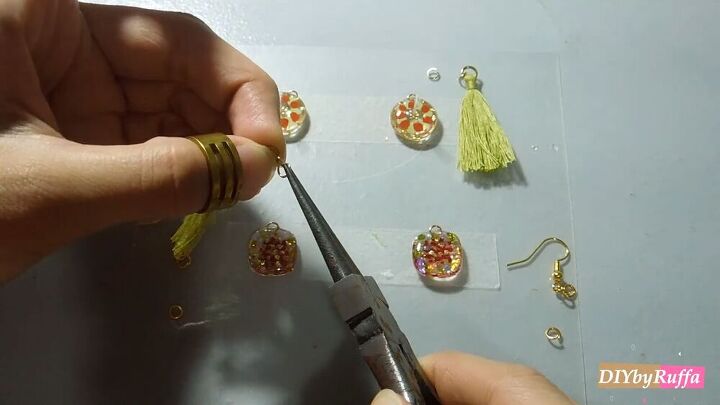
For dangling earrings, attach a shepherd's hook to the jump ring, using pliers to open the jump ring and close it. You can also attach tassels or other decorations to the jump rings for the stud earrings this way.
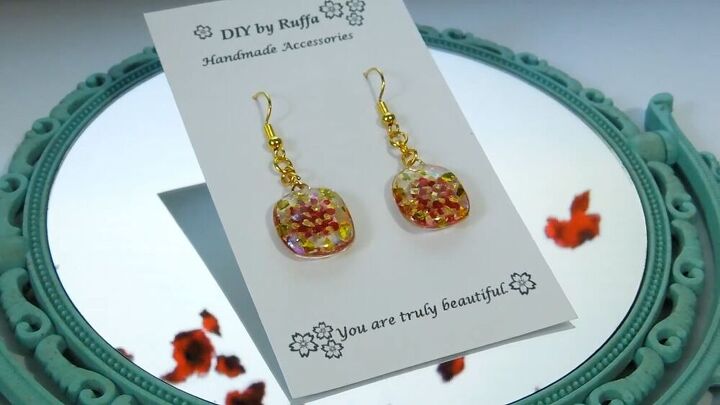
Resin earrings DIY tutorial
I am absolutely in love with the final look. These resin earrings are flashy and really elegant! Thank you for tuning in, and I hope you have some wonderful resin earrings ideas so that you can go ahead and make your very own! Good luck!
The author may collect a small share of sales from the links on this page.


Comments
Join the conversation
Well done Ruffa, these are lovely, Thank you for sharing your process. :)
Very pretty!!!