Need Some DIY Bead Necklace Ideas? Try a Cute Design With Clamshells

Hello fellow jewelers! Today, we’re continuing our DIY bead necklace ideas with a new technique. I’m going to teach you how to make a multi-strand necklace using clamshells. Not literal shells, but the tiny clamshell fixings that look like little clamshells when they’re open.
By the end of this video, you’ll be an expert on how to use clamshells, whether it’s for a necklace, a bracelet, or anything else you want to make! Now, let’s get started making our DIY multi-strand beaded necklace with clamshell fixings.
Tools and materials:
- Long nose pliers
- Round nose pliers
- Cutter tools
- 6 Clamshell fixings
- Small beads
- Crimping beads
- Beading wire
- Chain (5 inches)
- 1 Lobster clasp
- 3 Jump rings
- Superglue
1. String your beads
First, you want to start stringing your beads. I’m using really small beads for this DIY multi-strand beaded necklace because they work better for this design. However, they take forever to string, so I’ll show you a few time-saving hacks I use.
My beads come on a string already, like the one pictured. So, what I do is I snip the end of the string off.
Then, I grab a bunch of beads together and transfer them to my silver beading wire in one go. It doesn’t always work, as they sometimes move in my hand, but in general, this is so much quicker than trying to string the beads one by one.
I like to string my beads directly onto the spool of silver beading wire because it saves a lot of wire, rather than cutting off more than I need and shortening it later.
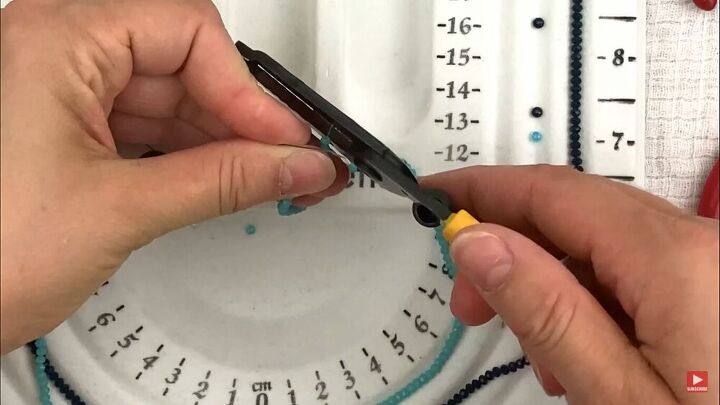
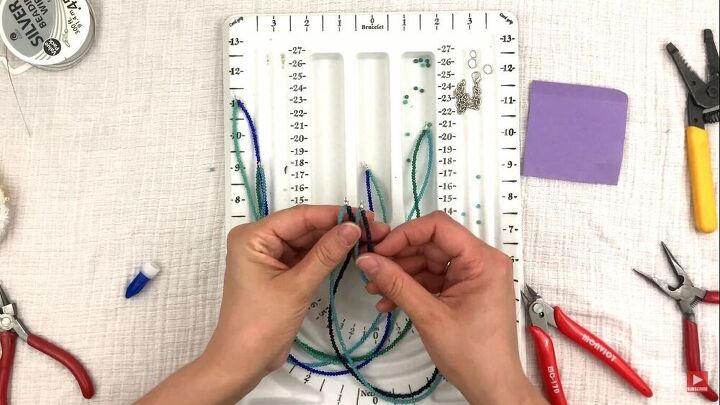
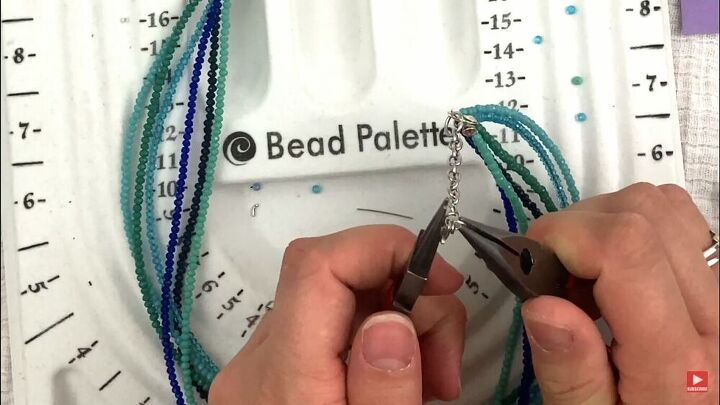
2. Secure the strand with a clamshell fixing
Once your beaded strand is complete, it’s time to secure it with a clamshell. You can secure one string per clamshell, but I’m using two per clamshell, as I think it creates a nice effect with the multi-strand necklace.
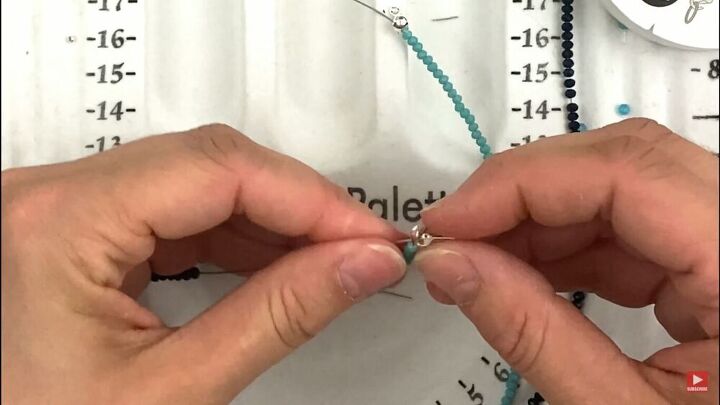
Feed the clamshell through the string. Then, grab a crimping bead with your long nose pliers, feed it through the string, and crimp it to secure.

Cut the other end of the wire.
Now, repeat the process at the other end of the strand. However, with this side you want to be sure that the clamshell is positioned right at the end of the beads, so you won’t have any wire showing in your necklace. Crimp the crimping bead in place with the long nose pliers, as tight as you can.
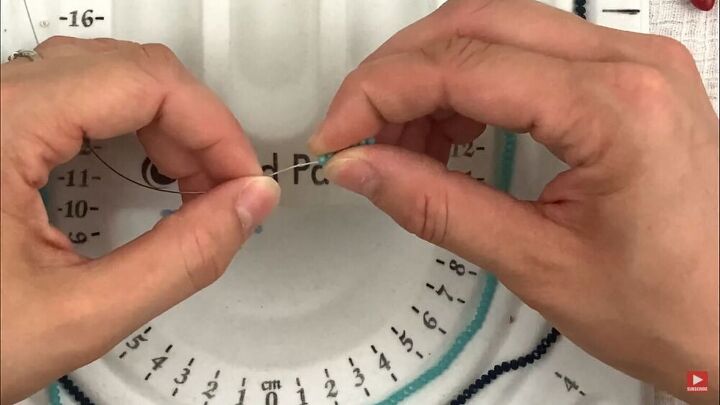
3. Add the second strand
Next, string your second strand. I’ve used a darker bead for contrast. Once the strand is ready, feed the end of the string through the same clamshell hole, and secure with a crimping bead - the same process as before.
Repeat on the other side. Make sure there are no gaps between the beads and the clamshell.
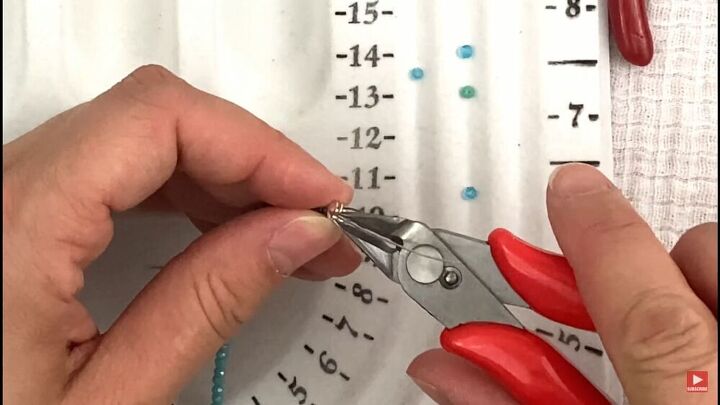
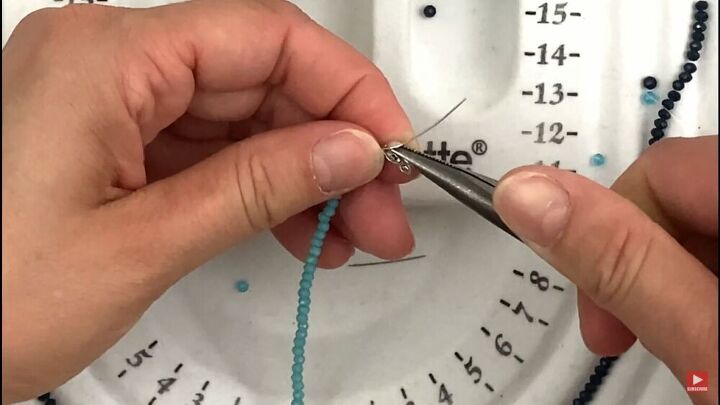
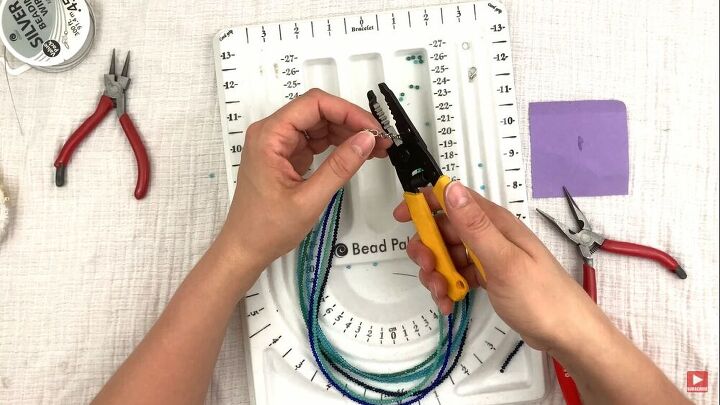
4. Trim the wire
Cut off the excess pieces of wire sticking out as far into the clamshell as you can.
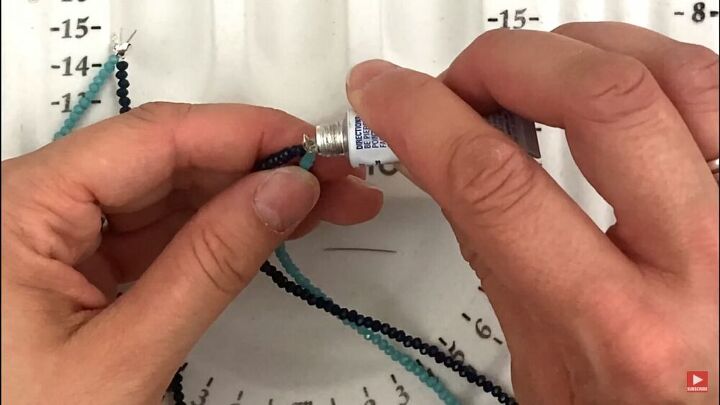
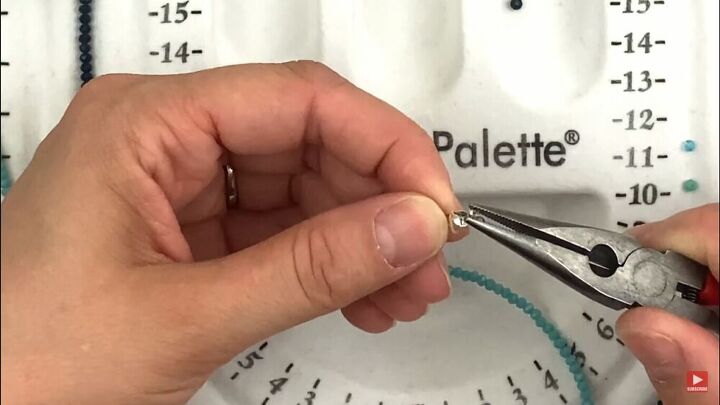
5. Apply superglue
Next, add a tiny bit of superglue into the open clamshell.
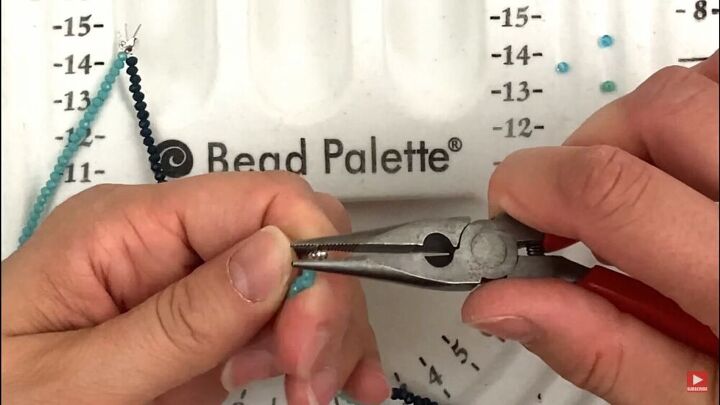
6. Close the clamshell
Close the clamshell with pliers. The superglue ensures that it 100% stays in place. Repeat on the other side.
If you’re making the same exact DIY multi-strand beaded necklace as me, repeat this two more times, so you have six strands total.
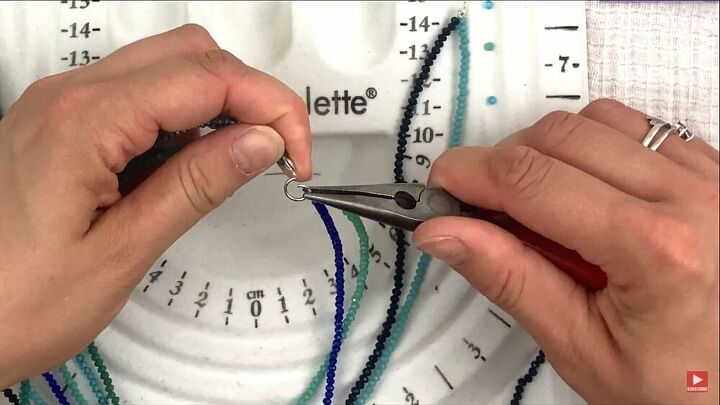
7. Attach the strands to jump rings
Now it’s time to attach the strands together. Grab a jump ring and thread the clamshells onto it. The order doesn’t matter for the first side, but make sure the order is the same when you come to do the opposite side. I also threaded a short necklace chain on last, as I’m making my multi-strand beaded necklace adjustable at the back.
Close the jump ring with your pliers.
Repeat on the other side in the same order.
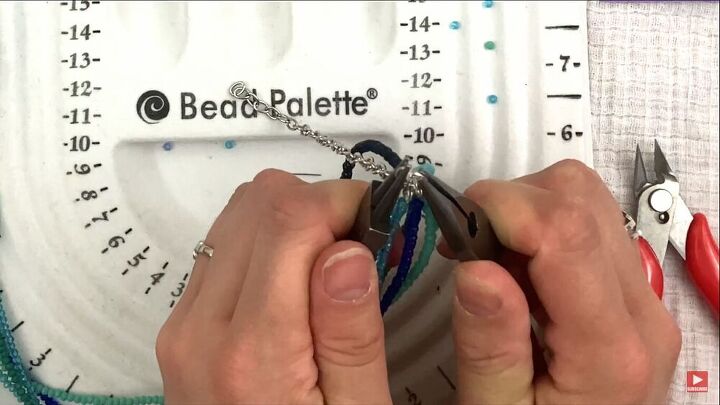
8. Add the lobster clasp
To add the lobster clasp at the back, cut the chain in the middle with a cutter tool.
Add a third jump ring to one end of the chain, then thread the lobster clasp onto it. Close the jump ring with pliers.

DIY bead necklace ideas - how to make a multi-strand necklace
I hope you enjoyed this tutorial on how to use clamshell fixings and make a multi-strand beaded necklace. Perhaps it has inspired some DIY bead necklace ideas of your own.
I really love this super-cute multi-strand beaded necklace. Let me know what you think in the comments.
The author may collect a small share of sales from the links on this page.


Comments
Join the conversation