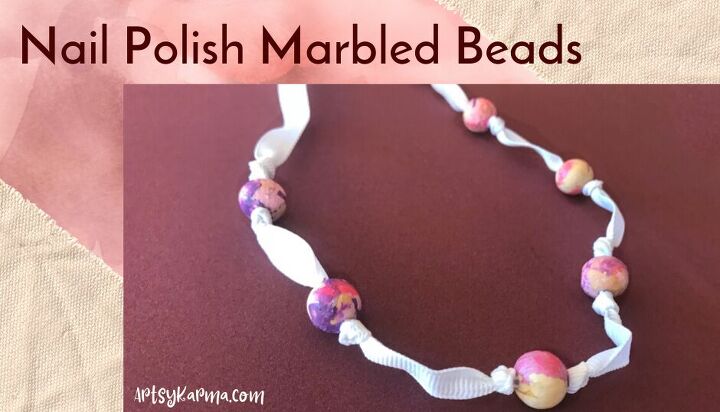
How to Make Marbled Beads Using Nail Polish

Creating this necklace is super fun. And so are the materials and supplies. The beads are marbled using nail polish! It is a really interesting technique thats almost addicting. Add the beads to some scrap lace or ribbon and you’ll have a one of a kind necklace to show off. Not to mention a way to use up your miscellanies remnants. This project isn’t hard, but does take some playing around to see how the nail polish marbles the beads. But, you’ll love doing it.Find yourself getting addicted to making these marbled beads - secret ingredient: nail polish. And then learn how to use them to make unique ribbon necklaces.
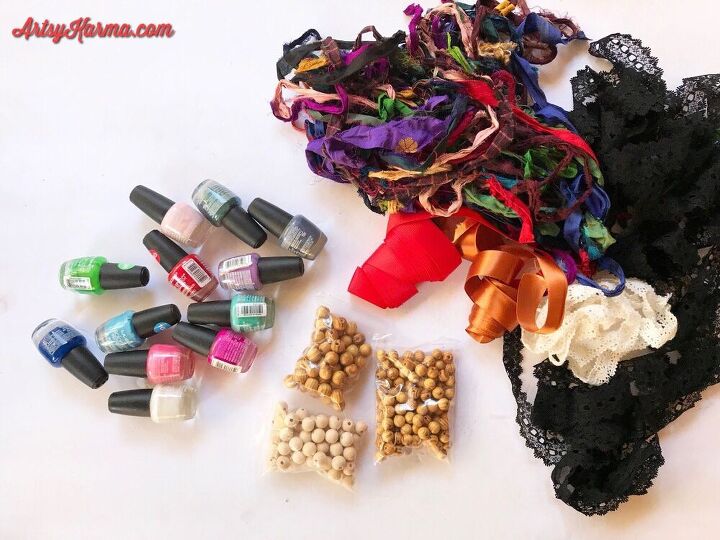
Materials needed:
- wooden beads
- lace, ribbon, thick string
- nail polish in at least 3 colors
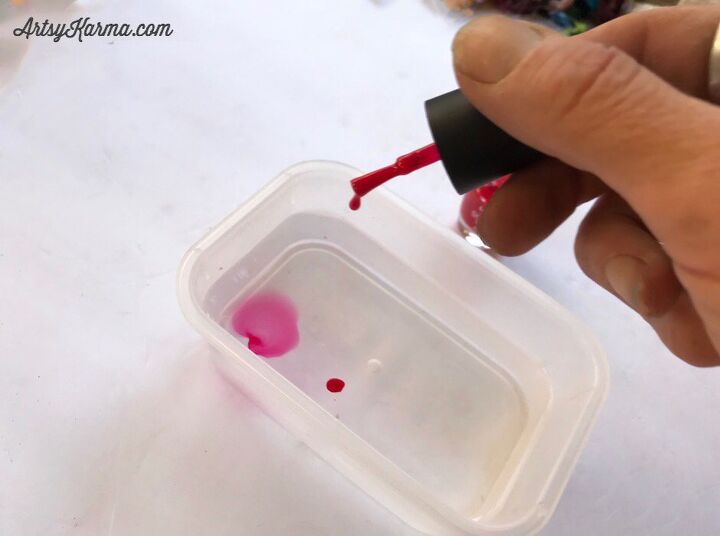
1. First step - get a container and fill it with tap water, cold is just fine.2. Add drops of nail polish into the waterI found that shaking the polish before opening made the polish be able to drip better.
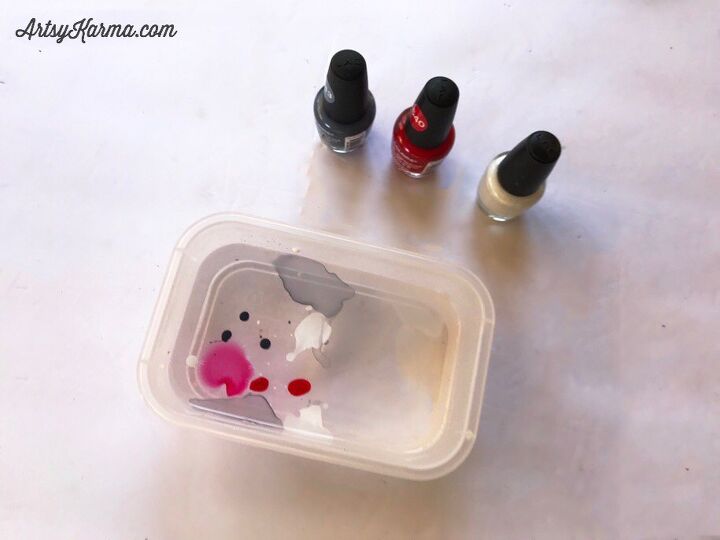
3. Add more colors to the water.I found that 3 is a good number - gives it variety without becoming overwhelming.
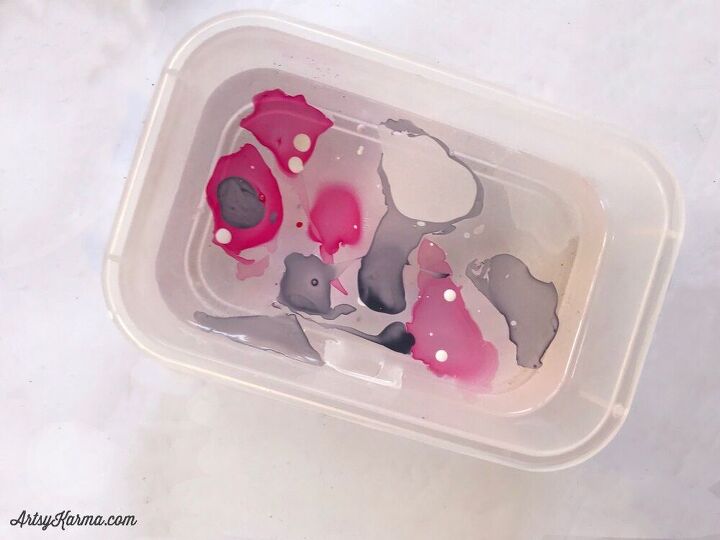
A small surface area of dripped polish should be fine. The photo below has enough to marble 2 or more beads.
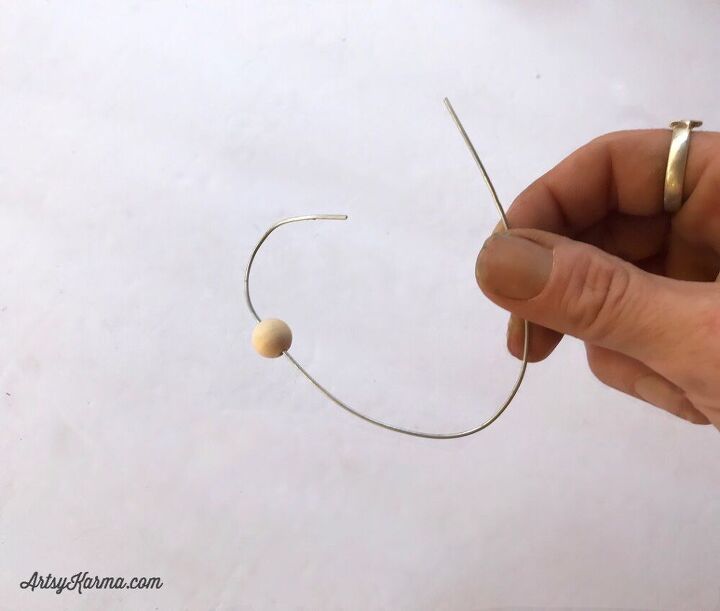
4. Run a wire through your bead and bend it so that it wont fall off.

5. Dip your bead on the wire into the nail polish water.6. Scoop up the nail polish color with your bead - but try not to scoop too much.
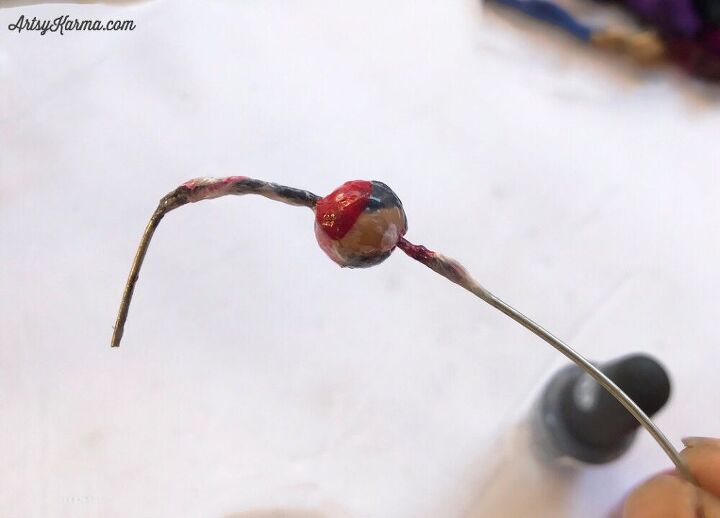
When you take your bead out, the nail polish should have attached itself to the bead in different spots giving it a marbled look.
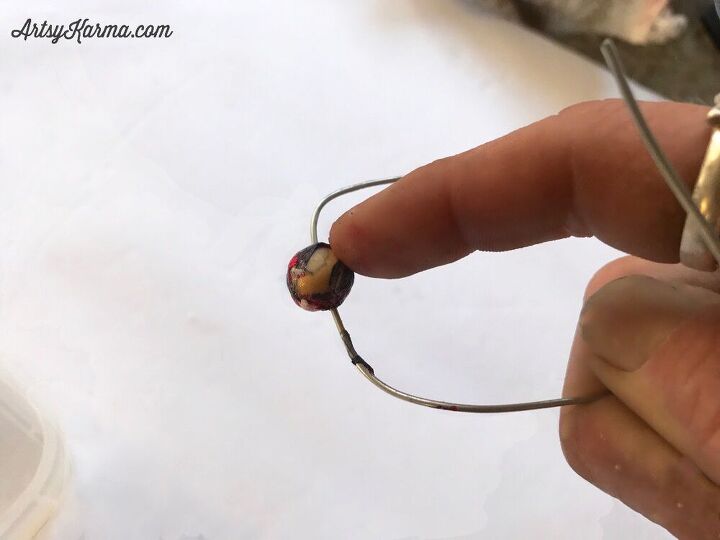
7. Wait about 30 seconds and pat down any polish that may have risen off the bead.The nail polish will stick to your finger if you don't give it a little time to harden up.
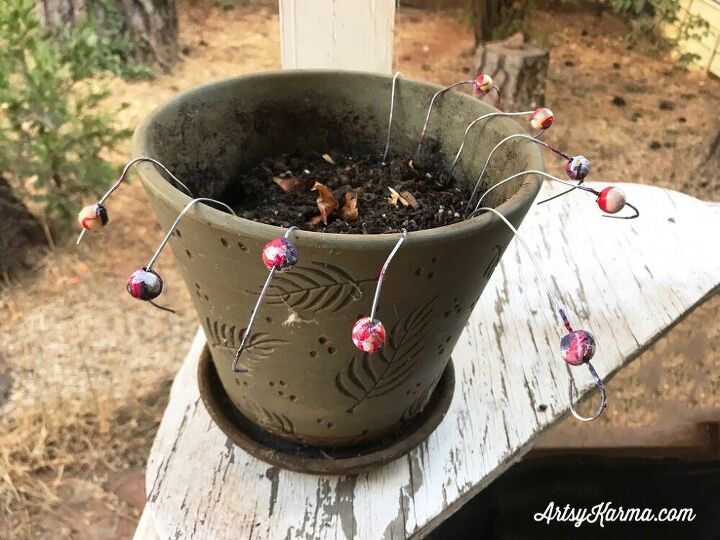
8. Place your beads somewhere they can dry.Sticking the wire into a soft surface worked well. That way you dont have to rest the bead on it's side.
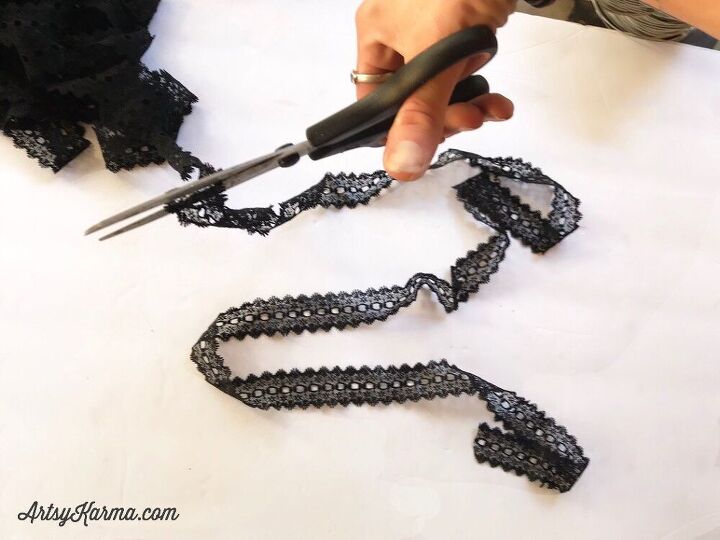
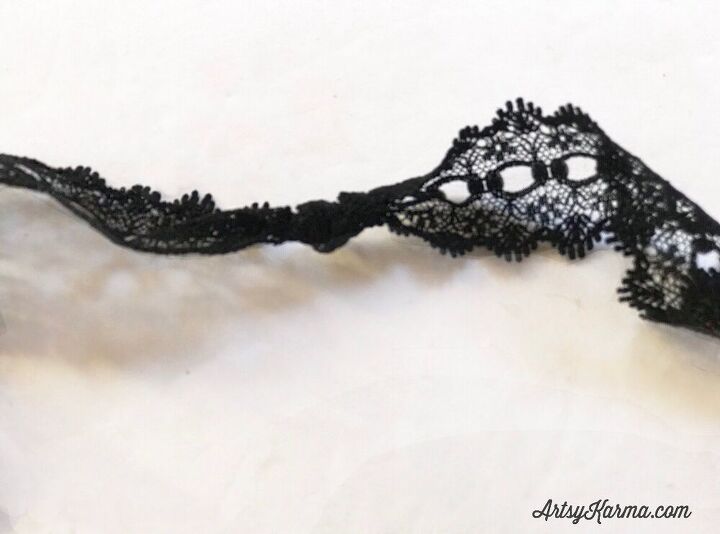
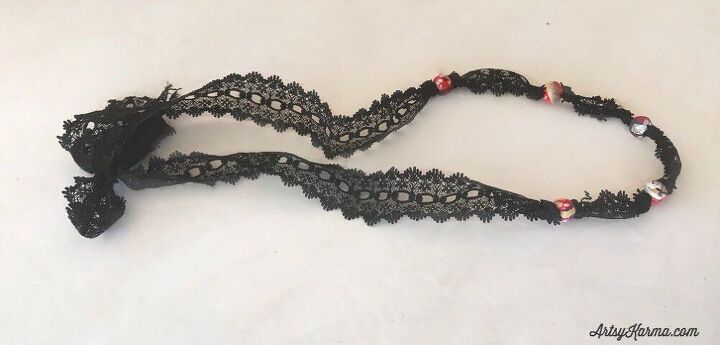
9. Decide what kind of trim you want to string your beads on and cut a good size length.Choices could be ribbon, lace or sari string.
10. Tie a knot close to the middle of your strand of trim.
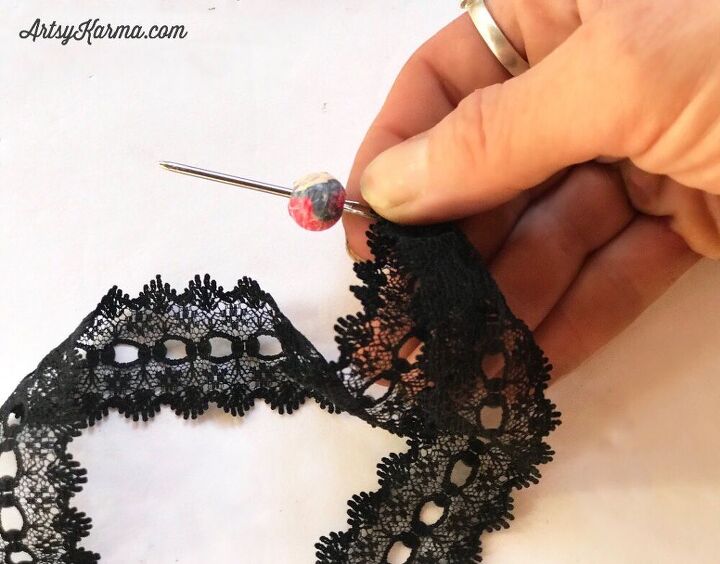
11. Using a large eyed needle, string your bead onto the trim.
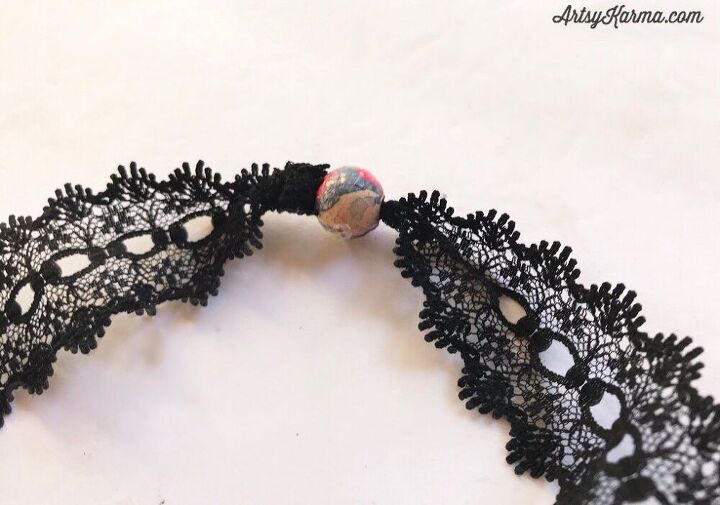
12. String it up close to the knot you made.
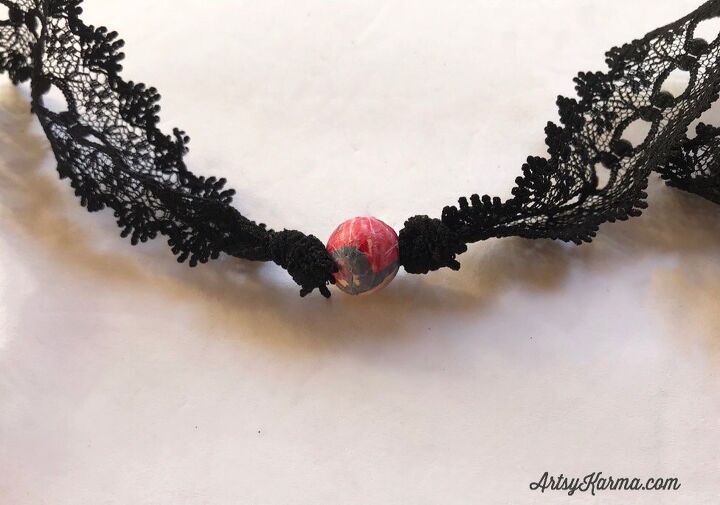
13. Tie another knot to be placed on the other side of the bead.This takes some moving of your trim as you guide the knot to where you need it.
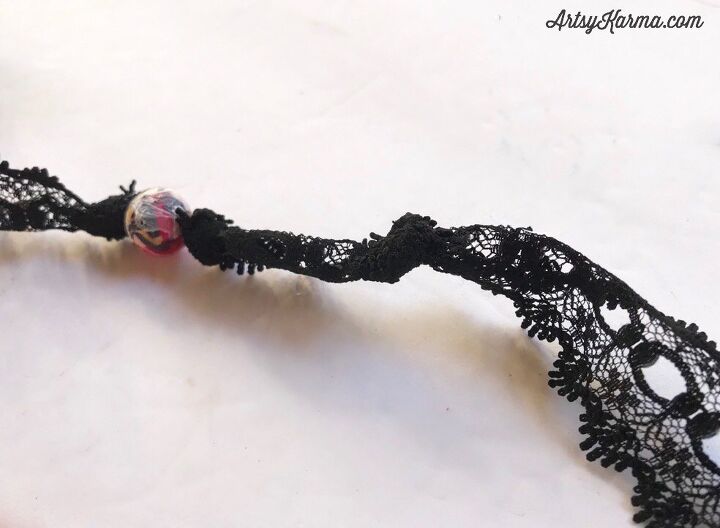
14. Tie another knot 1-2 inches down from your bead and two first knots.
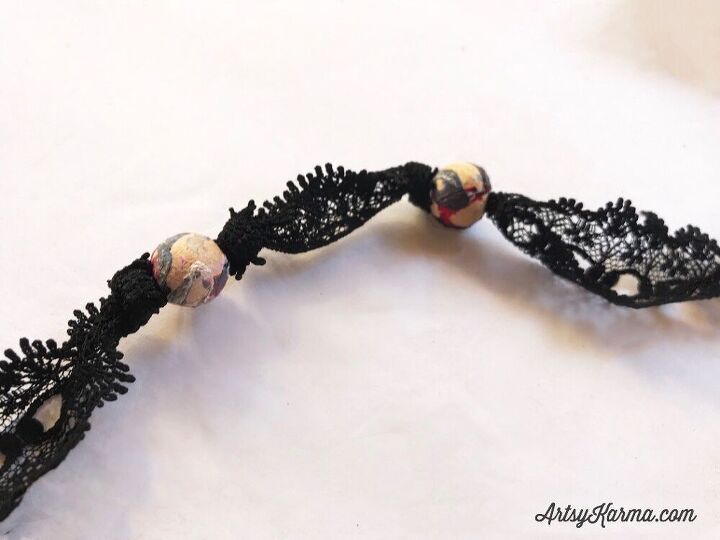
15. Repeat with adding a bead and another knot on the other side.
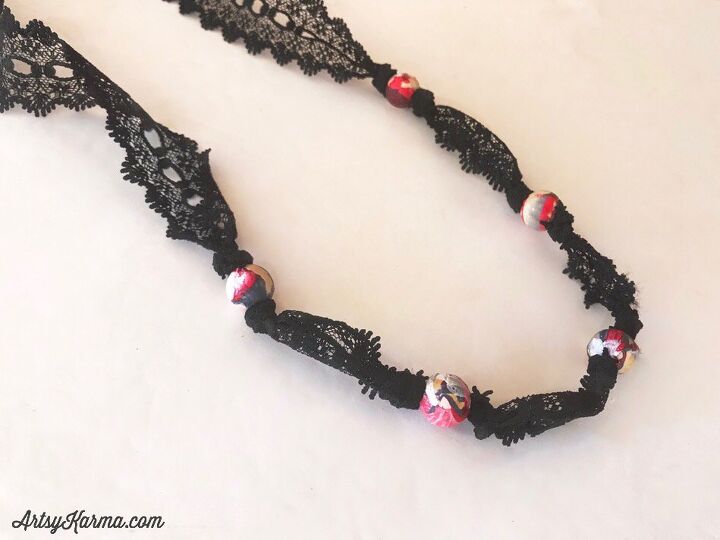
16. Continue to repeat the pattern until you've got the length you want.I made mine so the beads would only be in front and not all the way around.
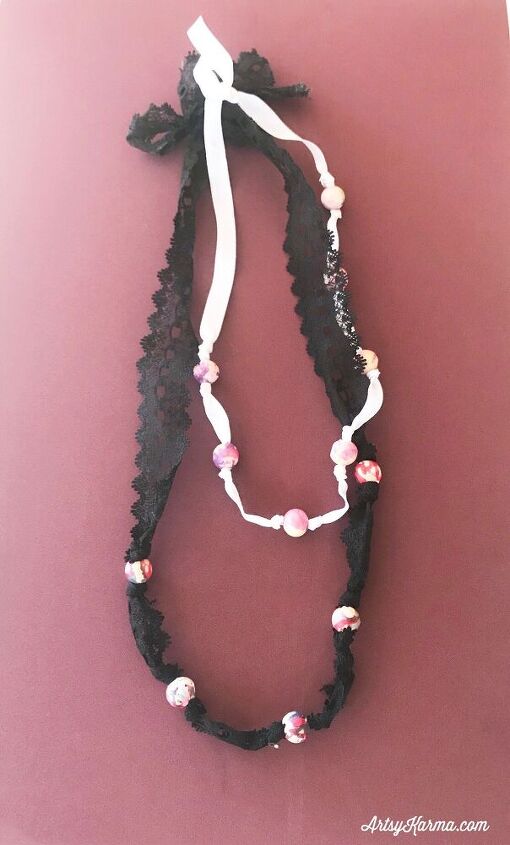
17. You can add a closing jewelry piece to the ends of your trim to make the necklace - or you can do like I did and just tie the two ends in a bow.
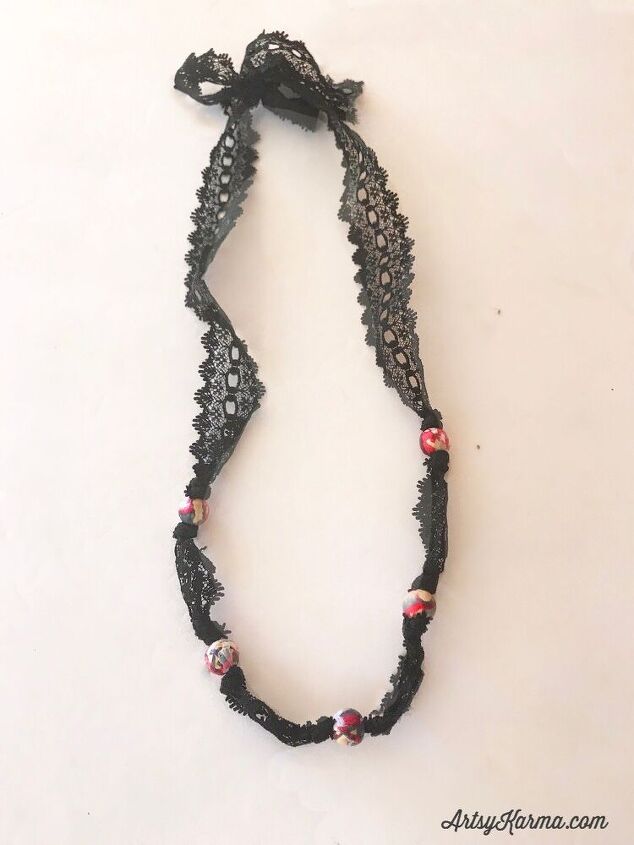
And there you have it! I was super psyched at how this turned out - and how fun it was too!

Check it out on me!


The author may collect a small share of sales from the links on this page.


Comments
Join the conversation