Easy Thrift Flipping Tutorial: How to DIY a Jumpsuit

I'm often asked "what is thrifting flipping, exactly?" So here's my take on it. Thrifting means buying something, usually previously worn or used, from a thrift store.
It could be clothing, for example, or fabric in the form of drapes or bedsheets. You wouldn't want to wear or use it as it is, so you "flip" it into something else.
Thrift flipping is kinder to the planet and to our pockets! We're saving items from the landfill and saving money, because thrifted clothing is usually very much cheaper than buying new.
If you're lucky enough to find vintage items, it's often better-made as well.
So, today, I'm taking a jumpsuit I thrifted which is too tight for me as it is, adding some over-large sweatpants from my stash, and creating a DIY jumpsuit that fits perfectly and is far more my style.
Tools and materials:
- Too-tight jumpsuit
- Fabric for inserts (I used a pair of sweatpants)
- Scissors
- Pins
- Seam ripper
- Sewing machine
1. Prepare the jumpsuit
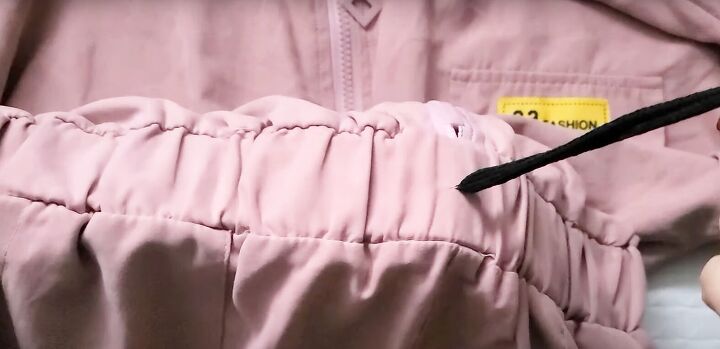
There were a few additions to the original jumpsuit that either served no purpose at all (like the cord at the waist) or that I simply didn't like, such as the elasticated waist.
Use your seam ripper to remove items like patches and pockets that you don't want.
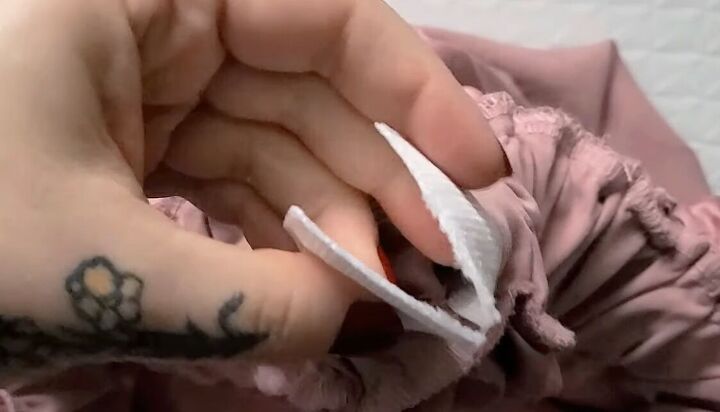
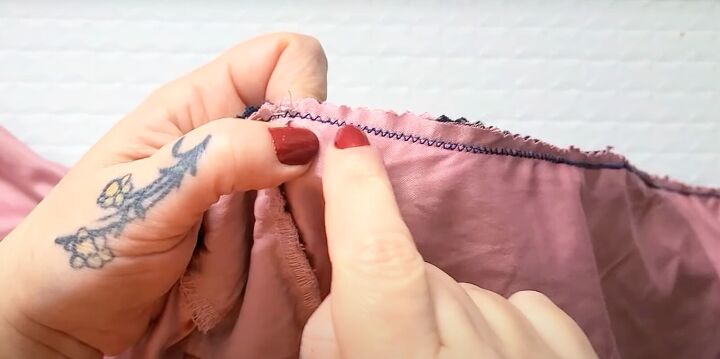
Find the seam where the casing for the elastic was closed and remove the stitches and open the seam until you can grab the elastic.
Cut through the elastic and pull it out.
I save anything that can be salvaged to my stash.

2. Open the side seams
As the jumpsuit was too tight as it was, I decided to insert extra fabric in the side seams. I also wanted short sleeves.
Turn the jumpsuit inside out and fold it in half lengthways, matching the shoulder and armhole seams. Cut the sleeves to the length you want, including an allowance for the hem.
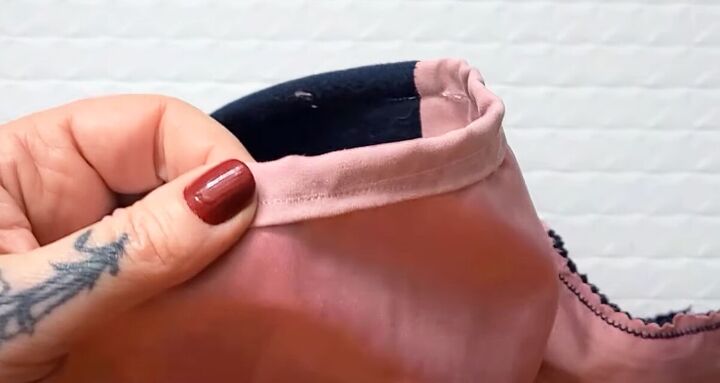
I also cut off the elasticated cuffs of the legs.

You can seam rip the side seams open, or do as I did and cut the seam off from the sleeve edge to the bottom of the legs, on both sides.
3. Prepare the inserts
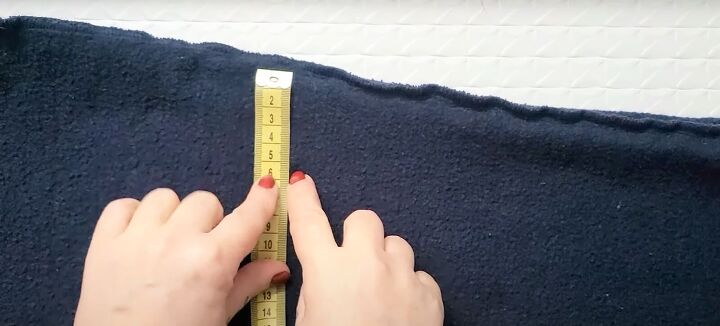
Check the length of the inserts you'll need by measuring the full length of the opening you made. In my case I needed two inserts of 54 inches (135 cm) each.
The width of the inserts will depend on how much you need to upsize your jumpsuit. Take into account that you will need two seams on each and allow for those.
I decided that adding 1.5 inches (4 cms) on each side seam would give me a good fit, so I cut each insert 2.5 inches (6 cm) wide.
I folded my sweat pants in half lengthways with the crotch facing outwards.
I realized I could get a pair of sweat shorts out of them, so I cut them to length and took my inserts from the leg sections.
Cut as many strips from your insert fabric as you need and join them together to make the total length required.
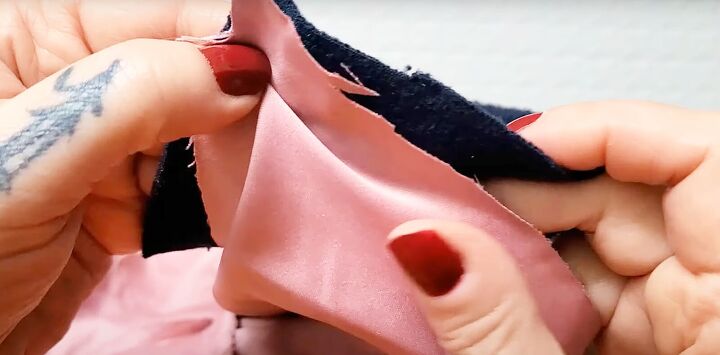
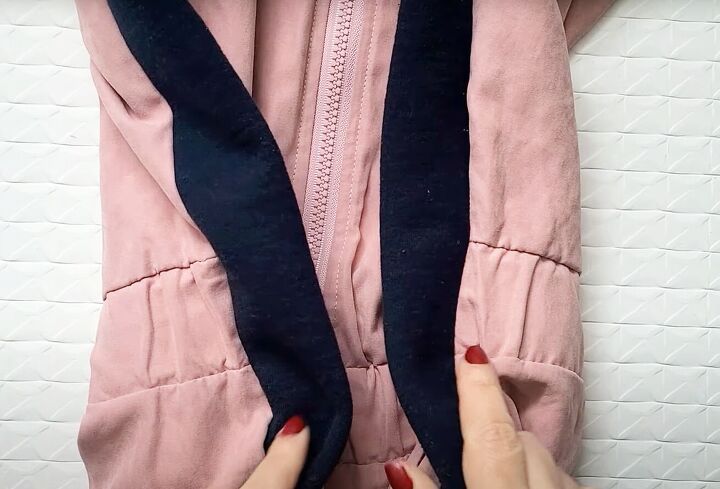
4. Attach the inserts
Join both edges of each the insert to the edges of the side seam, with right sides together.
I rarely pin anything and prefer to manually adjust the fabric as I sew but if you prefer, you can of course pin the inserts in place first.
I don't have a serger and although the insert won't fray, the jumpsuit fabric will.
I joined them with a straight stitch, sewed a zigzag stitch over that, and then used my pinking shears to trim the seam allowances.
5. Finishing
Turn up a double hem at the end of the sleeves and legs and sew in place.
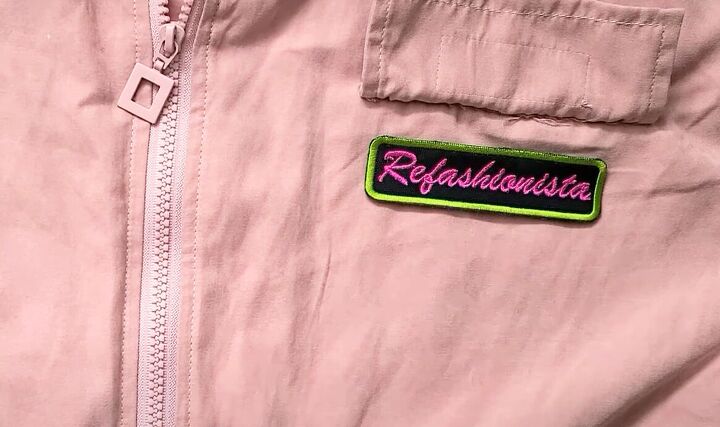
I removed the useless pocket flap at the front and added my own patch, for an even more customized look.

Thrift flipping
This thrift flip took a bit of time but it was very easy to do. And now I have a DIY jumpsuit that fits me well and will be really comfortable to wear in spring.
Choose the fabric for the inserts carefully, to either tone or contrast with the main garment. You want your finished result to look as if it was made to be that way originally.

I hope this has inspired you to think about how to upcycle clothing you may have lying around that you don't wear anymore. I'd love to know about your projects - please leave me a comment below.
The author may collect a small share of sales from the links on this page.


Comments
Join the conversation
I need better pics of the finished project. What you did is barely visible in only one of your photos.