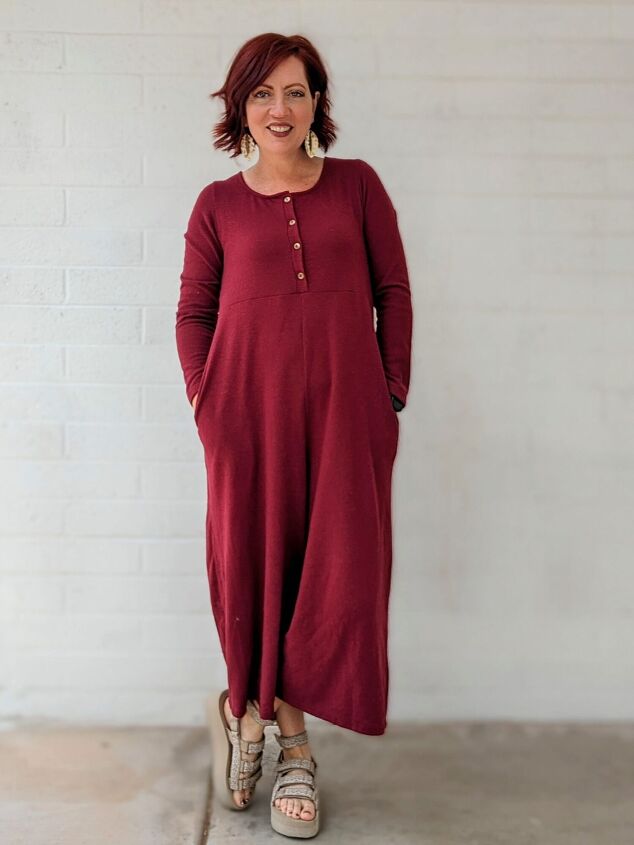
Button Front Jumpsuit

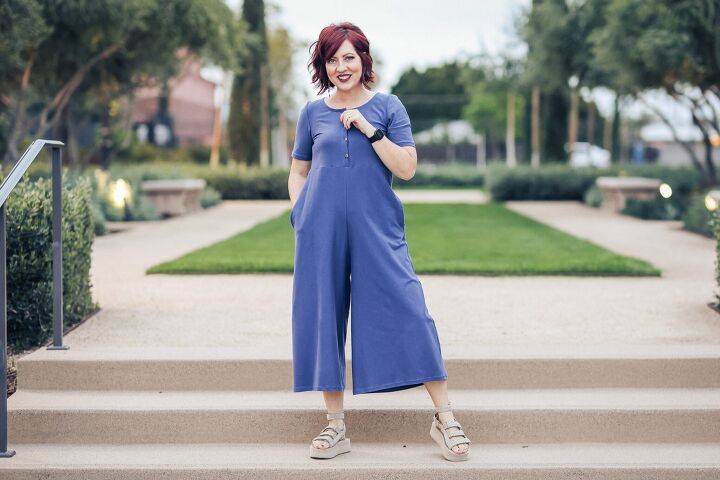
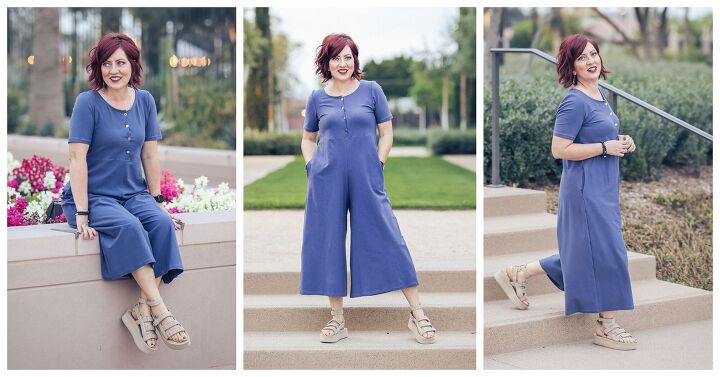
I have a burgundy jumpsuit I love to wear on chilly mornings or rainy days. The problem is when it heats up even a little I can’t wear it anymore because it 1. Has long sleeves and 2. Is made of a fleece-like fabric. It looks just like a blue one I recently saw online. I wanted a jumpsuit just like it but with short sleeves and made out of fabric more suitable for warm climates. I decided to trace a pattern from my burgundy on to make a short sleeved, blue one. Here is how I did that.
Supplies!
First I gathered the supplies I would need to trace a pattern from my existing jumpsuit.
- Tracing paper
- Clear ruler
- Pencil and eraser
- Pattern weights
- Measuring tape
- Jumpsuit I will be tracing
- 2 yards of cotton Lycra jersey knit fabric
- pins
Here’s a side by side with my Insperations pic and how my jumpsuit turned out.

Let’s Start Tracing!
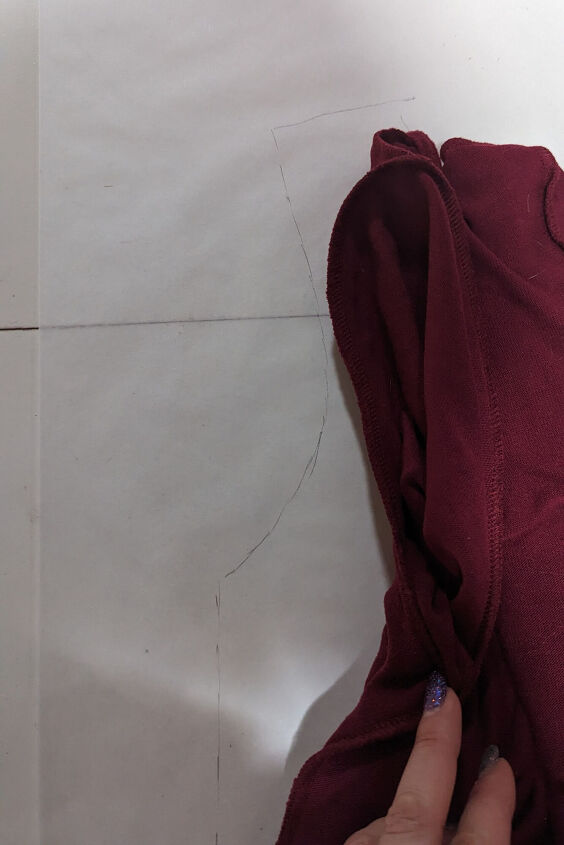
I knew I wanted the sleeves to be short so after I gathered my supplies I tried my burgundy jumpsuit on and marked how short I wanted the sleeves to be with a pin. Then I got to tracing my existing jumpsuit. The jumpsuit I’m taking a pattern from is sewn with a serger and that’s how I planned on sewing mine. Because of that I only needed to have ⅜” seam allowance. I just added that as I traced the jumpsuit.
Pockets and Legs!
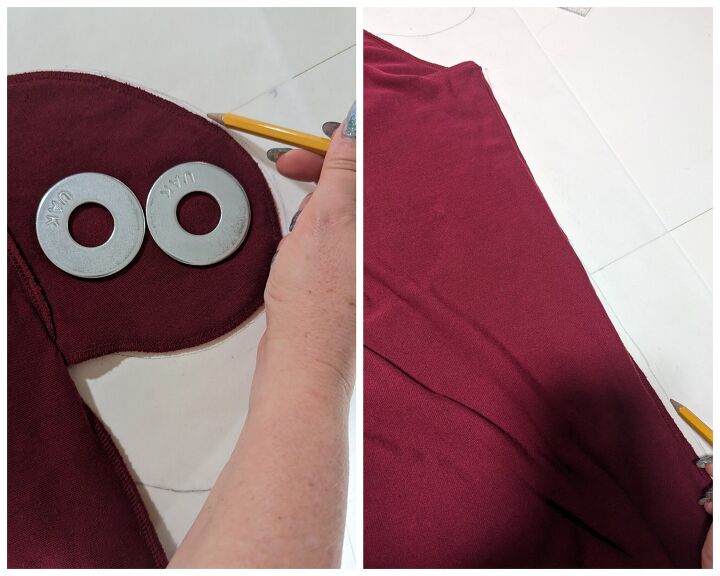
To trace the jumpsuit, first thing I needed to do was turn it inside out. I started with tracing the easiest part which was the pockets. I used pattern weights to hold it in place so I could get an accurate tracing of it. I traced the front and back of the pants part, labeled them and marked where the pockets should go. That’s usually 8-9 inches down from the arm pit for me. So you can check that once you have the bodice sewn to the bottoms.
The Sleeves!
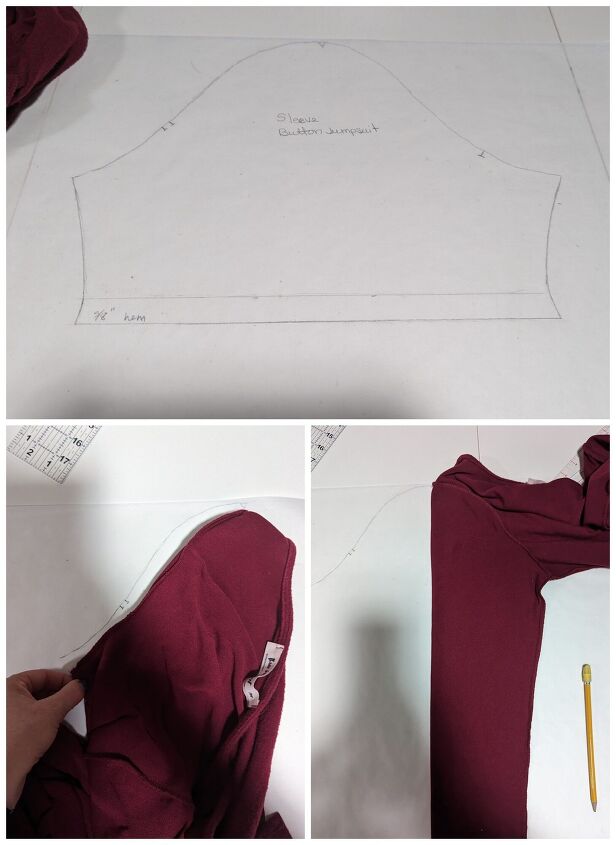
Then I moved on to tracing sleeves. I paid special attention to which side was the front and back then marked it accordingly. I made the sleeve the length I had decided on, then added ⅝ inch for the hem.
The Bodice!
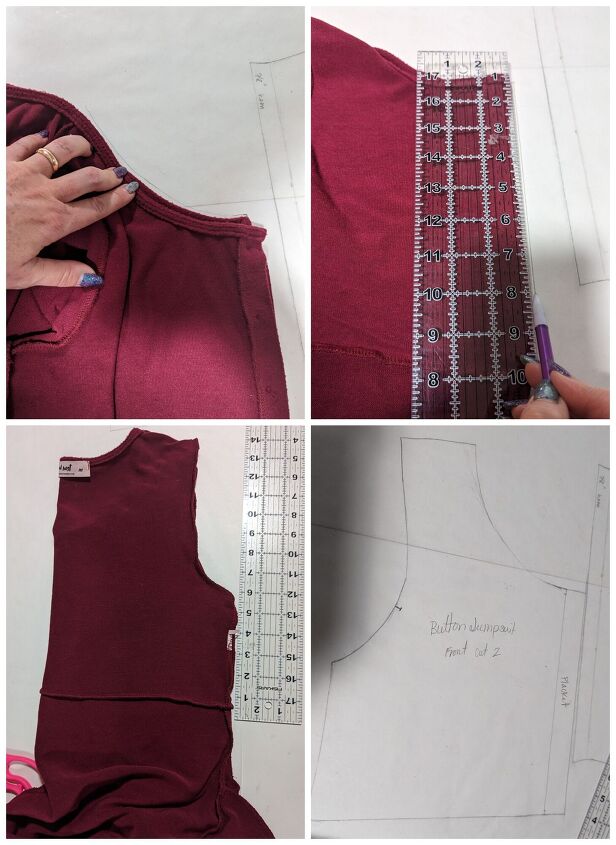
I saved the bodice for last. I had a button placket so it was going to take a bit longer. I traced the front neckline, making sure to get the shape just right. Then I measured the button placket and added that much on the front pattern piece so I could fold it in for the placket. I traced the sides and measured them too so that both the front and back would fit together nicely.
I also measured the sleeve opening after I traced it and then compared that to the sleeve pattern piece to make sure they would fit together as well.
Finishing the Neckline!
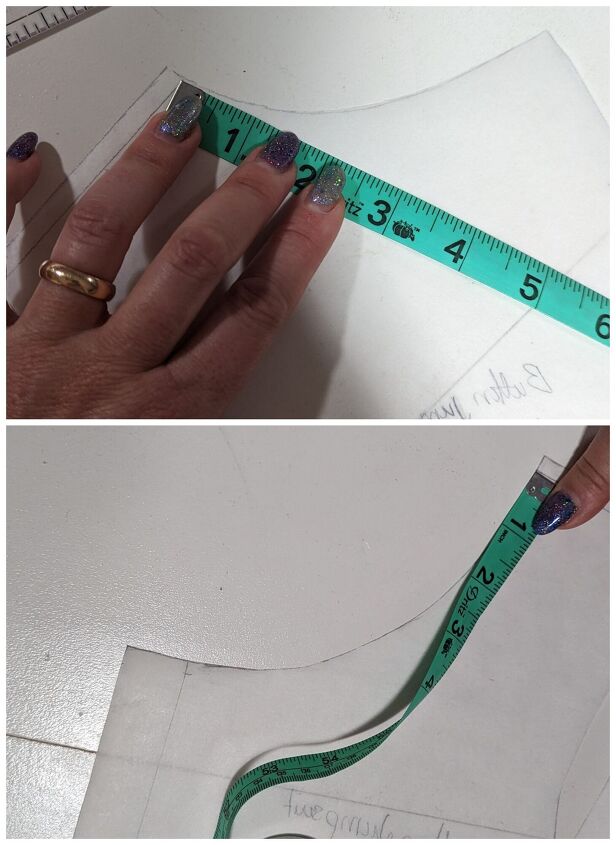
The last thing I did was measure the neckline for the facing that would finish it off. I measured the front and back, multiplied it by two and then subtracted the seam allowance.
Once I had all my pattern pieces traced, I cut my jumpsuit out. Because I had spent the time tracing it and studying the pattern, I knew how to sew it all together. I had also taken some construction notes along the way. I think that’s why I love tracing patterns from clothes I have purchased. It’s such a huge learning experience.
Buttons and Sewing Tips!

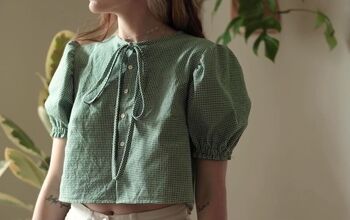
I liked the gold buttons on my burgundy jumpsuit so I found some the same size but in a silver color that would match my blue fabric better. Plus I wear silver earrings a lot so the silver buttons would look super cute ith them. This is really stretchy fabric so I chose to use some fusible interfacing on the button and buttonhole sides of the placket to help stabilize it better. Also, when I do buttonholes on knit fabric, I make the buttonhole a little smaller than the button because the buttonhole will stretch a little and I don’t want it popping open on me.

Tracing a garment is something I highly recommend for all sewists to try at some point. It teaches you so much about fabric, pattern drafting and garment construction. I’m so happy with how it turned out! Now I have a new short sleeve jumpsuit in a nice cotton fabric that will be perfect for warmer weather.
Happy Sewing My friend!
Koe
The author may collect a small share of sales from the links on this page.


Comments
Join the conversation