How to Make a Summery DIY Wide-Leg Jumpsuit in Just 1 Hour

An easy breezy jumpsuit for summer? Yes, please! This beginner-friendly DIY jumpsuit sewing pattern and tutorial will show you how to make a jumpsuit that flatters any figure.
Loose and comfortable to wear, this DIY jumpsuit will be a fashion favorite when the weather is warm. Let me show you how to sew a jumpsuit so you can wear it today.
Tools and materials:
- 2½ yards of fabric
- Measuring tape
- Ruler
- French curve ruler
- Tailor’s chalk
- Scissors
- Pins
- Sewing machine
- Fabric weights (to keep the fabric from moving - optional but good to have)

1. Make the jumpsuit sewing pattern
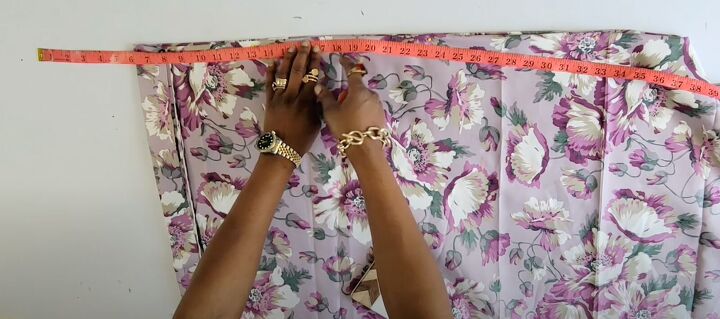
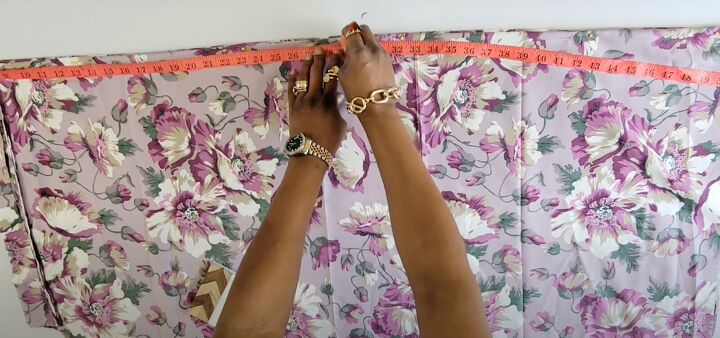
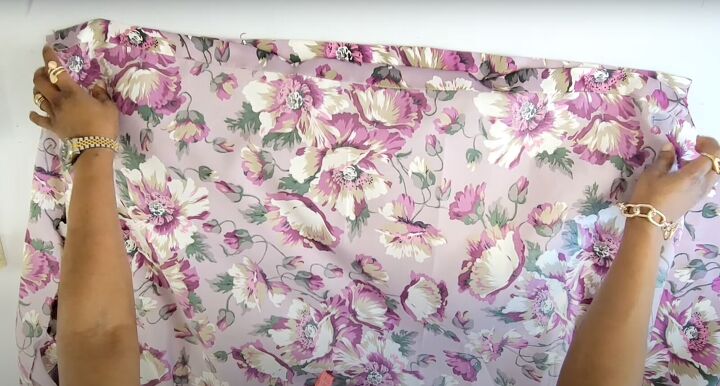
You’ll need 2 large rectangles for the front and back. Fold the fabric in half. Measure your hips. To determine the width, divide your hip measurement in half and add 8 inches. Mark the folded fabric across for the width.
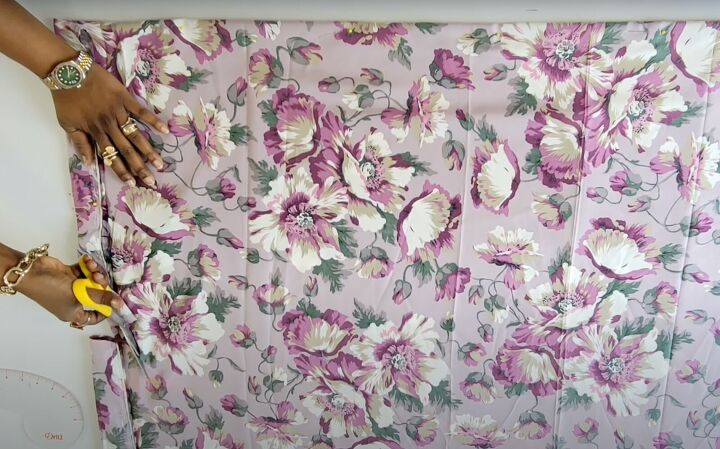
Mark the length to your preference. At the top of the fabric, fold down 2 inches to create a casing for the straps.
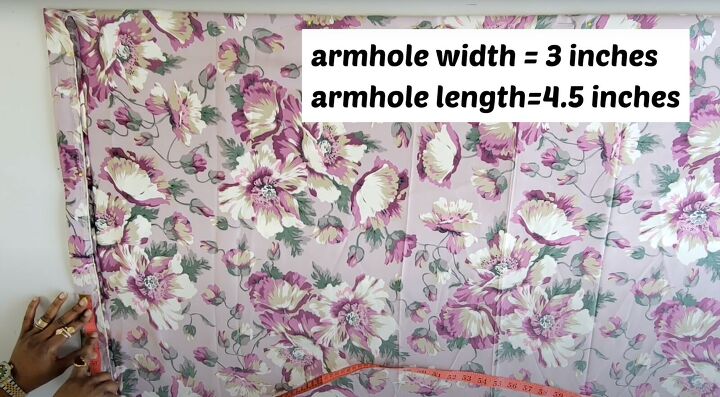
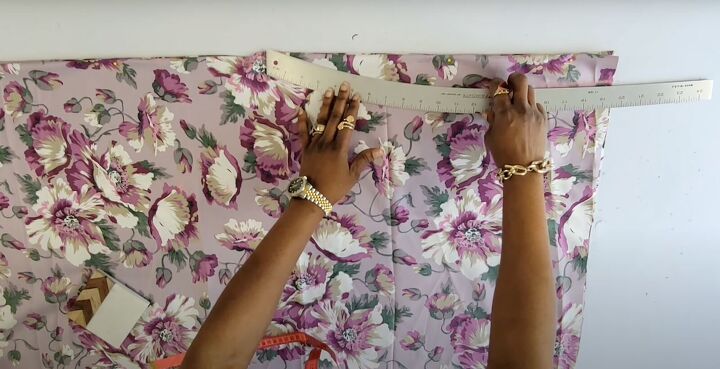
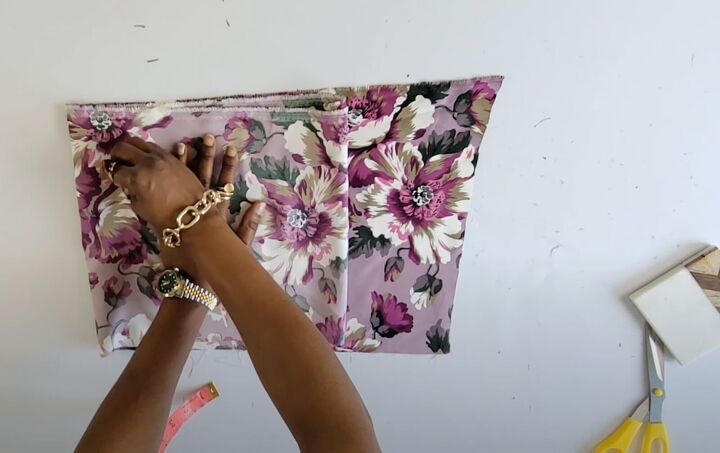
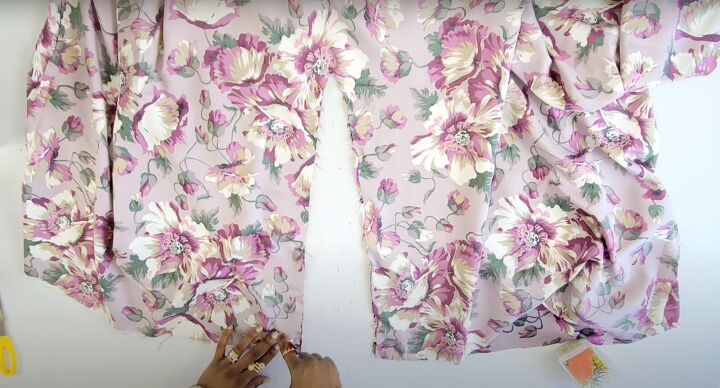
Mark the armhole width at 3 inches along the top fold at the edge. From that point, mark 4½ inches down for the armhole length.
Connect these 2 points with a French curve ruler. Cut the armhole curve only.
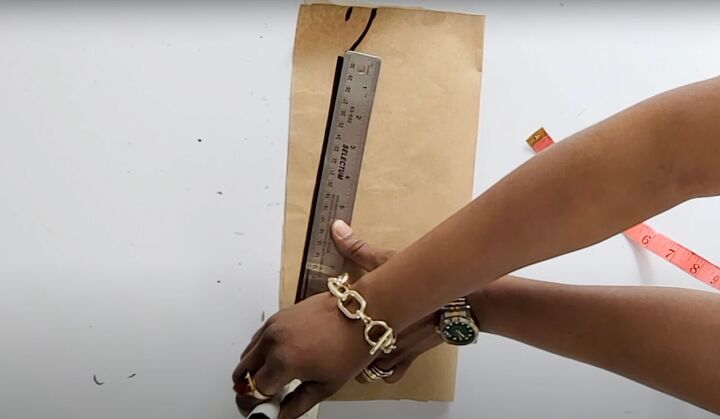
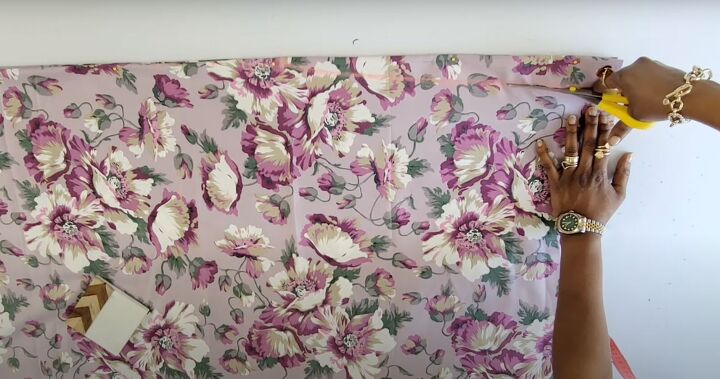
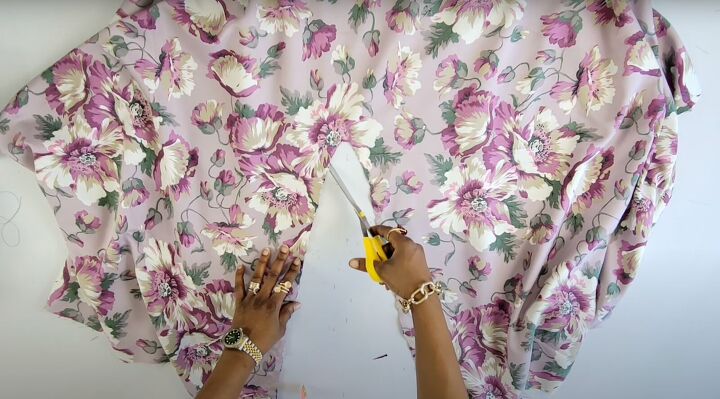
It’s difficult to see across large pieces of fabric so I also have a paper representation of what you’ll need to do to make the pattern. From the bottom edge of the armhole mark an A-line all the way down. Use the ruler to keep things straight.

Cut out the piece.
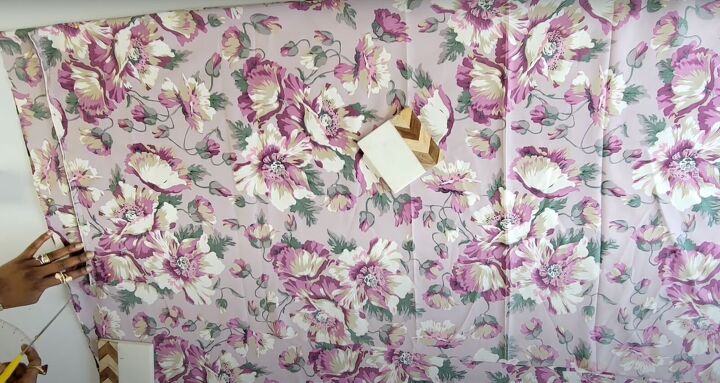
Use the first piece folded on folded fabric as a template to cut out the second piece.
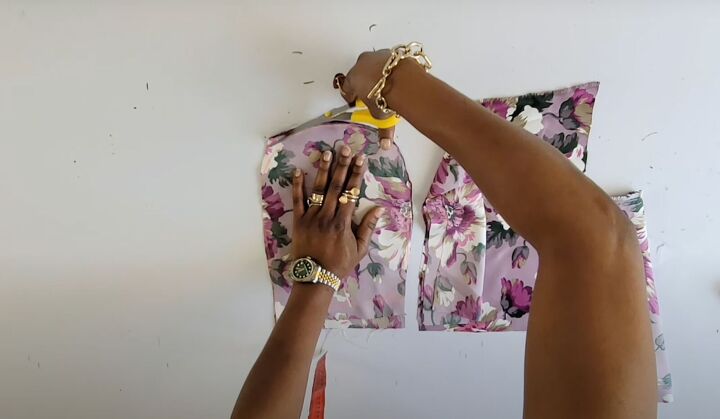
When measuring your vertical measurement and marking the fabric for the crotch and pockets, leave 6 inches above the fabric for the straps. Measure and mark your shoulder to waist measurement.
Measure and mark your shoulder to crotch measurement.
Add 3 inches to your crotch measurement as this is a loose jumpsuit. Mark with a pin. Measure 1½ inches at the bottom of the fabric and connect it to the crotch in a slight curve.
Cut the crotch out.
2. Make the pockets
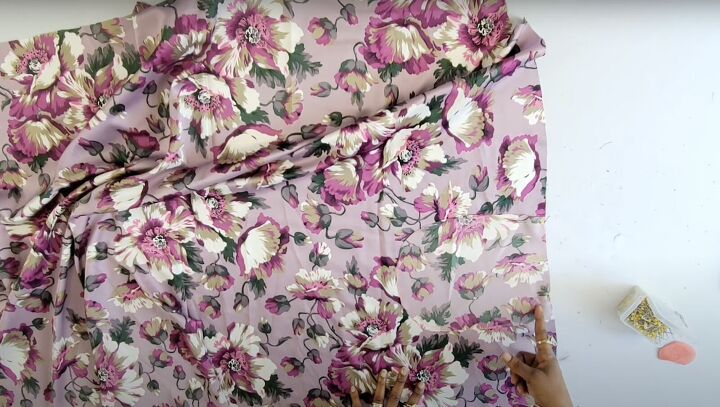
Fold the fabric into quarters. Measure your hand and freehand draw the pocket on the fabric. I like a 9-inch length so there’s enough space in the pocket.
Cut out all 4 pieces at one time.
3. Attach the pockets
Mark the placement of the pockets below your waist measurement. Pin the pockets in place on either side on both the front and back pieces.
Sew in place.

4. Make the casing
If you haven’t already, double fold the top on both the front and back piece to measure 2 inches. Sew at the edge to create a casing on both panels.
5. Assemble the jumpsuit
Lay the front and back right sides together. Pin the side seams and pockets and sew into position.
Pin the crotch starting at the center point and down either leg. Sew together with a straight stitch.
Snip tiny cuts along the curve by the crotch seam allowance to reduce the bulk.

6. Make the straps
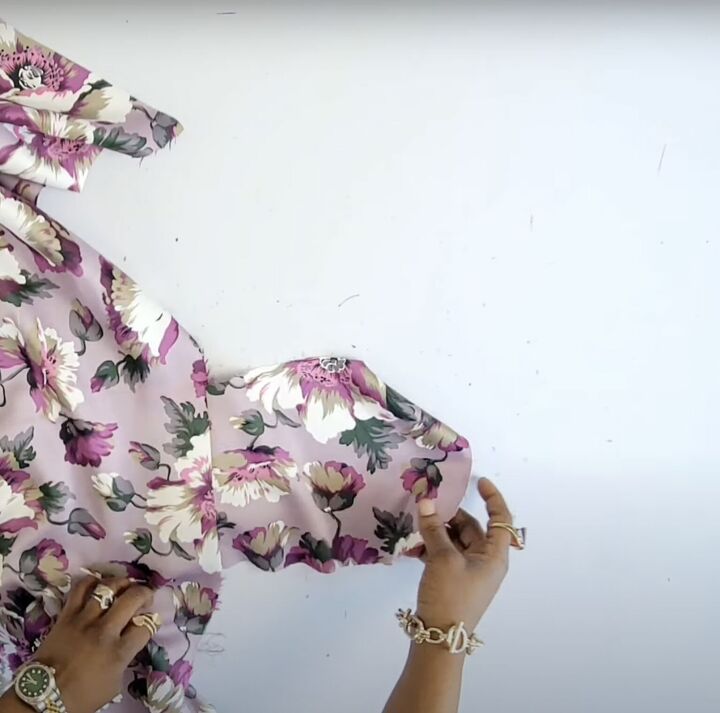
Cut and make bias tape to finish the armholes that are 2 inches wide by 10 inches long. Cut out two straps 3 inches wide by 30 inches long.
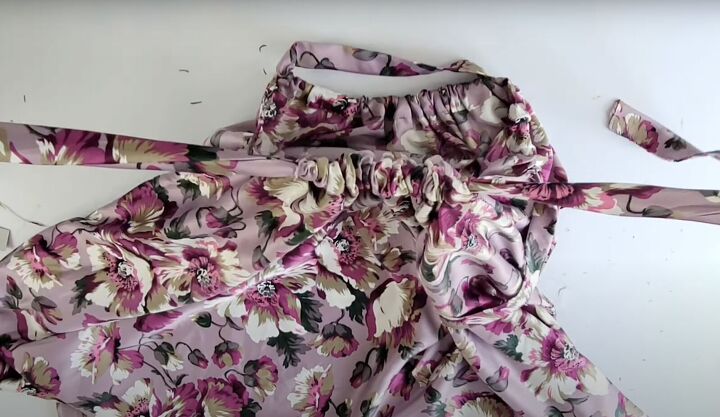
Fold the top straps in half, right sides together. Pin in place, Run a stitch along the length and turn right side out. Repeat for the second strap. Insert into the casing in the front and back pieces. Pull the straps taut to create a shirred effect.
7. Hem
Hem the bottom of the jumpsuit with a double fold.

DIY wide-leg jumpsuit
You’ve made a DIY jumpsuit that’s perfect for the warm weather. Please let me know in the comments how much you love it or tag me on your social @houseofchyda.
The author may collect a small share of sales from the links on this page.


Comments
Join the conversation
very cute!
I love the fabric and I love the idea... just wondering... can you sit in it? The reason I ask is because it seems a little snug in the crotch... or off in some way. Are you able to sit in it without it bothering you?