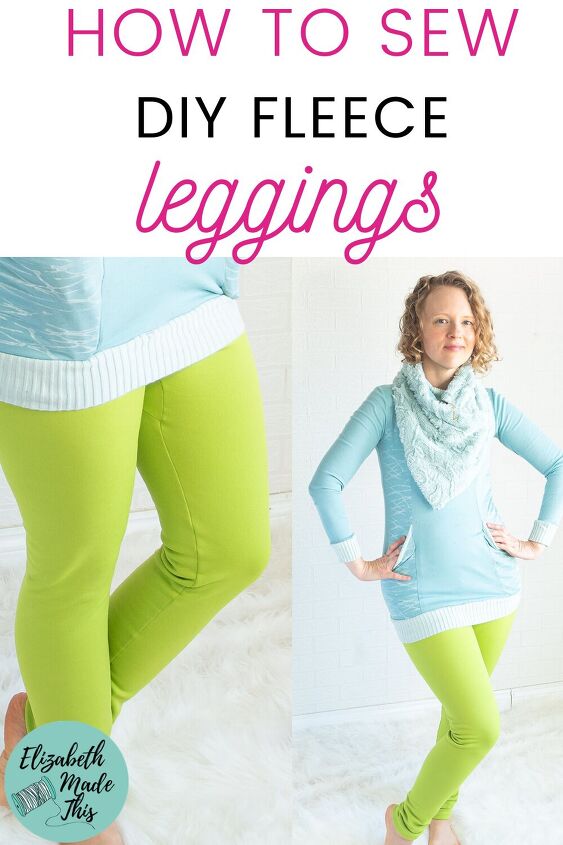
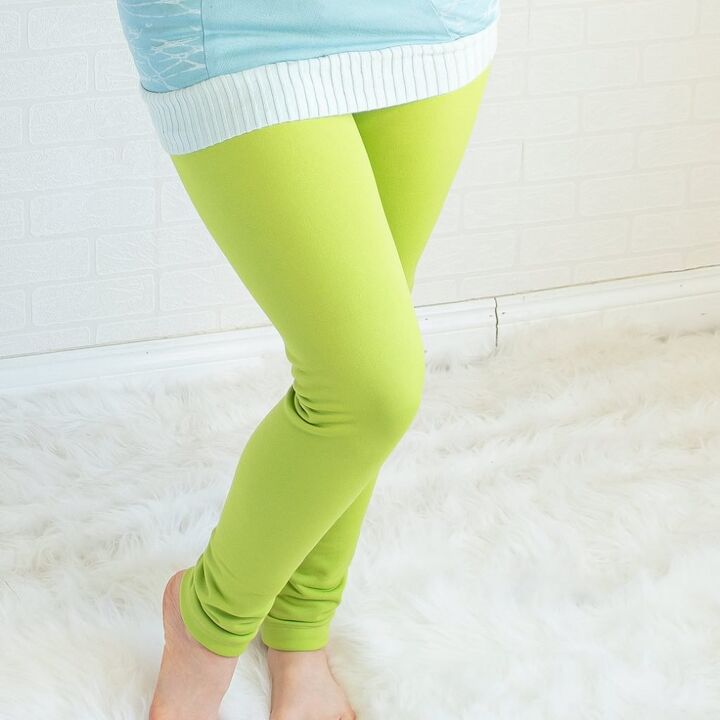
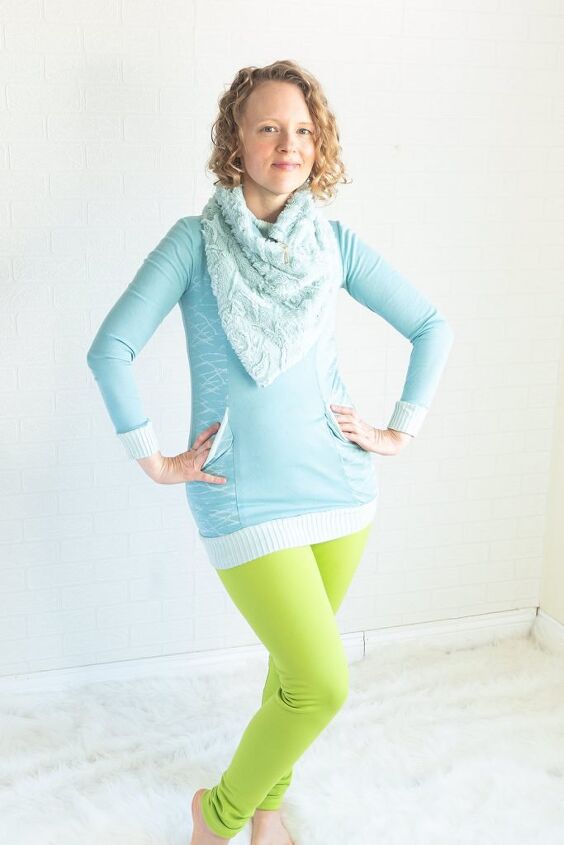
The Virtues of DIY Fleece Leggings
Sure, it’s easy enough to pick up a pair of fleece lined leggings, but they come in a limited number of colors and the fleece is not always the warmest.
I’ll show you how to make your own pattern for DIY fleece leggings, we’ll talk about what kind of fleece to look for, and we’ll sew them up.
In short order, you’ll be toasty in better quality fleece lined leggings that are more your style.
The good fleece to buy for DIY fleece leggings
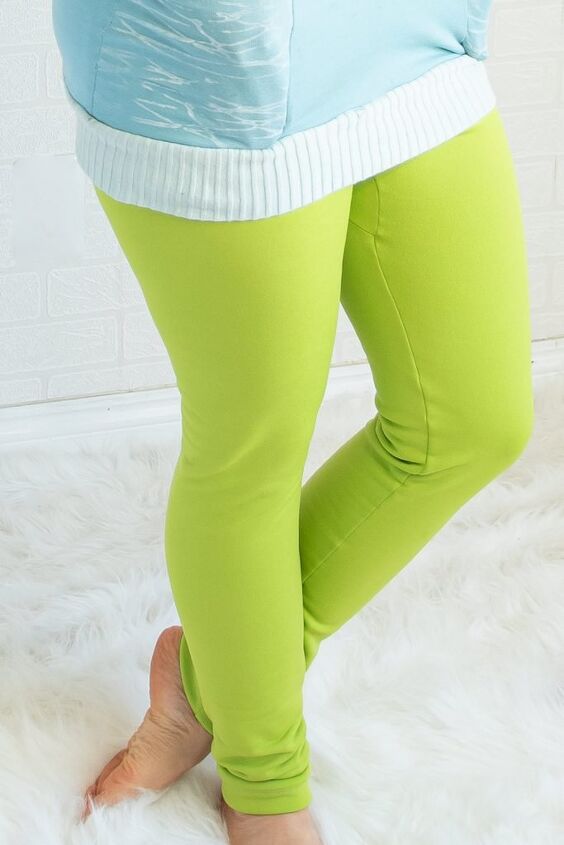
I did a little research on this one, and I’m glad I did. I pretty much live in my fleece leggings on snowy days. They do such a great job keeping you warm and you can even layer them under other pants, dresses, or skirts.
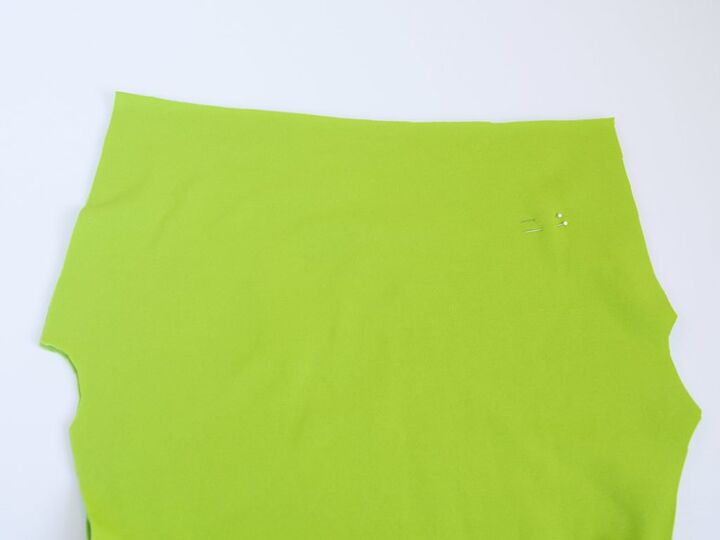
When you’re looking for fleece to try your hand at DIY fleece leggings, you want to go a little technical. That is to say that you want to buy a performance fleece that’s made for activewear, not the typical fleece that’s in fabric stores.
Regular fleece won’t stretch vertically for you. I know because I’ve made fleece leggings from obnoxious polka dot fleece. They were warm for sure, but I couldn’t bend my knees LOL!
I’m using Polartec Power Stretch for this pair that I got from Rocky Woods. Some other places to look for Power Stretch from the Ultimate Jumbo Mega Guide to Online Fabric Stores:
- Discovery Fabrics (in Canada)
- Mill Yardage
Power Stretch has 4 way stretch which is much needed for leggings. It also has a smooth face and a fleecy back, so it does a good job of repelling wind while it’s soft against your skin. It also doesn’t look so poofy!
Making your own pattern for DIY fleece leggings
Leggings patterns are designed for a lot of spandex. Most of the leggings patterns I’ve seen are designed for 50% stretch. The Power Stretch I’m working with on the other hand only has 30% stretch.
But who says you have to reinvent the wheel here?
If you use a pair of fleece lined leggings to make a pattern for fleece leggings, you likely won’t have to change anything. I checked my Power Stretch against the stretch of my pairs of RTW fleece lined leggings, and sure enough they were all about 30% stretch.
Here’s how to make your own pattern for fleece lined leggings.
Prepping your leggings for tracing
First take your pair of fleece leggings and turn them inside out. Flatten out the front so that the inner leg seam is laying flat on the table. Smooth out the side along an imaginary seam that sits in one straight line down the side. Use pins to mark the “side seam”
Mark the center front line by measuring at a couple of points across the front and dividing by two.
Flip the pants over and mark the center back the same way.
Tracing the front and back
Now that your leggings are all marked up, flip them back to the front. Next, line up the side seam on a straight line. I’m using my gridded cutting mat.
Draw a line on your tracing paper in the middle at least as long as the pants. Match the side seam to the line you drew, then set pattern weights on top to hold things in place.
Next, trace the seam line and hem lines. Make short little marks with your pen all around the front piece.
Flip the leggings over, and smooth everything out before you trace the back the same way.
Trace the gusset and the waistband
Don’t forget to trace the gusset too. Be sure to mark the center back and the center front on the gusset piece.
Measure the waistband too. You’ll need to cut it on the fold and twice as wide as it measures. I usually don’t make a separate pattern piece for the waistband. Instead, I just write the dimensions on another pattern piece so I don’t forget.
Inspect your work on all the pattern pieces. True up any lines that look a little squiffy with a ruler.
Adding seam allowances to your leggings pattern
Now that your pattern is ready to go, add seam and hem allowances to the pieces. I’m using 3/8″ here for seam allowances and 1″ for the hems, but you add what you like. It’s cutting time!
How to sew your fleece leggings
Cut your pieces
Cut 2 of your front/back combo piece. Because it’s hard to tell the front from the back, I mark my backs with 2 pins.
You’ll also need to cut 1 gusset. Mark the center back and center front on the gusset with your favorite fabric marker or tiny snips.
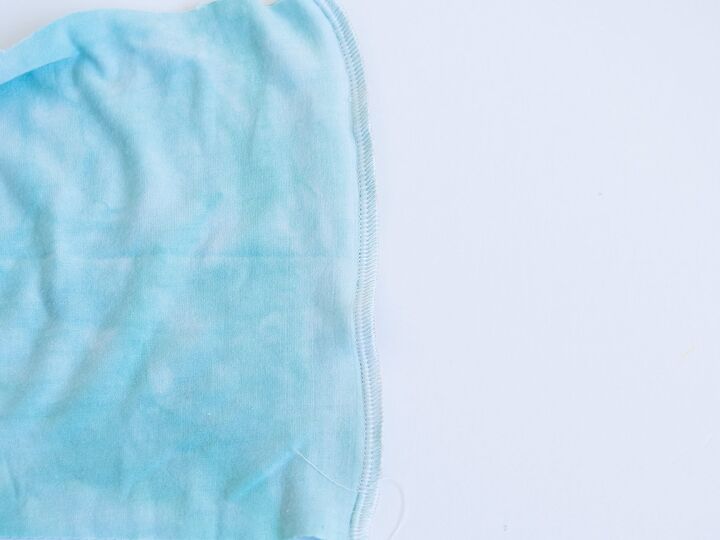
Cut 1 waistband on the fold the dimensions you wrote down. You can use a lot of different fabrics here. Rib knit is probably the best choice, but a rayon spandex, cotton spandex, or nylon spandex all work too. I’m using rayon on mine.
Sew the front and back seams
Next, place your legging pieces right sides together and sew the center front and center back seams.

I’m using a serger here, and I would recommend that. Leggings go through a lot of stress in movement, and a serged seam will stand up to that better.
Press the seams lightly the direction they were sewn.
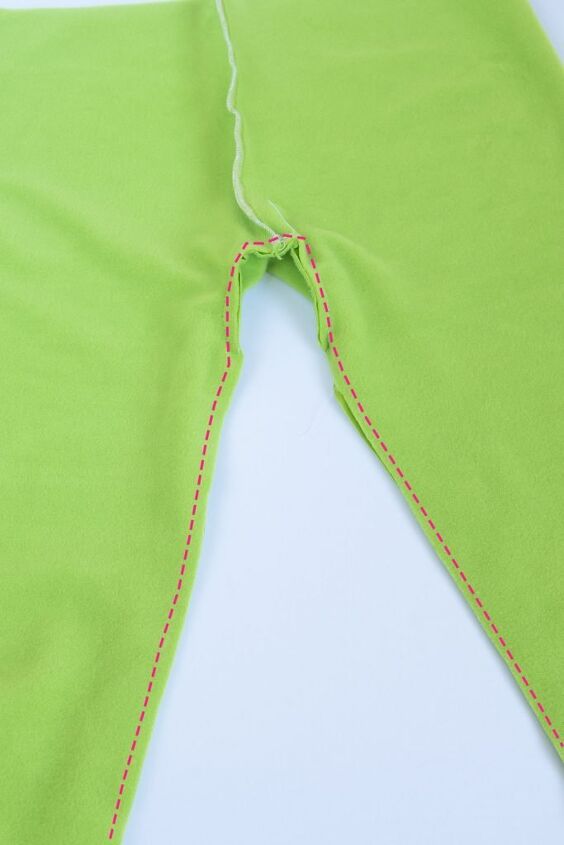
Add the gusset
Next, match up the center back mark on your gusset to the inner leg on the center back of the leggings. Pin it, then baste it in place, sewing with the gusset on the bottom.
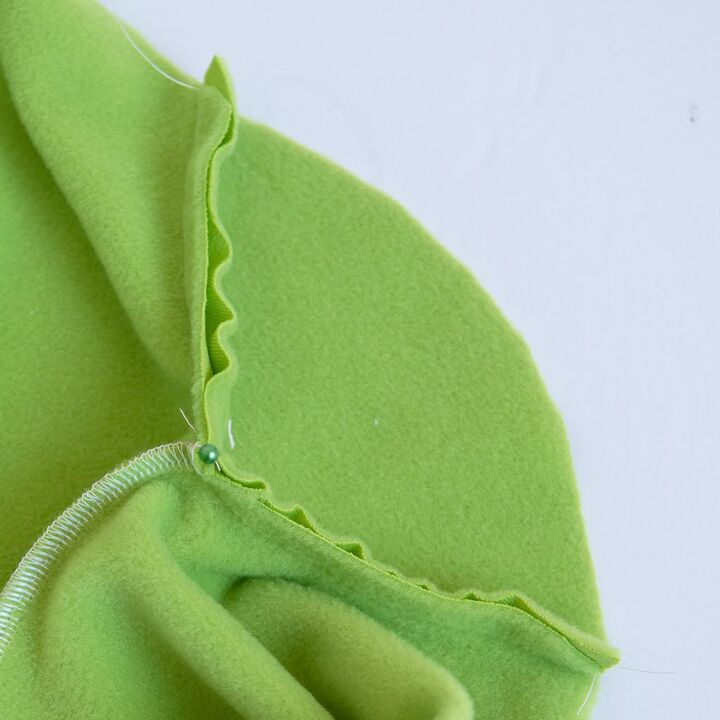
Serge the seam, then press it towards the gusset.
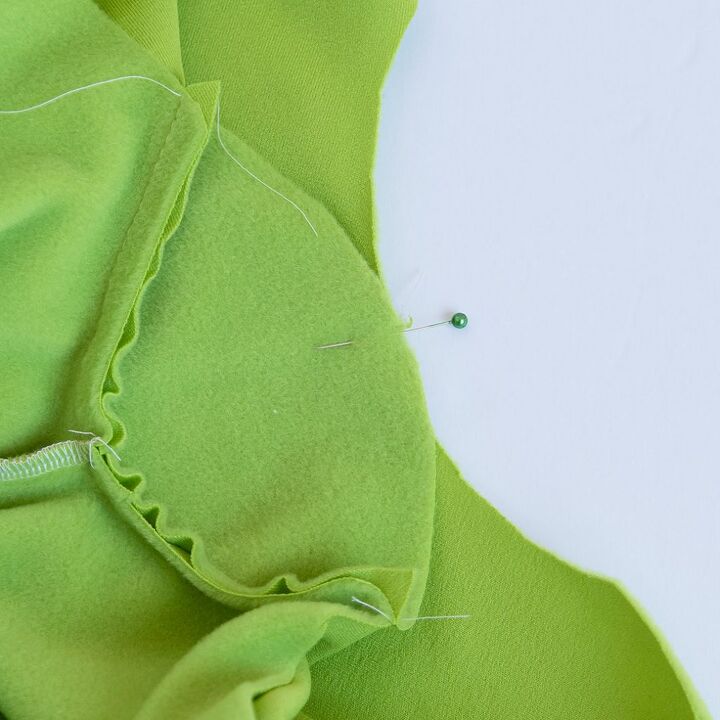
Next match the center front to the center front of the leggings on the inner leg. Baste the gusset in place.
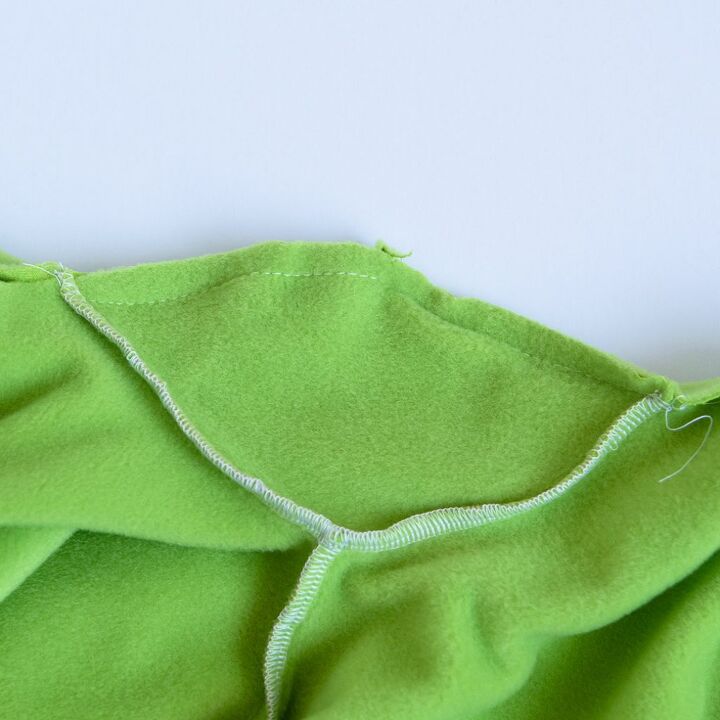
Sew the inseam
Bring the inseam right sides together. Working with the front side of the leggings on top, sew up one leg and down the other. When you get to the basted gusset, move the back gusset out of the way. Continue stitching down the second leg.
Press this seam the way it was sewn.
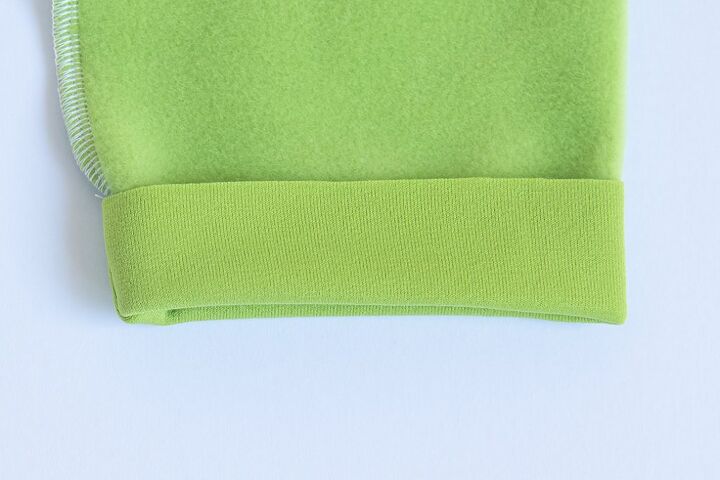
Hem the leggings
Press up a 1″ hem and stitch it down. I’m using a coverstitch machine for this, but you can use a twin needle or a zigzag stitch on your sewing machine.
Prep the waistband
Fold the waistband wrong sides together in half vertically. Press the fold.
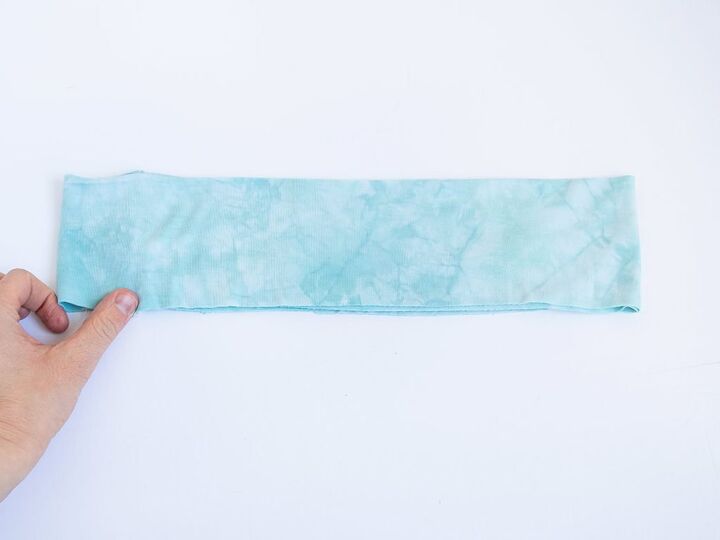
Next, unfold the waistband and stitch the right sides together along the shorter side. This will be your center back seam.
Elastic or no elastic?
If you want to add elastic, now is the time to do it. Elastic will give the leggings a little bit more staying power so they don’t slide down your hips. It’s up to you.
None of my RTW leggings have elastic in them, but I noticed that this rayon doesn’t have as much recovery as the rib knit of those leggings. I’ll be adding elastic before I really start wearing these!
If you do add elastic, measure around your waist where the leggings will sit with a measuring tape. Subtract 1-2″ from the measurement, then cut a piece of 1″ elastic. Sew the ends of the elastic together. Open the waistband so the wrong side is up. Zigzag the elastic to the inside of your waistband, keeping the elastic even with the fold.
Fold the waistband back as you pressed it before and baste the raw edges together.
Add the waistband to the leggings
Match the center front and center back of the leggings together. Add a pin on the sides to make quarter markings.
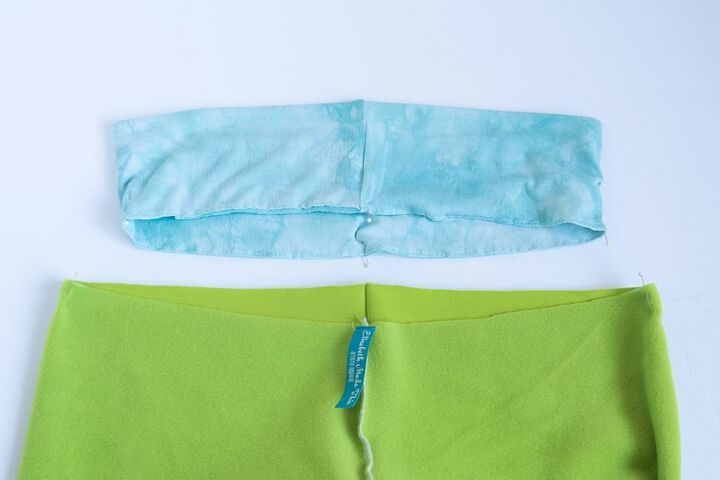
Quarter the waistband with pins as well.
Next match the quarter markings on the pins to the quarter markings on the waistband.
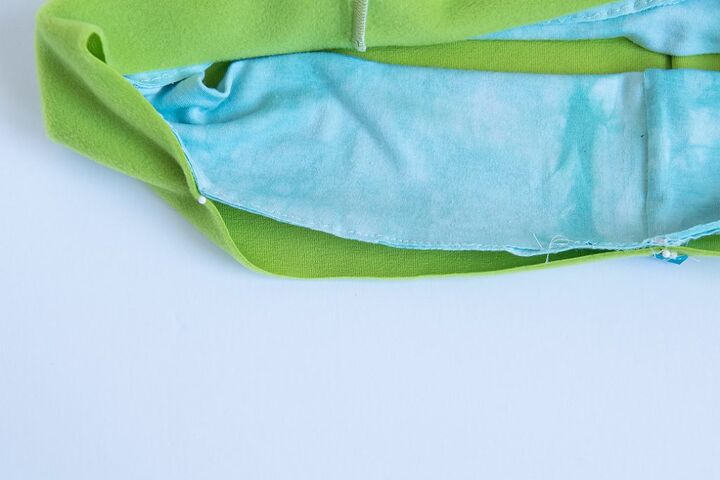
Sewing with the waistband on top, stitch the waistband to the leggings, stretching the waistband only to fit.
And that’s all there is to making your own DIY fleece leggings.
Now that I’ve shown you how to make your own pattern, read on for some other pattern choices if that’s more your jam.
Elizabeth Farr is the writer behind the Elizabeth Made This blog where she shares helpful sewing tips, step by step sewing tutorials and videos to help you explore your creativity through sewing. She has written sewing Eguides and patterns, been a featured teacher at Rebecca Page’s Sewing Summit and Jennifer Maker’s Holiday Maker Fest and her work has appeared in Seamwork and Altered Couture magazines. She also created a line of refashioned garments for SEWN Denver. When her sewing machine isn’t humming, she’s playing and teaching violin, and hanging around a good strategic board game with her husband and 4 kids.
Pages: 1 2
The author may collect a small share of sales from the links on this page.


Comments
Join the conversation