How to DIY Gold Leaf Marbled Polymer Clay Earrings

Hi everyone. In this tutorial, I’m going to show you one of my favorite techniques to make marbled polymer clay earrings. Let's get started.
Tools and materials:
- Clay
- Gold leaf
- Liquid polymer clay
- Cutting tool
- Roller
- X-acto knife
- Sander machine
- Drill or hole puncher
- Earring hardware
- Polyurethane gloss
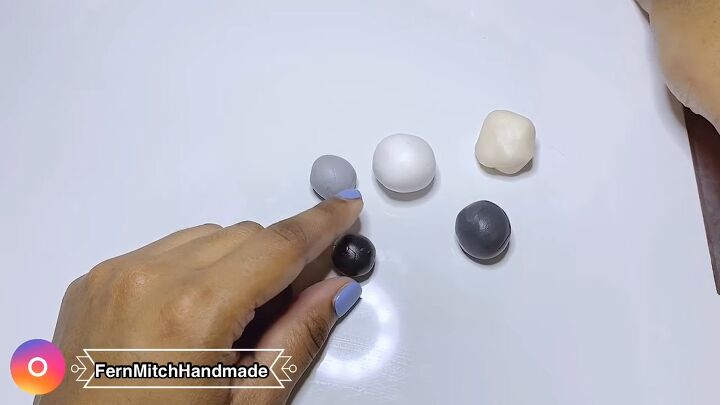
1. Gather your clay
For this marble polymer clay technique, I’ll be using white translucent, regular white, light gray, dark gray, and black clay.
Since I want the dominant color to be white and translucent, I’ll be using larger amounts of those.
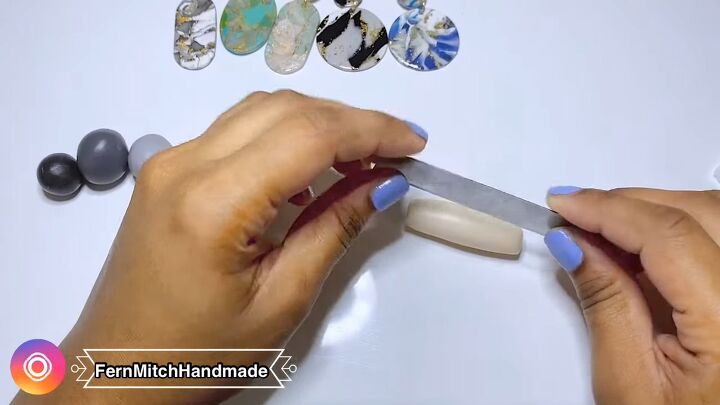
2. Chop your clay into small pieces
Roll your clay into a snake and chop it into tiny pieces.

The tinier the pieces, the closer to marble they will be. It’s important your clay isn’t overly soft and that it doesn’t stick together.
If they are, you can spread them on a piece of paper and place them in the freezer for about ten minutes.
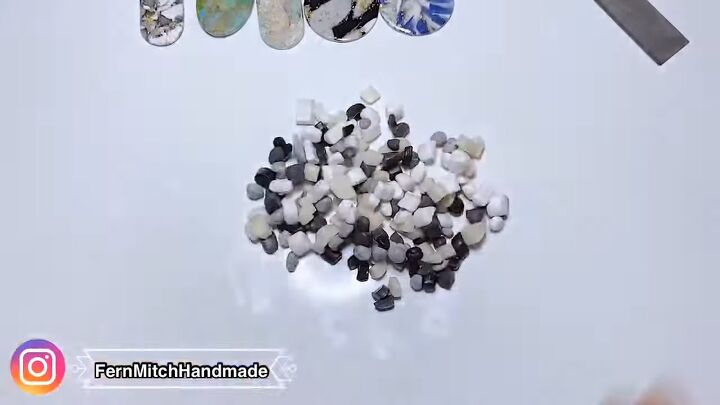
3. Mix the chopped clay
After all of the colors are chopped, mix all of the clay together.
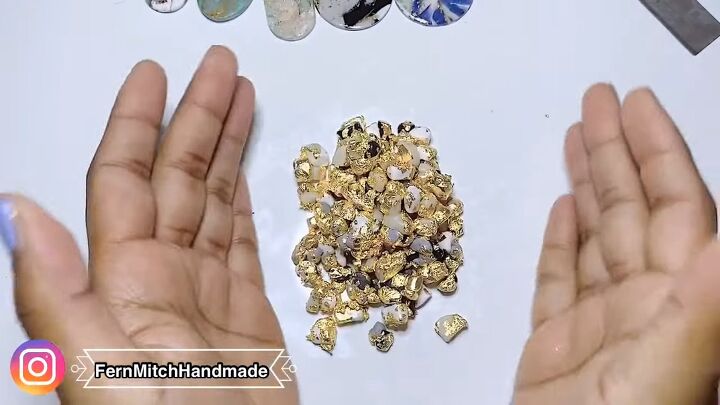
4. Crumble and mix in the gold leaf
To get the polymer clay marble effect, I’ll be using gold leaf but you can also use gold mica powder, acrylic paint, or shaved-off soft pastels.
Crumble and mix in about two sheets of gold leaf. Using gold leaf is definitely less messy than using mica powder as I’d done in a previous tutorial.
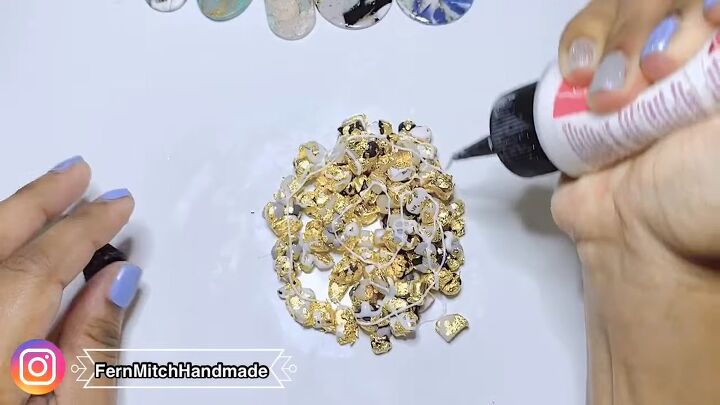
5. Pour on liquid polymer clay
To help the clay stick back together, pour a generous amount of liquid polymer clay over the mixed clay and mix it all together.
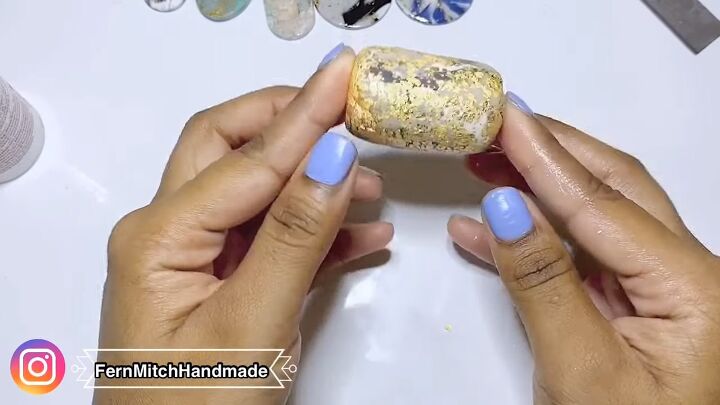
7. Recombine all of the clay
Combine and press all of the clay together then form it into a log shape. You are essentially creating a large cane.
8. Freeze
To make it easier to cut, place the cane in the freezer for about twenty minutes.
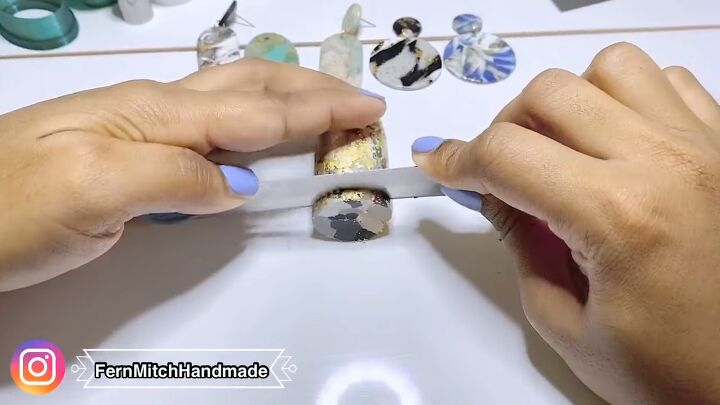
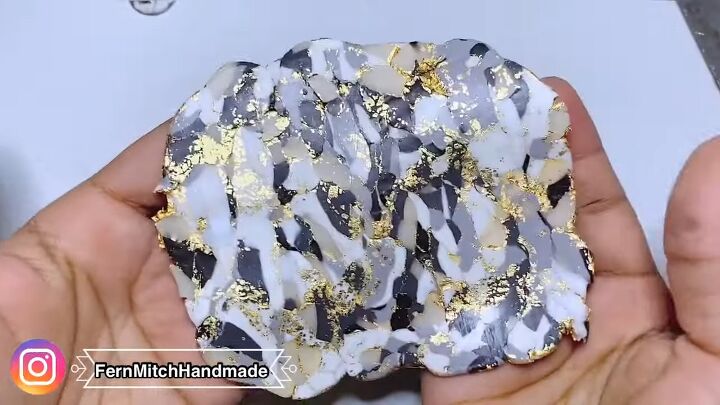
9. Cut the cane into thin slices
After it’s nice and cool, cut pieces that are about 1/8th - 3/16ths of an inch thick.
You can see the beautiful pattern that was created by the mix of colors.
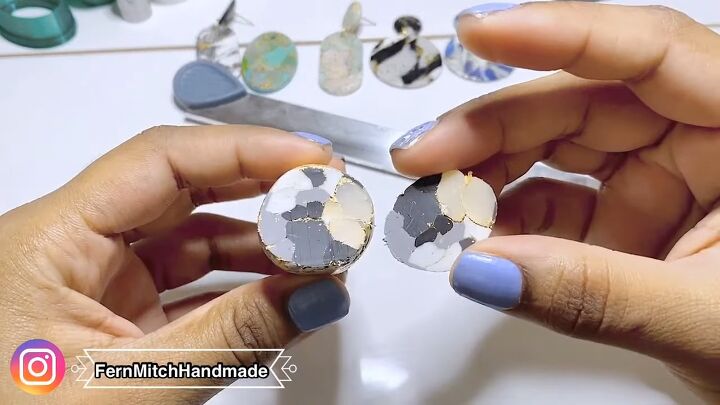
10. Create a slab of clay with the gold concentrated
I enjoy having little concentrated areas of gold.
To create that, pull apart each of the discs where the gold is and create a slab so the gold is more concentrated.
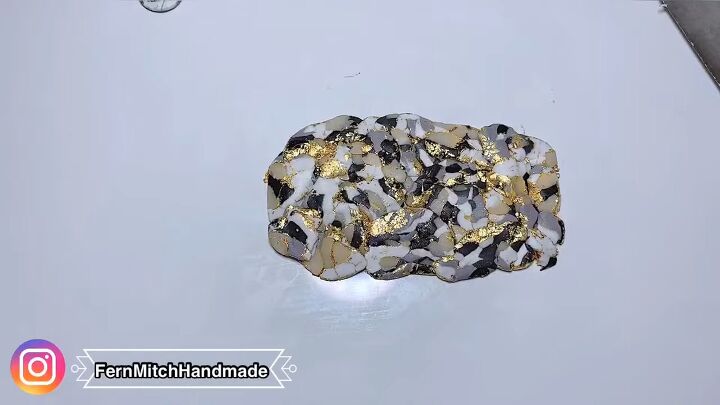
You can use a background sheet of clay, but for this, I usually lay it on itself.
It’s so much fun working on this since it’s like creating a small puzzle.

11. Even the surface of the clay with a roller
Play a piece of paper over the slab of clay and use a roller to even out the surface. Roll and burnish the surface.
It’s important to do this before it goes through the pasta machine.
12. Run the slab of clay through the pasta machine
You can put the slab through the pasta machine whichever way you like.
I run it horizontally first and then run it twice vertically so it goes down in thickness gradually.
I used the third setting which was about 3/32 inches thick and then evened out the surface again.
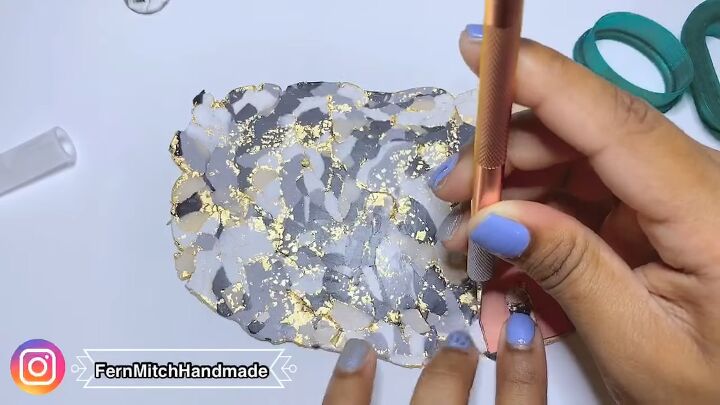
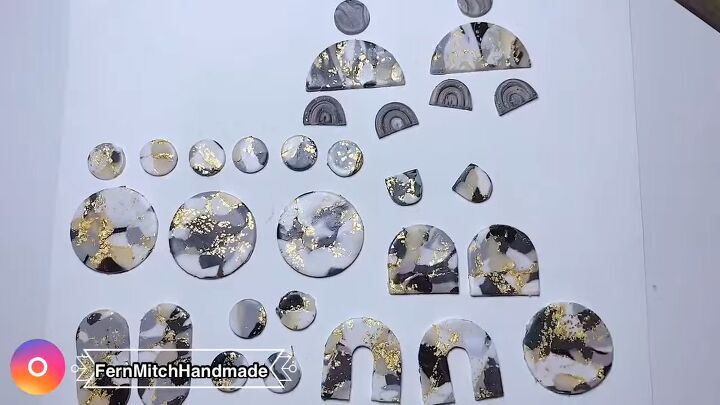
13. Cut out the shapes for the earrings
You don’t need any fancy cutters. I created one using an old business card and used an X-acto knife to cut around the shape.
Be careful when using this technique and make sure to cut them precisely.
14. Gently smooth the sides
To avoid sanding the shapes too much, gently smooth the side with your fingers.

15. Use up clay scraps
If you have leftover clay, roll it in a ball and marble it more, or make a small slab and cut more pieces from it.
16. Bake
Bake all of the pieces in the oven for about an hour at 225-275 degrees Fahrenheit.
I recommend baking samples and figuring out your ideal temperature and time, and don’t forget to use a thermometer.
If I’m using translucent clay, I’ll usually leave it in the freezer after baking so the translucence will be a bit clearer.
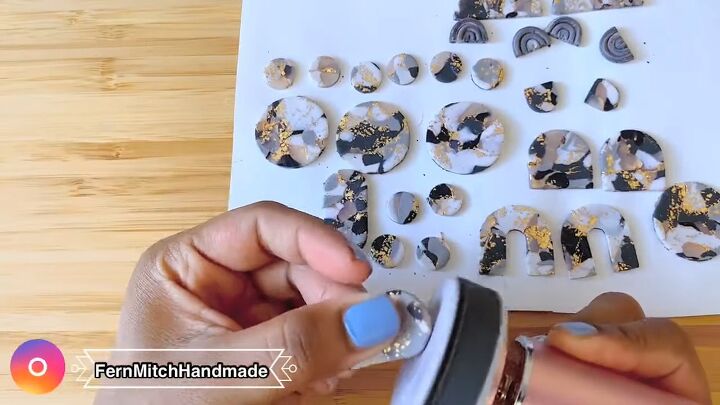
17. Sand
After the pieces are cooled, sand each of the pieces.
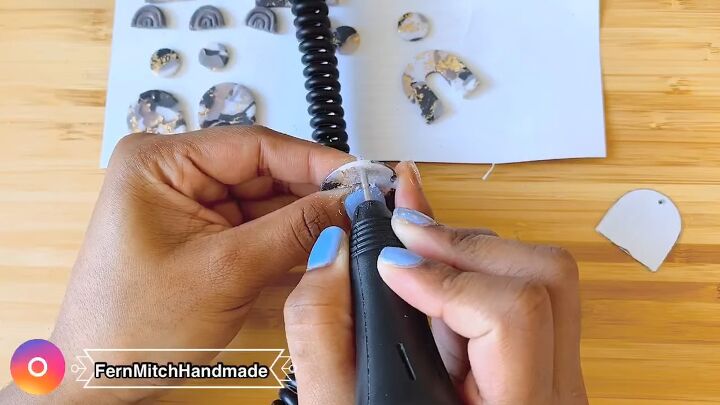
18. Drill holes
Create the holes for the jump rings.
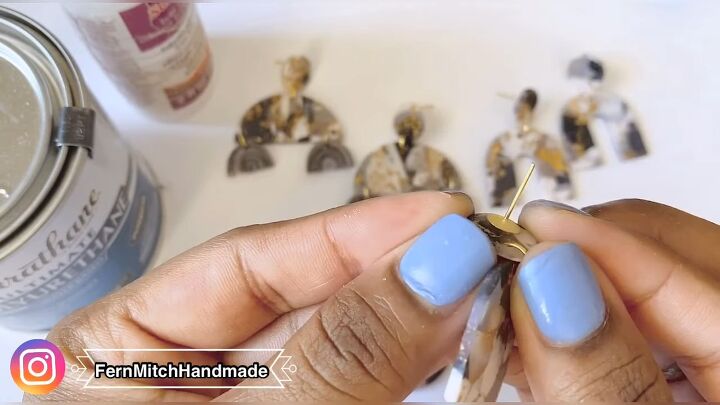
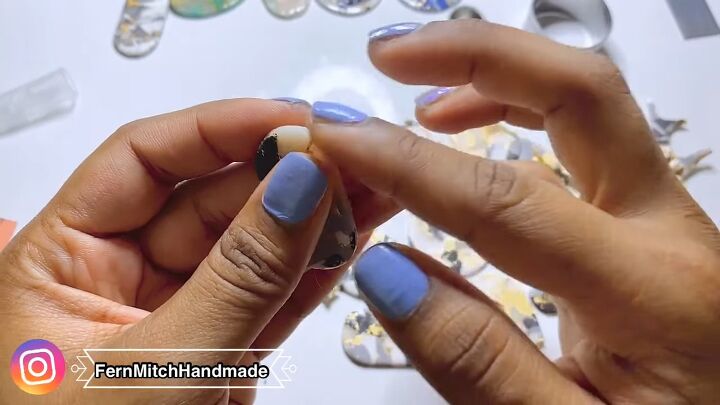
19. Attach hardware
To finish the earrings, put on all of the hardware and attach the earring posts using a bake and bond.
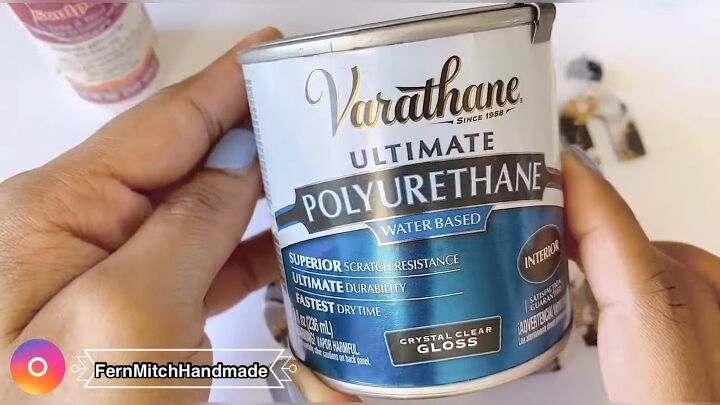
20. Varnish
Since you used gold leaf, you’ll need to varnish with a polyurethane gloss.
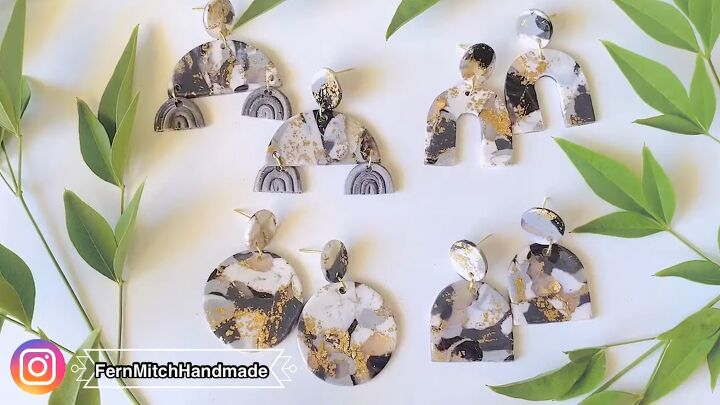
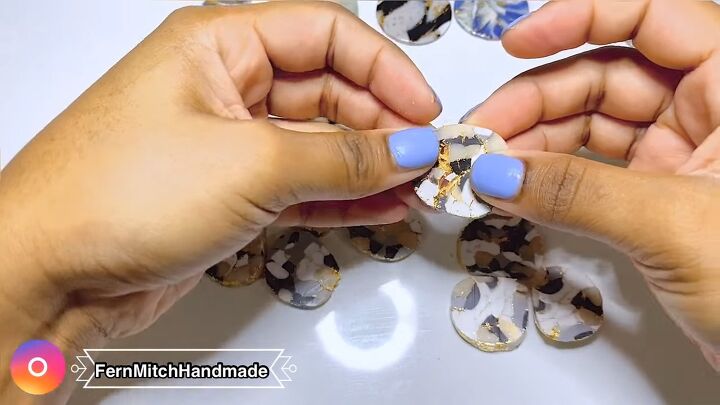
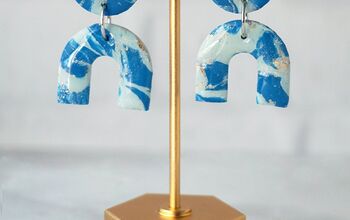
Marbled polymer clay earrings
Here are the finished marble polymer clay earrings! Let me know what you guys think about this marbling technique down below.
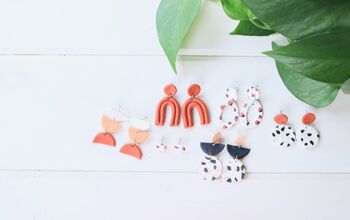
For more DIY earrings, check out my post on Make Your Own Marbled Clay Earrings In a Few Steps.
The author may collect a small share of sales from the links on this page.


Comments
Join the conversation