Make a Marvelous Mrs Maisel's Costume This Halloween

In this tutorial, we’re starting with a 1950s pillbox hat as we construct our Marvelous Mrs. Maisel costume from her iconic season one look. This is such a fun costume to make. Let’s get started!
Tools and materials:
- Paper
- Pencil
- Measuring tape
- Scissors
- 18 gauge wire
- Fabric
- Pliers
- Binder clips
- Interfacing
- Needle and thread
- Sewing machine
- Fleece
- Sewing pins
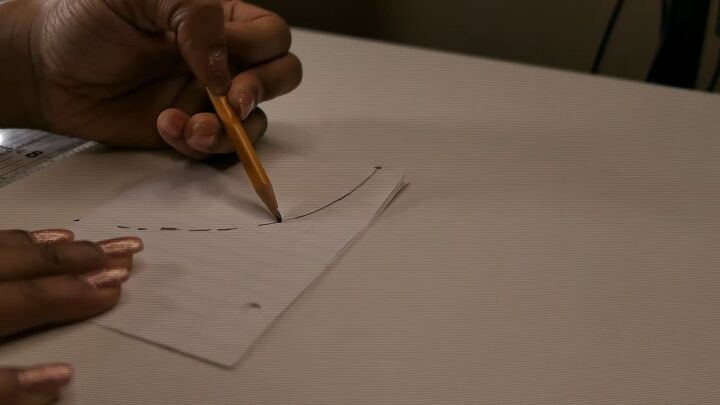
1. Create a circle
To construct the pattern, fold a piece of paper into quarters. Then measure from the folded corners 3 inches from one and 3.5 inches from the other to create a circle for the hat.
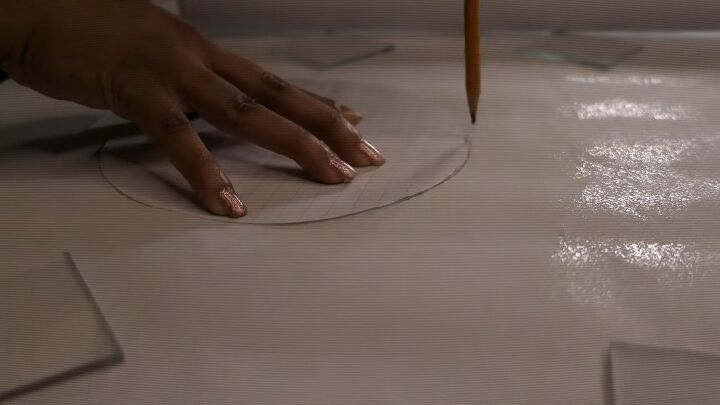
2. Cut out the circle
Once you have the circle formed, cut it out and then trace it onto the interfacing and cut that out as well.

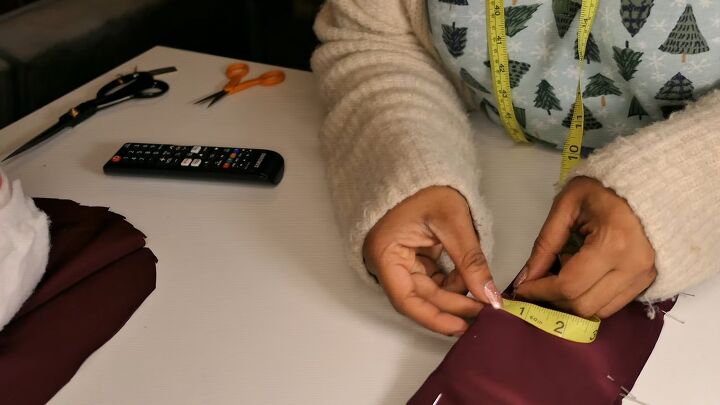
3. Cut out the band
Measure around the circle to get the band measurement and cut that out of the interfacing as well.
I made my band 3 inches wide, but anywhere from 2.5-4 depending on your personal preference, will be just fine. As for the length, it will be an inch longer than the circle circumference.
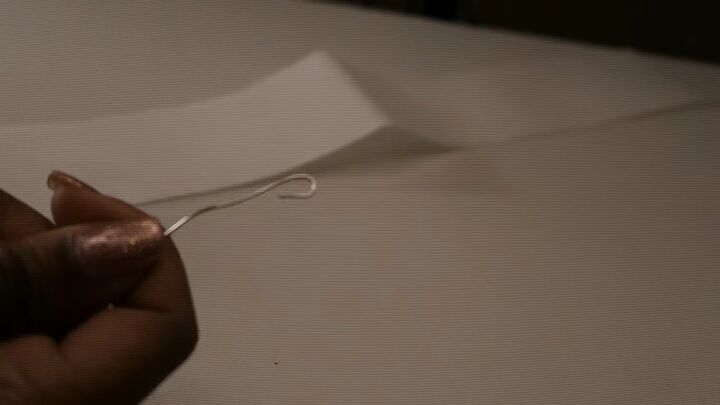
4. Cut and shape your wire
Next, cut two pieces of 18 gauge wire. One should be long enough to go around the circle and the other long enough to go around the band.
Use pliers on the end to create a sort of flat loop. This will act as an anchor to hold everything into place, so make sure it’s long enough that they overlap by at least an inch.
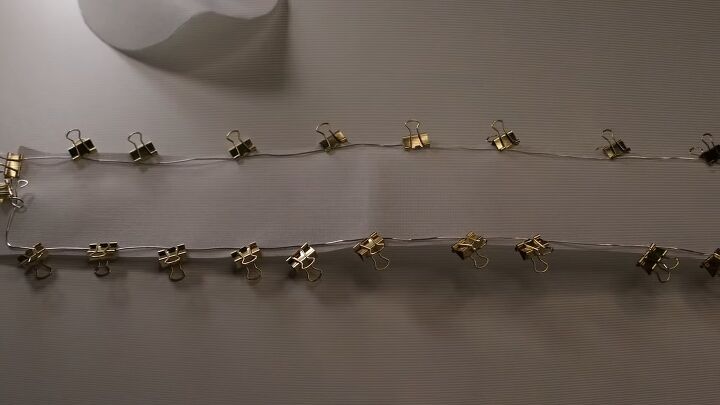
5. Clip the wire and sew
Use binder clips to hold the wire in place on the band and circle and then hand sew it down.
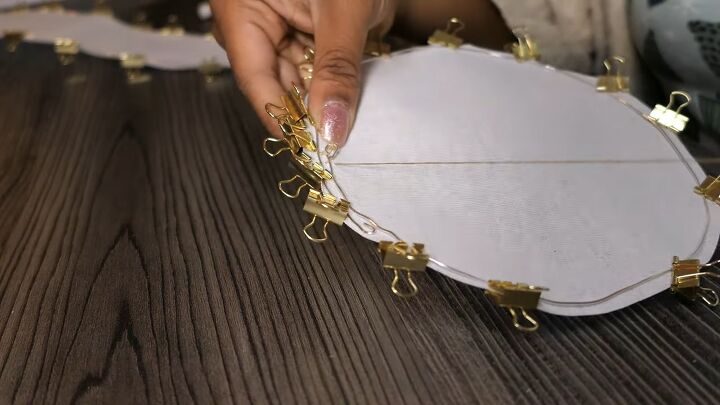
I used tight stitches but it’s not necessary and can be more difficult when pushing the needle through the stiff interfacing.
6. Pin the lining to the interfacing and sew
Cut out the circle and rectangle lining pieces big enough to cover the interfacing pieces.
You want the right side to be visible inside of the hat, so make sure you have the wrong side touching the wire pin. Pin it in place and then whip stitch it down.
7. Sew the band together
Wrap the band around the crown and sew where it overlaps.
8. Pin the crown and band together
Pin the crown to the band. You should be looking at the interfacing.
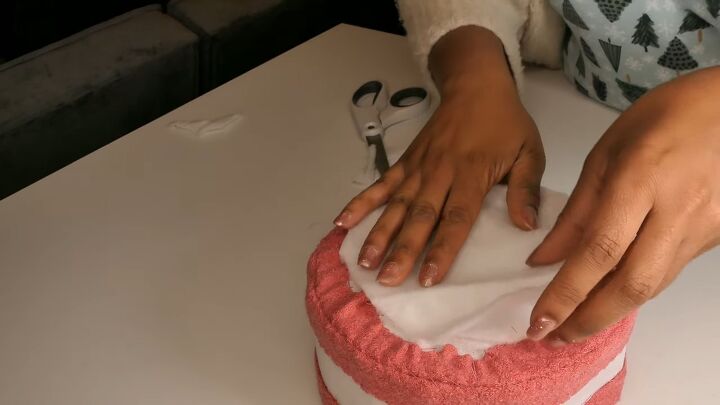
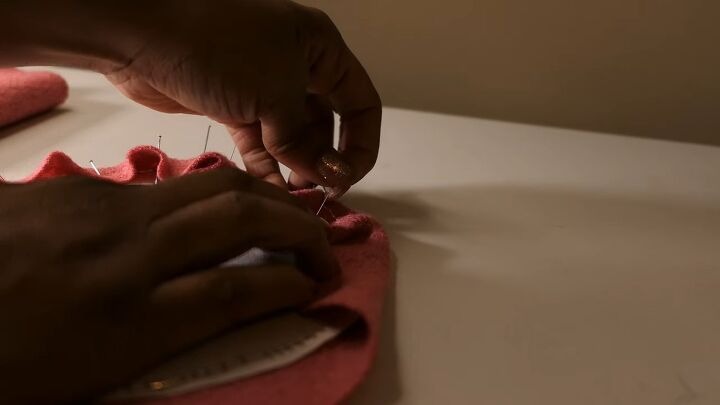
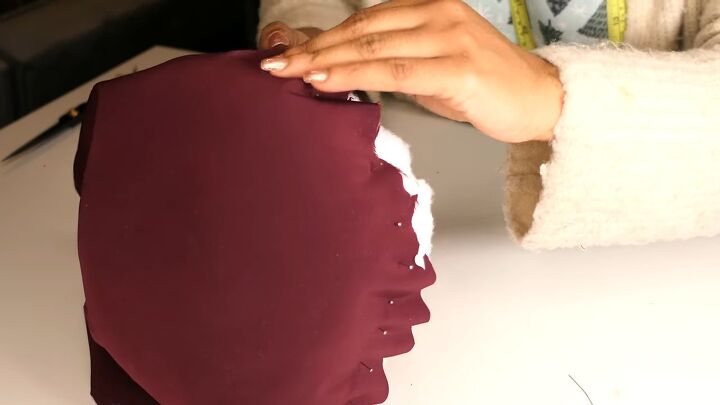
9. Pin circles of fleece over and around the hat
Now let's break out the fleece to give this some shape.
Cut several circles of different sizes and stack them together to mold the hat, give it some shape, and get rid of the sharp corners.
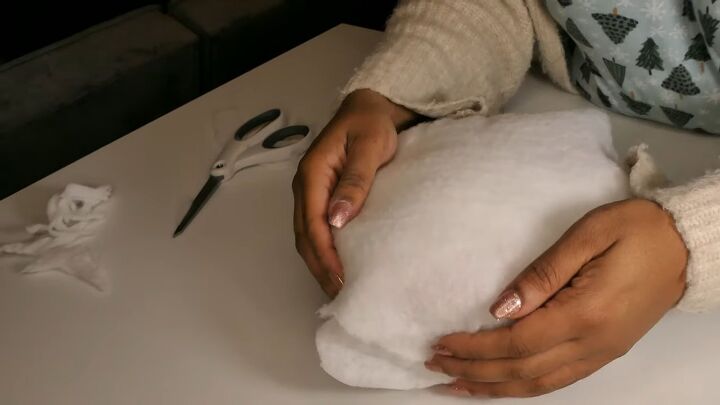
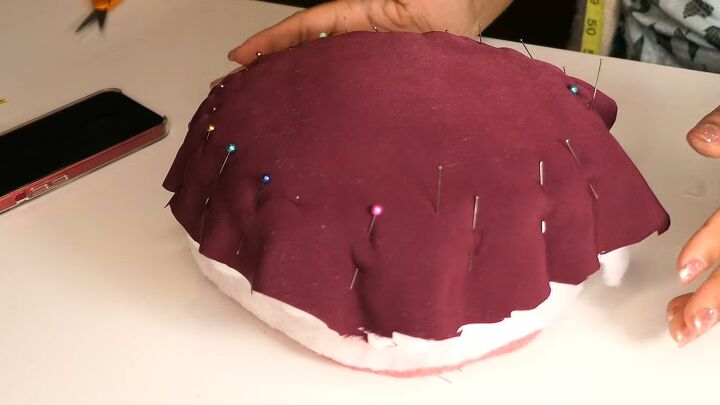
Place a strip around the side and then a larger circle over the entire thing to hold it all into place.
There’s no right or wrong as to how much fleece you should be adding and what makes this a great first project is that there’s such a huge margin for error.
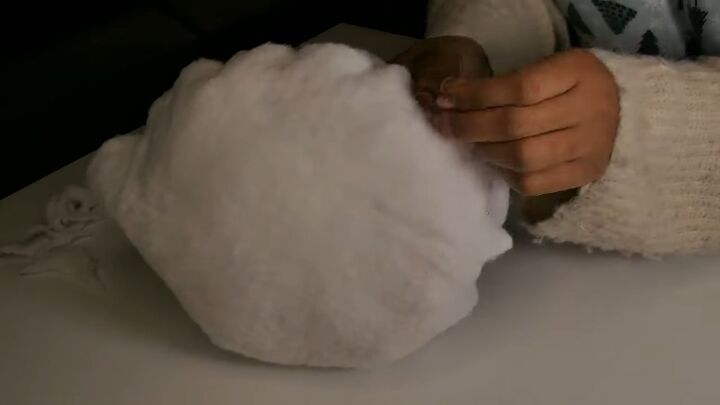
As you’re pinning it down, smooth it out.
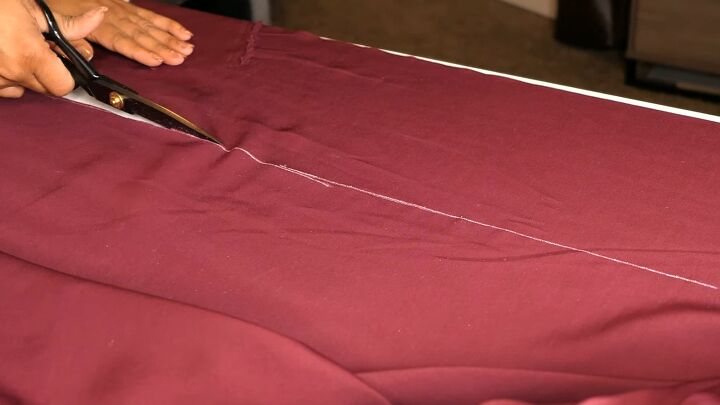
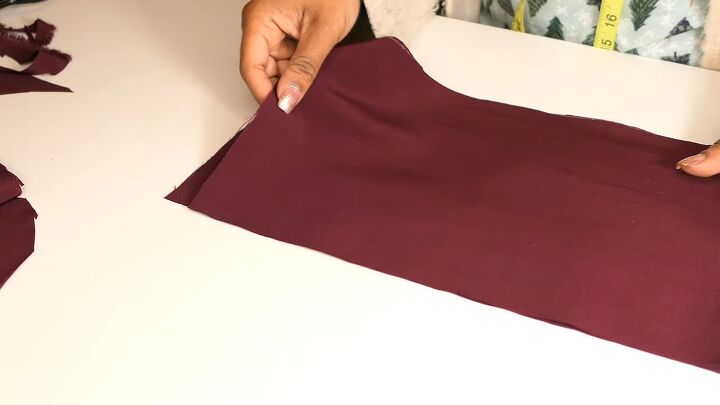
10. Cut out the top layer of fabric
The top layer of fabric should be twice the width of the piece you cut out of the interfacing.
This will be the fabric to cover. Measure around the hat to get the length measurement since the size will have changed a bit based on the padding you added.
11. Fold and sew the fabric
Fold it in and stitch it together with a half an inch seam allowance. I used a sewing machine for this part.
Then, fold it together wrong sides touching and sew a half inch away from the folded edge.
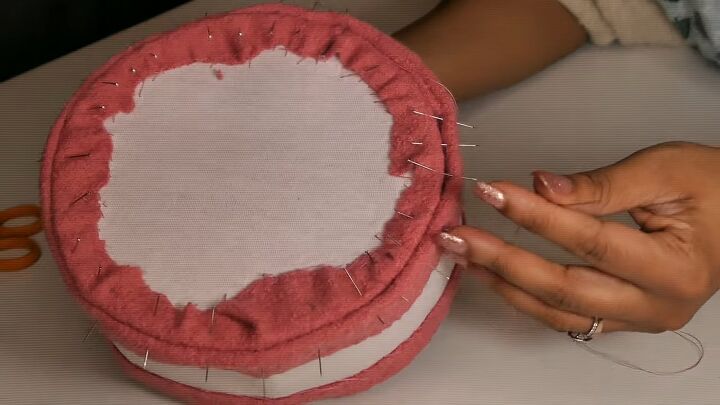
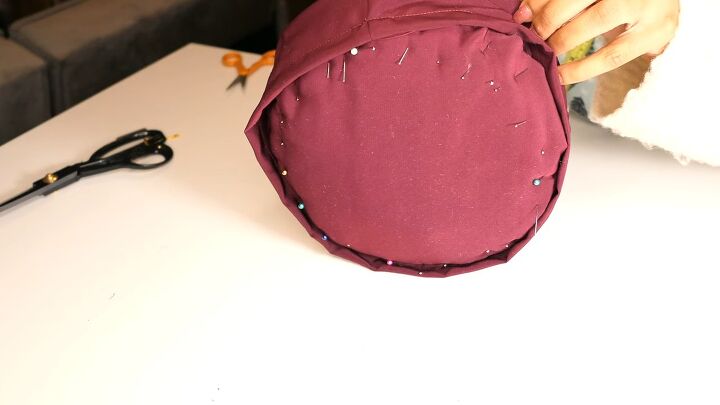
12. Pin fabric over the crown
Cut a circle of fabric big enough to cover the crown and smooth it out as you pin it in place.
This is what it should look like. You want the pins sticking up so that when you slide the band down over it, you can see all of the pins and be able to remove them.
13. Place the band on and stitch it together
Slide the band over the top and overlap the fabric of the crown. Once the band is on, you can remove the pins as you hand stitch in place.
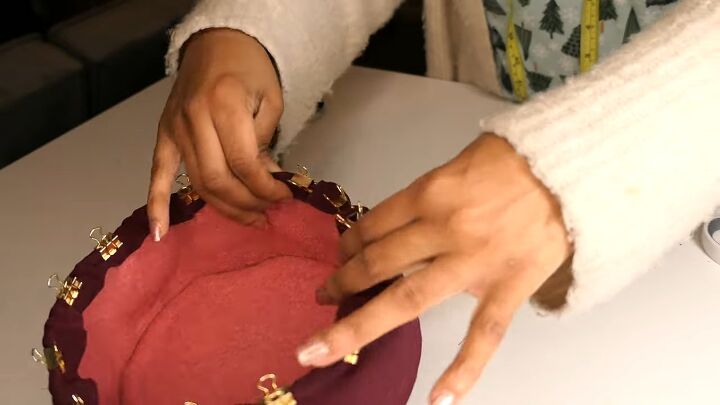
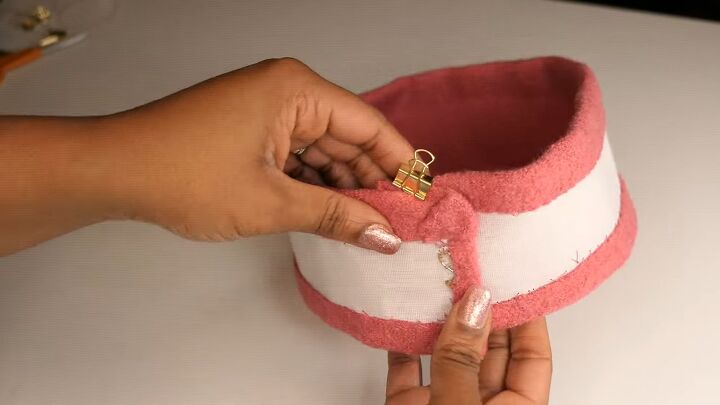
14. Sew the hem inside the hat
For the inside, roll down the hem and use binder clips to hold them in place and then stitch it down.

Marvelous Mrs Maisel costume: DIY 1950s pillbox hat
Here’s the finished Marvelous Mrs. Maisel hat and a sneak peek of the complete Marvelous Mrs. Maisel Halloween costume.
I’m just using a comb to secure the hat to my head, and that’s it! Let me know what you think about this vintage hat tutorial down below.
The author may collect a small share of sales from the links on this page.


Comments
Join the conversation