How to DIY Cute Neon Pink Nails With a Fun Striped Design

Looking for a new nail design?
Try out this simple spring/summer manicure with this cute, neon pink nail design. Just follow along with this step-by-step tutorial.
Tools and materials:
- 2 striping brushes of different thickness
- Base coat
- Pink polish
- Sheer, pink tinted polish
- Acrylic nails
- Acrylic nail stand
- Nail lamp
- Paper towel
- Alcohol
- White art gel
- Matte top coat
1. Prep the nails
Paint a base coat on all of your acrylic nails and cure.
2. Paint the pointer solid
For this manicure, we’re going to play with solids, negative space and stripes in varying directions.
Starting off with the simple option, paint the pointer nail solid pink.
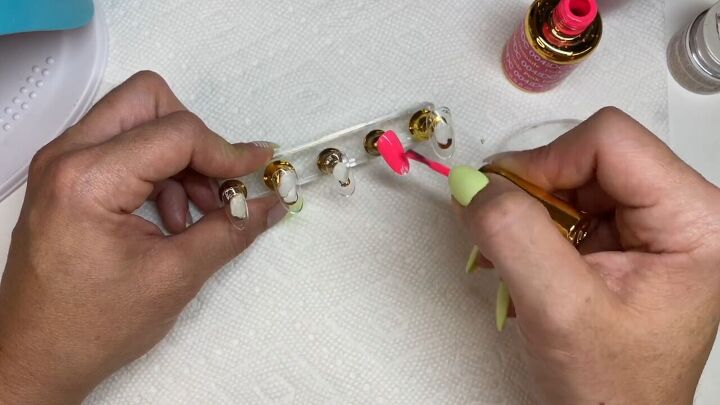
3. Paint the rest of the nails with a sheer pink polish
Now just paint a coat of the sheer pink color on all the rest of the nails.
This will be the backdrop for the negative space, behind the strips or on its own. Then cure the nails.
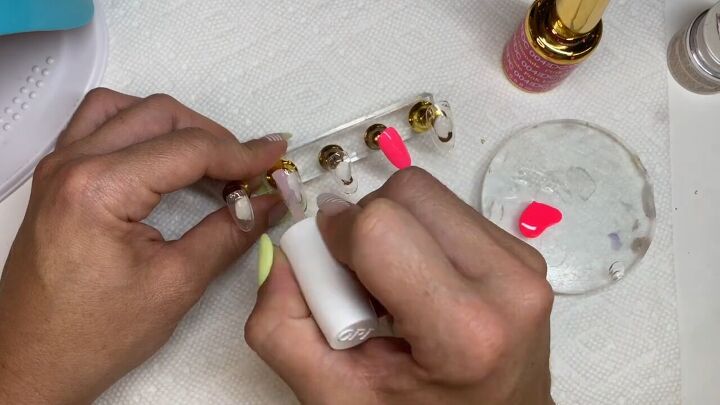
4. Apply a second coat
Next, go in and apply a second coat of pink polish to the pointer. Leave the sheer pink nails with just one coat.
5. Remove the sticky layer on the sheer pink nails
Wipe the sheer pink nails with a paper towel dipped in alcohol to remove the sticky layer.
This is important to allow you to later create nice clean edges when you add the geometric details.
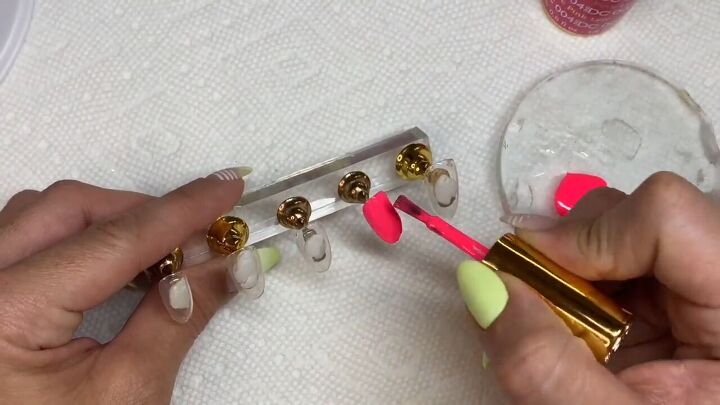
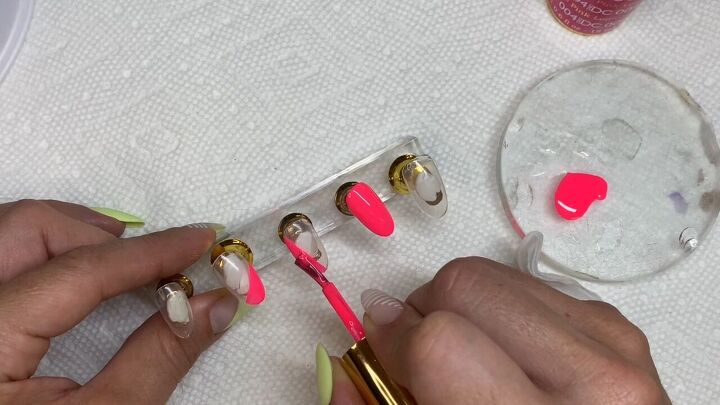
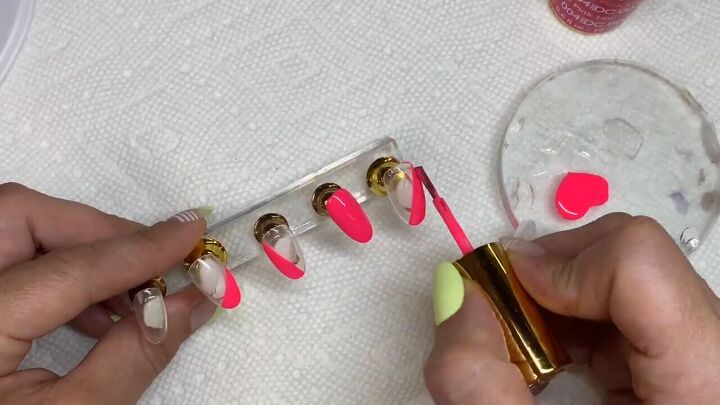
6. Paint angled details and cure
Next, use the neon pink to paint angled designs at random on the other nails.
Just make sure to change up the starting point and direction for a varied, more dramatic look.
Then, if there are any edges that you need to even out, go in with your striper brush to fix them. Then cure the nails.
7. Apply a second coat for the angled details and cure
Go over the neon pink details you just painted a second time, following the same shape. Then cure again.
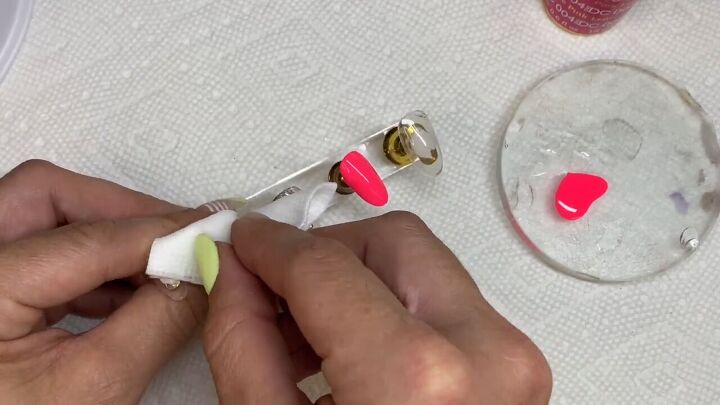
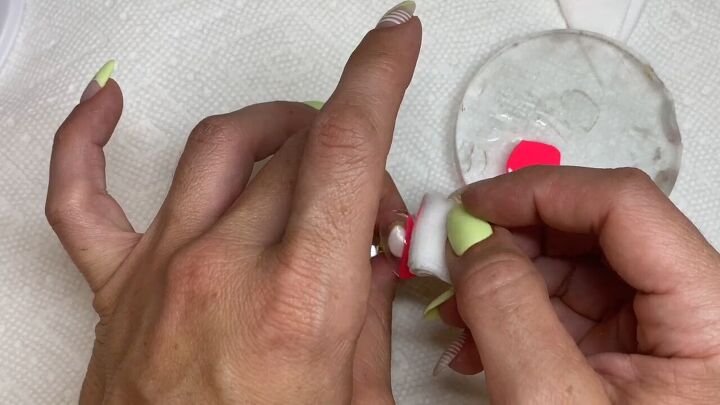
8. Remove the sticky residue
Like before, wet a paper towel with alcohol and go over the newly painted nails to remove the sticky residue.
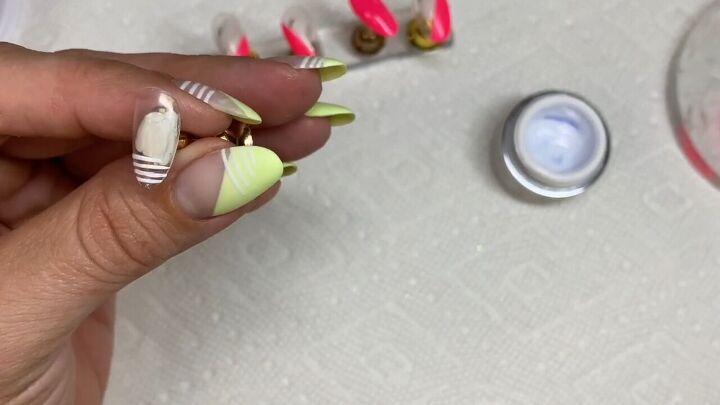
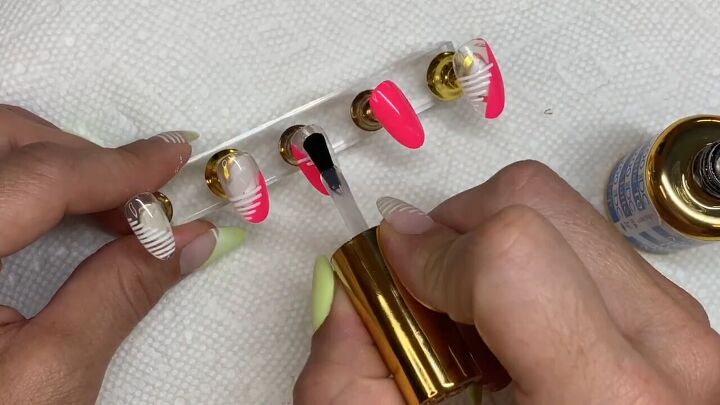
9. Paint line details and cure
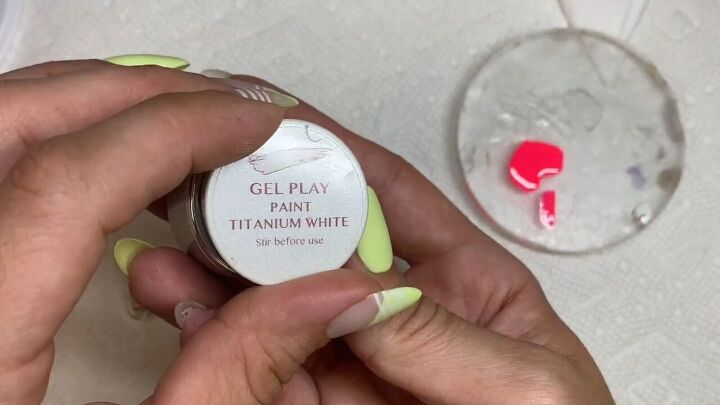
When painting on lines, it’s best to use a very thick polish.
I recommend using art gels, which come in these pod containers.
If you don’t have that, you can use a thick white polish. Just put a small amount on a dish and use your striper brush.
Use your striper brush to paint on lines in varying directions and portions of each nail, excluding the solid neon nail.
This part is open to your creativity. My main tip is to make sure your first line on each nail is as straight as possible since that’s the line you will follow to draw the rest of the lines.
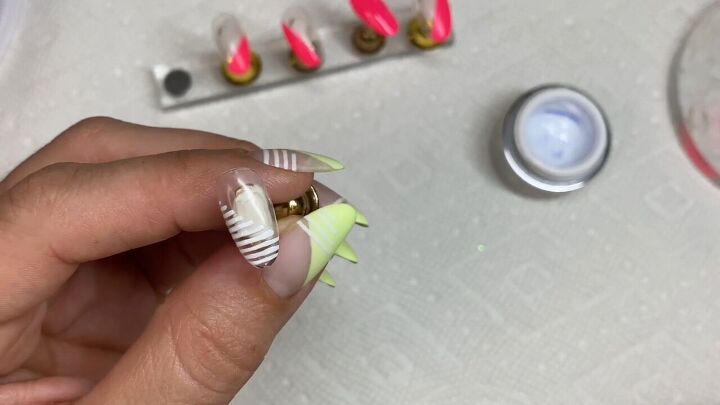
For this nail, I started at the bottom, working my way up. At one point I chose to make the lines stop shorter. If you do this, make sure the end of the line is nicely square.
From that point, each line that I make will be a little bit shorter than the last.
Cure each design right after you finish it (don’t wait to finish the lines on all the nails).
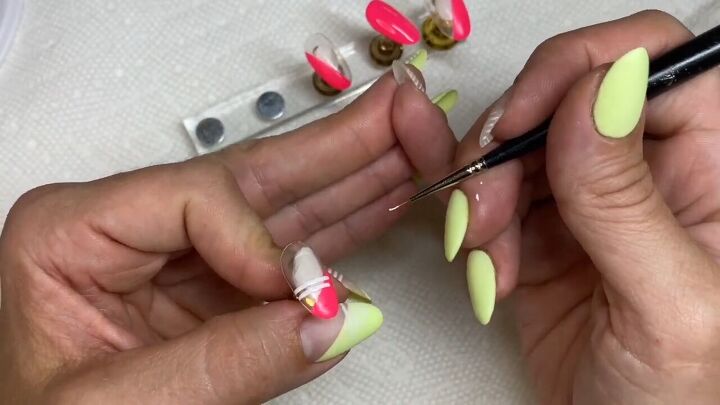
For some nails, you might want to cross over the neon pink section, like I did with this nail.
Another tip: If your hands are feeling unstable, create a support by placing your pinky on your other hand while painting the details.
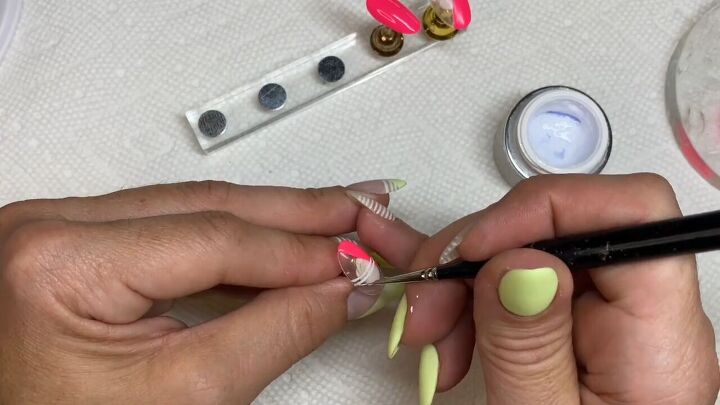
Continue making strips on the rest of the nails however you like!
Go over any lines that aren’t as dark as you’d like them to be before curing.
10. Apply a top coat to all the nails and cure
I chose a matte top coat but you can totally go with glossy if you prefer. Don’t forget that final cure under the lamp.
Here’s the finished result of these super fun, neon pink nails with contrasting lines.
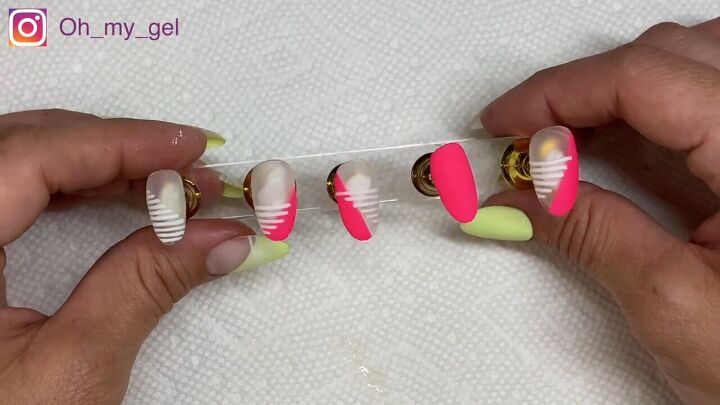
Neon pink nails with cute striped design
This neon pink nail design is perfect for spring and summer.
It’s a little bit sporty because of the lines. You can change up the colors, gloss and directions of the solid color for a truly unique manicure.
For more nail tips, check out my post of how to fix a broken nail in 6 easy steps.
The author may collect a small share of sales from the links on this page.


Comments
Join the conversation