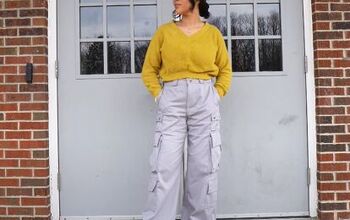
How to DIY Comfy Paperbag Pants

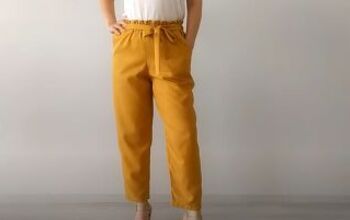
Paperbag pants are a very popular style. in this tutorial, I'm going to show you how to make culottes with the same feature at the waist.
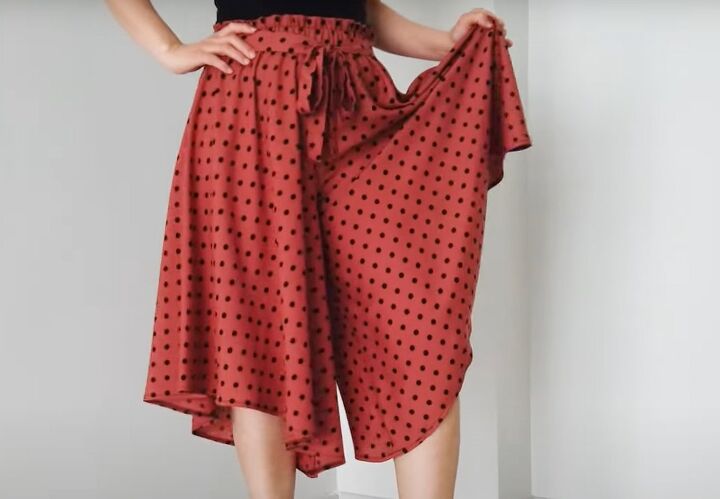
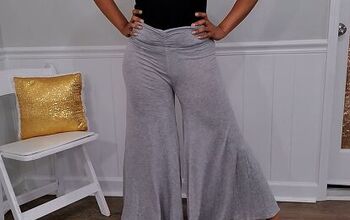
These are very full, flowing culottes and really need a lightweight fabric such as viscose to hang properly.
As usual, my pants sewing patterns are drafted directly onto the fabric, so they're easy for even a beginner to follow.
Tools and materials:
- 66 inch (165 cm) woven viscose
- 25 inches (64 cm) of 1.6 inch (4 cm) wide elastic for the waist
- Tailor's chalk
- Ruler
- Measuring tape
- Pins
- Scissors
- Large safety pin
- Plastic straw
- Sewing machine
- Serger (optional)
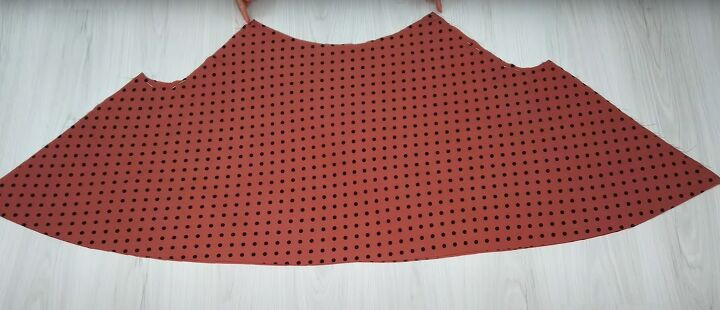
1. Cut out pants
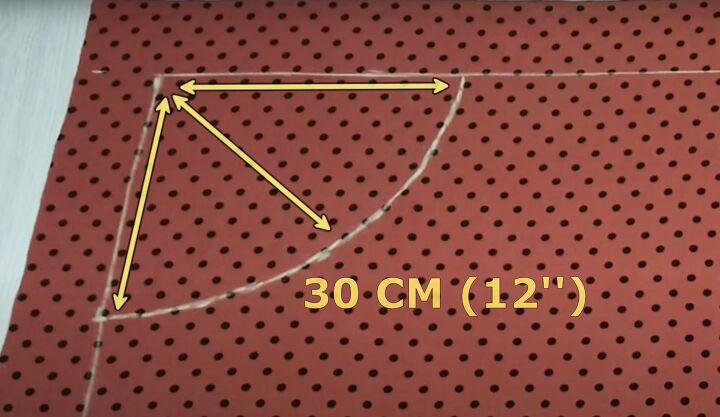
Cut a 59 inch (150 cm) square from your fabric and fold it diagonally.
Draw a line 4 inches (10 cm) from one of the open edges and a second line 3 inches (8 cm) from the other.
Draw a quarter circle with a radius of 12 inches (30 cm) from the point where the two lines meet in the corner.
Mark a point 12 inches (30 cm) from the end of the quarter circle along the first line you drew.
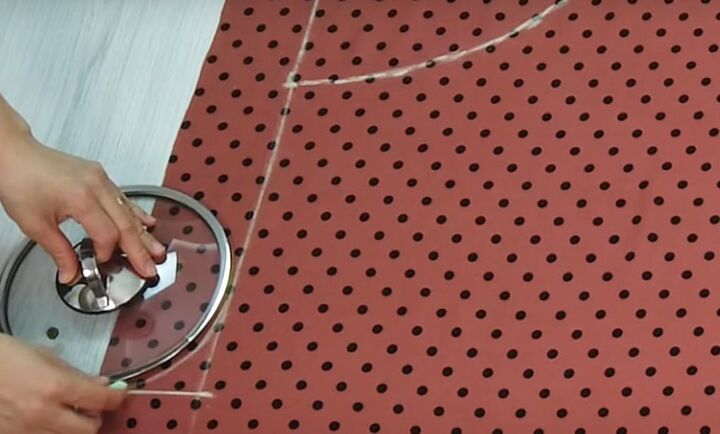
Extend the line to the open edge and use a pan lid or plate to draw a curve in the junction of the two lines. Repeat along the second line.
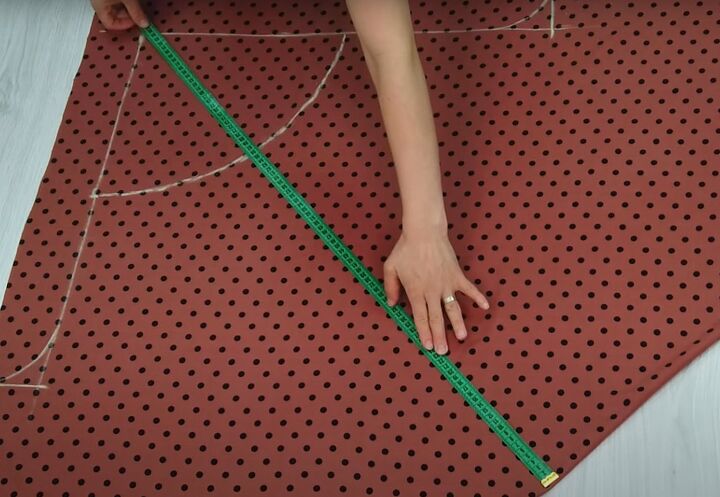
Measure 36 inches (90 cm) from the junction of the first two lines to the folded edge and mark.
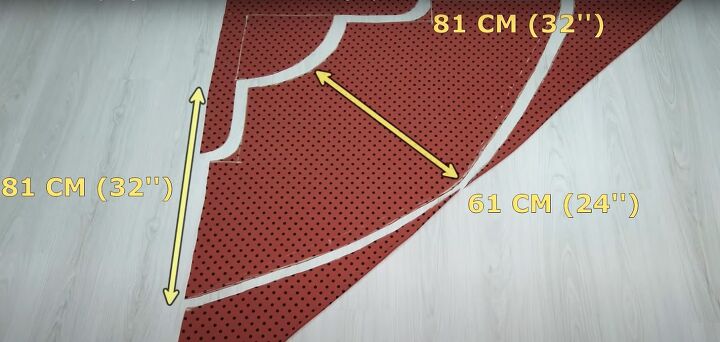
Measure 32 inches (81 cm) from the quarter circle along both open edges and mark. Join the three marks and soften the line with a curve.
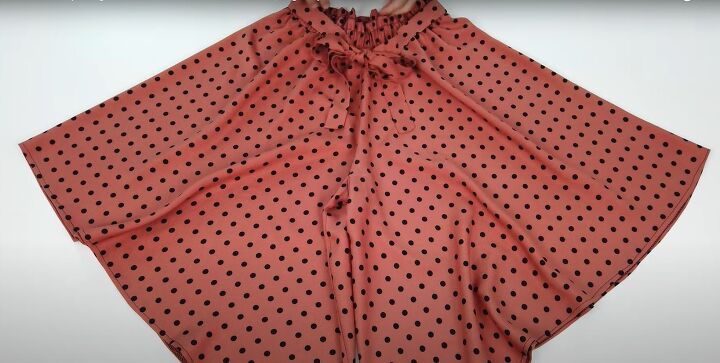
Cut out the pants.
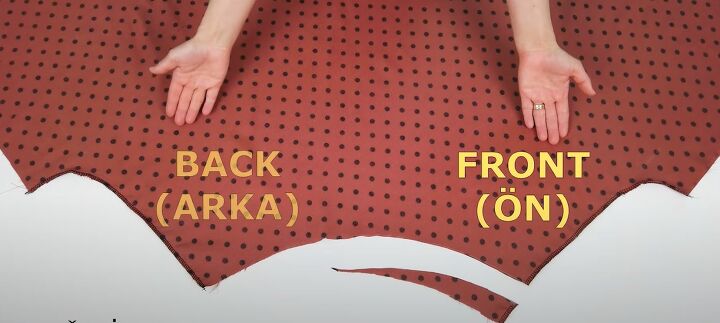
2. Sew crotch and inner leg seams
Pin the crotch seams together on each side. Sew the crotch seams and finish the raw edges.
Mark 1.5 inches (3.5 cm) down from the waist edge along one of the crotch seams and taper it to about half way along the curve. Cut it out to slope the front waist edge.
Refold the pants so the crotch seams match and pin and sew the inner leg seams.
3. Make the waistband
Cut a strip of fabric 40 inches (102 cm) long by 5 inches (12 cm) deep.
Join the short edges into a circle.
Fold it in half lengthways with wrong sides together and mark the width of the elastic from the seam allowance.

Sew a row of stitches along this line.
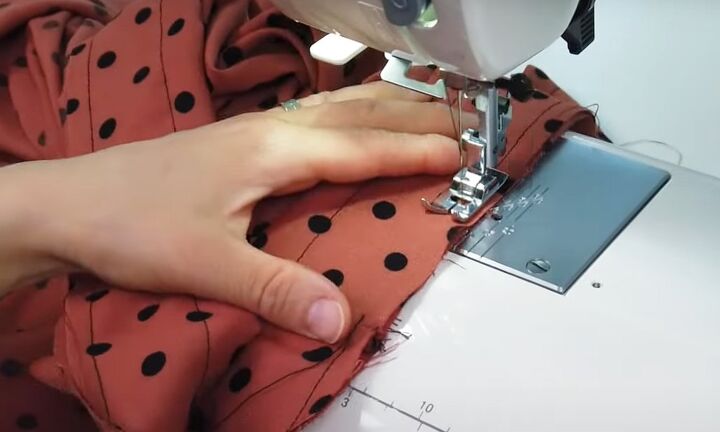
Sew the raw edges of the waistband to the edge of the culottes with right sides facing, along the seam allowance, leaving an opening to insert the elastic.
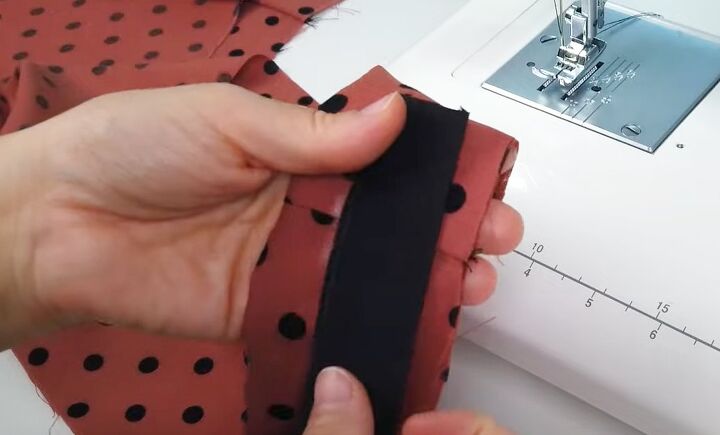
Use a safety pin to thread the elastic through the waistband.
Overlap the ends of the elastic and sew them together securely, then sew the opening closed.

4. Make the belt
Cut two 3 inch (8 cm) deep strips of fabric 27 inches (68 cm) long.
Fold the belt in half lengthways with the wrong sides together and sew the long edge. Sew one of the short edges at an angle and trim the seam allowance at that end.
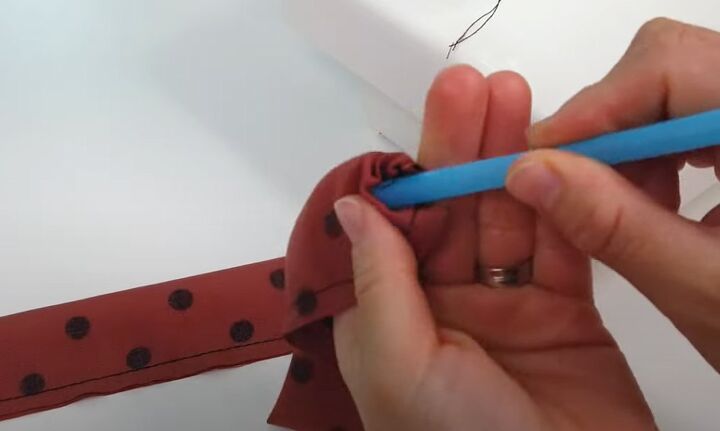
Use the plastic straw to push the closed end into the belt and turn it right side out. Repeat for the second belt piece and press both.
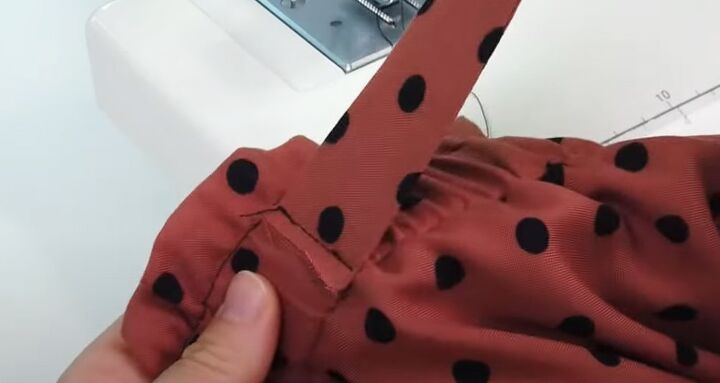
Attach the open edge of the belt sections to the waistband half way between the center front and center back on each side, with the open edge facing the back of the pants.
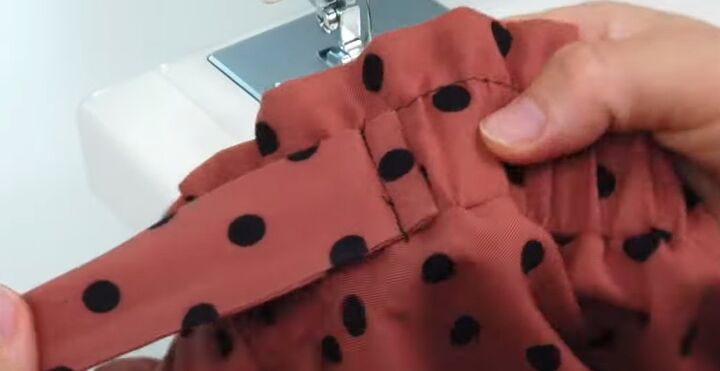
Fold the belt towards the back and sew it down, so the stitching will be hidden when the belt is tied at the front.
5. Hem
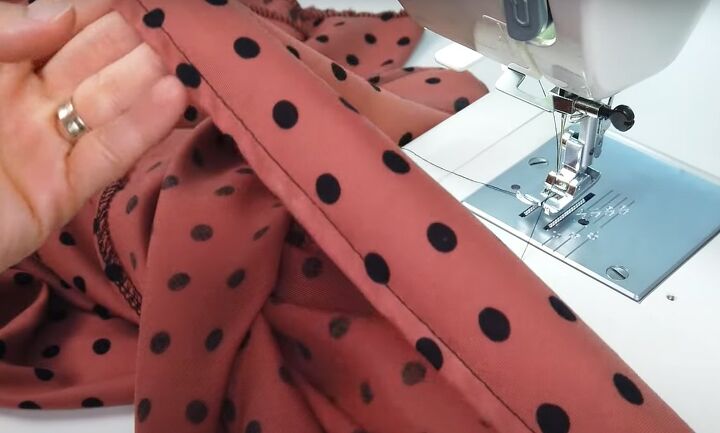
Turn up and sew a narrow double hem at the lower edge of each leg.
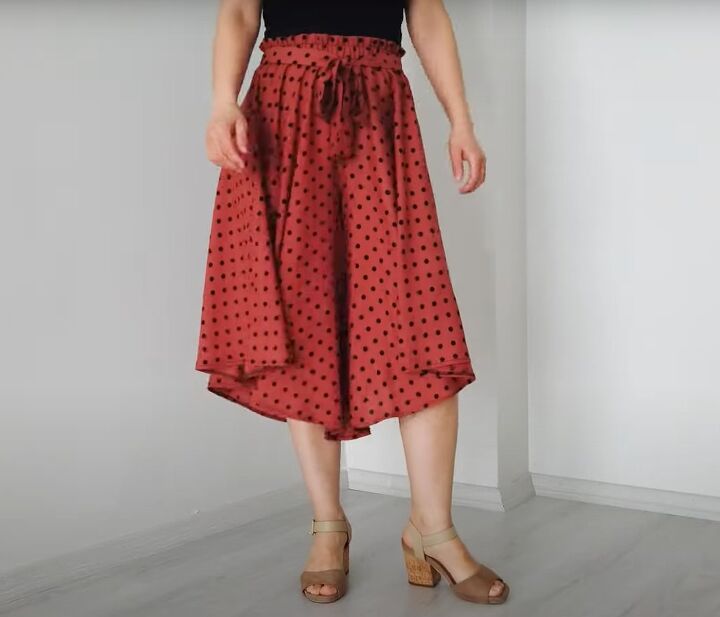
DIY paperbag pants
My DIY pants turned out perfectly, with a lot of fullness in the legs.
I love the tie belt because it really draws attention to the paperbag waist.
This is a style that would work well in any lightweight fabric for summer and would always look graceful and elegant.
Please drop me a comment to let me know if you liked the design.
Follow me on TikTok: @tugbaisler and check out my post on How to DIY a Cute Twist Hair Band.
The author may collect a small share of sales from the links on this page.


Comments
Join the conversation