Looking for Comfy Loungewear? Try This DIY Wide-leg Pants Tutorial

Who doesn’t love high-waisted stretchy loungewear style wide-leg pants? They’re comfortable, beautiful, and flattering to all figures. If you’ve thought they were too complicated to make, here is an amazing DIY wide-leg pants tutorial. They are easier than you think!
I’m using a wide-leg pants sewing pattern called Jade Pants and the fabric I’m using is a sweater knit fabric with 2-way stretch. You can use rib knit, ponte, or French terry. Let’s get started!
Tools and materials:
- Jade Wide Leg Pants Sewing Pattern
- 1¾ to 2½ yards of knit fabric
- Interfacing (fusible) strips for pocket stabilization
- 1½ yards of 2-inch wide elastic
- Glass head pins
- Matching thread
- Scissors
- Sewing machine
- 4-thread serger
- Iron
- Clapper
The Jade Pants pattern has tons of information in the instructional e-book that comes with the pattern. You’ll find pattern printing and cutting and fabric cutting and layout guides to help you.
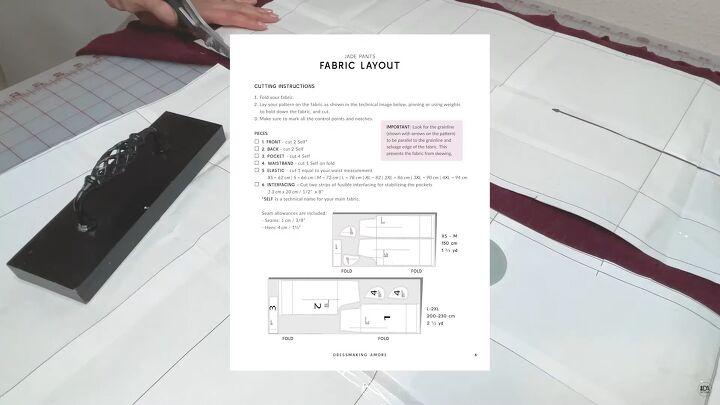
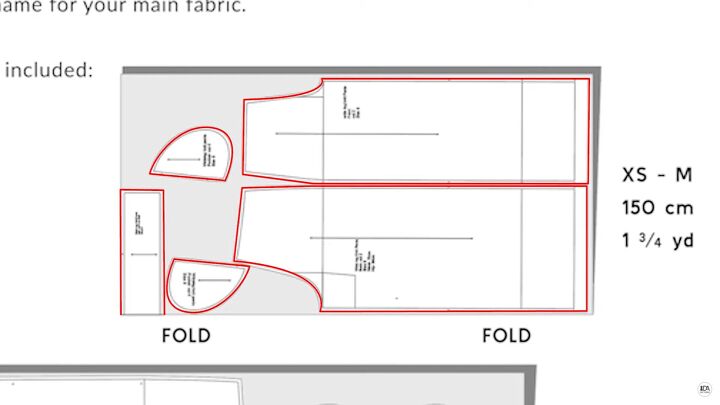
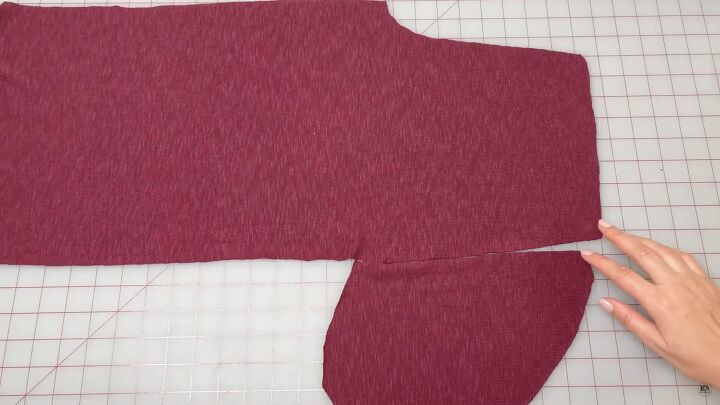
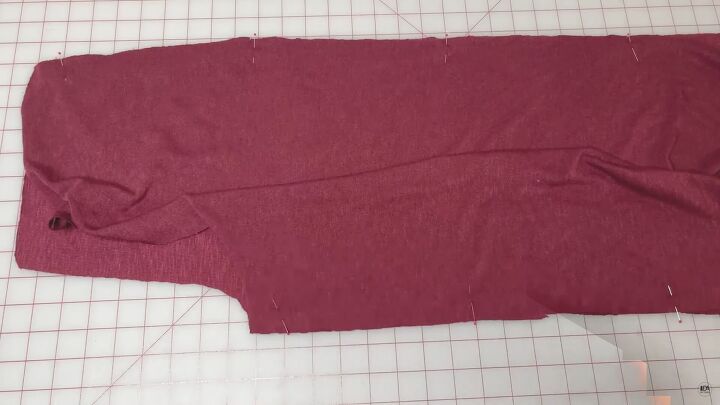
1. Cut the pattern
Follow the instructions on the pattern to cut the front, back, waistband, and pockets.
Cut the pieces. Make sure to transfer all of the marks with small snips or clips on the fabric.
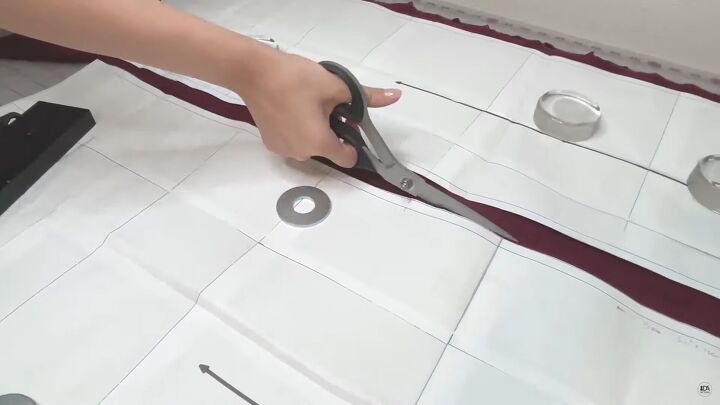
Lay the pattern on the fabric and cut the pieces as marked.
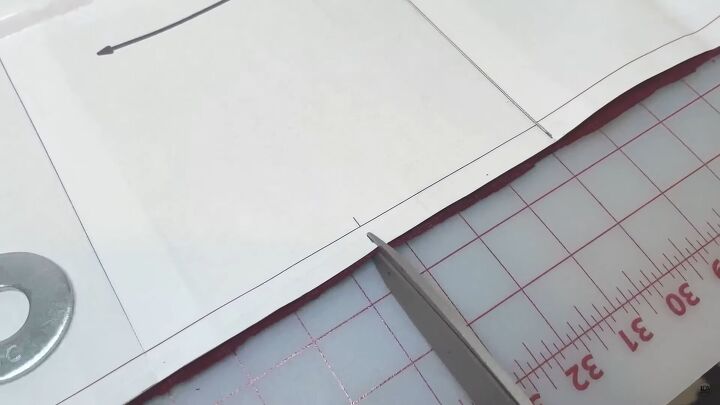
Make sure to clip the marked areas.
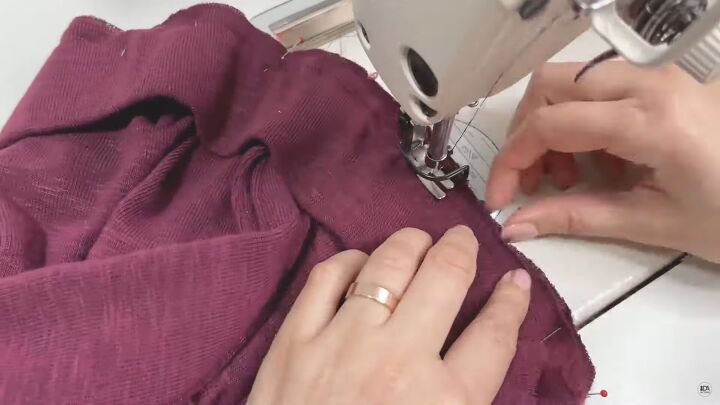
2. Make the pockets
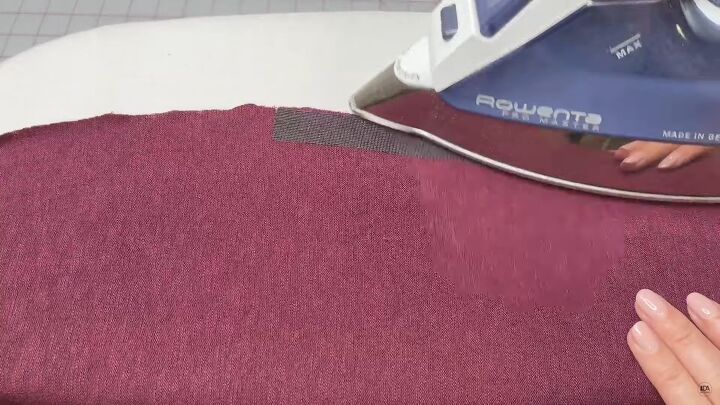
First, I stabilize the pocket opening. Apply the fusible strip interfacing to the front detail of the pocket on the wrong side. The strip measures about ⅓ of an inch longer than the pocket opening notches on each side.
Place the pocket facing the pants, right sides touching and matching the pocket opening edge.
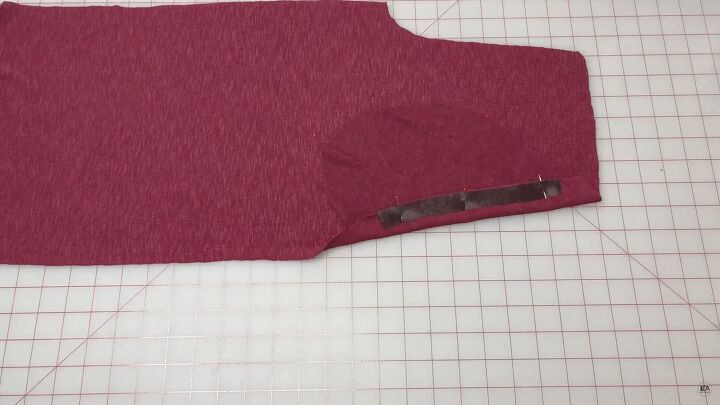
Pin in place.
Sew from mark to mark on the interface side on the top.
Make a snip at 1/10th from the seam at both the start and endpoints of the seam.

Turn the seam allowance to the pocket side and understitch the pocket lining 1/10th inch away from the seam line between the clipped marks. Snip any loose threads.
Turn the pocket facing to the wrong side and press. Pin the pocket opening. Place the pocket lining over the front pocket piece, matching the edge of the pocket.
Match the pocket opening marks on the side edge and pin. Serge the ends of the pockets.
Press so the waviness of the serged edges disappears. Then use a clapper to flatten the pocket opening.
Secure the pocket opening corners at the side edge. Stitch right through the pocket opening. The seam will also be a guideline for the side seam.
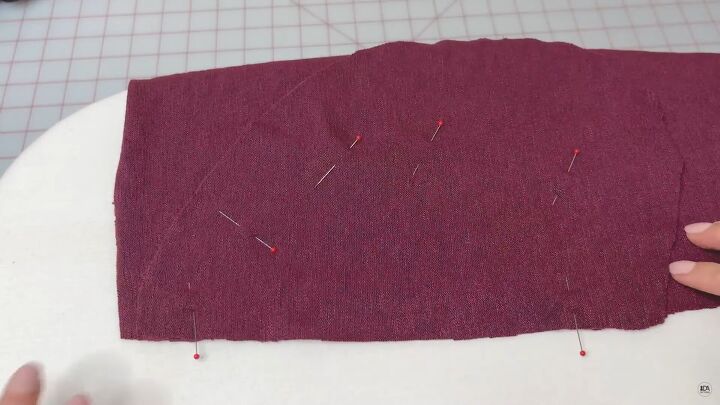
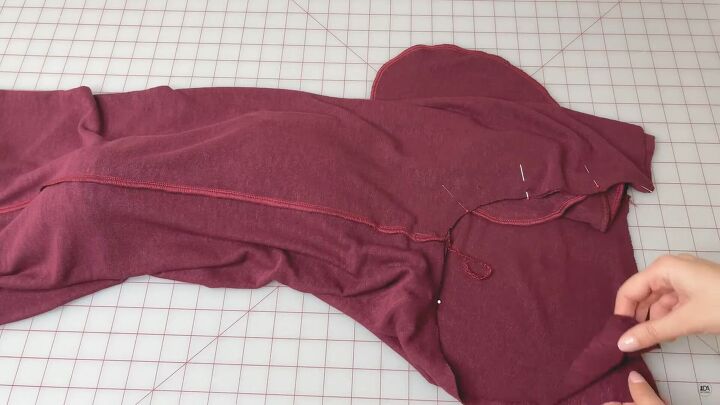
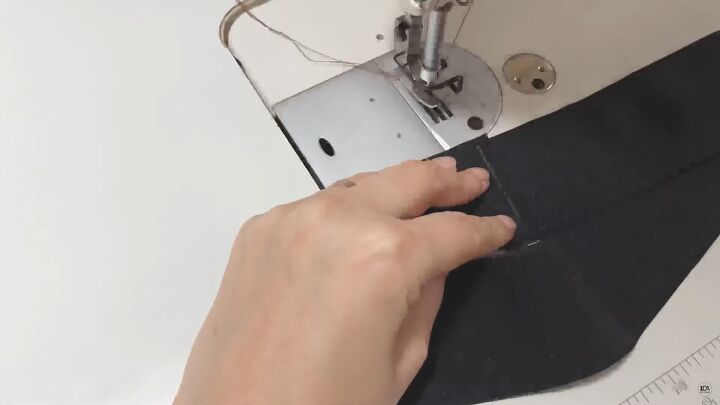
3. Sew the side seams and inseam
Place the front and back pieces right sides together. Pin the side seams and inseams, matching the marks so the seams are even.

Sew the side seam and inseam. As you sew alongside the pocket, use the guideline we made earlier to help.
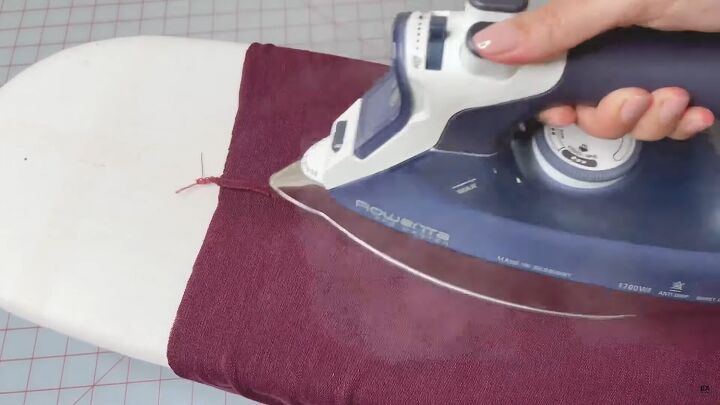
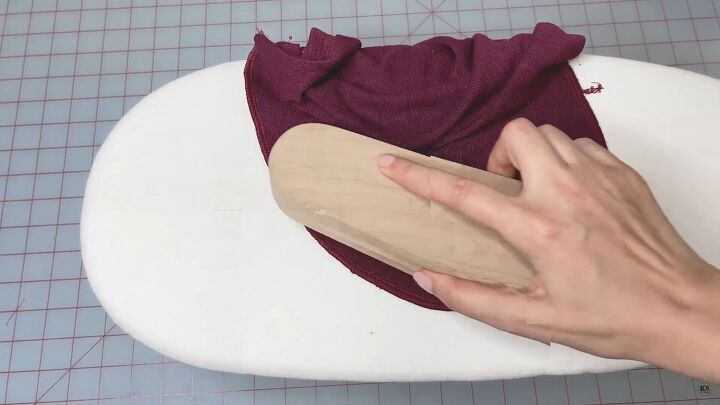
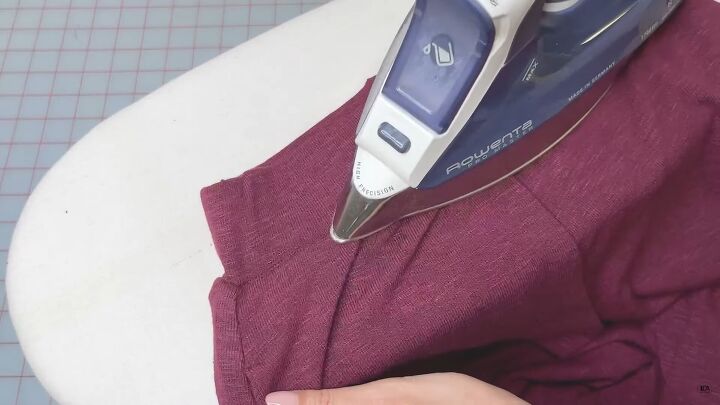
4. Press the pants
Press the seam, then use a clapper. Fold the seam allowances to the back side of the leg and press, then use the clapper. Press the side seam and inseam, using the clapper to flatten the seams.
5. Reinforce the pockets
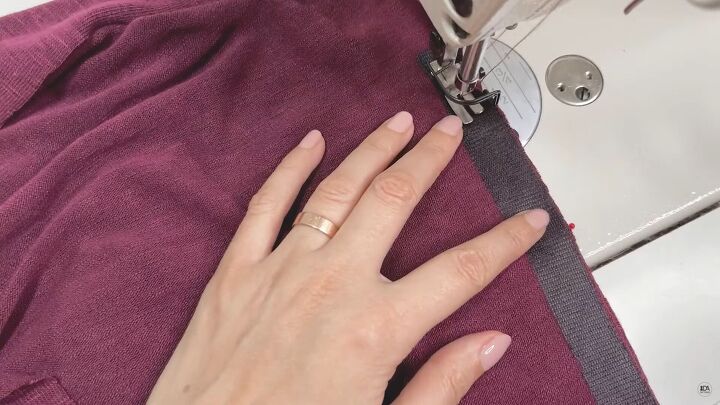
Reinforce the pocket opening on both sides with a small horizontal zigzag stitch.
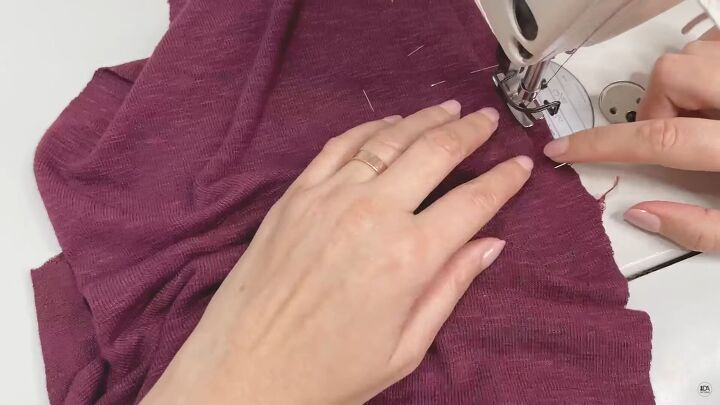
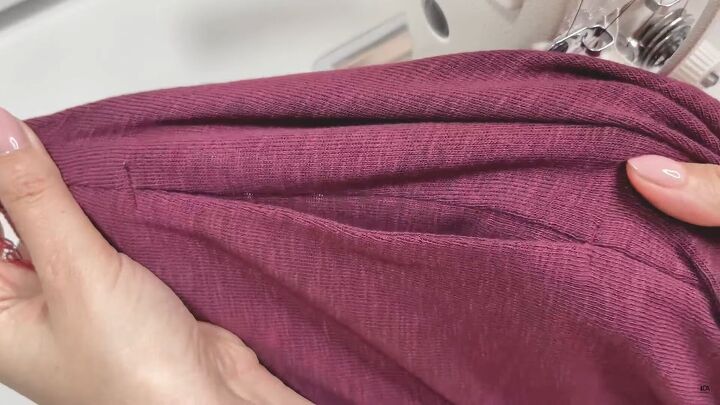
6. Sewing the inside
Turn one pant leg to the right side and place it inside the other leg. Pin the crotch seam matching the inseam and all the marks. Sew together. Press and use the clapper.
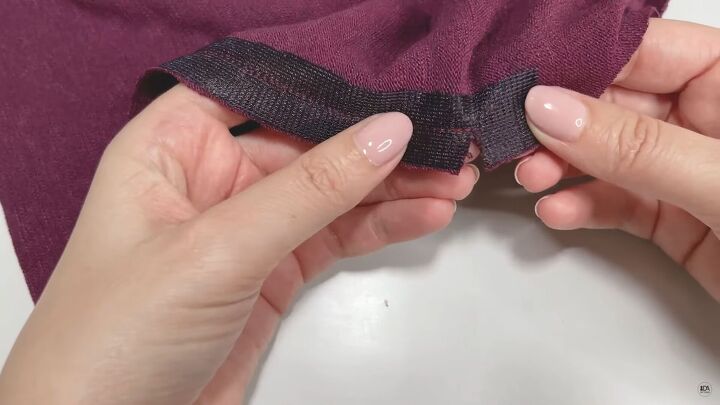
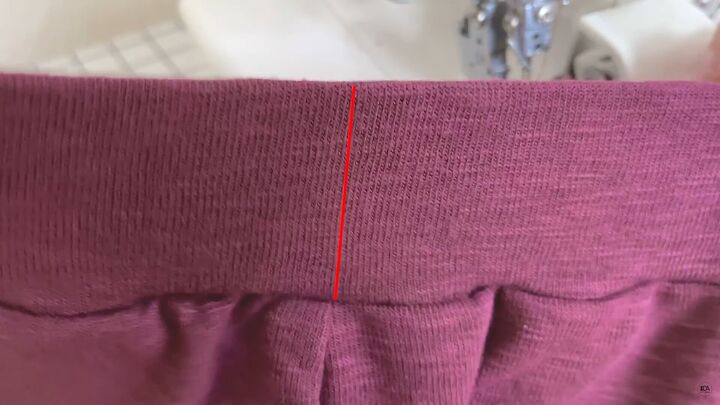
7. Sew the waistband
Sew the elastic to make one big loop.
Fold the waistband so the right sides face each other. Sew the center seam so it’s also a loop. Press the waistband. Fold the band in half wrong sides together lengthwise and press again.
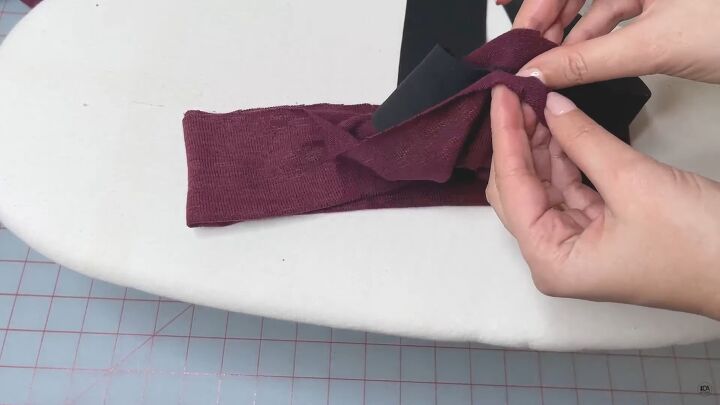
Mark the quarters and make small snips. Place the elastic inside the waistband and pin the seam allowance, matching the clipped marks.
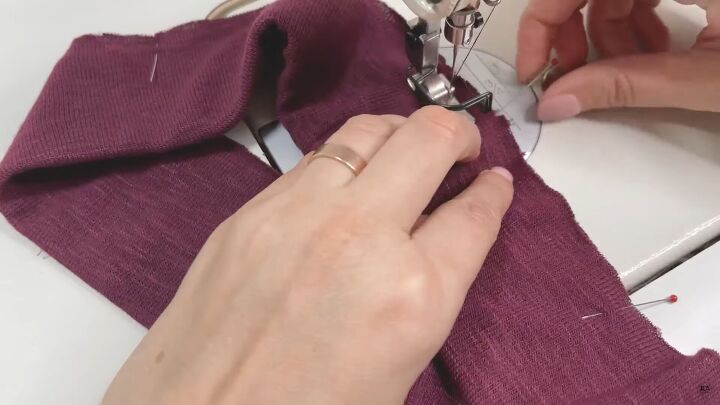
Sew the seam allowance of the waistband, keeping the elastic inside. Make sure not to sew the elastic to the fabric. Keep it inside its tunnel.
8. Attach the waistband
Place the waistband over the top edge of the pants, pinning the matching quarter marks at the waistband and pant seams. Pin in between the marks.
Sew the waistband using previously made guidelines. Serge the raw edges.
Reinforce the elastic at the side seams so it doesn’t twist or fold when wearing the pants.
Press the seam allowance of the waistband facing towards the pants.
Try the pants on to check the length. Adjust to fit you best!
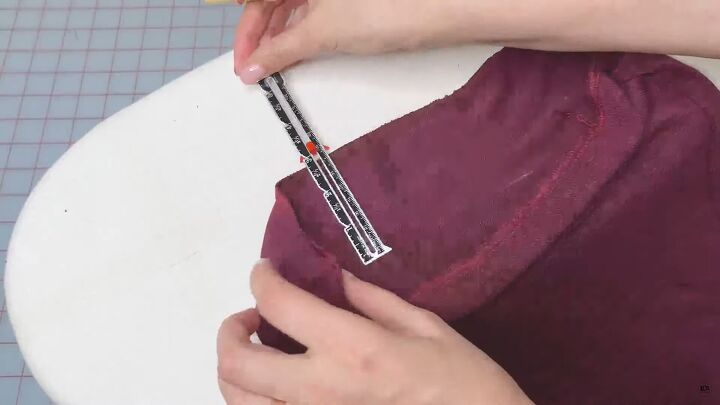
9. Hem the pants
Leave at least 2 inches of seam allowance for hemming. Serge the raw edge of the hem. Press the serged ends. Mark about 3 inches in the pants. Fold the fabric to the marked line and pin. Press the fabric. The finished hem will be about 2 inches.
Topstitch with a double-needle or sew the hem from the wrong side, using the serged seam as your guide.
10. Press
Give the pants an overall press and cool them down for a professional finish.
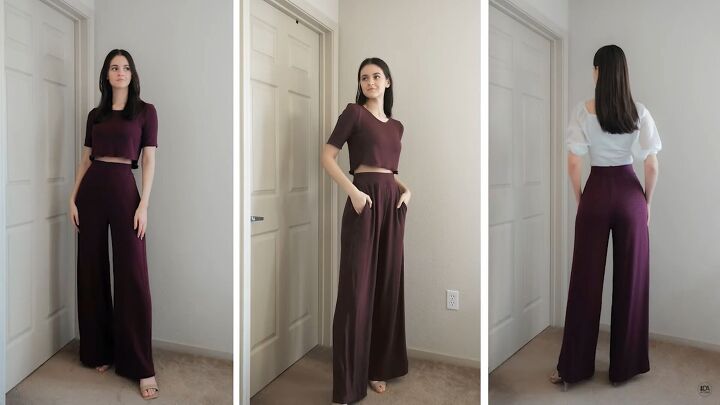
DIY wide-leg pants tutorial
How beautiful are these wide-legged loungewear pants? I love that they are so comfy, have pockets, and make my waist look small. Let me know what you think about this DIY high-waisted wide-leg pants tutorial in the comments.
The author may collect a small share of sales from the links on this page.


Comments
Join the conversation
I love these. You've inspired me to get out my sewing machine.