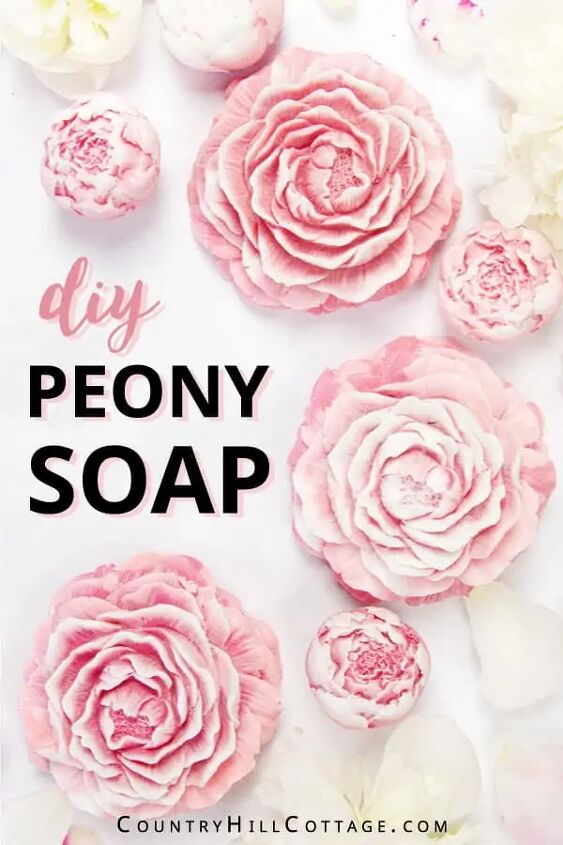
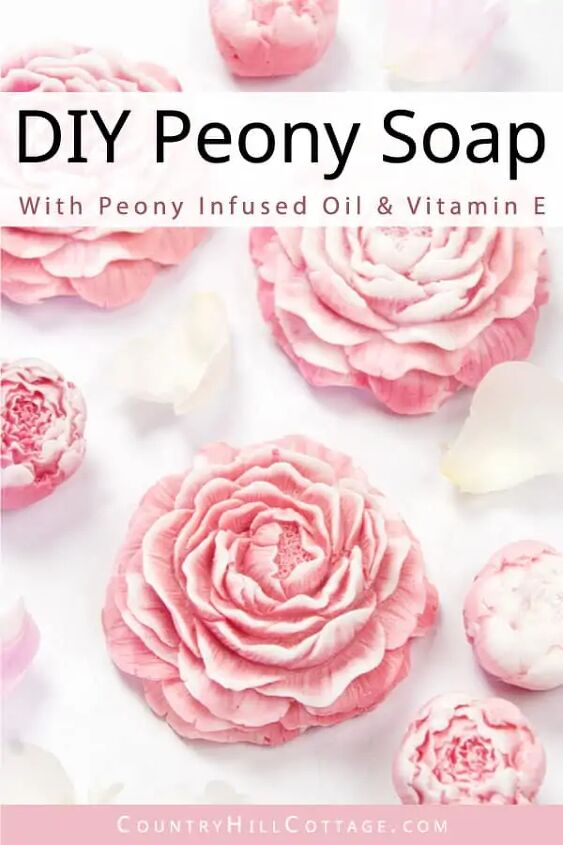
Peony Soap – DIY Peony Hand Soap
Peony Soap – DIY Peony Hand Soap
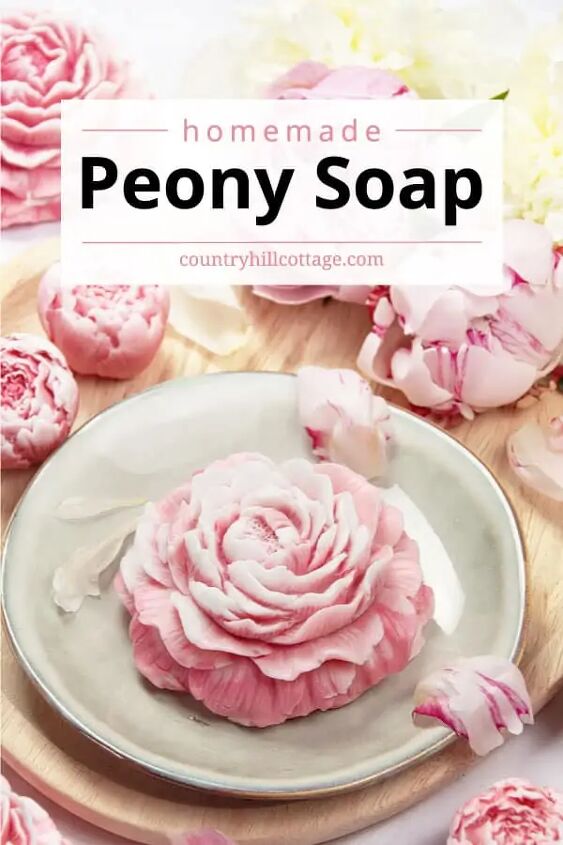
See how to make beautiful peony soap! Peony hand soap delivers gentle cleansing paired with a luxurious feel and aromatic fragrances. This easy homemade soap recipe shows how to make an intricate flower soap with a melt and pour base and peony infused oil.
Disclosure: This post contains affiliate links, meaning, at no additional cost to you, we will earn a small commission if you click through and make a purchase. Learn more
Table of Contents click to show
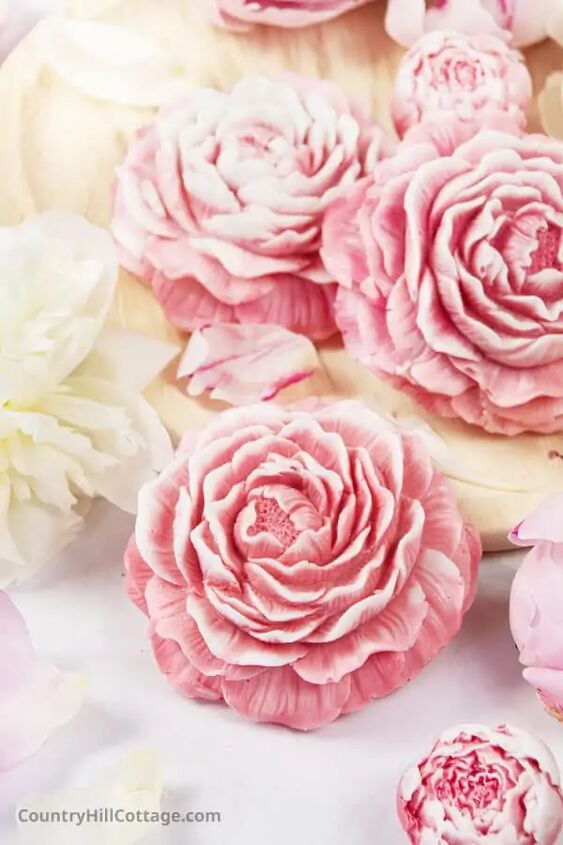
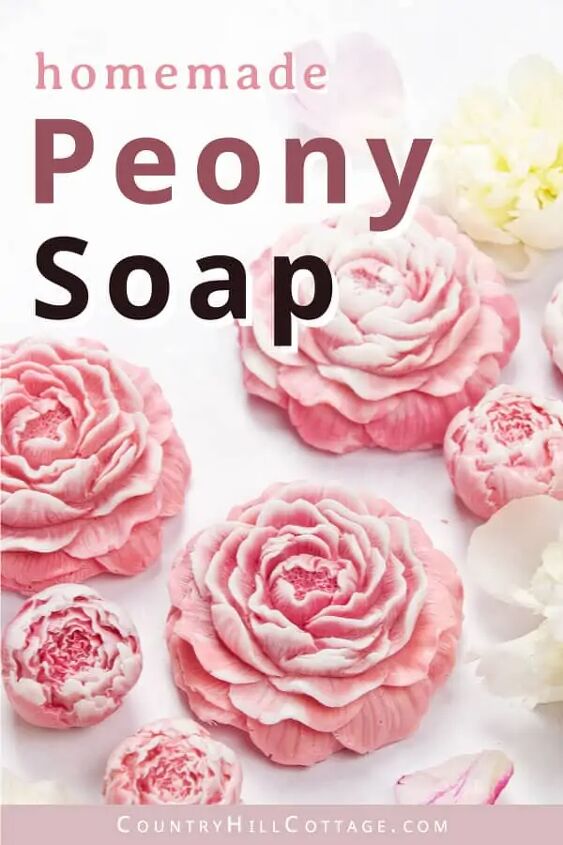
Homemade peony soap
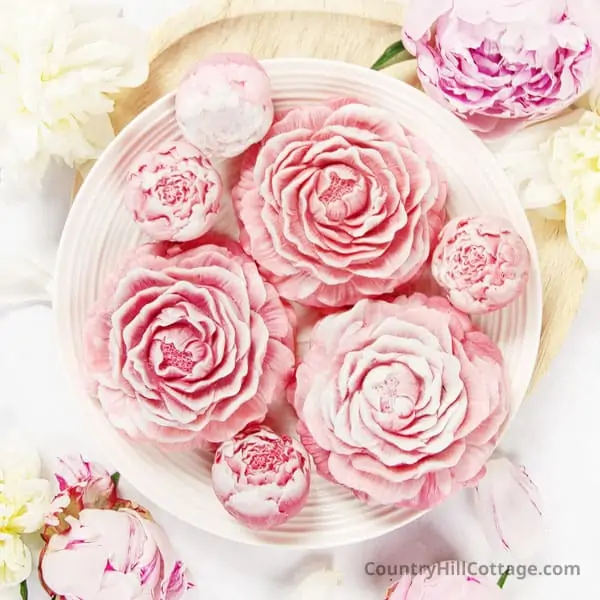
You’ll love this DIY peony soap recipe! Fragrant and sumptuous to the touch, the handmade soap emulates peonies in full bloom and provides gentle skin care. Peony hand soap is the perfect gift for the special ladies in your life and looks like it’s straight from an expensive boutique.
This soap-making tutorial is technique-focused. You’ll learn to work with detailed 3-D soap molds and pour a flower soap with a gradient color effect. I’ll also so show you how to make peony-infused oil with real peony buds.
I love easy melt and pour soap recipes. More of my favorite homemade soap recipes are sea salt soap, lavender lemon honey soap, citrus soap, and eucalyptus soap.
For more peony-inspired DIYs, have a look at Cyna’s peony body wash and my DIY peony candle.
Peonies in skincare
Peonies are a popular theme in commercial skincare products. From peony lotion to face cream and body spray, you find all sorts of peony-scented bath and body goodies.
But as Cyna details in her body wash recipe, peonies are only seldomly found in homemade beauty recipes. The reason being that real peonies are difficult to come by as an ingredient.
Peony essential oil or peony absolute? Can’t be manufactured. Peony hydrosol or peony extract? Not gonna happen.
However, I recently discovered dried peony buds and white peony roots (Bai Shao). Both materials have a long history in traditional Chinese medicine and are excellent ingredients for all sorts of fun concoctions.
Possible peony benefits
Peonies are rich in antioxidants and have proven anti-inflammatory properties. The plant can potentially soothe irritated, red skin and provide protection against sun-induced skin aging. Have a look at our peony shower gel recipe for a full breakdown of peony’s skincare benefits.
DIY peony oil
We will be using dried peony buds in this soap recipe and create peony-infused oil. An herbal oil infusion is a method to extract beneficial plant compounds by steeping or soaking plant materials in a carrier oil.
I chose to prepare a hot infusion, meaning the peonies and oil are warmed in a water bath. This process is quick and easy.
Alternatively, you can also prepare a cold infusion, which will take several weeks. Coleen from Grow Forage Cook Ferment has a helpful tutorial on making cold infusions that you should check out if you want to go down that road.
Materials for peony hand soap
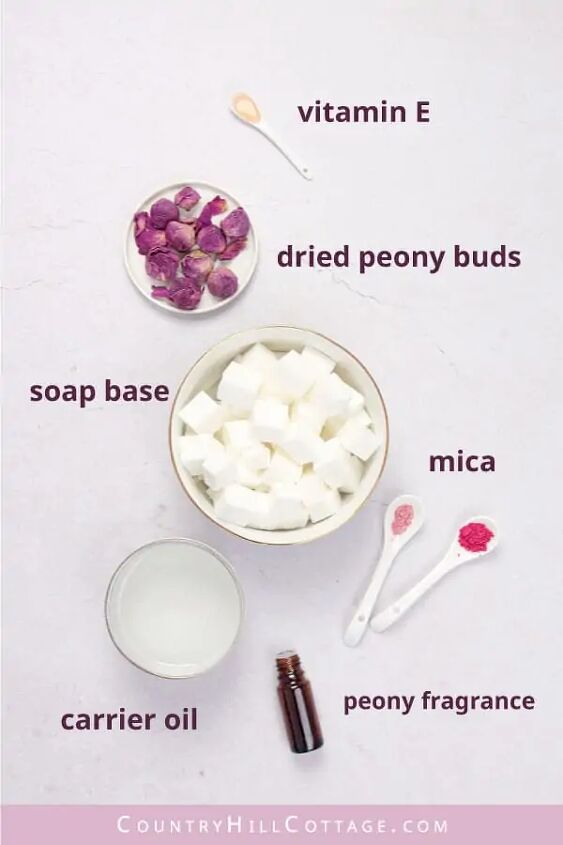
Not only do I adore this melt and pour soap recipe because it’s beautiful, but also because it is so easy to make. Not to mention you only need 7 ingredients, two of which are optional. Here’s what you’ll need (the full measurements are in the DIY box at the end of the post):
- Melt and pour soap: Goat’s milk soap base or shea butter soap base are best for this homemade peony soap recipe. I used a soap base from Our Earth’s Secrets, which has a rich, creamy lather and doesn’t dry out my skin.
- Peony buds and coconut oil: We need dried peony buds and fractionated (liquid) coconut oil to create an herbal infusion. You can substitute coconut oil for any other liquid carrier oils you have or like, e.g., jojoba oil, argan oil, sweet almond oil, etc.
- Mica powder: You need light pink and dark pink mica powder to create a beautiful color gradient. Mica will give the peony soap a pearlescent shimmer that looks incredibly luxurious.
- Peony fragrance oil (optional) gives the peony hand soap an elegant floral scent. When buying the fragrance oil, ensure it’s suitable for body products. I used peony fragrance oil from Nature’s Garden, which is safe for skincare and home fragrance applications.
- Vitamin E (optional) is a solid all-around skincare ingredient. The vitamin nourishes dryness and delivers a moisture boost for soft, silky-smooth skin.
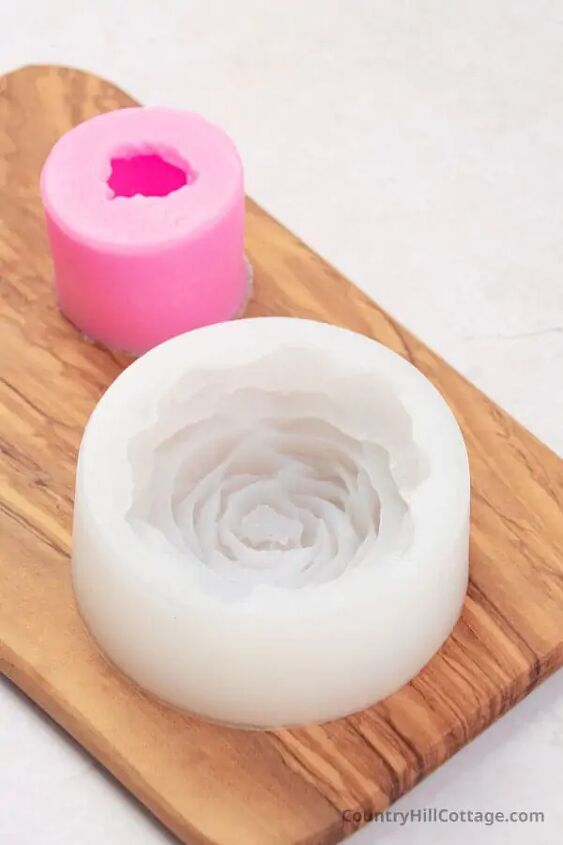
Peony soap mold
Your soap mold really matters when it comes to creating beautiful soap bars. The silicone must be sturdy yet flexible, so you can unmold the soap without breaking any petals.
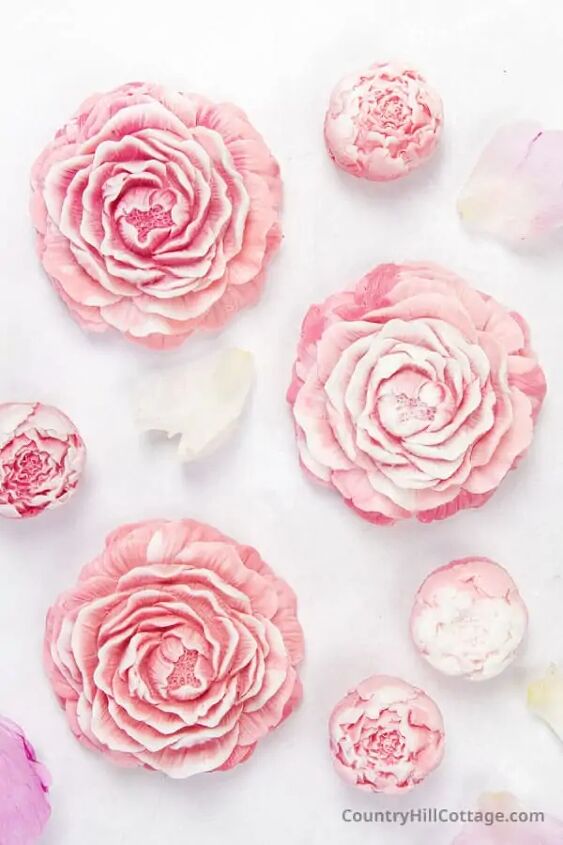
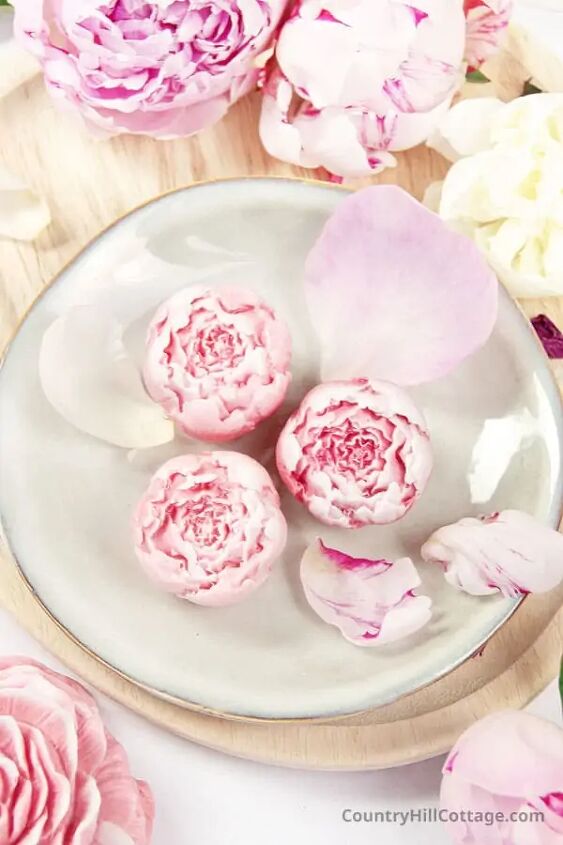
I used 2 soap molds for this project. One is a peony in full bloom, the other an adorable peony bud mold.
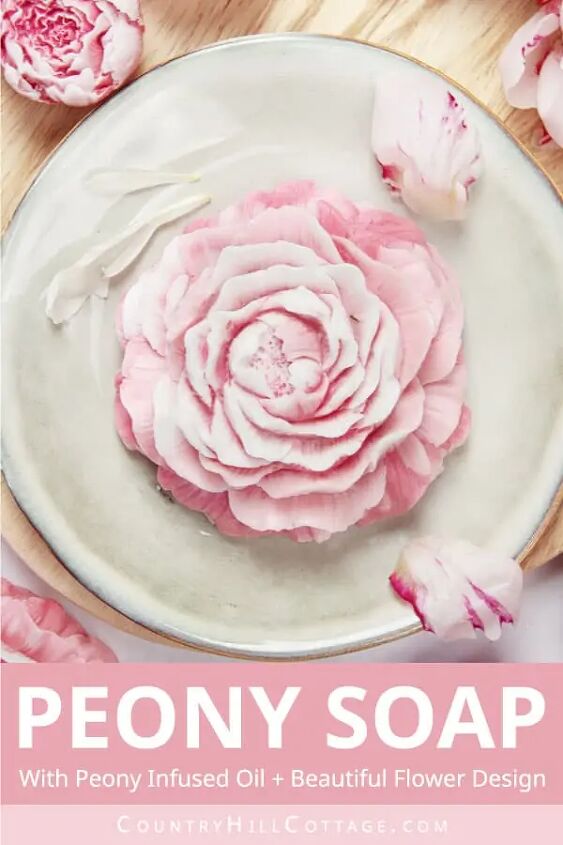
- Peony flower mold: This soap mold is absolutely amazing and makes 4-oz / 115 g peony hand soap bars! The 3D soap mold is incredibly detailed and captures the intricate beauty of the peony down to the last petal. You can see every vein, and it even depicts the pollen in the center of the flower. Truly a statement piece!
- Peony bud mold: This mold creates adorable peony bud soap bars that would be super cute for a powder room. I hate wasting materials and used this mold to use up any leftovers from the large peonies.
Other soap making supplies
- Paring knife to chop up the melt and pour base
- Large glass measuring cup + 2 small glass measuring cups (or glass beakers) to divide and pour the soap
- Glass stirrer or spoon to combine materials
- Cutting board to lift and move the mold after pouring
How to make peony soap
This peony soap is a little more advanced than my other melt and pour soap recipes but still beginner-friendly and easy to do. Let me show you the steps for how to make peony hand soap!
And to all my visual learners, check out the video tutorial Cyna and I created for this peony soap recipe. It shows you exactly how to fill your soap mold to achieve those pretty two-tone petals.
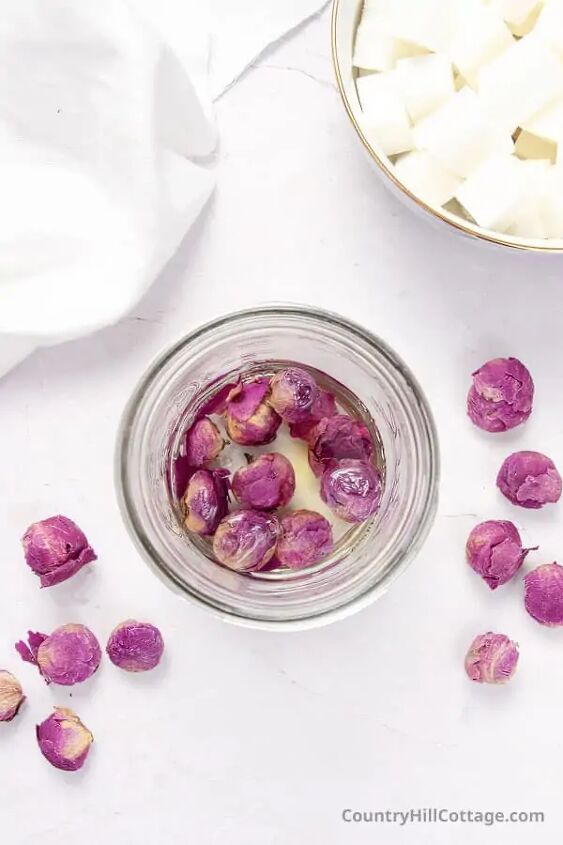
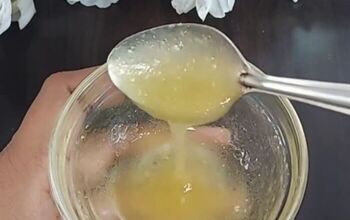
Step1: Infuse the peony oil
- Add the oil and peony buds into a heat-proof jar or bowl and warm in a water bath for 15 to 30 minutes.
- Heat at the lowest possible temperature to avoid burning the oils or flowers, and add more water if necessary.
- Strain the oil and discard the peony buds. Set aside.
Step 2: Melt the soap base
- Chop the soap base into small, uniform cubes.
- Put the soap cubes into a large microwave-safe container (I used a glass measuring cup). Melt in 30-second intervals until completely melted. Stir in between each interval to help the soap base melt evenly.
Step 3: Add liquid ingredients
- Add 1 tsp peony infused oil, peony fragrance oil, and vitamin E. Stir thoroughly.
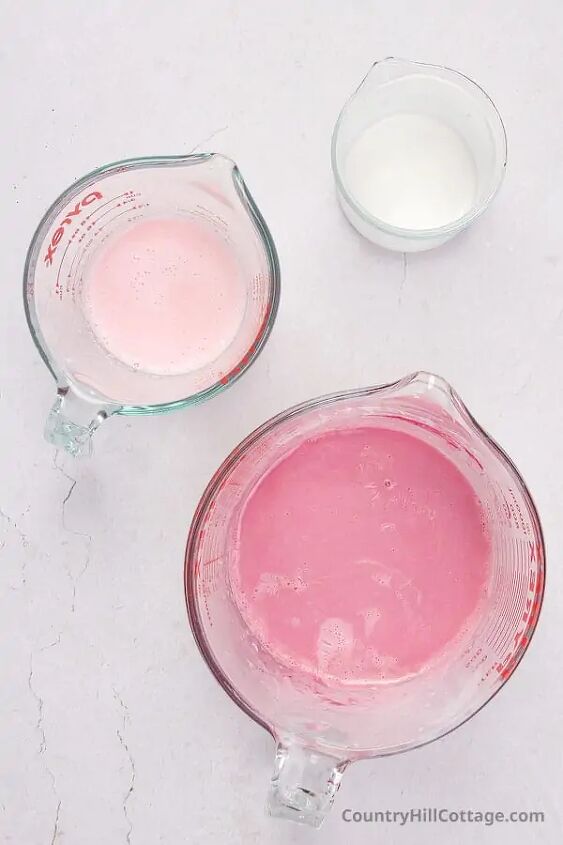
Step 4: Divide and color the soap
- Pour a little soap (about 1/4 cup) into a small measuring cup or lab beaker. Leave this portion uncolored.
- Add approximately 1/2 soap into another measuring cup/lab beaker and tint with up to 1/4 tsp light pink mica.
- Color the remaining soap with 1/2 to 1 tsp dark pink mica and stir until well incorporated. Feel free to add more mica until you get a shade you like.
- Now, you should have: 1 small portion white soap, 1 medium portion light pink soap, and a large portion dark pink soap.
Step 5: Pour the pony soap
- Place the peony mold on a cutting board. The board allows you to lift and move the mold after pouring the soap.
- Before pouring the soap, ensure that the soap is liquid and rewarm in the microwave if necessary.
- Pour a little white soap into the mold, mainly hitting the petals at the bottom. Swivel the mold back and forth to distribute the white soap all over the mold.
- Next, pour in the light and dark pink soap mixtures until the mold is filled to the rim.
Step 6: Let harden
- Allow the peony soap to fully cool and harden in the freezer for 45 minutes to 1 hour or for several hours at room temperature.
Step 7: Unmold
- Once the soap has set, remove it from the mold. First, pull the mold away from the soap to break the airlock. Then turn the mold over and release the soap, being careful not to damage the delicate petals.
- If the back of the soap is uneven, trim any excess with a sharp, non-serrated knife. I like to do this step while the soap is still in the mold.
Tips for success
- Use an opaque (white) soap base. You won’t be able to discern the details of the flower with a transparent soap base.
- The soap must be hot and liquid to achieve defined petals and a seamless gradient effect. Thickened soap will look chunky and won’t travel into all the nooks and crannies of the mold. If skin forms on the soap, use a spoon to remove it.
- Be careful when handling melted soap. Melt and pour soap, and the glass jars can get extremely hot. Please protect your hands with heat-resistant gloves to avoid burns.
- Wait until soap has fully hardened before unmolding. If the soap is still soft when removing it from the mold, the petals can deform and break. To check if the soap has set, press your index finger against the center of the soap (the part visible when soap is in the mold). If it feels hard, you’re good to go. Continue chilling the peony soap in case you still detect softness.
- Release the soap with the bottom down. You don’t want to push the soap out of the mold with the top facing down because the delicate petals could snap off.
Peony hand soap FAQ
Do dried peony buds smell like peony?
No, dried peony balls don’t smell like peony. They have a light herbal smell that is too faint to be noticeable in the soap. I scented my DIY hand soap with a delicious peony fragrance oil.
Why fragrance oil and not peony essential oil?
As I explain in my DIY peony candle tutorial, peony essential oil doesn’t exist. The fragrance is too delicate to be distilled into an essential oil. Peony fragrance oil is our only option to get peony scented soap.
Of course, you have the option to incorporate a floral essential oil, for example, rose absolute, geranium, Ylang Ylang, jasmine absolute, palmarosa, rosaline, or lavender essential oil.
Does this technique work with other flower molds?
Yes, this melt and pour soap technique will work with other flower molds, such as roses or hydrangeas.
Can I make peony soap with other colors?
Of course! You can make color gradient soap with any colors you like. Be sure to pick colorants that have high contrast. The technique doesn’t work well for colors of low contrast.
Combine light and dark shades from the same color family (e.g., light and dark pink) or contrasting colors like pink and blue.
Can I use liquid soap colors instead of mica?
No, I don’t recommend liquid soap colors because they tend to bleed into each other, which doesn’t look attractive. Mica powder is color stable and resists bleeding. I also love the pearly shimmer it gives the finished peony-shaped soap.
I run a skincare business. Can I use this soap recipe to make products for sale?
Absolutely! I know that many of you operate skincare and soap businesses, and you’re welcome to make all my melt and pour soap recipes for sale.
The only thing I ask is that you please take your own product photos and not use our images. Thank you for understanding!
Storage instructions
How to store DIY peony soap
Store the melt pour soap recipe in an airtight glass container. I like to use food containers. Keep the soap away from direct sunlight because UV rays will fade the color and scent.
If you live in a high-humidity environment, wrap each peony soap bar in plastic wrap/clingfilm. Wrapping airtight will prevent moisture from the air softening the soap.
Shelf life
DIY peony soap has a shelf life of 1 year if prepared with fresh materials.
YIELD: 2 PEONY SOAP BARS
Peony Soap Recipe
Create Pinterest Pin
No Ratings
Save
See how to make beautiful peony soap! Peony hand soap delivers gentle cleansing paired with a luxurious feel and aromatic fragrances. The amounts are enough to make 2 large peony soap bars or 1 large flower soap and 2 to 3 buds.
PREP TIME
20 minutes
ADDITIONAL TIME
45 minutes
TOTAL TIME
1 hour 5 minutes
DIFFICULTY
intermediate
Materials
Peony-Infused Oil
- 1/2 cup / 115 g / 4 oz fractionated coconut oil (can sub for another liquid carrier oil)
- 1/4 cup / 5 g / 0.17 oz dried peony buds (food grade)
Peony Soap
- 10.5 oz / 300 g goats milk melt and pour soap base (can sub for shea butter soap base)
- 3/4 tsp peony-infused oil (see recipe above)
- 1/4 tsp light pink mica (I used “Bubblegum Pink”)
- 1/2 tsp dark pink mica (I used “Rose Pink”)
- 60 drops / 3 g / 0.1 oz peony fragrance oil (optional)
- 1/4 tsp vitamin E (optional)
Tools
- large peony mold
- peony bud mold
- paring knife
- large glass measuring cup
- 2 small glass measuring cups (or glass beakers)
- glass stirrer or spoon
- cutting board
Instructions
- Infuse peony oil. Add the oil and peony buds into a heat-proof jar or bowl and warm in a water bath for 15 to 30 minutes. Heat at the lowest possible temperature to avoid burning the oils or flowers, and add more water if necessary. Strain the oil and discard the peony buds. Set aside.
- Melt the soap base. Chop the soap base into small, uniform cubes. Put the soap cubes into a large microwave-safe container (I used a glass measuring cup). Melt in 30-second intervals until completely melted. Stir in between each interval to help the soap base melt evenly.
- Add liquid ingredients. Add 1 tsp peony infused oil, peony fragrance oil, and vitamin E. Stir thoroughly.
- Divide and color the soap. Pour a little soap (about 1/4 cup) into a small measuring cup or lab beaker. Leave this portion uncolored. Add approximately 1/2 soap into another measuring cup/lab beaker and tint with up to 1/4 tsp light pink mica. Color the remaining soap with 1/2 to 1 tsp dark pink mica and stir until well incorporated. Feel free to add more mica until you get a shade you like. Now, you should have: 1 small portion white soap, 1 medium portion light pink soap, and a large portion dark pink soap.
- Pour the pony soap. Place the peony mold on a cutting board. The board allows you to lift and move the mold after pouring the soap. Before pouring the soap, ensure that the soap is liquid and rewarm in the microwave if necessary. Pour a little white soap into the mold, mainly hitting the petals at the bottom. Swivel the mold back and forth to distribute the white soap all over the mold. Next, pour in the light and dark pink soap mixtures until the mold is filled to the rim.
- Let harden. Allow the peony soap to fully cool and harden in the freezer for 45 minutes to 1 hour or for several hours at room temperature.
- Unmold. Once the soap has set, remove it from the mold. First, pull the mold away from the soap to break the airlock. Then turn the mold over and release the soap, being careful not to damage the delicate petals. If the back of the soap is uneven, trim any excess with a sharp, non-serrated knife. I like to do this step while the soap is still in the mold.
The author may collect a small share of sales from the links on this page.


Comments
Join the conversation