How to DIY Glazed Pink Hailey Bieber Nails at Home

Hi everyone! So Hailey Bieber has been at it again with her gorgeous nails and, this time, they’re pink!
So, today, I’m jumping straight in to do some super cute pink Hailey Bieber nails. Let’s get started on these pink glazed nails.
Tools and materials:
- Pink dip powder
- Clear dip powder
- Chrome dip powder
- Dip liquids
- Gel base and top
- Activator
- Isopropyl alcohol lint-free wipe
- UV lamp
- Nail file
- Eyeshadow brush
- Nail brush
- Micro brush
1. Apply pink dip powder
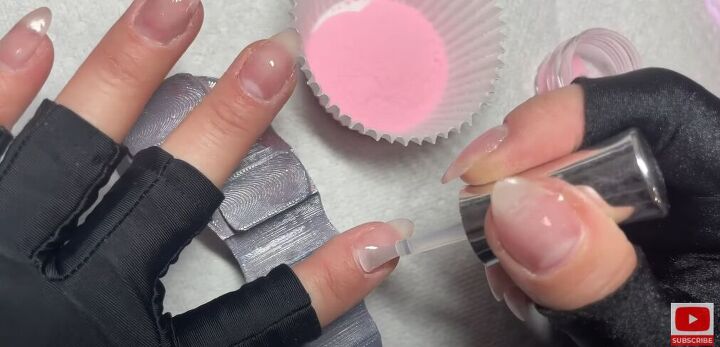
I started out by applying a dip liquid to my nails followed by a gorgeous pink OG dip powder called I Wanted It To Be You So Badly, but you can use anything that’s similar!
This product is super sheer at first but, once you brush it off (I use a nail brush for this step), it’s such a gorgeous, strong color!
I did two dips of this color on all of my nails.
2. Apply a clear dip powder
After applying two dips of the pink dip powder, I went ahead and did one dip of a clear dip powder, then brushed it off.
3. Apply activator
I then applied a coat of activator to each of my nails. I used the one by OG but, again, you can use anything that is similar.
4. Buff and file nails
I did this step off camera, but now is the right time to buff and file your nails into a flattering shape. Then, wipe the nail down. I used an isopropyl alcohol lint-free wipe for this step.
5. Clean up the cuticles
I then went in with a tiny micro brush, checking there was no product left behind in my cuticles.
6. Apply gel base
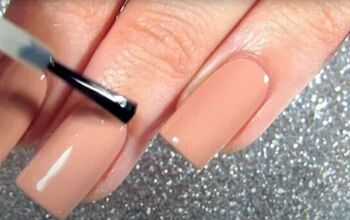
You want to do a full layer of gel base over all your nails and cure it for 30 seconds.
When I'm using chrome, I like to be extra careful with my gels and make sure I don't get any on my skin. I make sure I cap my edges with both the gel base and the gel top. Chrome will stick to everything!
Allow the gel base to cure.
7. Apply gel top
Now it’s time to go in with your gel top.
Today, I’m going to be curing my gel top for longer than I usually do. I used to do just 10 seconds for chroming, however I recently learned that chromes work so much better if you cure them for a little bit longer.
So I applied the gel top to all of my nails and capped the edges, then cured my nails for 20 seconds. I saw a huge difference from doing this!
8. Apply the chrome
Apply a coat of dip liquid to each of your nails and go in with your chrome powder, buffing it gently but thoroughly into the nails.
Afterwards, I take a clean, fluffy eyeshadow brush and swipe away any excess product. Then, cure your nails for another 20 seconds.
9. Apply another coat of gel base
And cure for 30 seconds.
10. Apply another coat of gel top
And cure for 30-45 seconds.
Pink Hailey Bieber nails
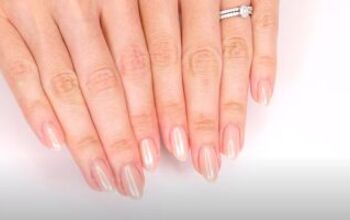
And we’re done! How cute are these glazed pink Hailey Bieber nails?!
I’m completely obsessed with them. If you are too, leave a comment down below and check back soon for more nail content!
Glazed donut nails
Enjoyed the project?
Suggested materials:
- Pink dip powder
- Clear dip powder
- Chrome dip powder
- Dip liquids
- Gel base and top
- Activator
- Isopropyl alcohol lint-free wipe
- UV lamp
- Nail file
- Eyeshadow brush
- Nail brush
- Micro brush
The author may collect a small share of sales from the links on this page.











Comments
Join the conversation