How to Create a Cool Pink Eye & Lip Makeup Look For Valentine’s Day

Today's makeup look is a cool pink eye with thick black eyeliner, suitable for Valentine's Day. This pink Valentine’s makeup is striking, feminine, and sexy, and definitely makes a statement.
Grab your makeup and tools, and let's create this beautiful black and pink Valentine’s Day makeup look.
Tools and materials:
- Assorted brushes
- Foundation
- Contour (cream and powder)
- Cream-based blush
- Brow gel
- Eyebrow pencil
- Liquid eyeliner
- White, brown, and pink eyeshadow
- White makeup pencil
- Nude eyeliner
- Pigments (2 pinks, 1 white)
- Pink lipstick
- Highlighter
- Mascara
- False lashes
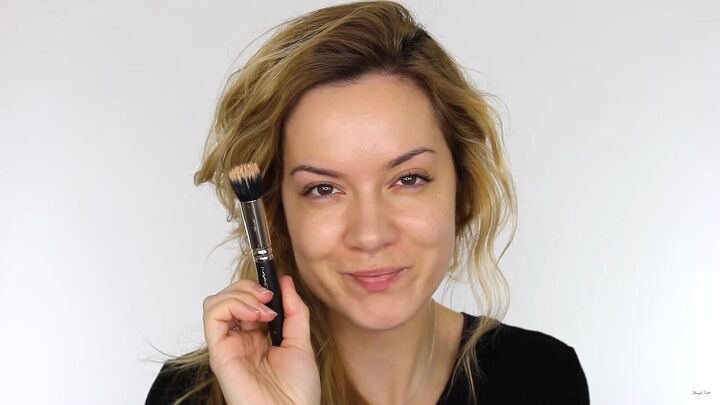
1. Apply foundation
Apply your favorite foundation with a duo-fiber brush. I like to use duo-fiber brushes because the bristles are more splayed apart, so they pick up less product and you get a sheer finish.
If you prefer fuller coverage, go for a flat foundation brush or buffing brush. Apply foundation in layers to build up coverage.
I have oily skin, so I don't usually go for liquid foundations. When I do, I only need light coverage.
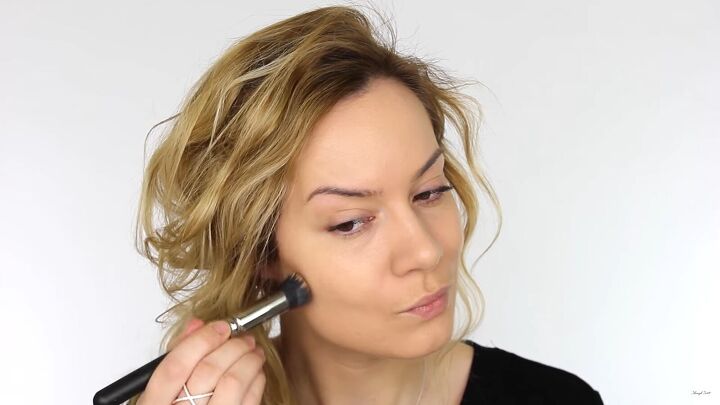
2. Add contour
Next, I'm applying a walnut-colored contour to the hollows of my cheeks with the same duo-fiber brush I used for my foundation. The excess foundation on the brush helps blend the contour.
Don't set your foundation first if you're using cream-based products. This way, the cream products will be easier to blend. You can set your face makeup later.
If you prefer a dewy finish, you don't need to set your foundation at all.
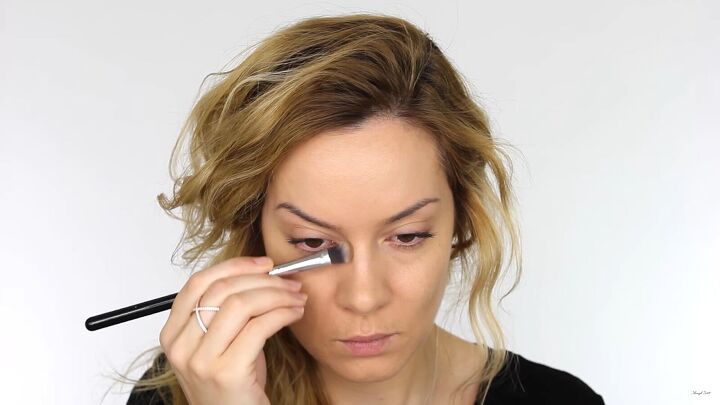
With a smaller brush, add a little contour to the sides of your nose and blend it with your finger. This adds dimension because foundation can make your face look flat.
Add contour around the temples too. This makes the cheekbone pop.
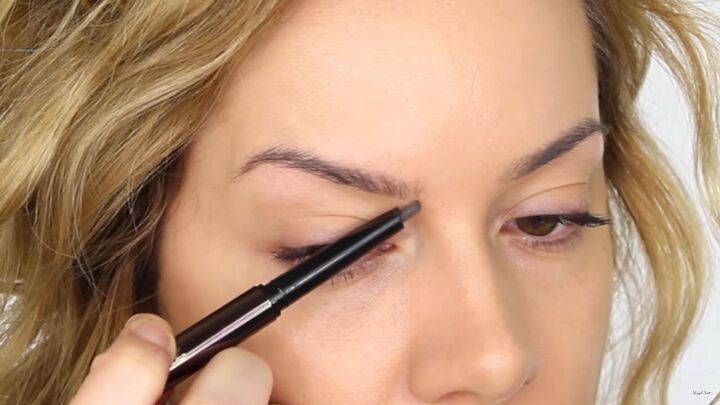
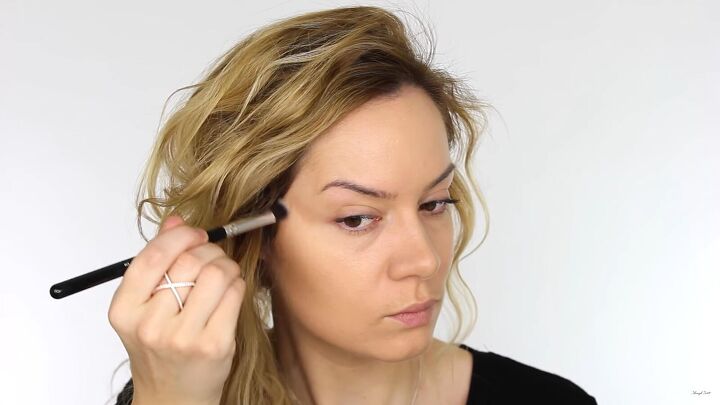
3. Fill in brows
Fill in your brows with your favorite brow product. Follow the natural shape of your brows, filling in any sparse areas.
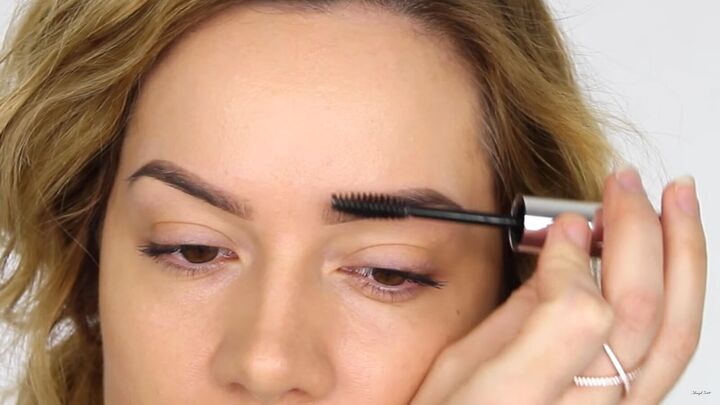
Apply a brow gel to keep all the hairs in place.
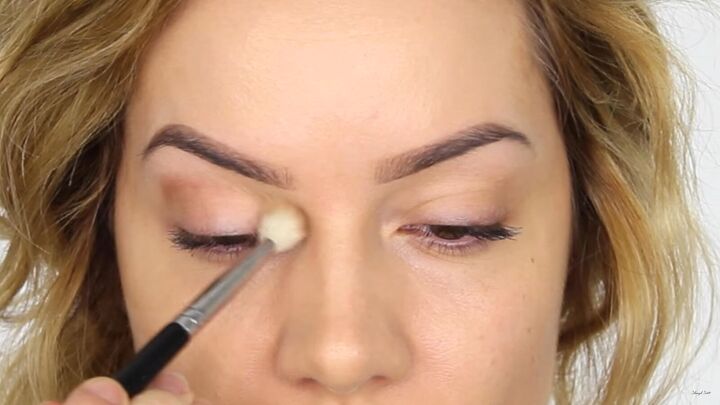
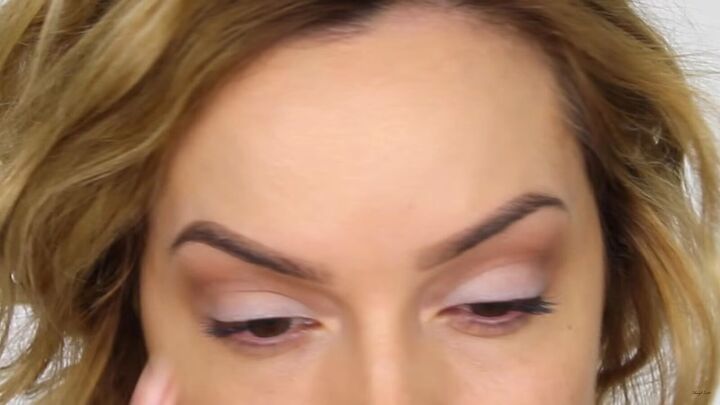
4. Apply eyeshadow
Use a medium matte brown eyeshadow and work it through the sockets using a soft fluffy brush. Layer this color to build up the intensity.
Tips: If you have small lids, avoid this step as you don’t want your eyes looking smaller. Just keep it to the outer corner. If your eyeshadow tends to crease, use a primer first.
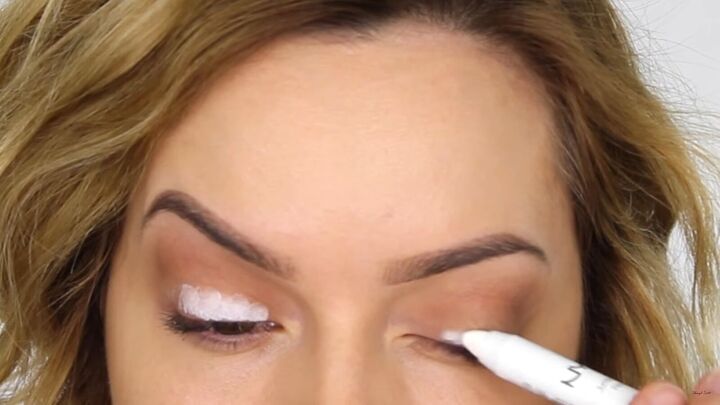
5. Add a white base layer
Since we're doing a bright pink Valentine’s makeup look, we want the color to really stand out. The best way is to start with a white layer.
I’m using a white pencil, but you could use any white pencil or cream product as your base.
Blend the color with your finger as the warmth from your finger will melt the product into your skin.
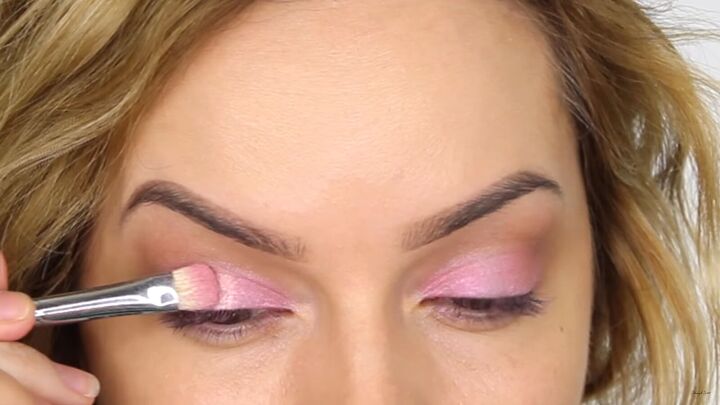
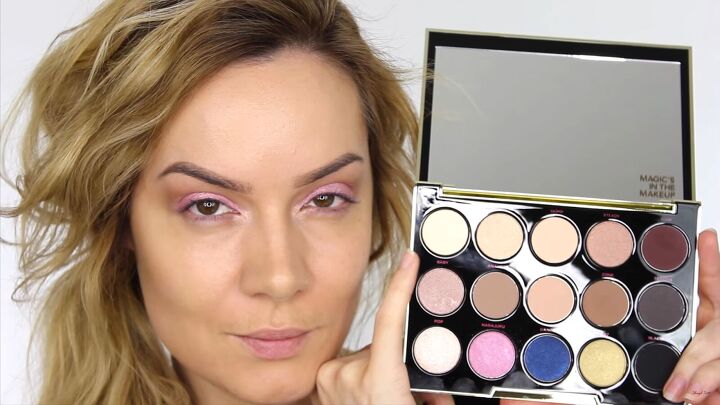
6. Pack on the pink eyeshadow
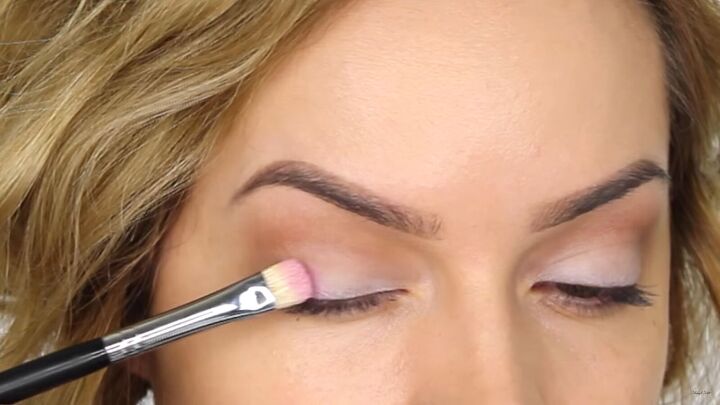
Pack on the pink eyeshadow with a flat brush. This eyeshadow has a shimmer to it, so using a flat brush allows me to use all the pigment without much fallout.
The white pencil underneath helps the color stick and brightens the pink.

7. Apply pigments
To intensify this color, you can use pink pigments.
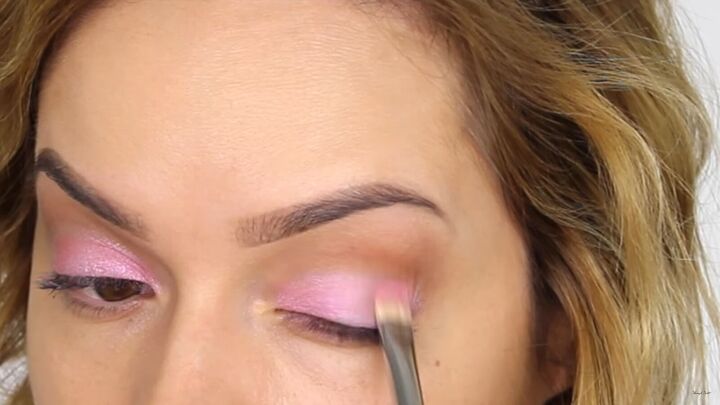
I applied one pink pigment to the outer and inner third of the eye
Then, I used a lighter pigment on the center of my eyelid. Using these pigments gives the illusion that my eyes are bigger and rounder.
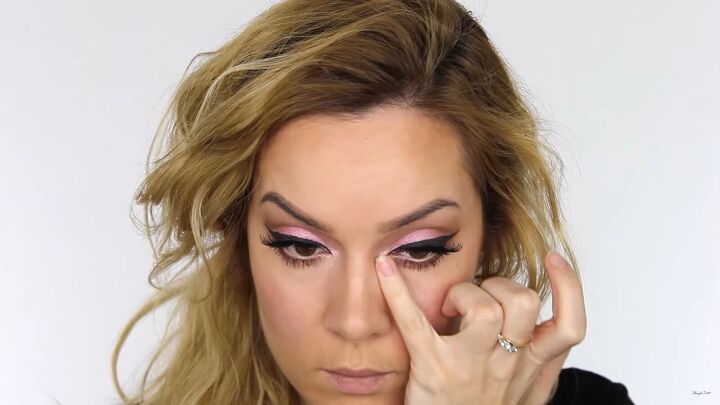
Next, take a shimmery white pigment and dab some in the corner of your eyes using a small pencil brush.
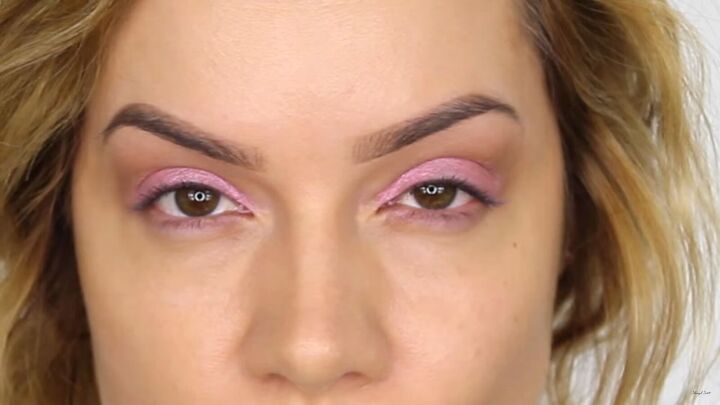
8. Apply light eyeshadow to the brow bone
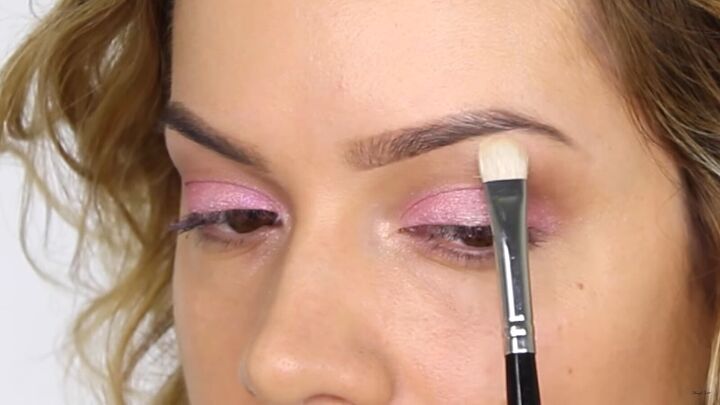
Apply a light eyeshadow under the arch of the brow and blend it. This light eyeshadow has a blue undertone and pearl-like finish, which works well with the cool pinks.
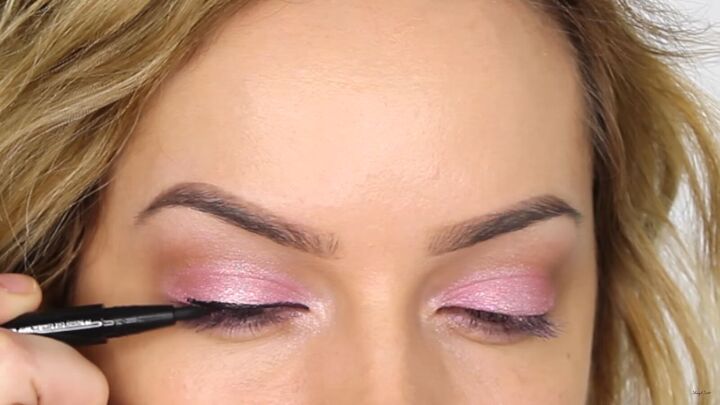
9. Draw thick winged eyeliner
Even though we are going to do a thick wing, it’s best to start off small and do the lash line first. I’m using a liquid liner pen as it will give me the best accuracy.
Starting from the inner corner, use gentle strokes to pull the eyeliner across the lash line.
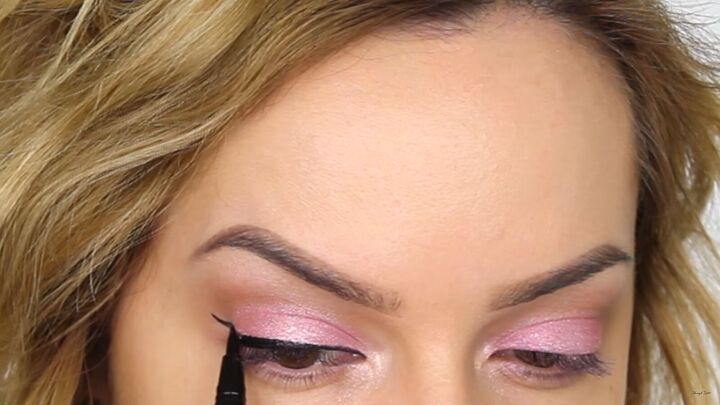
Using the tip of the felt, pull the color backward toward the lash line. This will create the perfect, crisp wing. Don't worry if you don't get it perfect the first time, as we're building up the wing.
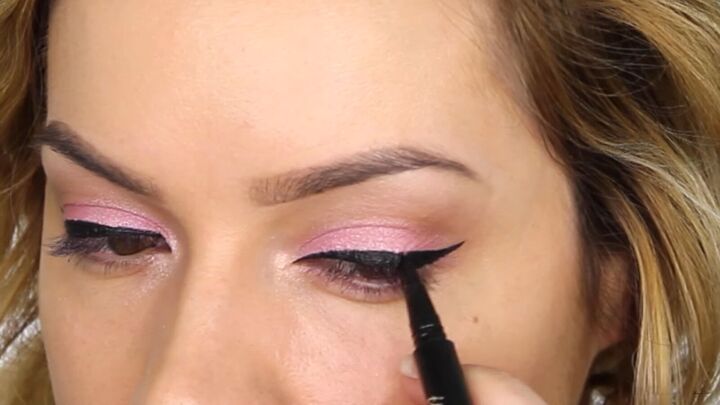
Fill in the liner to make it fuller and thicker. It’s better to do this in small sections. Take your time.
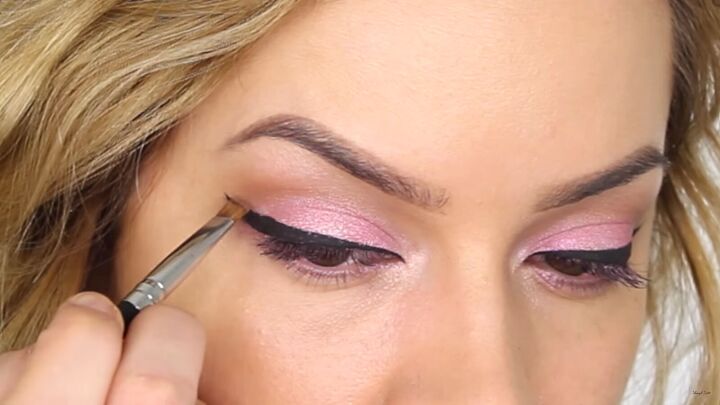
10. Create a soft cut crease
Using an angled eyeliner brush, go back in with the brown eyeshadow and pull the color from the outer wing through the socket.
This is going to give you a soft cut crease on the outer third of the eye. Blend to soften the edges.
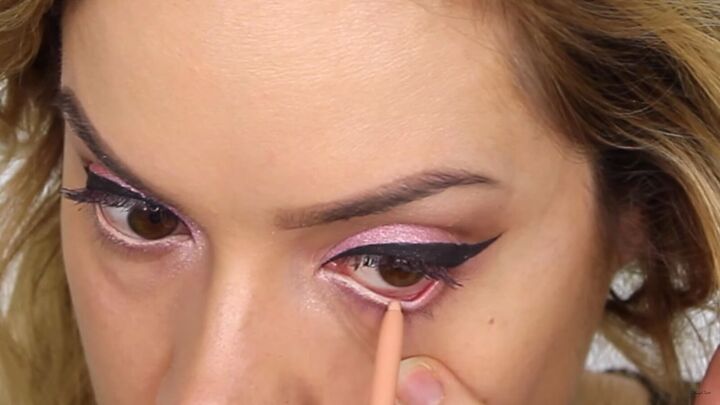
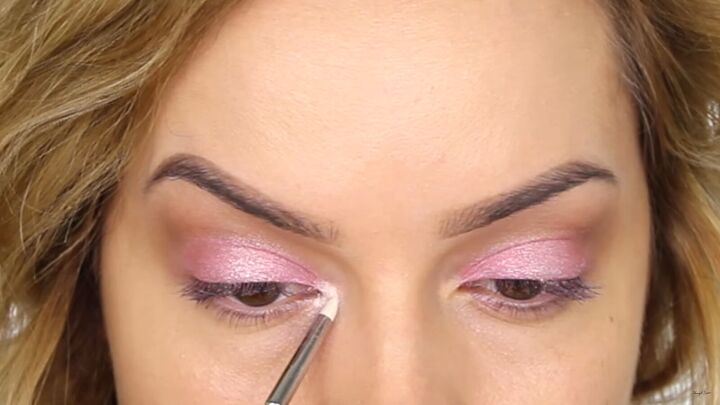
11. Define the lower lash line
Use a nude eyeliner along the waterline. This will make your eyes look bigger and diminish any pinky tones.
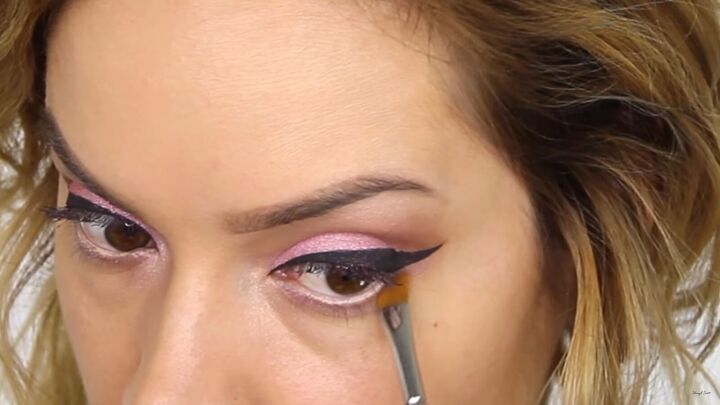
With a softer angled liner brush, run the brown eyeshadow under the lower lashes. Start under the wing and pull it along the lower lashes.
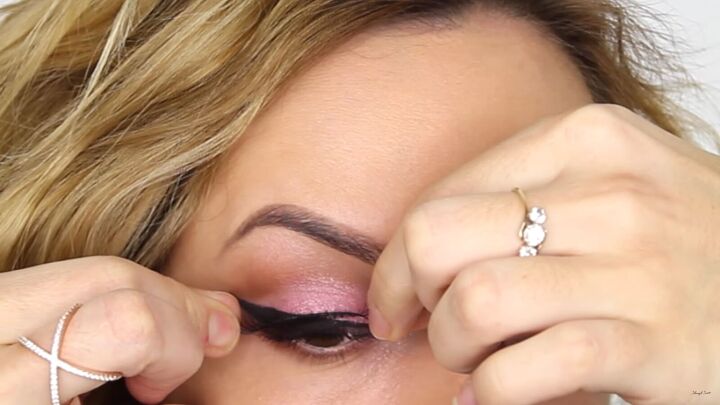
12. Apply false lashes
Apply false lashes for a dramatic and fuller lash line.
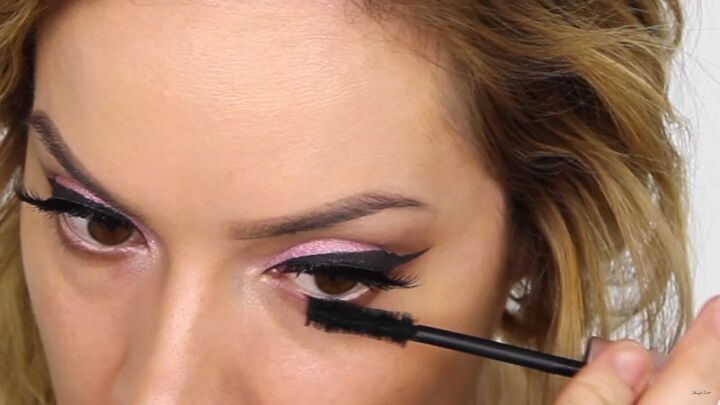
Next, apply mascara to your lower lashes. This balances the lower lashes and false lashes. Apply a little to your false lashes too.
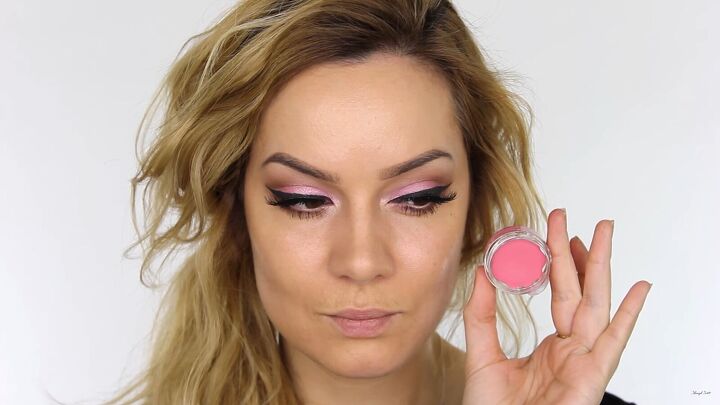
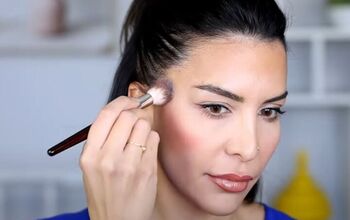
13. Apply blush
I’m using a cool bubblegum-pink cream-based blush. Dab a little onto the apples of your cheeks and blend with your fingers.
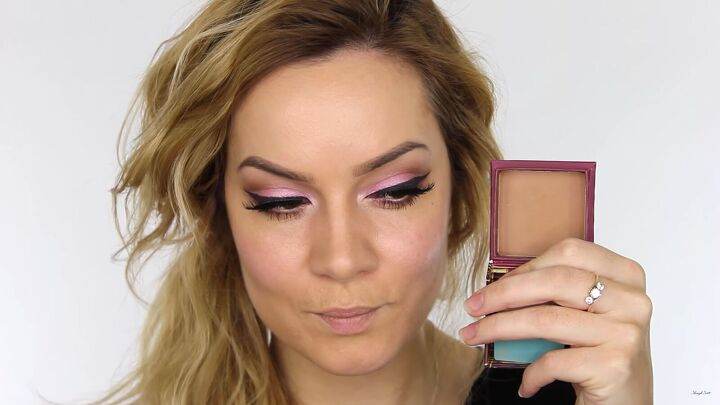
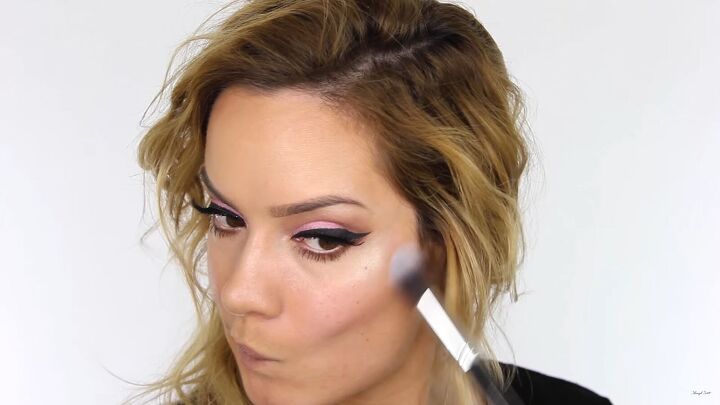
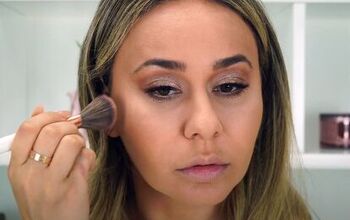
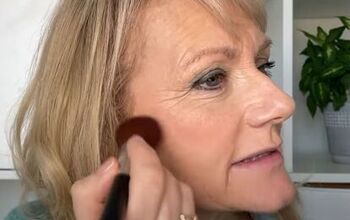
14. Apply powder contour
Apply powder contour around your hairline, down the sides of your nose, cheekbones, and neck. This makes skin look healthy and adds dimension to the face.
15. Apply concealer
Apply a small amount of concealer underneath your eyes and blend it with your fingers.
16. Apply highlighter
Apply highlighter to the tip of your nose, down the bridge, and under your eye area.
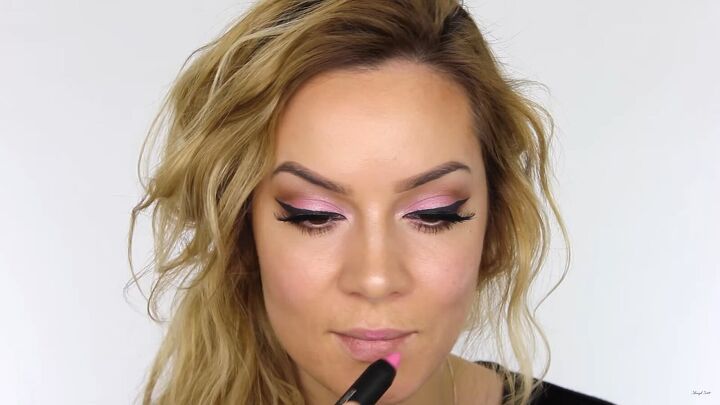
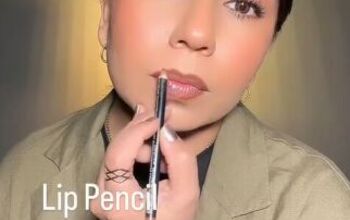
17. Apply lipstick
Choose a creamy pink lipstick that matches the tones of your eyeshadow.
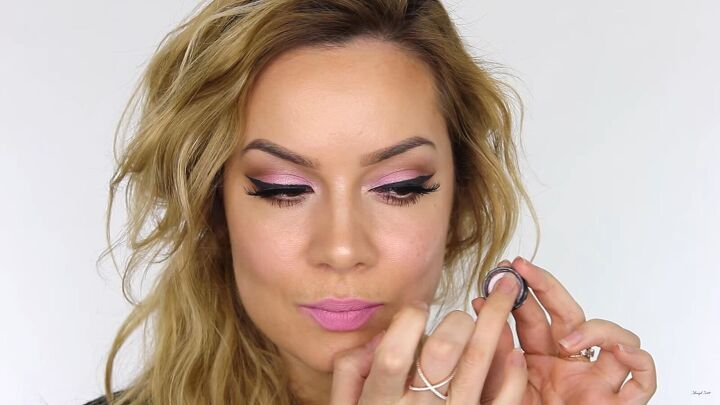
I also added a little pink pigment to my top and bottom lips, in the center. This makes my lips look fuller.
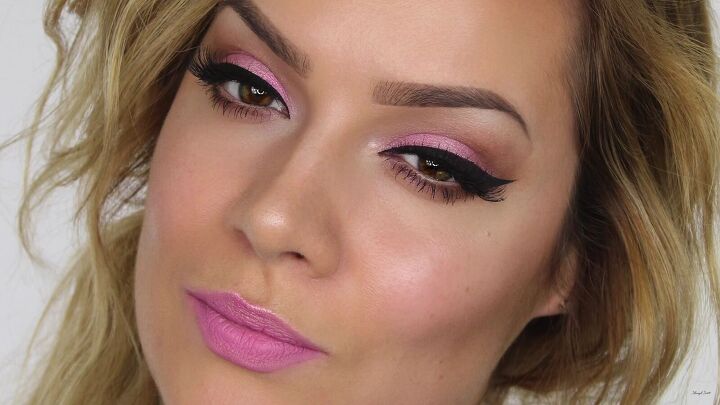
Pink Valentine’s makeup tutorial
That completes this dreamy pink Valentine’s makeup. I know pink can be difficult to wear, so I hope this Valentine’s Day makeup tutorial gave you some helpful tips.
Let me know your thoughts in the comments below.
Products used:
- L'Oréal True Match Super-Blendable Foundation Makeup
- MAC 130 Short Duo Fibre Brush
- MAC Pro Sculpt Cream - Coffee Walnut
- E35 Flat Shader To Contour
- Hourglass Arch Brow Sculpting Pencil
- Anastasia Beverly Hills Strong Hold Clear Brow Gel
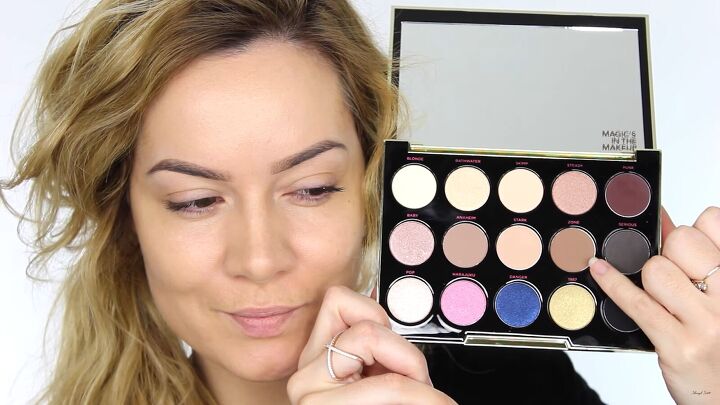
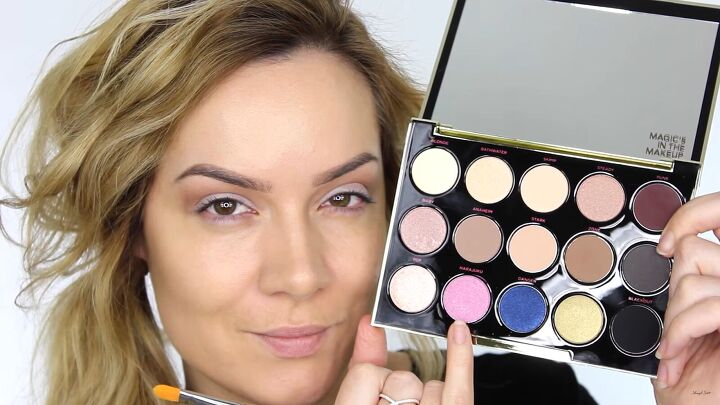
- Urban Decay Gwen Stefani Palette
- MAC 217 Blending Brush
- MAC 224 Tapered Blending Brush
- NYX Professional Makeup Jumbo Eye Pencil All-In-One Eyeshadow Eyeliner Pencil in Milk
- MAC 239 Eye Shader Brush
- Alexa Persico Cosmetics Pigments (Cotton Candy and Snow Angel)
- Benefit Powder Puff Pigment
- Zoeva Petit Pencil Brush
- Eyeko Eye Do Eyeliner
- Crown Brush C207 Sable Angle Liner
- Tarte Inner Rim Eyeliner
- Too Faced Better Than Sex Volumizing Mascara
- Velour Lashes - You Complete Me
- Neve Cosmetics Blush - Saturday
- Benefit Cosmetics Hoola Bronzer
- Zoeva 127 Luxe Cheek Brush
- Urban Decay Naked Skin Concealer
- Becca Shimmering Skin Perfector Pearl
- F40 Small Tapered Contour Brush - Highlighter
- Sigma Beauty Crayon - Ode-To-Pink
The author may collect a small share of sales from the links on this page.


Comments
Join the conversation
Thank you for your tutorial. The pink makeup is so pretty.
Model is already Gorgeous n er make-up is perfect!!!!!! What a pro!!!! If she's not a make-up artist already, she should b!!! 👍️♥️