Plaidvember PJ Project
Early Bird Crafters, this is YOUR season to shine! Come mid-November, all those Christmas craft and shopping projects are fair game, although you may want to wait a bit on baking and decorating… (At least wait until after Thanksgiving?) Also, don’t let on if you secretly work on Christmas gift projects all year long. You don’t want people to think you’re crazy or something! 😉
Speaking of crazy, today’s sewing project is pretty simple, but still easily messed up by the likes of me! I get additional crazy points, though, because I actually started it in the summer… but let’s gloss over that! (If you are a friend who routinely receives Christmas gifts from me, you may wish to look away now…)
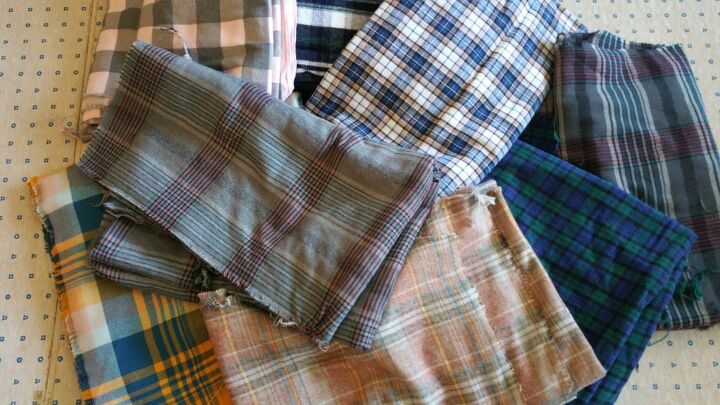
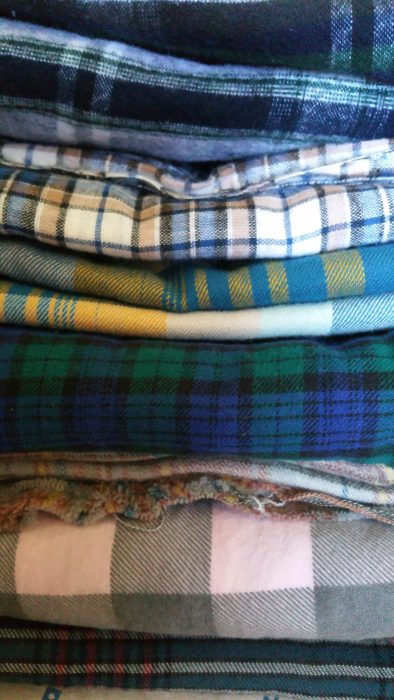
He he he! Fabric hoarders unite! I’ve been saving up flannel for a looong time!
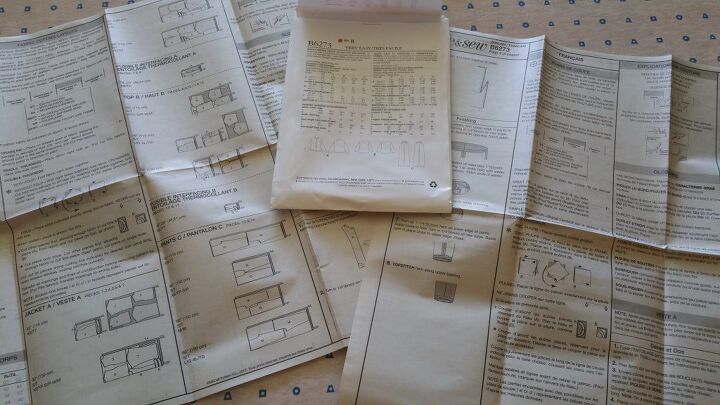
Looks like lots of instructions, but I’m only interested in the easy part- the pants.
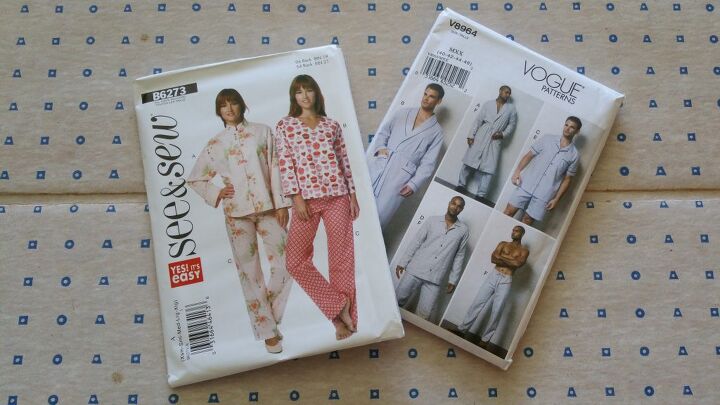
Although I had made pj pants before, I began this project with brand new patterns. I decided to do a practice run on remnant fabric to see how the pants fit me. Spoiler alert- this proved to be a good choice!
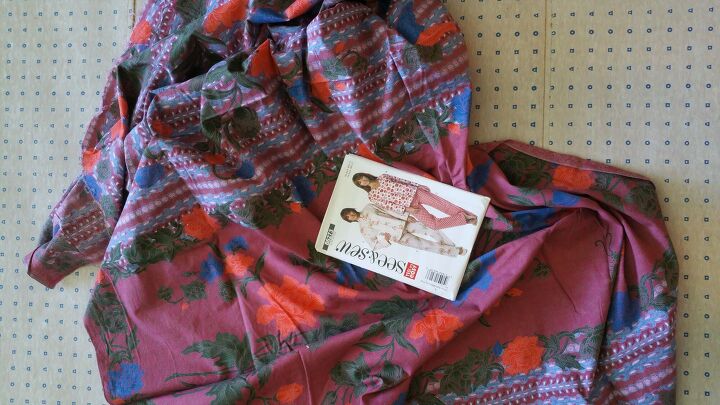
Washing and ironing the fabric before cutting out the pattern was another good choice!

And here’s the pattern!
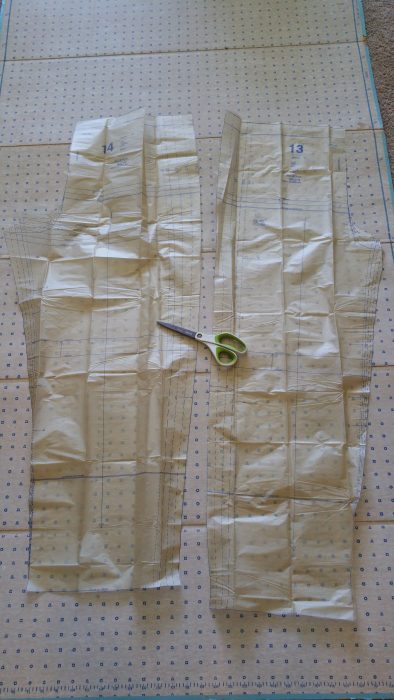
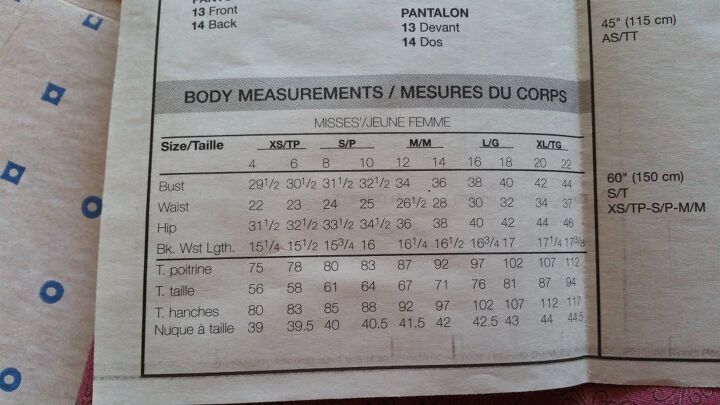
I then proceeded to make some not-so-good choices. First, I didn’t really look at the measurements on the sizing chart. I just assumed that pj pants ran big and baggy, so I chose to make size small. The pant legs looked super long so I shortened them on the indicated part of the pattern. These proved to be the wrong choices, but we’ll get to that in a minute.

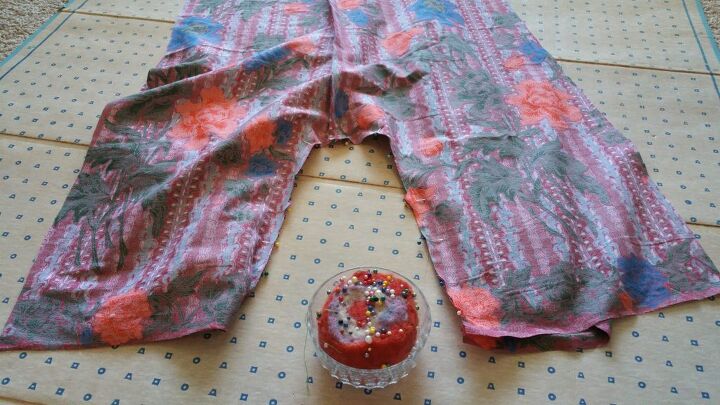
I placed the pattern pieces on folded fabric so that I cut out two of each piece at one time. How do you like those super cool pattern weights? 😉
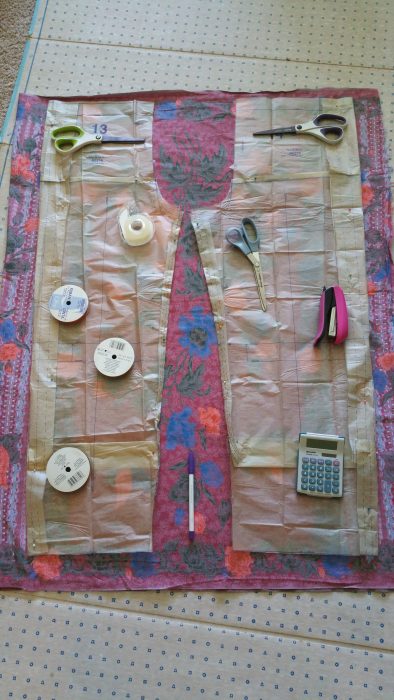
I kept the pieces stacked on top of each other and ready for sewing. (There are actually 4 leg pieces!)
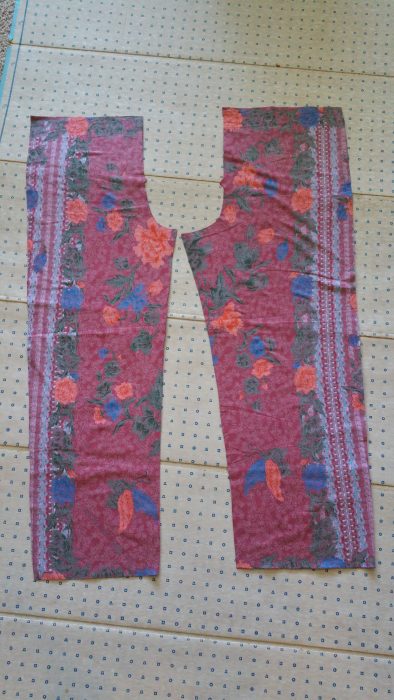
The directions said to sew the inner seam of the pant legs first.
Next, sew the crotch seam.
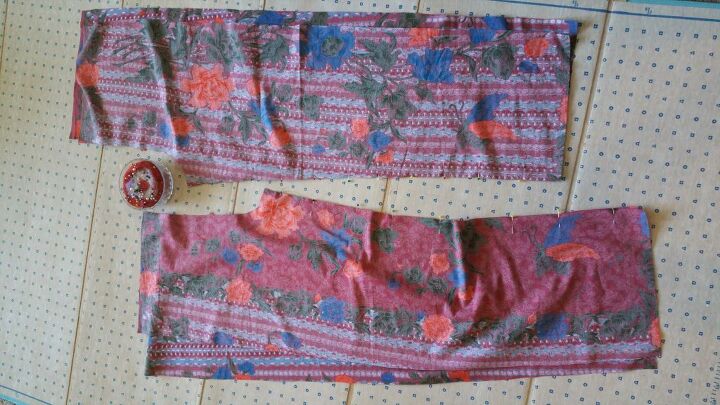
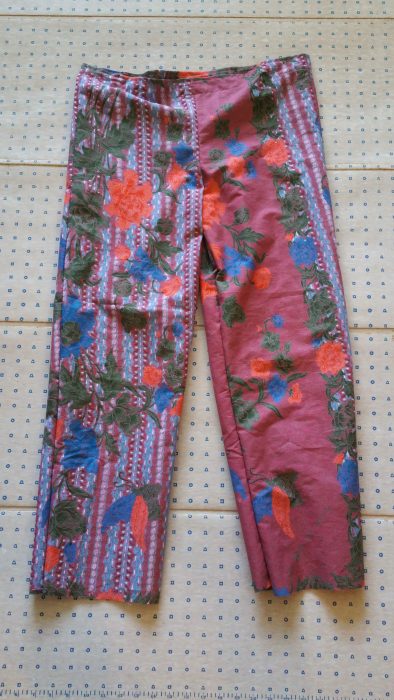
The pants really took shape once the outer legs seams were pinned and sewn!

I folded over and sewed a tube for the elastic at the waist of the pants. Time to try ’em on!
This was when I realized that the pattern ran quite narrow in the butt and thighs. Small was definitely too tight for comfy pj’s! The men’s pj pant pattern also turned out to be similarly slim fitting.
To compensate, I made future pj’s a size bigger than the recipient! BUT, I used the pattern for the next size LARGER than that for the outer leg from the waist through the thigh. This sizing up AND adding extra room in the tummy/butt/thigh area finally produced a comfy pj pant…
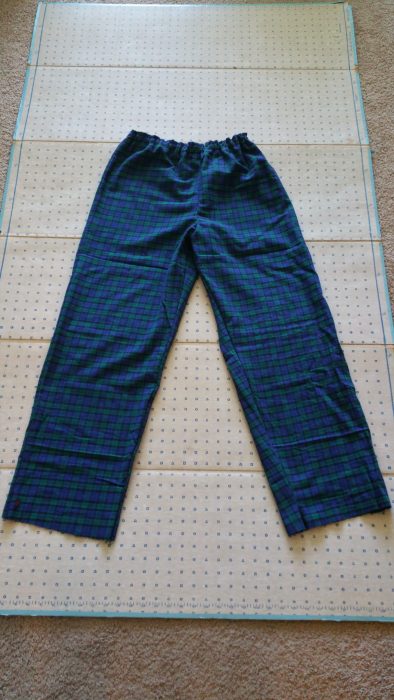
With lots more flannel to go, I mastered the pattern and was happy with the results. 😉 I may not feel the need to make pj pants for a while, although I still need to make a pair for myself…
Follow us!
The author may collect a small share of sales from the links on this page.


Comments
Join the conversation