Rainbow Costume DIY

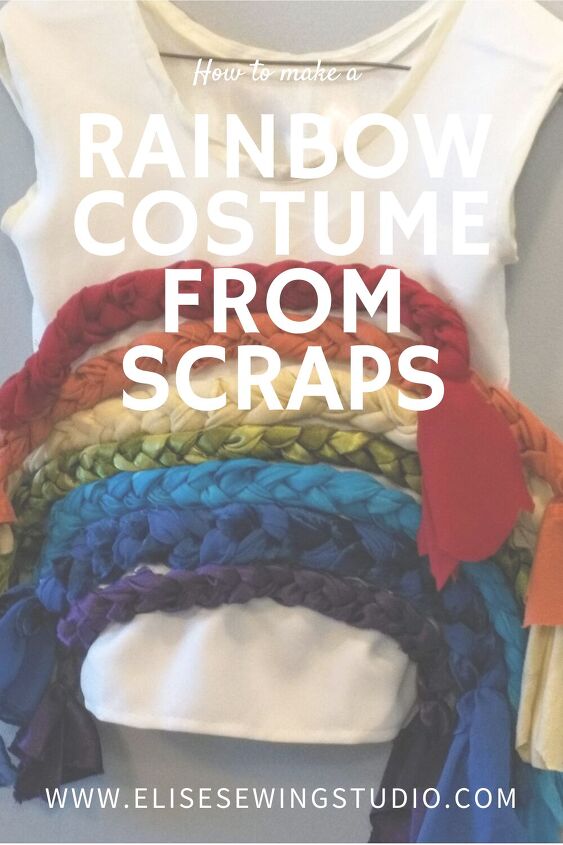
Make a DIY rainbow costume from braided fabric (no sewing machine)
After some deliberation, my kid wanted me to make her a rainbow costume for Halloween. “This is something I can make, no problem,” I thought.
I spent some time looking a different ways to make it – pool noodles, painted cardboard. But I decided to make it out of braided scrap fabrics and sew it down on a vest (you could also use an oversized plain white Tshirt).
I had made a “cloud skirt” to go with it out of tulle before making the rainbow. You can read that tutorial here.
I made this for my young daughter, but you could make this for kids or adults. You just might have to make the rainbow stripes a bit longer.
Gather your fabrics
This post contains affiliate links. Should you click a link and make a purchase, I receive a small commission at no extra cost to you.
I have quite a lot of scrap fabric and was able to make this without buying anything new. However, you may have to buy a couple colours depending on what you have available.
I didn’t just use leftover fabrics from other projects, some of the colours were from cut up old clothes that weren’t fit to donate.
I do recommend cleaning any old clothes first – I recommend Tru Earth Laundry Strips as a convenient and eco friendly way to wash clothes. Instead of a bulky plastic jug of laundry detergent, it come in a strip in a paper envelope.
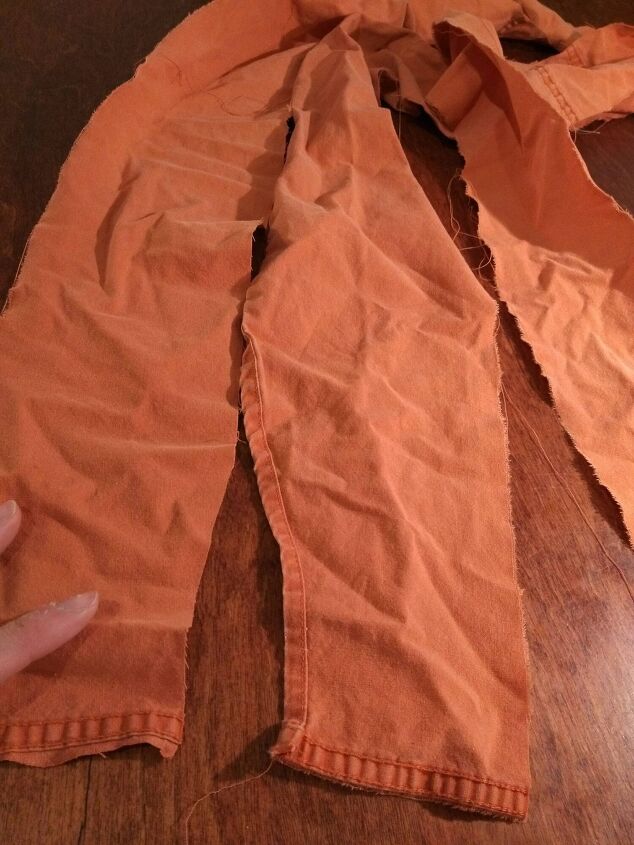
I braided three strips of fabric for each rainbow colour, about 3″ wide. If you don’t have enough fabric of one colour, you can use different fabrics in the same colour to create your braid (two or three fabrics in different green shades to create a blend of green, for example). The type of fabric isn’t really important here. The fabrics in mine came from different sources – bridesmaid dress hem cut offs, scrap fabrics from my bin, and cut up old pyjamas.
Gather the fabric strips and pin together on one end with a safety pin. Anchor your fabric somewhere to make it easy for you to braid. I put my pinned end in a trunk to hold it steady while I braided it.
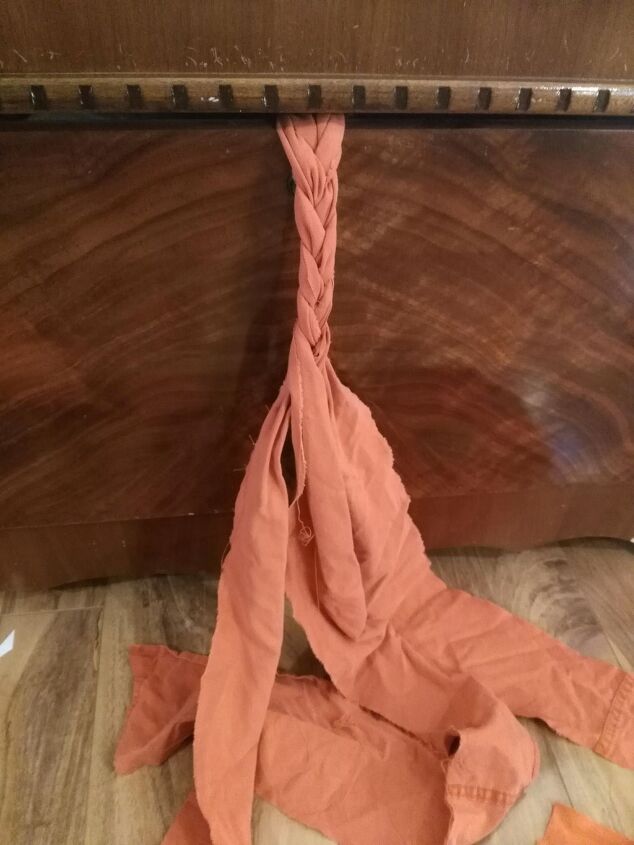
While you braid it, try and have the raw edges of the fabric folded into the braid, as these edges will fray. However if you find this tricky, don’t worry about it too much.
Braid enough so you have a length long enough to sew on your shirt or vest. Safety pin the open end.
Repeat with all colours.
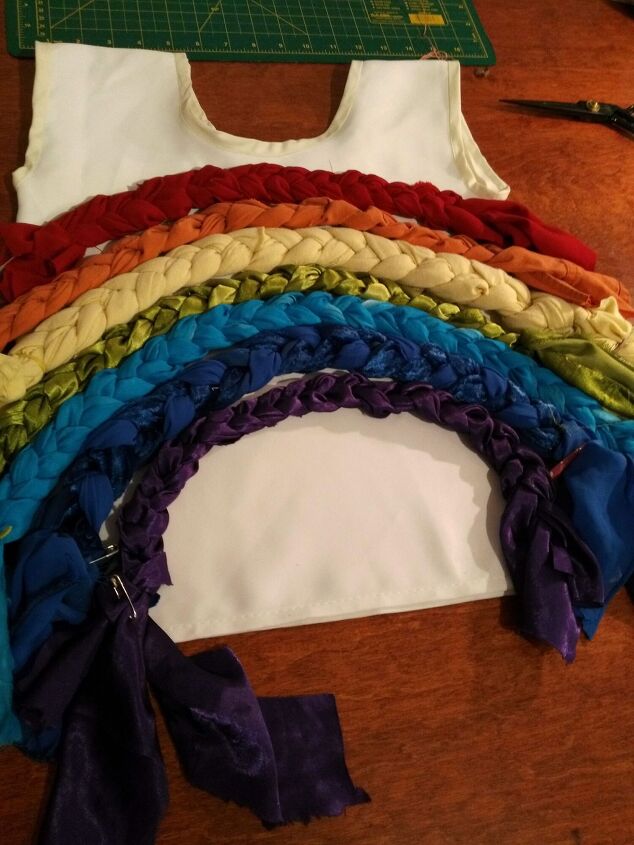
Pin the rainbow stripes to the shirt.

To make the rainbow, start with your red braid and lay it on top of your shirt or vest. Pin it in an arch shape.
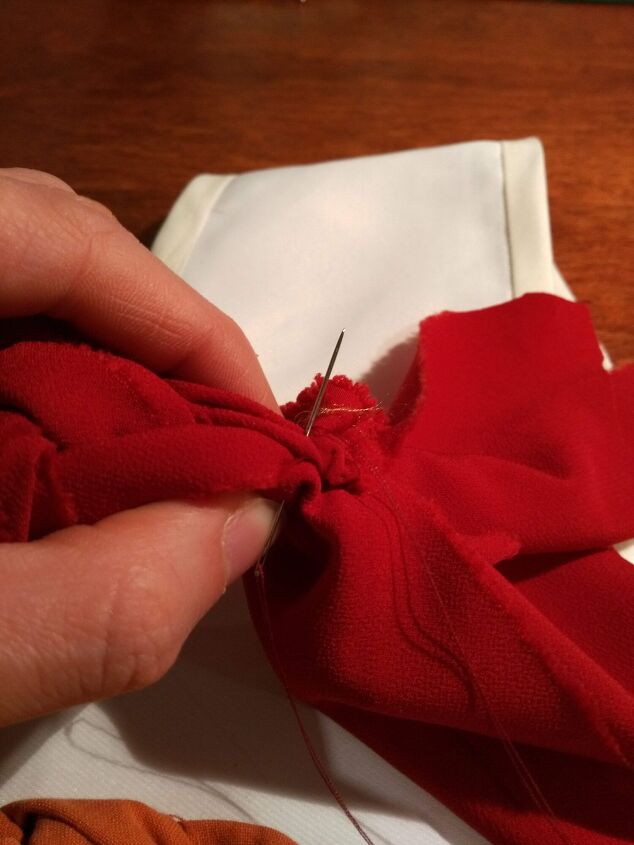
Using a needle and thread, hand sew it down to the costume. I used a whip stitch to secure it in place. I stitched around the top and bottom edge of each braid.
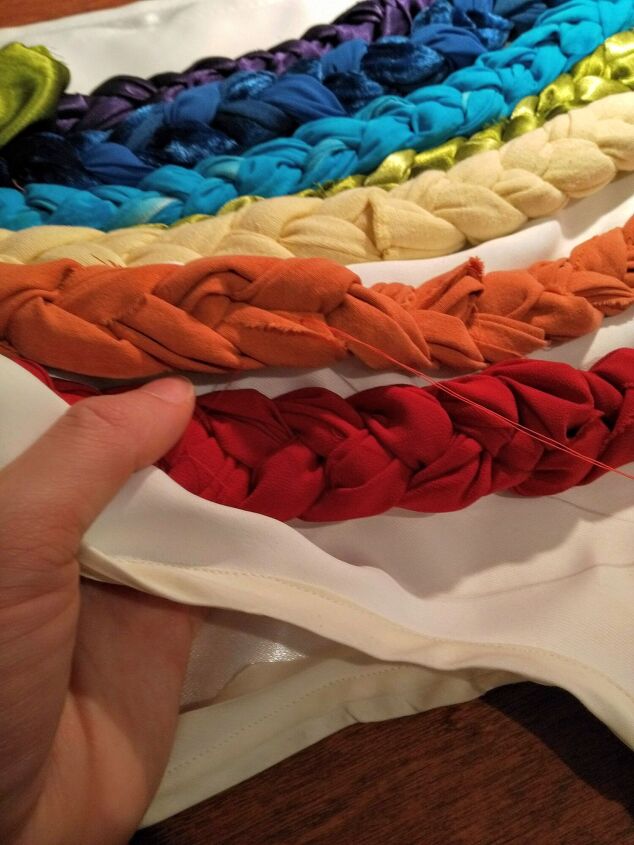
Secure the ends of the braids with a few stitches through all layers.
Keep pinning and stitching for all colours to make your rainbow costume.
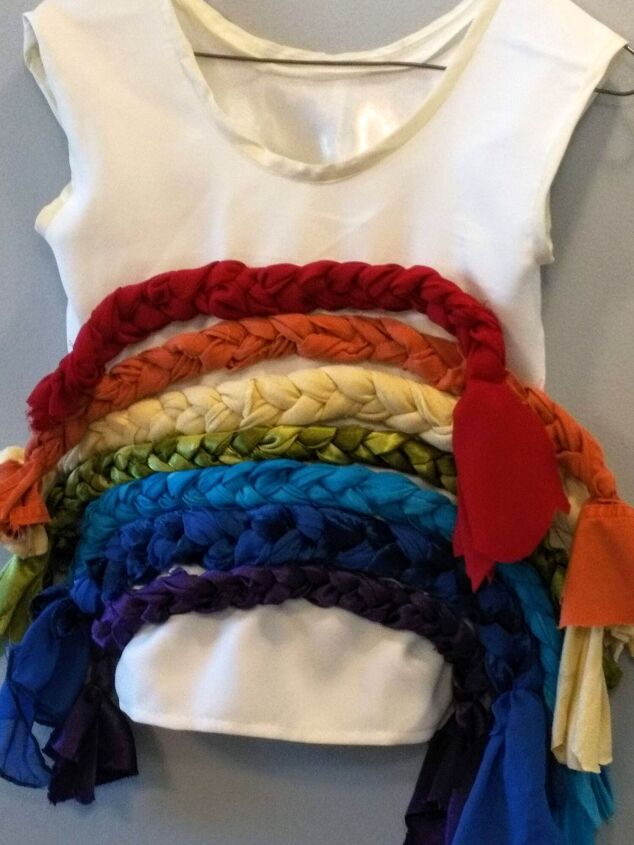
Trim excess length from the braids as desired. I decided to let mine dangle 2-3″.
Your rainbow costume is now complete!
So you can do this with an oversized top, vest, or dress. I paired it with a tulle skirt for a “cloud”. You could also wear white pants or something else rainbow or rain themed on the bottom half.
Let me know how this worked for you in the comments!
If you would like sewing tips and keep in the loop with the latest blog posts, sign up for my email newsletter. When you sign up, you get a free PDF of tips to help you fit and alter your own clothes. Sign up for the newsletter here.
The author may collect a small share of sales from the links on this page.


Comments
Join the conversation