Easy Red and White Swirl Nail Art Tutorial

Here is a red and white nail art design that resembles beautiful rose petals.
Follow this nail art tutorial, and I’ll show you the nail art hack that makes it easy to create this design at home.
You probably already have the two colors you need for the nail art in your manicure kit.
Tools and materials:
- White nail polish
- Rose-red nail polish
- Clear top coat
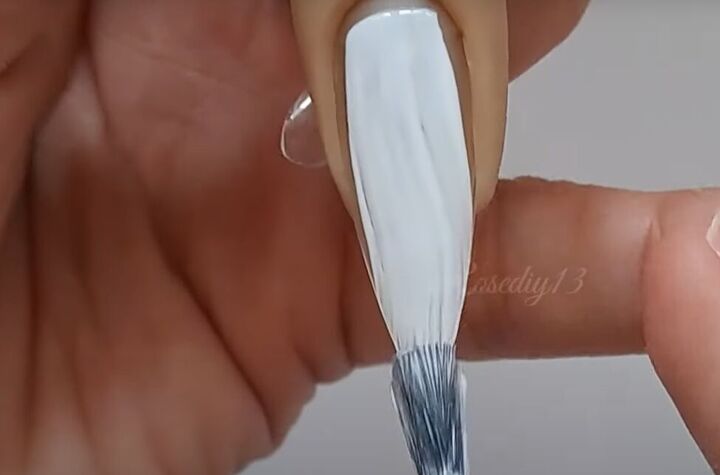
1. Base coat
Start this nail design with a base coat of white nail polish.
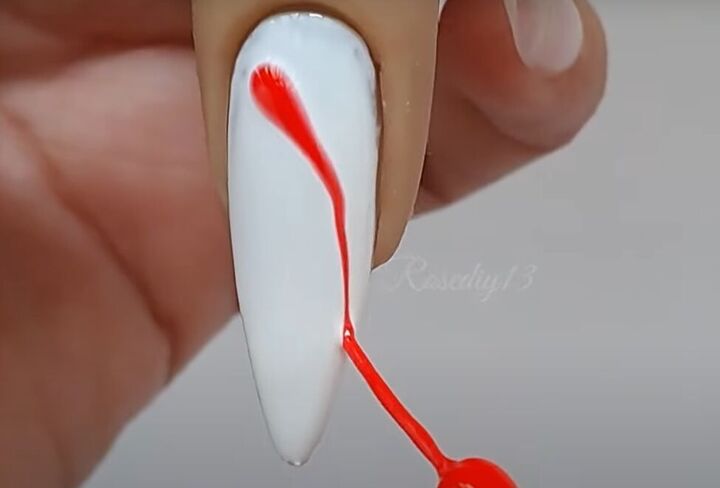
2. Add a pattern
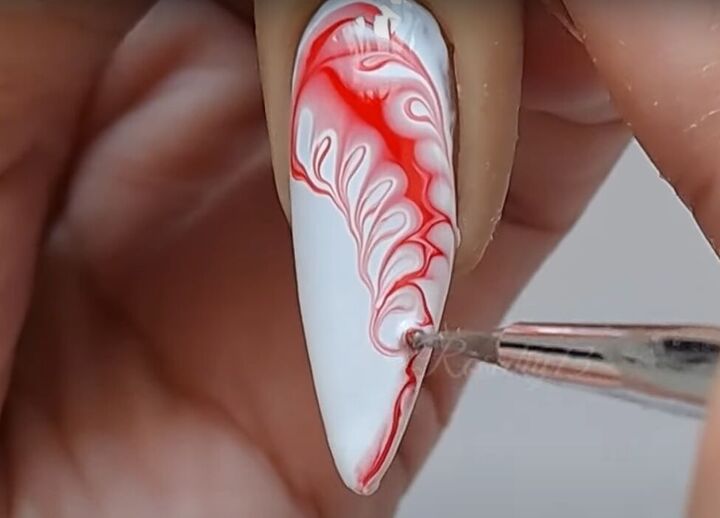
With rose-red nail polish, make a curved line down the length of your nail, thicker near the base, and thinner near the tip.
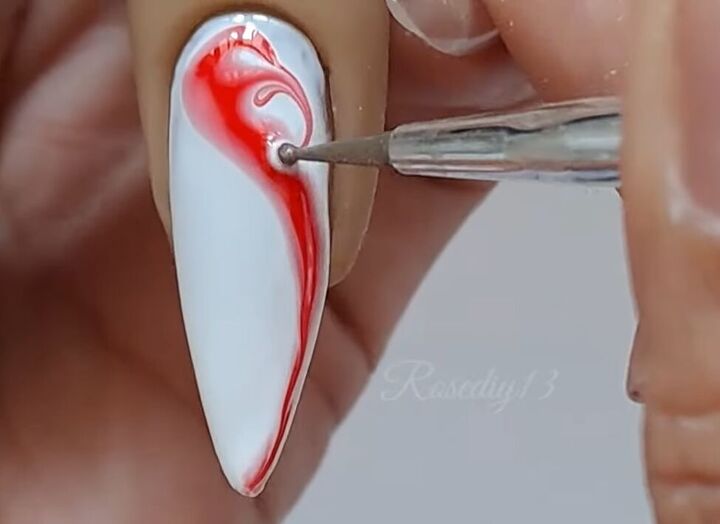
Working from the base to the tip, draw brush through the red polish making consecutive swirls to one side of the initial curved line.
As you get closer to the tip, make the swirls less pronounced.
Because of the positioning of the line, you will probably need to end the swirls a bit before you reach the tip of your nail.
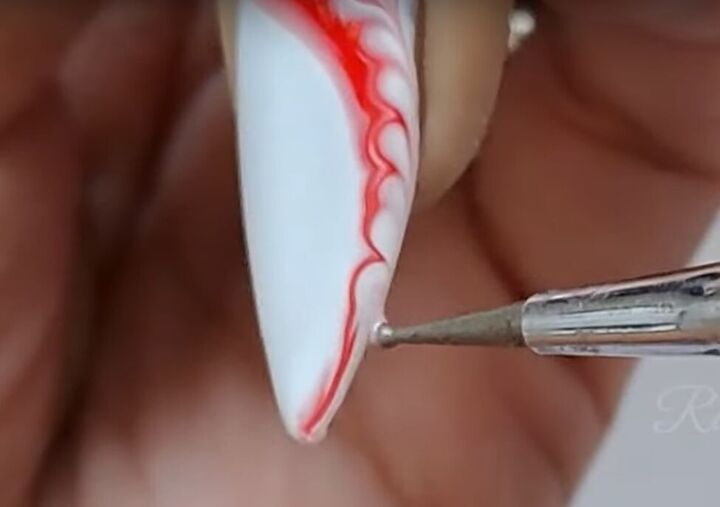
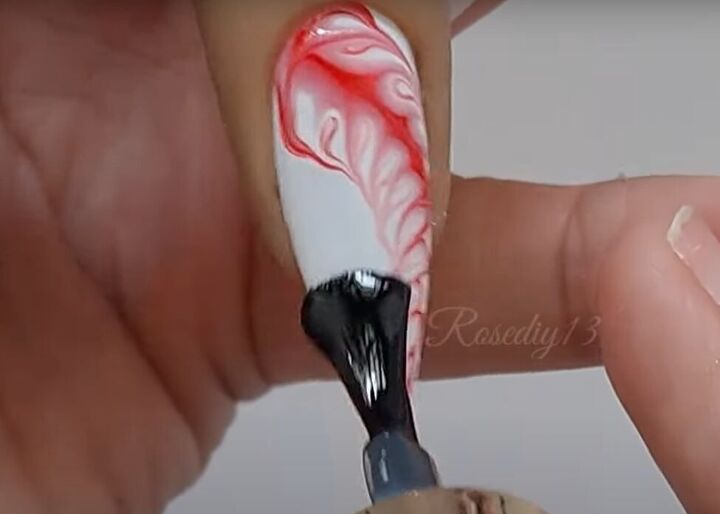
Repeat making swirls on the other side of the curve, going right down to the tip of your nail.
Let the swirl pattern dry thoroughly
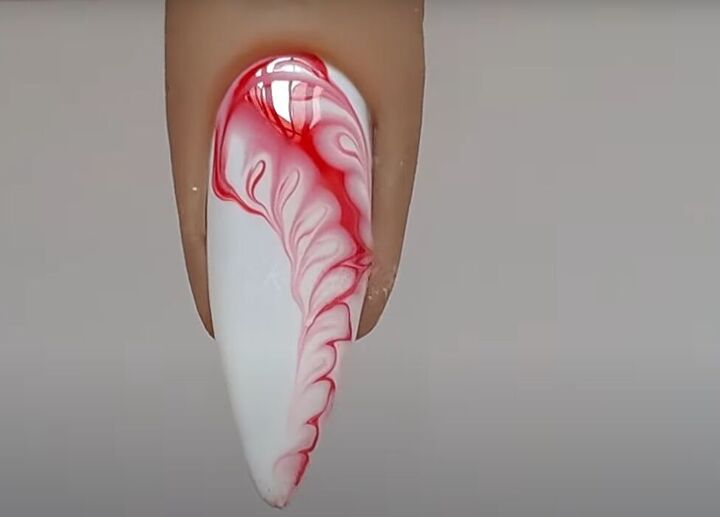
3. Finish with top coat
Apply a clear top coat over the swirly red pattern.
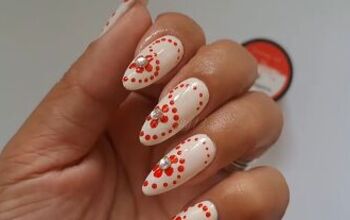
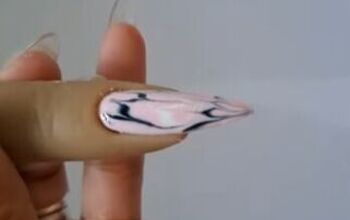
Red and white nail art
Here is the finished red and white nail. What do you think?
If you try this red and white nail art, leave a comment to let me know how you liked the tutorial.
Next, check out this Cute and Easy Flower Nail Art Tutorial.
The author may collect a small share of sales from the links on this page.


Comments
Join the conversation
Beautiful!!!! ♥️