How to DIY Easy Red Swirl Nails for Christmas

We’re doing easy Christmas nail art for this tutorial!
These nails will have white and red nail swirl designs and are the perfect choice for anyone looking for easy Christmas nail ideas. Let’s get started.
Tools and materials:
- Red nail polish
- White nail polish
- Dotting tool
- Nail brush
1. Create a circle with six dots
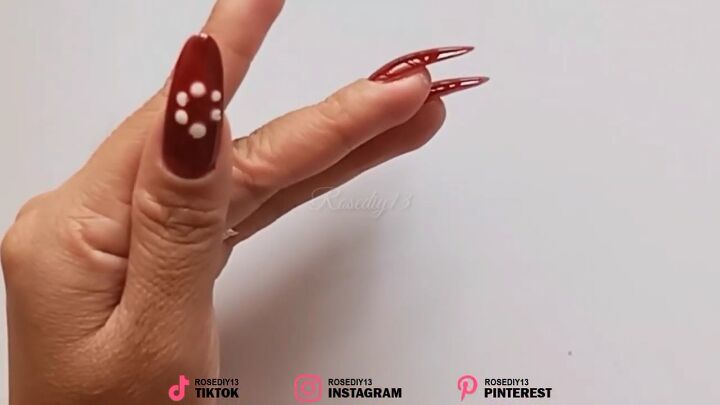
Starting with completely red nails, use a dotting tool to create a circle with six dots in the center of the nail with white nail polish.
The dots should be medium-sized, but don’t worry about making them uniform or perfectly round.
2. Create a center dot
Create a dot in the center of the dotted circle.
This will be the focus of our nail design and should be smaller than the other dots.
I used a nail brush here but feel free to also use the dotting tool.
3. Draw curved lines from the center dot
With a designer nail brush, draw lines from the center dot out to the dots surrounding it in a curved stroke.
The line should be mostly straight with a small upwards flick at the end. Make sure the nail polish is still wet, so you can draw through it.
4. Draw the design on all nails
Repeat steps 1-3 to draw the design on each nail.
You should complete only one nail at a time so the polish doesn’t dry in between each step.
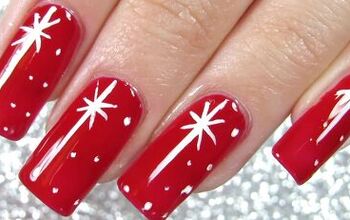
Red swirl nails for Christmas
Here are the finished red and white swirl nails!
This easy Christmas nail art is perfect for flaunting at a holiday party, on Christmas day, or even during the entire festive season.
Mix it up by switching colors and having a white base with red swirls or even alternate with each nail.
Let me know what you think about this nail design below and if you plan on recreating it or something similar for the holiday season.
For more festive nail content, check out my post on How to Do Gold Foil Nails for Christmas in 5 Easy Steps.
Enjoyed the project?
The author may collect a small share of sales from the links on this page.





Comments
Join the conversation