Rock the Ring Handle Bag Trend With This Quick & Simple Tutorial

Just like creating clothing items, it’s also super easy to make a handbag! I am going to show you how to create a ring handle bag. You honestly don't need so many materials, and there’s no need for a complicated pattern to make this ring handle tote bag.
Follow me and see the stunning results! And if you haven’t yet, I urge you to try this one out because besides how gorgeous it looks, it’s actually straightforward and a fun process.
Tools and materials:
- Main fabric
- Lining fabric
- Handle rings
- Ruler
- Measuring tape
- Pins
- Sewing machine
- Thread
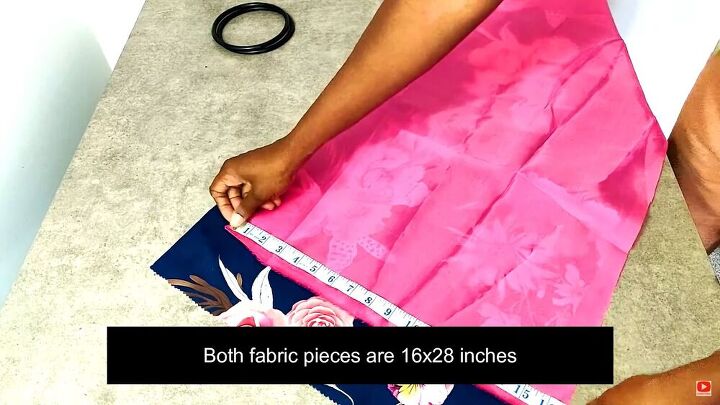
1. Cut the fabric pieces
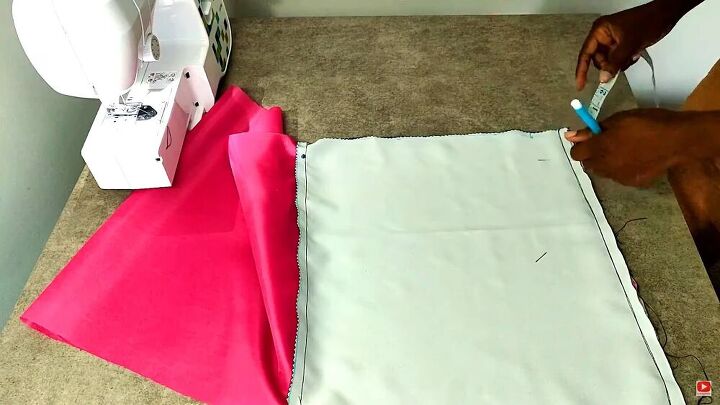
To make this circle ring handle bag, you need a lining and main fabric piece measuring 16 x 28 inches each.
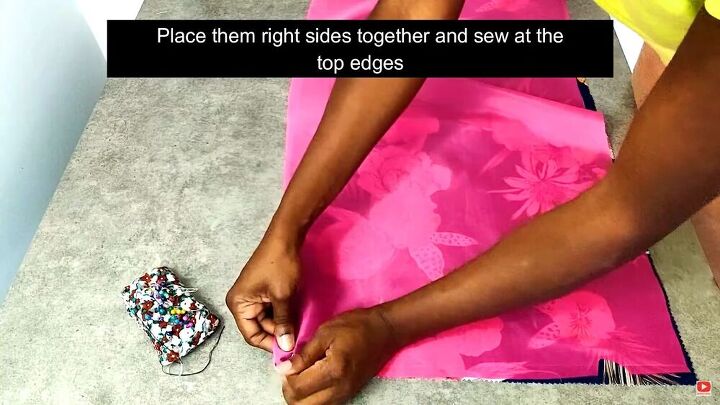
2. Sew the fabric and lining
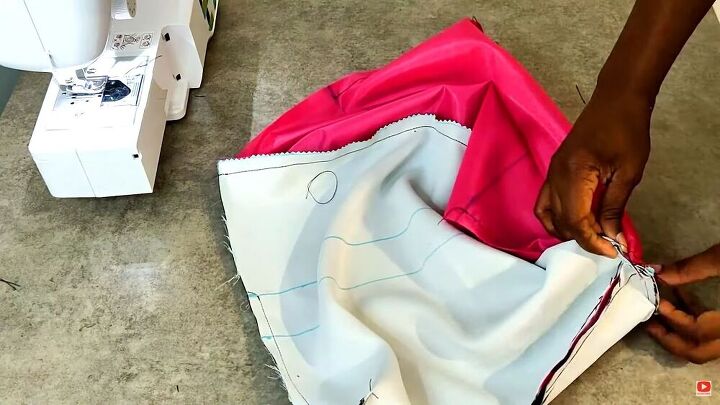
Now, place them right sides together, and sew both layers together at the top edges.
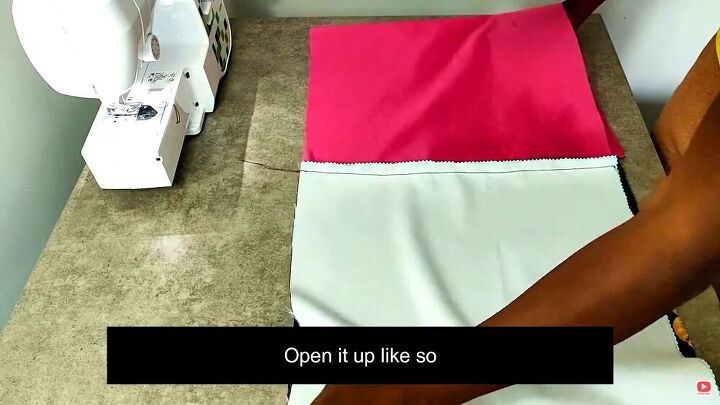
Once the sides are stitched, open the whole fabric piece up as shown, with the seam in the middle.
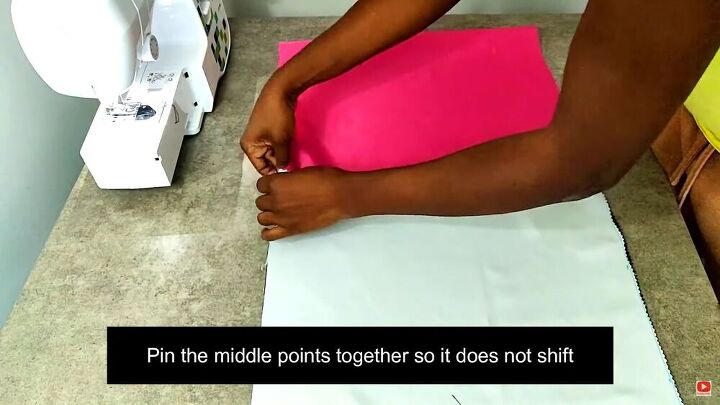
Then, pin the middle points together, so the fabric doesn’t shift.
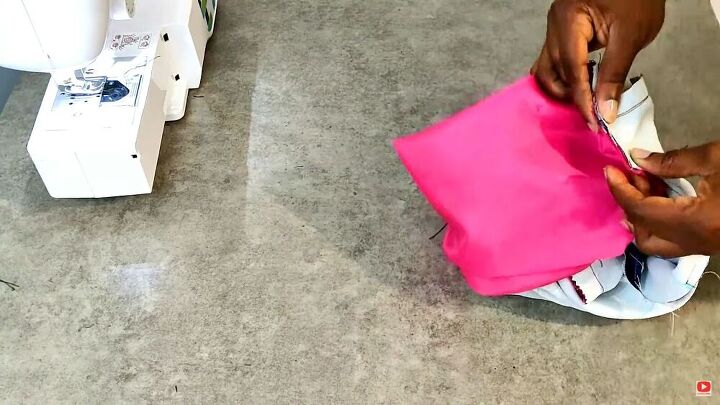
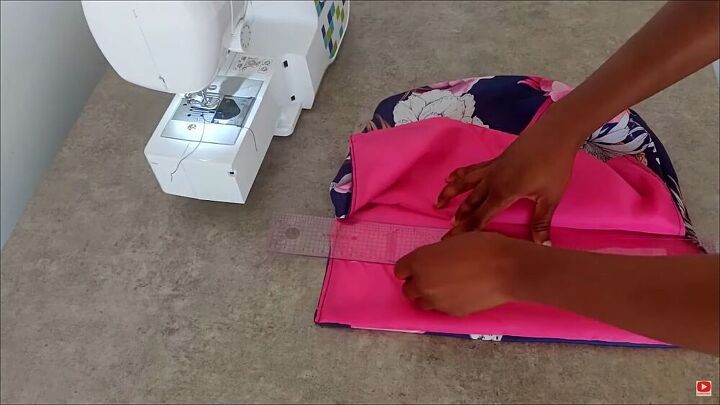
From the corners, measure 1.5 inches up on the side and 2 inches in the bag.
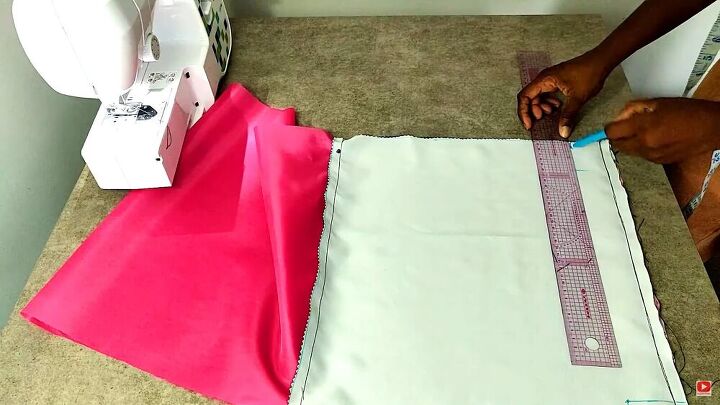
Then, connect the two points to make a square. Repeat the process on the other two adjacent corners. After, cut off the corners.

Measure 5 inches down from the middle seam with your measuring tape and draw a line across this 5-inch mark. Then, repeat the same for the other side.
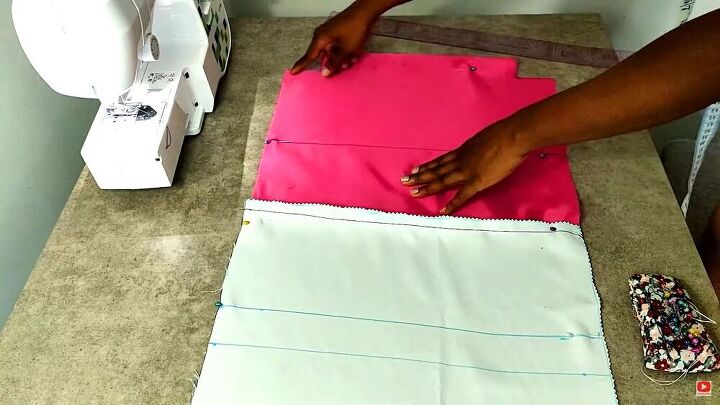
Now, sew along the edges, starting from the line you just drew to the bottom edge of the bag, where the squared cut-offs are located. You should have a gap in the middle.
Tip: Use some seam allowance when sewing the sides.
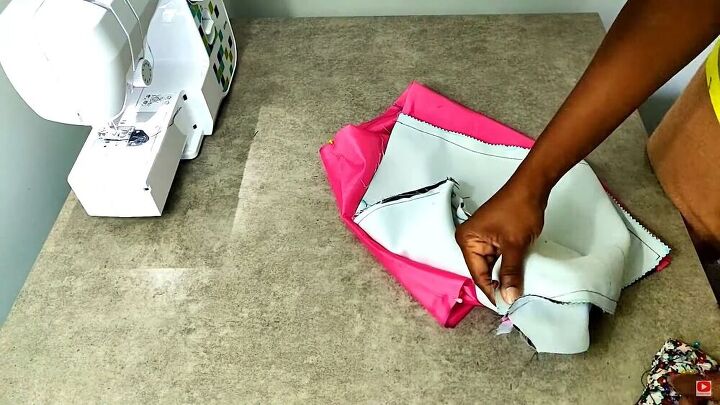
Open up the corners on all four sides and sew a line across. The corners should be “sandwiched” flat.
Bring each adjacent corner together on both sides
Sew on the seam allowance to secure these layers together.
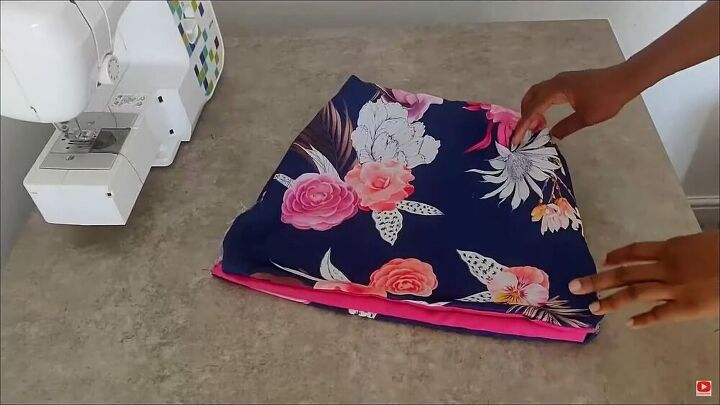
4. Close the opening
Turn the bag inside out through the opening. This is how your o-ring handle bag should look so far.

Next, fold the sides where the opening is and press the folds to make it easier to sew.
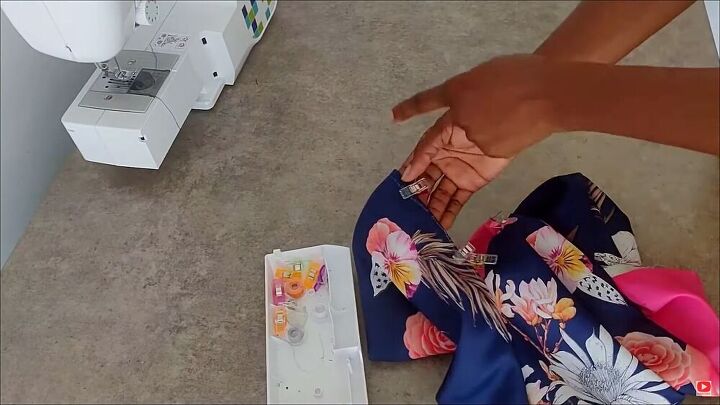
Pin the folds in place and topstitch the opening from one end to the other.
5. Add the ring handles
Now, mark 2 inches from the top of the purse on either side and draw a line across at these markings. Repeat this on the other flap.
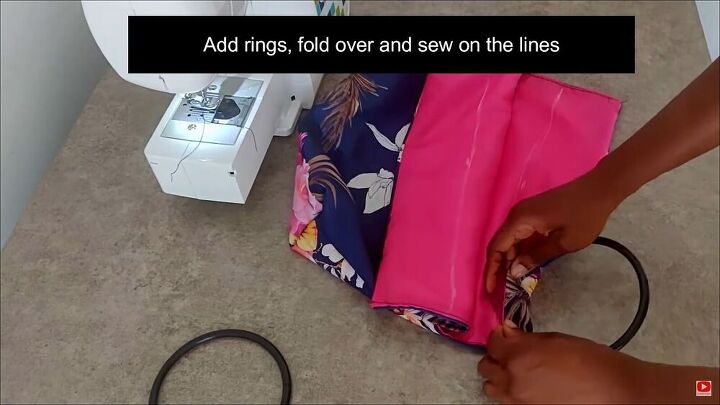
Insert the fabric through the loop of the rings and fold the fabric over so that the top edge of the fabric touches the line you just drew.
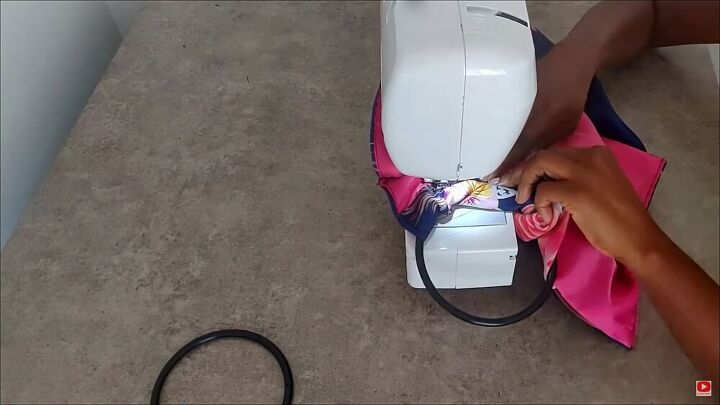
Next, sew along the top edge to secure the ring in place. You should have a ruffled look, too. Make sure to sew the whole length of the fabric.
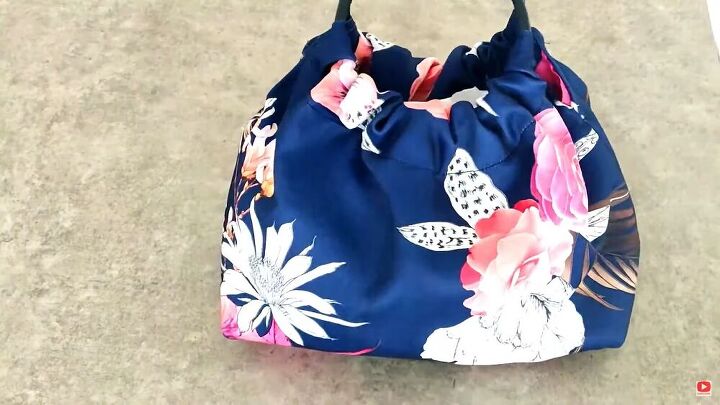
DIY ring handle bag tutorial
Wow, would you look at that! I told you this project would be easy; it’s so simple!

The ring handle bag trend is definitely taking over, and instead of going to buy an expensive ring handle bag, you can make a circle ring handle bag for yourself. I hope you enjoyed this tutorial!
The author may collect a small share of sales from the links on this page.


Comments
Join the conversation
I have to give this a try! It's a stylish and useful bag on so many levels! Thanks for the great tip!
Totally loving this bag! Pinned!
Michelle
https://mybijoulifeonline.com