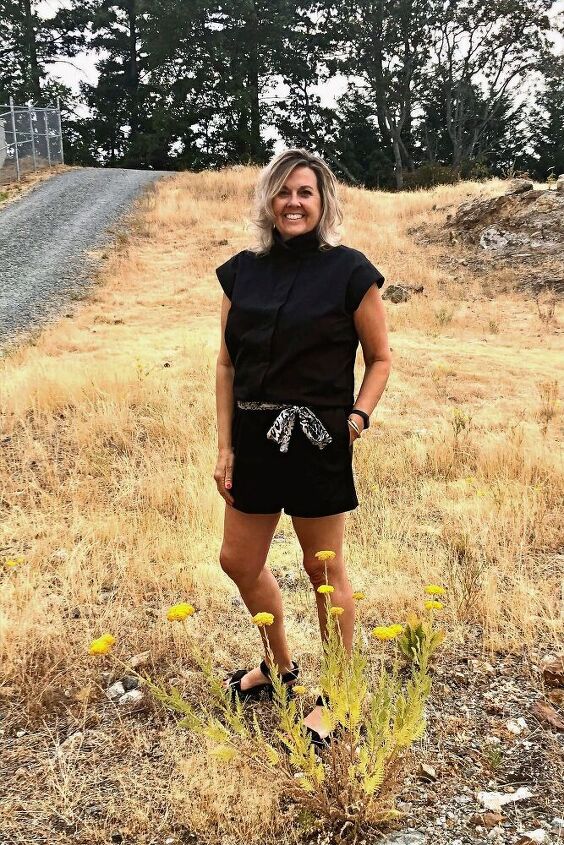
Rocking the Ludlow Romper: It's a Perfect Fit
It will be my one year "Return to Sewing" Anniversary on August 1. To mark the occasion I wanted to challenge myself to make something I have never made before.
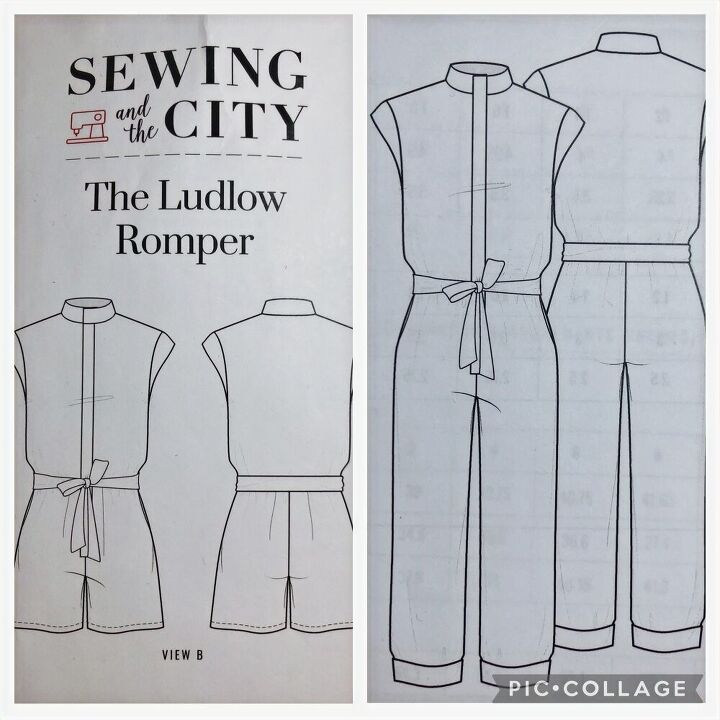
My choice: The Ludlow Romper by Sewing At the City.
My body is not a RTW kind of body, it never has been. I am 6 feet tall and have shoulders to prove it, have never had much of a waist, can only wear low rise pants and have no hips or butt to speak of. This have presented its issues as far as finding a good fit for clothing because I am kind of like a short waisted inverted triangle. Needless to say finding a romper or jumpsuit that fit was next to impossible. Until now....

I was drawn to the Ludlow Romper initially because of its design. I love high collars and this romper offers a spectacular one. The clean simple lines of the romper, the placket front closure and the cap sleeves drew me in even more. It’s an easy fitting one piece romper that comes in two pant lengths with a tie belt to cinch the waist. All of these features were enough to make me want to sew it! Ludlow is created by Christine Lindebak the founder of Sewing and the City. She aims to make sewing your own quality clothes something you can learn to do with confidence! They offer carefully taught online courses and stylish, yet classic PDF sewing patterns. They are timeless not trendy, helping you to design a personalized, stylish wardrobe.
I don't always create a muslin when I sew, but making a tailored romper for the first time was another story. For those of you who have not made a muslin I highly recommend it for new to you or more complicated patterns. A muslin is a basic version of the pattern made from actual muslin fabric or other lightweight fabric. Using recycled fabric like bedsheets or cheaper fabric is a great choice. For a more detailed article on how to make a muslin check out this post. I knew I would need to lengthen the bodice and shorten the rise of the shorts. How did I determine how much to do this by.... I guessed! I held the bodice pattern piece up- looked in the mirror and figured out how much length to ad. It sure isn't rocket science but its a good starting point for a muslin. Sewing the muslin means no seam finishing, no details and just sewing the parts of the pattern that you need to get an exact fit for. So I cut out the front bodice, back and shorts. I adjust theed the bodice length by 5 inches and shortening the rise of the shorts by 3". In the end it meant that my total adjustment for the completed garment was lengthening it by 2" but the 8" of changes made the difference and the end result is a Romper that Rocks!! With muslin sewn, tried on and actually worn around the house for a while to make sure I had ease of movement and could sit in it comfortably I was ready to sew.
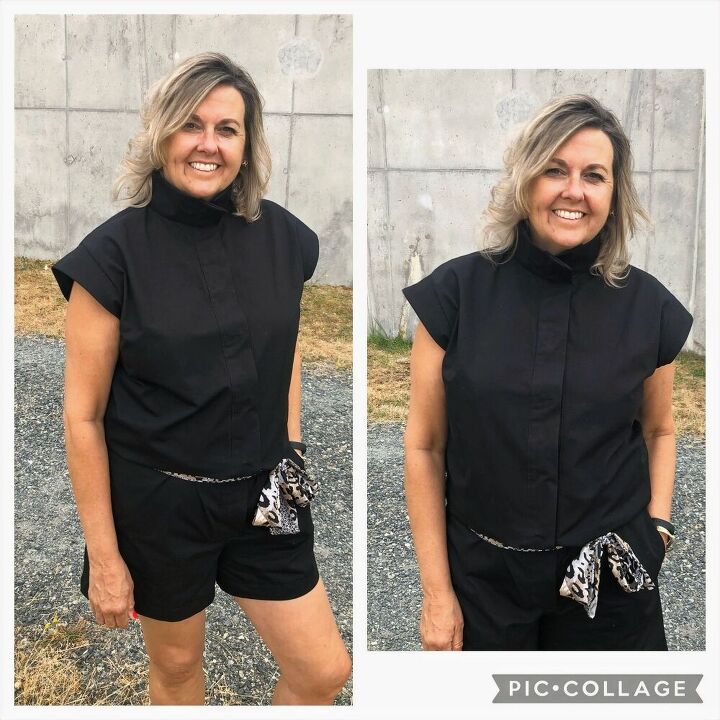
I chose a black cotton twill for my first make, sourced from a local Fabricland. I wanted structure so the neckline and cap sleeve would be crisp and stiff enough to hold their shape. The cotton would also keep me cool and wouldn't wrinkle. Black twill is versatile and can be styled in so many ways.
The Ludlow Romper instructions are very well laid out and easy to follow. The pattern itself can be printed in colour which I always appreciate because its just simpler to cut out! The pdf pieced together nicely and size selection was easy to determine. I made a mash of sizes which is normal for me. I made a size 14 bodice based on my bustline measurement and finished garment measurements allowing a couple of inches of ease through the bust. I lengthened the front and back bodice pieces by 5" because I wanted room for movement and this also accommodated for the fact that I like to wear shorts/pants on my hips due to my short waist.
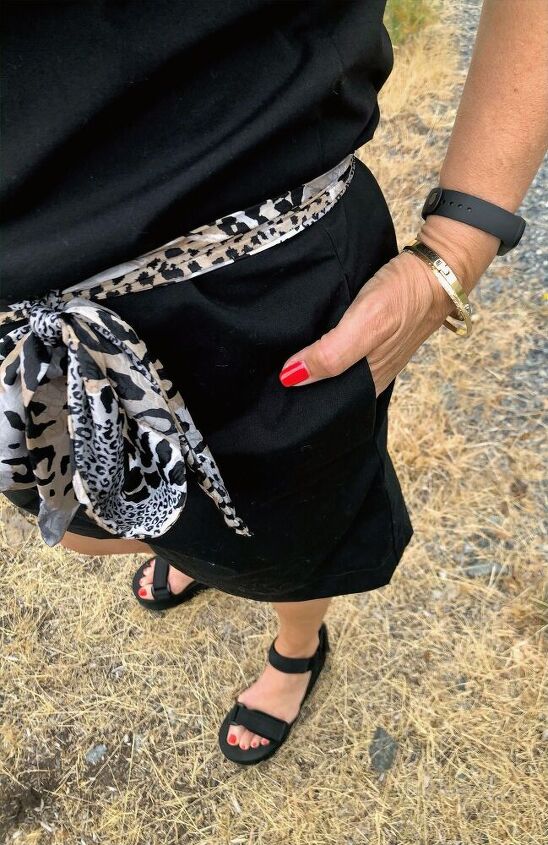
For the shorts I cut out a size 12 so that they would be a bit baggy. After sewing the muslin I realized I needed to make sure the waist of the shorts and the bodice fit together seamlessly as they were different sizes. So, I added a 1/4" to the top 1" of the shorts to ensure a good fit after measuring the width of the bottom of the bodice. I lengthened the inseam of the shorts by 2" to allow for a 5" inseam finish and a decent hem. I find that a 5" inseam on shorts makes them versatile enough to be able to be worn to work or a more dressy summer event. Of course, I was thrilled to find that the pattern comes with side seam pockets; a very important element of patterns for me. The bodice and shorts sew together easily and the steps are very straight forward. The cap sleeves are an interesting design feature and they are simple and straight forward to sew. I enjoyed how they were pieced together and they set into the bodice easily.
For my tie belt I used a contrasting leopard print rayon for drape and a less heavy, more delicate look. I lengthened the belt by half again so I would ample length I could tie it in a bow.
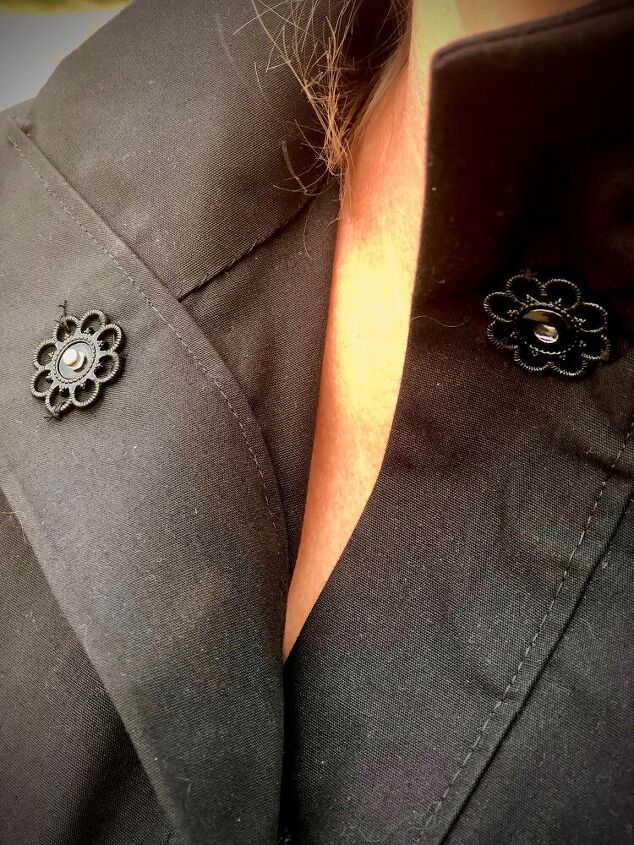
Now it was time for the placket closure. I was tentative going in as I haven't sewn one before. I was pleasantly surprised and quite proud of how smoothly these steps went. The instructions are really clear and there was no guessing about any part of the 'how to'. I am really pleased with the results and quite proud of my first Romper placket venture. In order to maintain the clean lines of the Romper the placket and is completed with 1" sew on snaps. I used basic black snaps except the final top snap where I chose a more decorative style so that I could wear the neckline open and the snap would add a bit of detail and interest to the closure.
All in all I am so pleased with this make. I challenged myself with sewing a Romper and chose the perfect pattern to do it. It helped to mark a milestone in my return to sewing and to meet the goal of challenging myself to make something out of my regular comfort zone. I purposely chose a Romper for my first make for fit and ease of sewing. My final feels comfortable and chic and I know I will wear it often. I highly recommend the Ludlow Romper and I encourage you to try it especially if you haven't made a romper before. Whether this is your first time sewing a romper/jumpsuit or you have a number of them in your closet already, this will become a go to pattern for you! I plan to make the jumpsuit version, thinking a khaki flight suit kind of look, after all..... There is Sew Much To Design.

The author may collect a small share of sales from the links on this page.


Comments
Join the conversation
Love this!