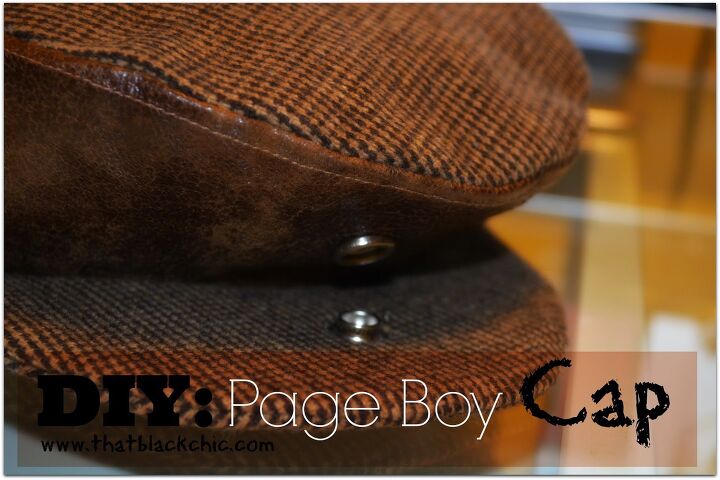
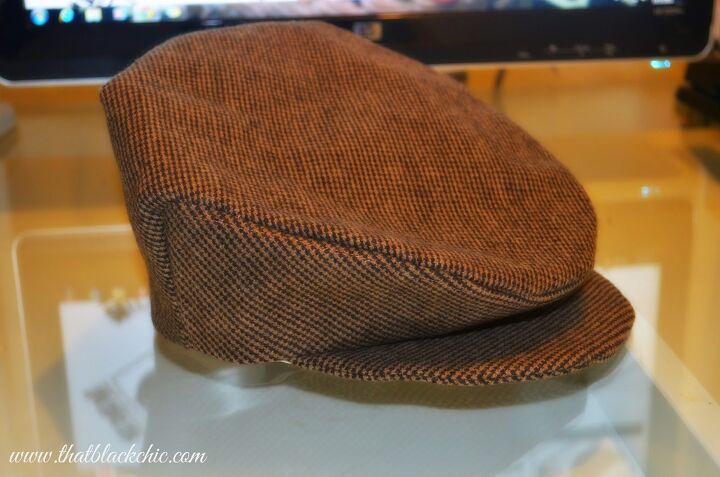
Sew What? A Page Boy Cap That's What!
Can I make a hat? that's what I was asking myself when I bought this pattern. (his is pattern #12 out of 20...almost there guys!) I made this page boy cap to go with another project which should be done soon, really, really soon. I used Vogue V9044 and I was a little scared because Vogue patterns ain't always easy and I had never sewn a hat before. So I went with a little reservation about this project but I moved onward. The pattern consisted of only five pieces so I felt good about that.
Pattern Pros: Only a few pieces and the directions were very clear.
Pattern Cons: Nada, it was all good!

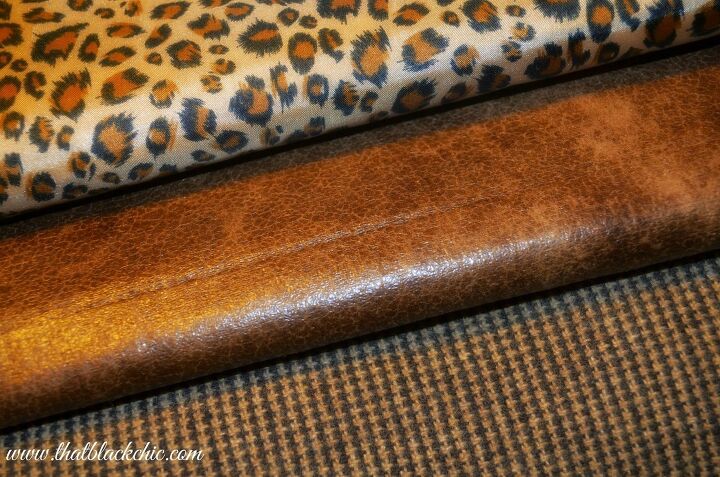
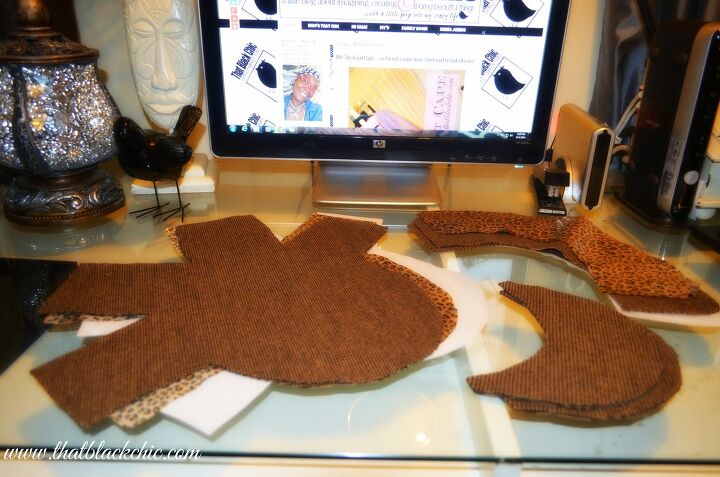
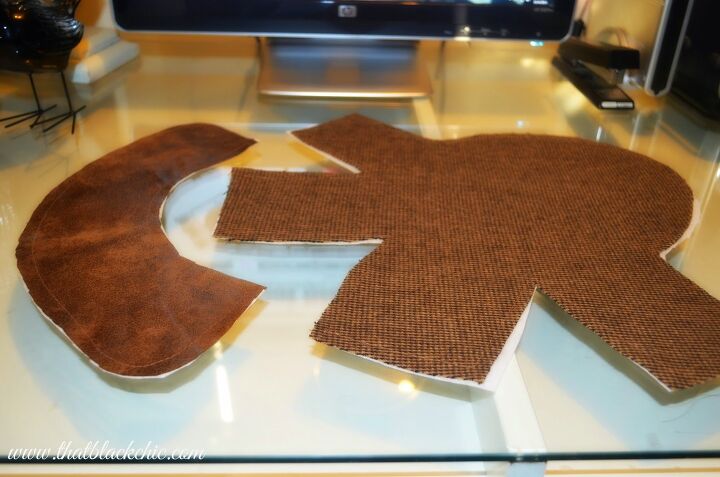
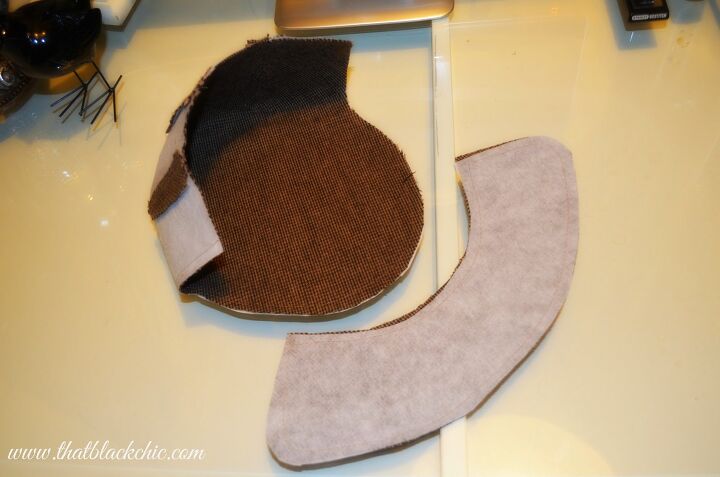
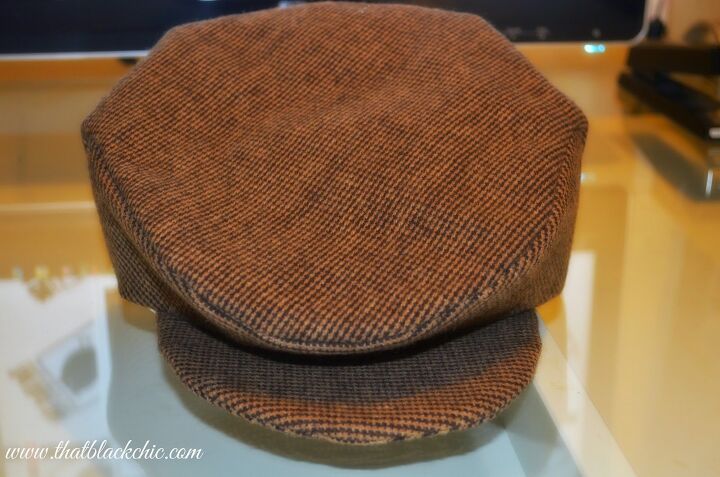
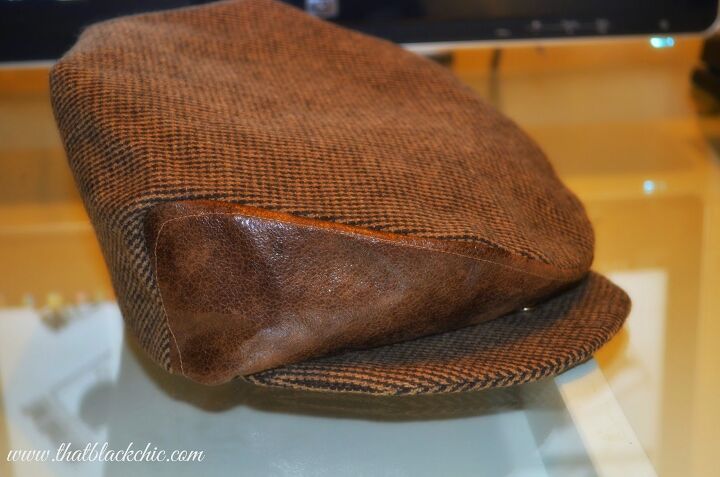
I photographed my steps in making this hat and you will see that I was making two hats at the same time. One with all tweed and one with leather and tweed. So you will see some photos with the all tweed hat and some this the leather and tweed. The pattern is pretty clear in the directions but I wanted to capture the important steps.
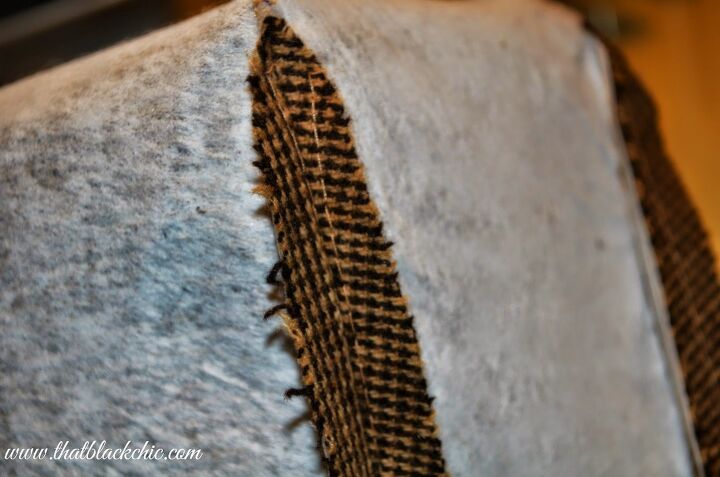
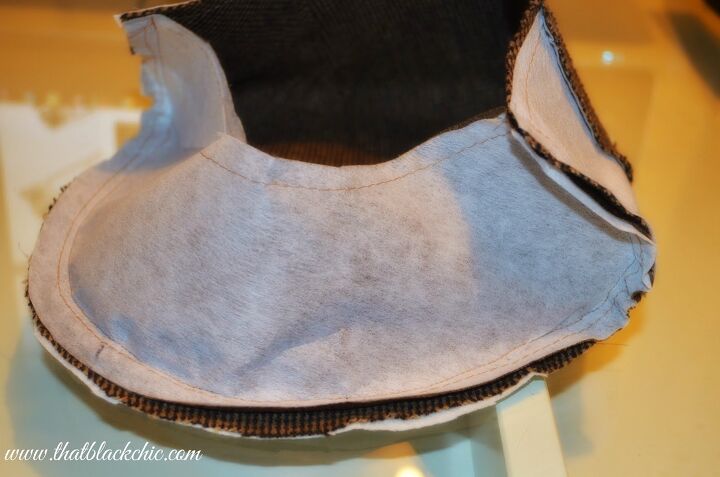
Interfacing has been basted to the hat pieces.
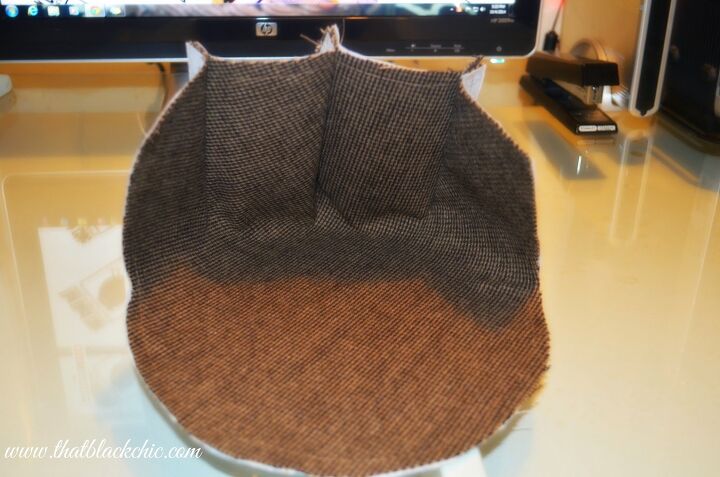
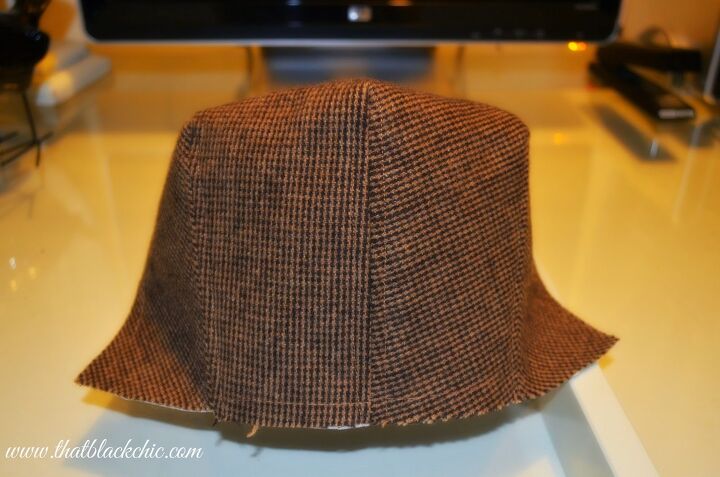
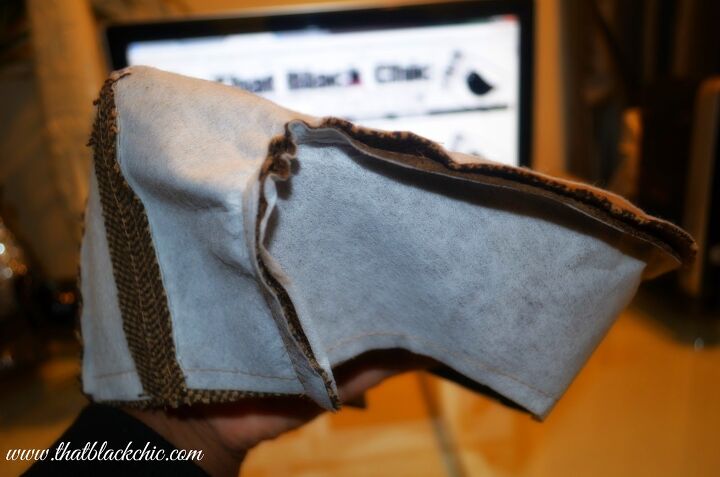
Stitching up the back
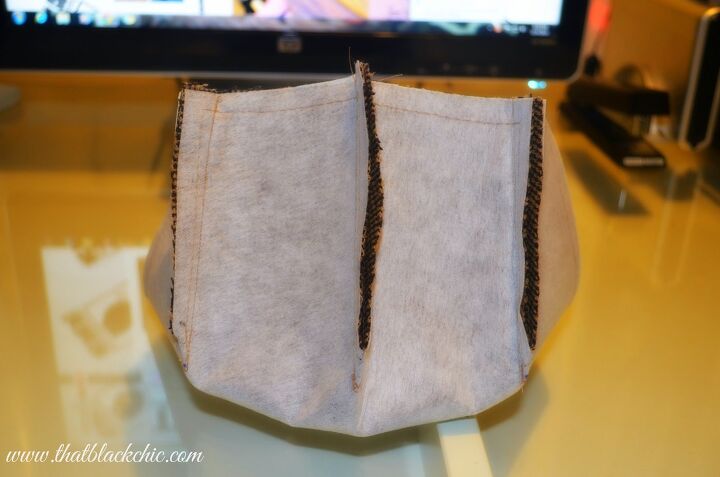
Clipped the top of the seams to the dot and press open
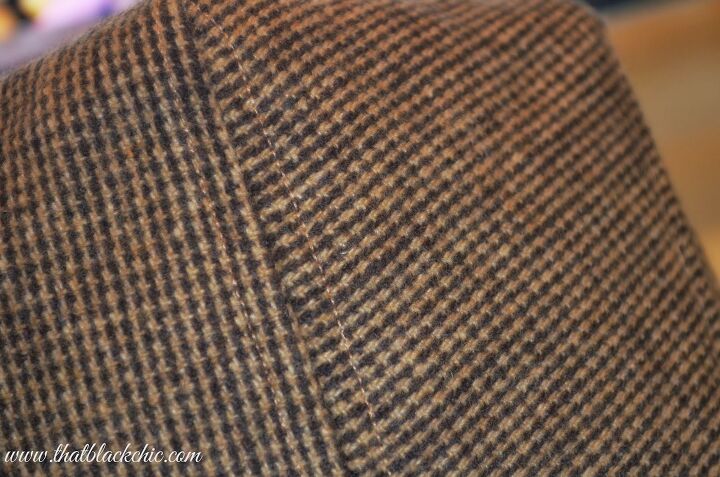
Top stitch on the seams
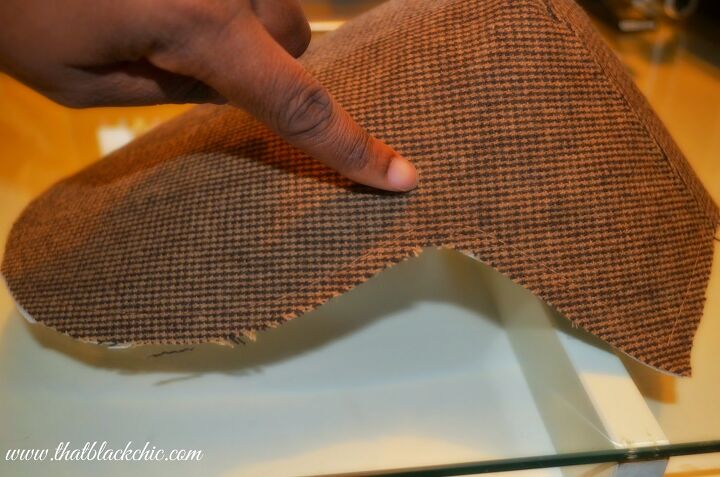
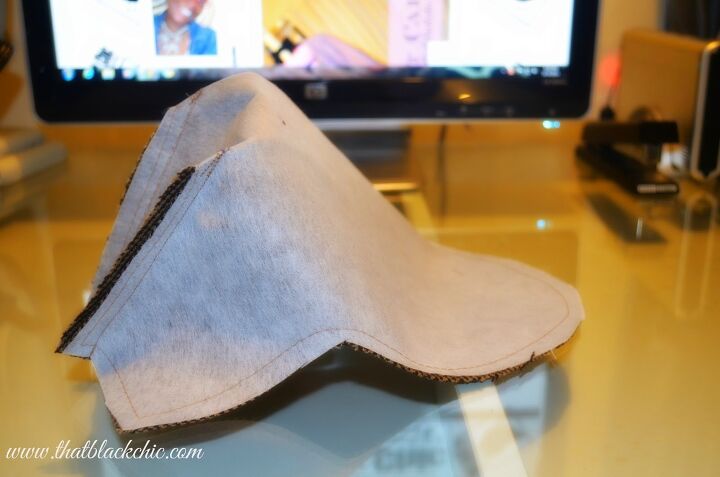
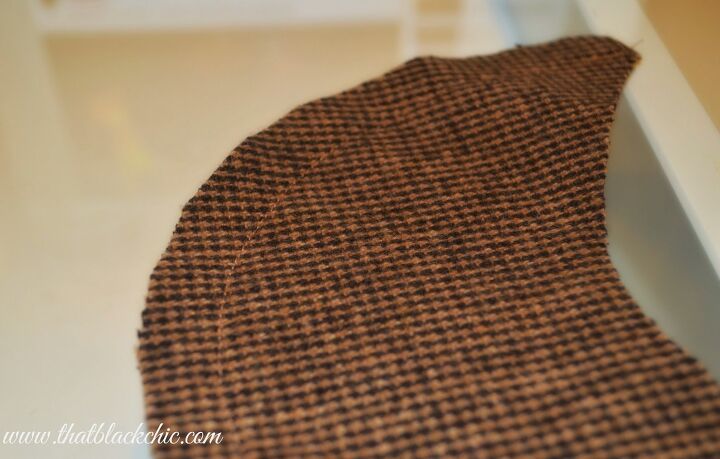
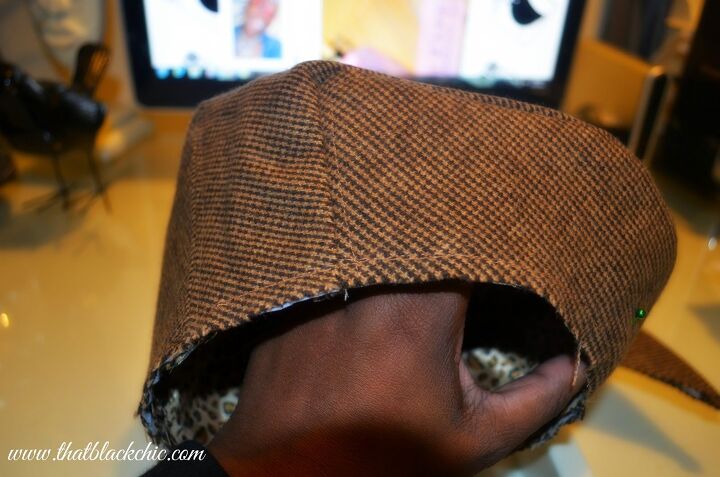
Basted around the curve of the hat, like
I said this is all in the directions for sewing the hat.
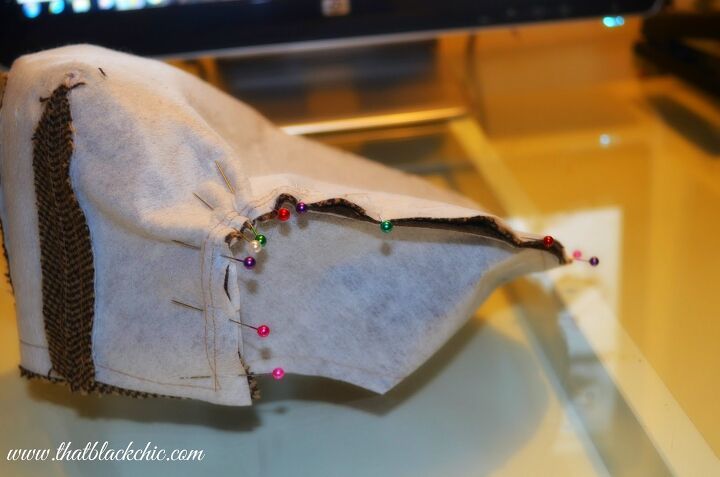
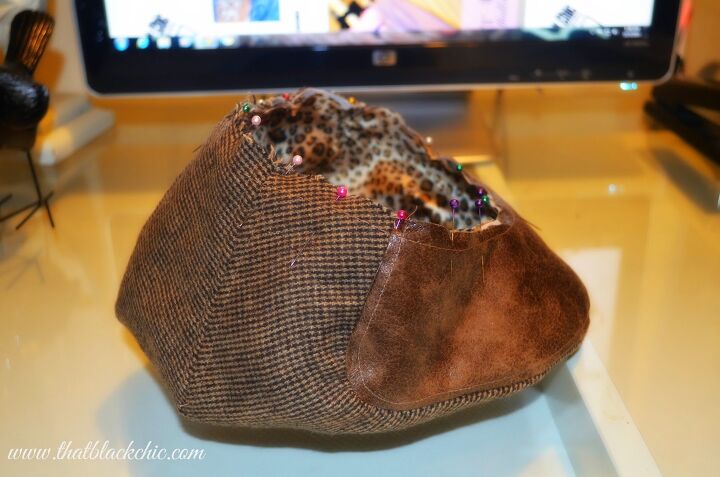
This is where the s@*t will most likely start hitting the fan for you. Pinning an sewing the front piece, those curves are the devil. You have to get it without pleating it or making it pucker. I think I did a decent job on these two hats.
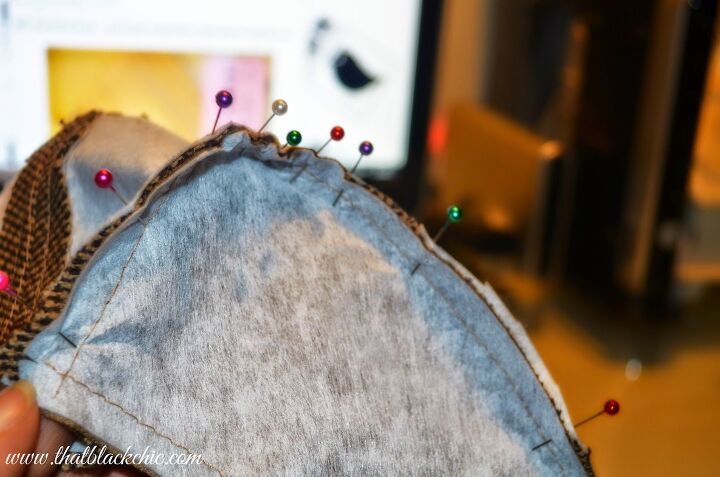

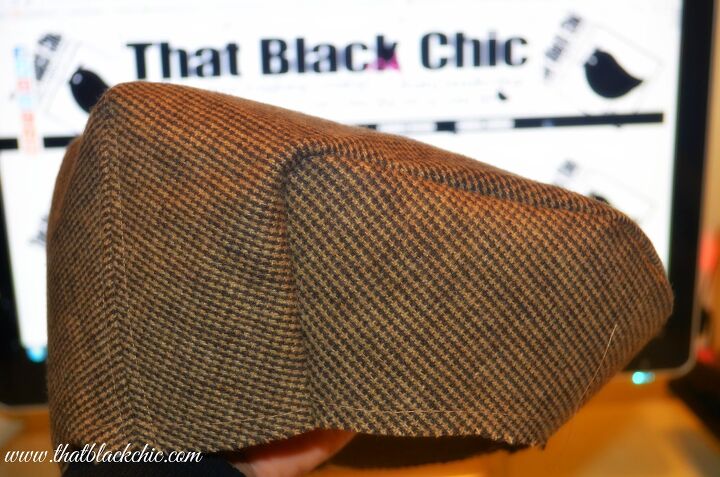
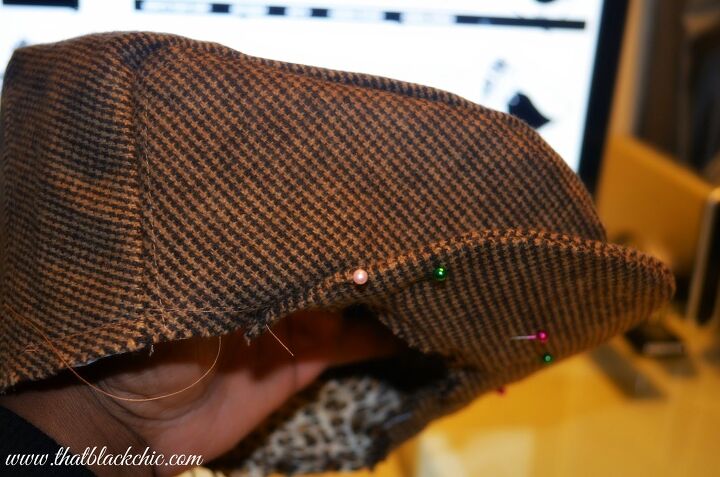
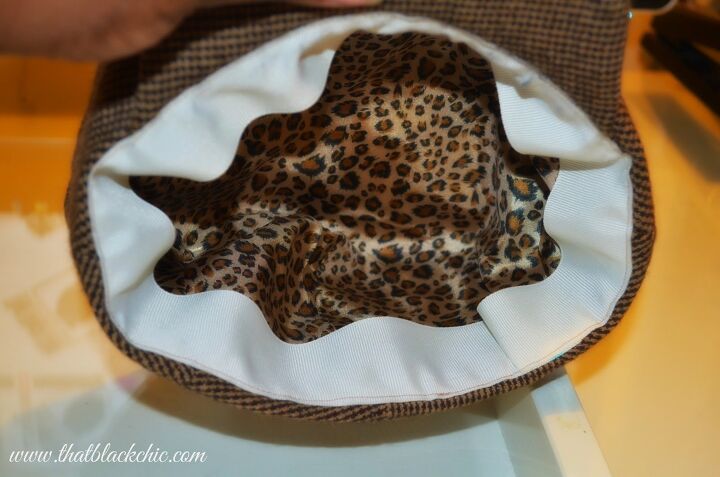
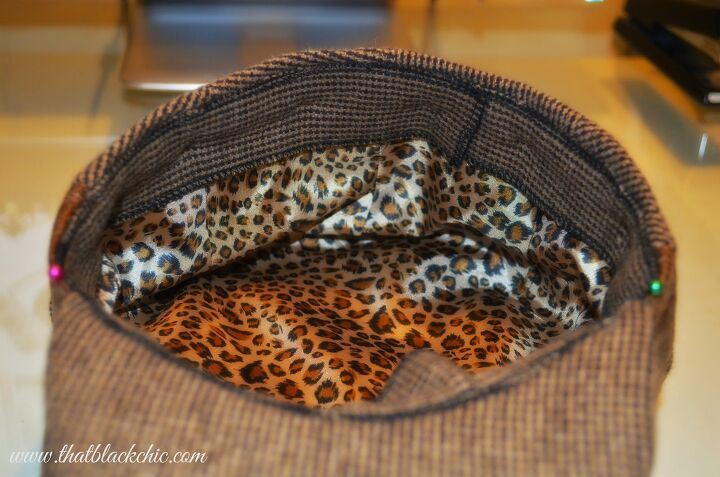
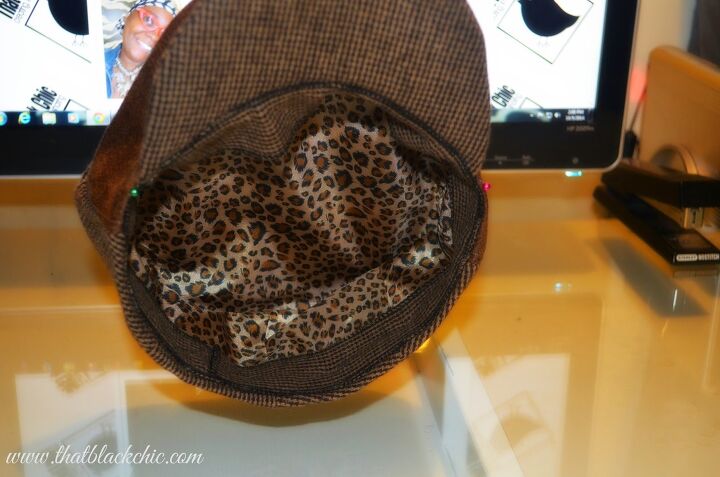
See not too bad. You then have to top stitch around the piece you just added. Insert your lining that was sewn the same way the outer layer was sewn.
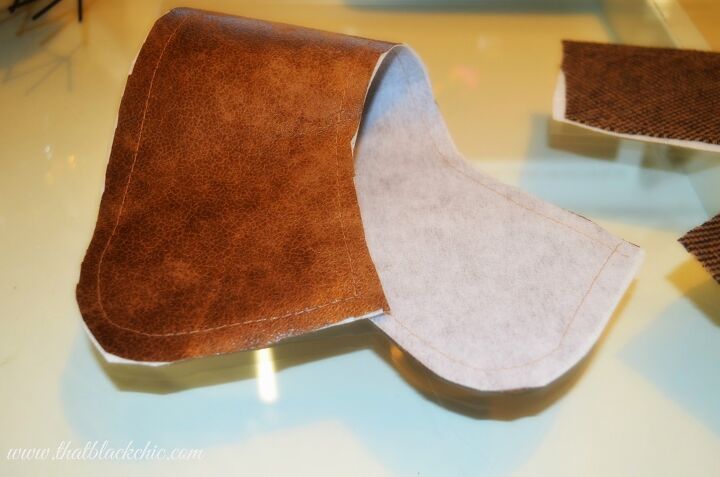
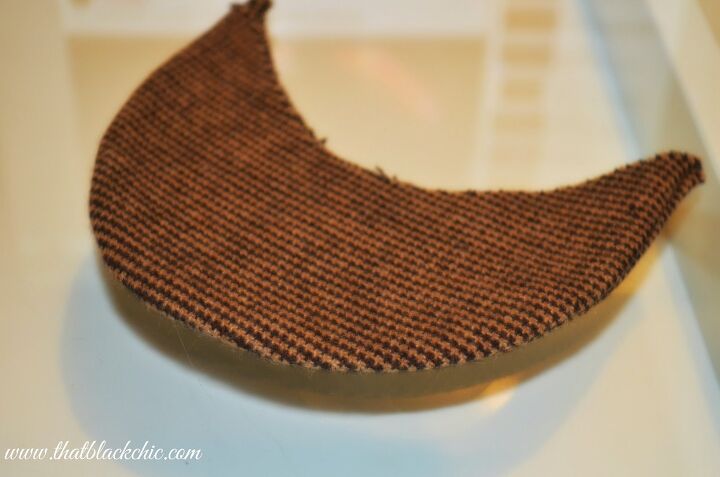
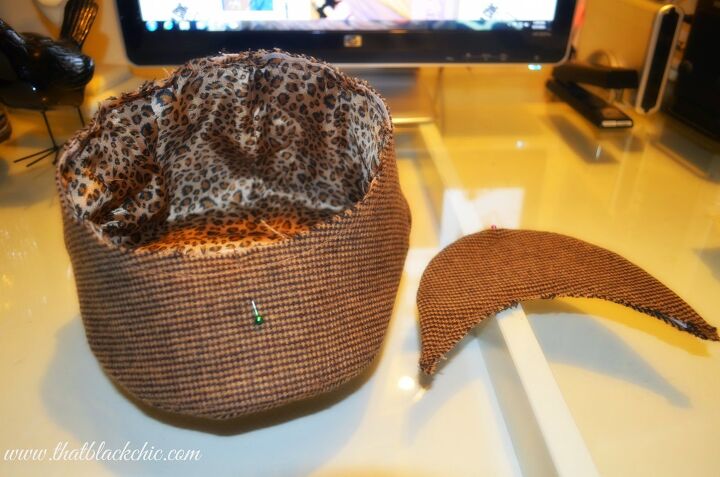
Now for the brim of the hat. Sewed right sides together trimmed and turned it over and inserted the interfacing.
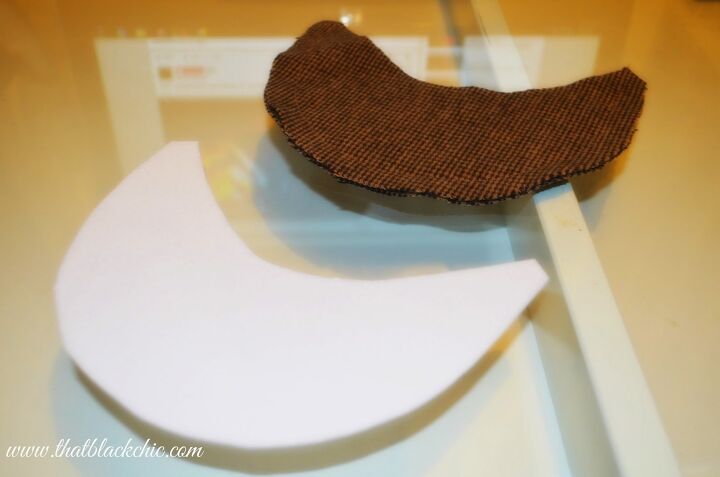
The pattern tells you to use buckram for the insert. I had to use Google because I did not know what it was and then I ended up on Youtube watching people making hats and before I knew it I was twenty minutes in, clicking away watching videos.......I had to get back focused on my hat I was making. Anyway I used a very stiff interfacing I use for crafts for my insert.

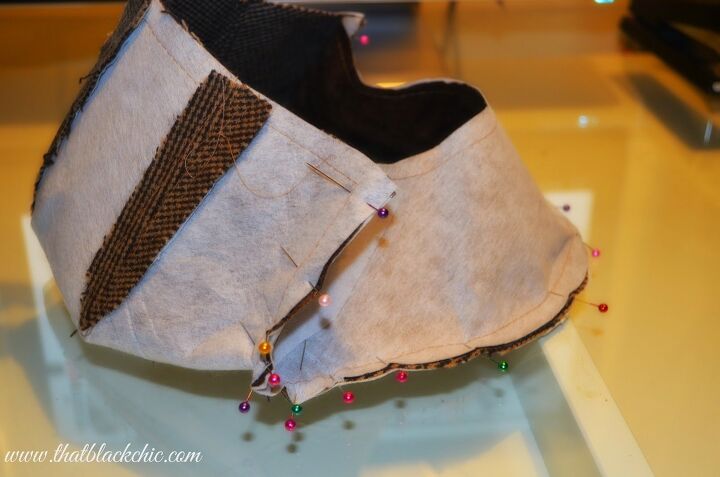
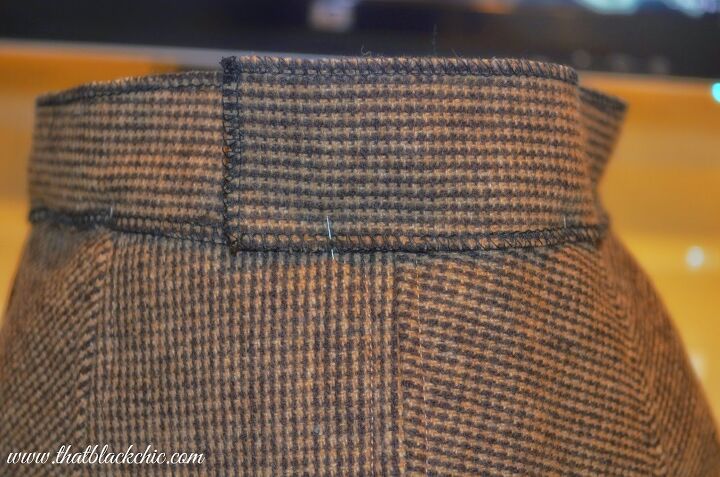
Stay stitch around the hat.
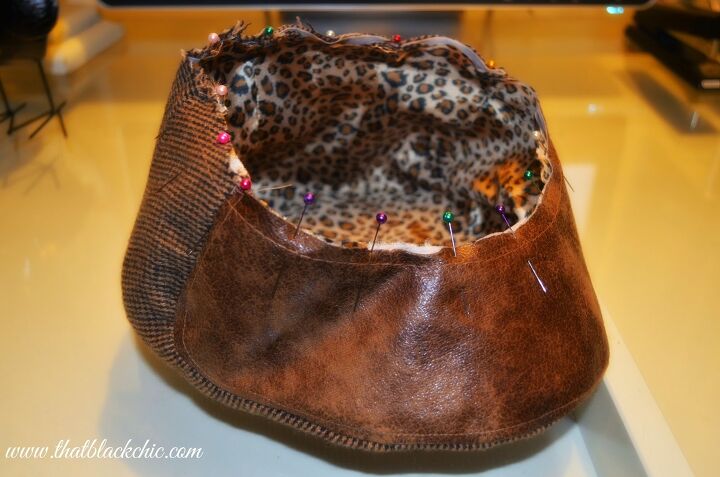
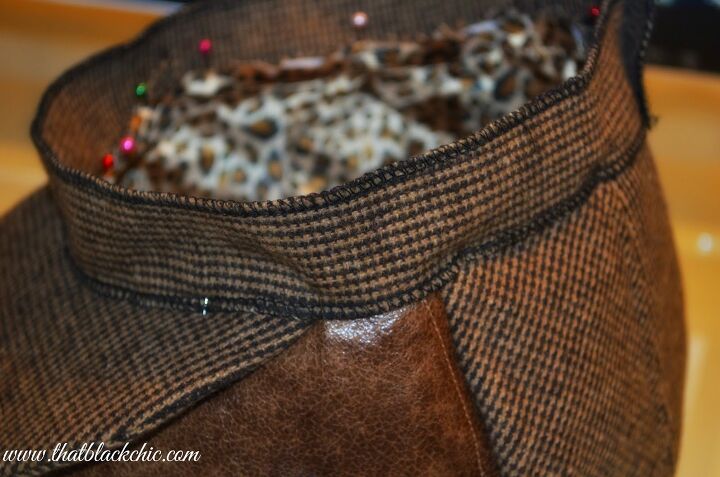
I marked my center on both pieces with my pins and attached them.
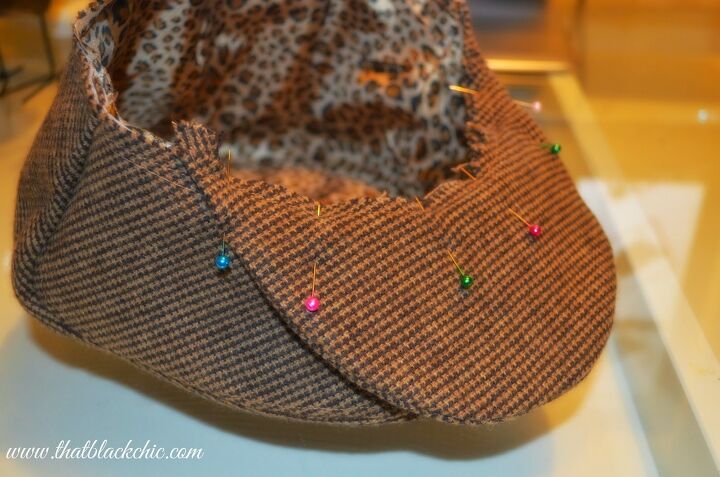
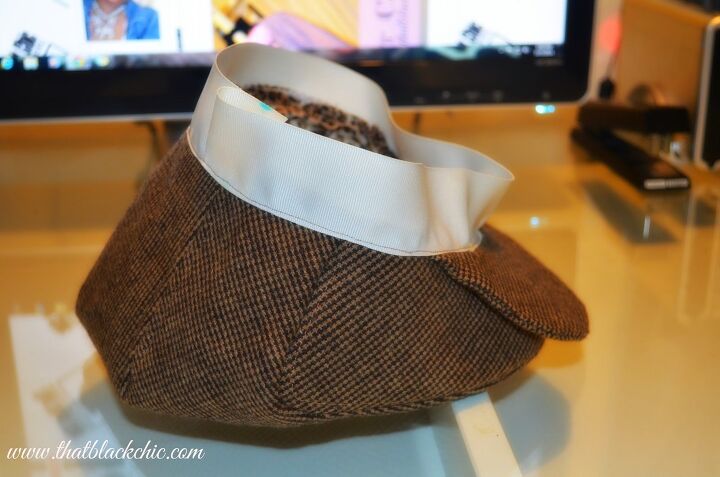
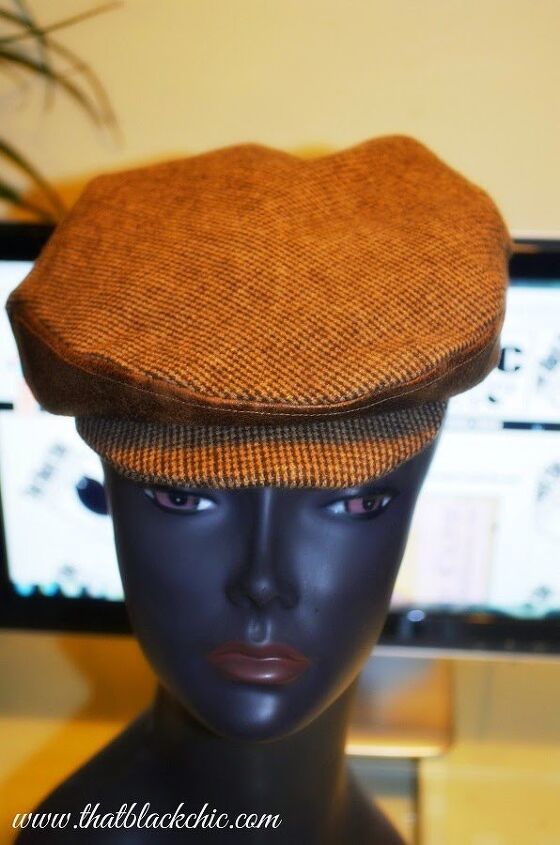
Now you have to attach the ribbon or fabric to finish you hat. I used both and I think I like the fabric better, it looks cleaner. This is where I began to question the size of this hat. I cut out the medium size for these two hats. When I added this ribbon I said to myself, "self, there ain't no way in hell this is going to fit my daughters head". I don't know if it's this pattern but this is more of a small. So I will chalk these two hats up to practice for a BIGGER SIZE.
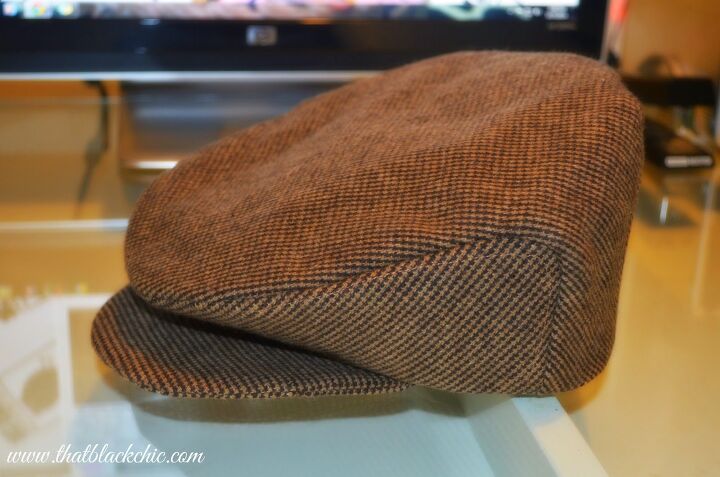
All done and I am happy with the hats and now that I have two under my belt
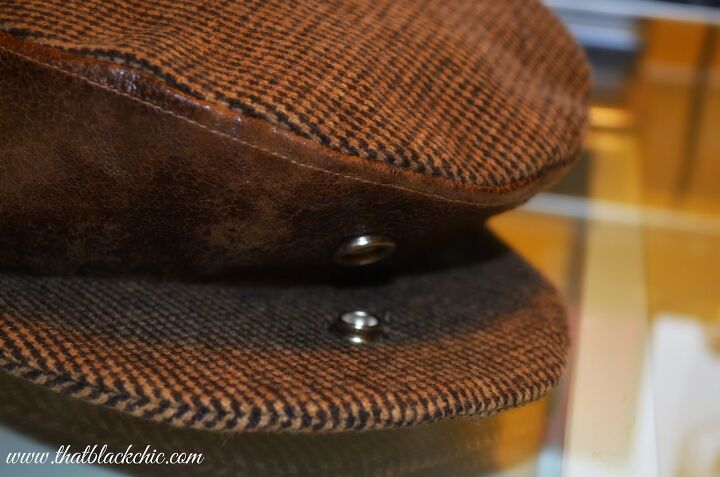
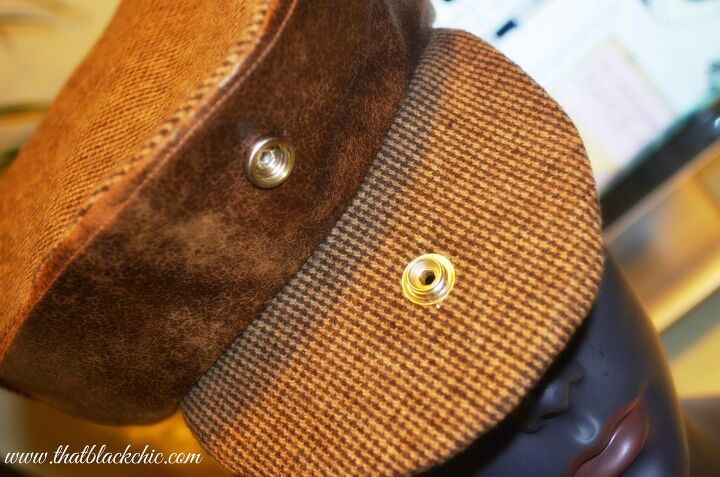
I added a snap to this hat.
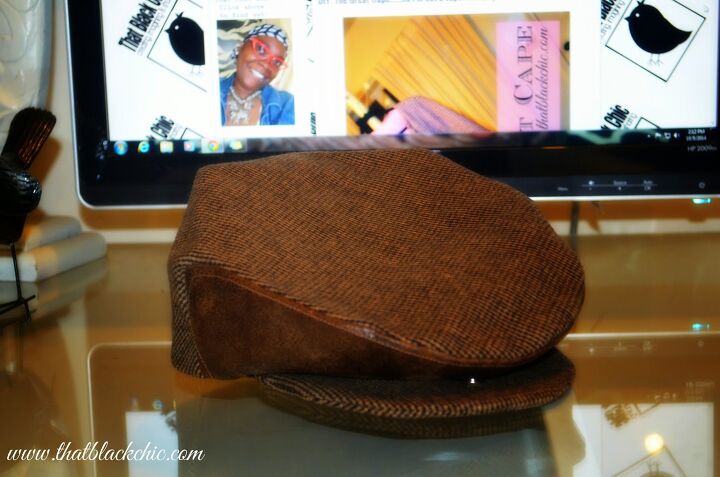
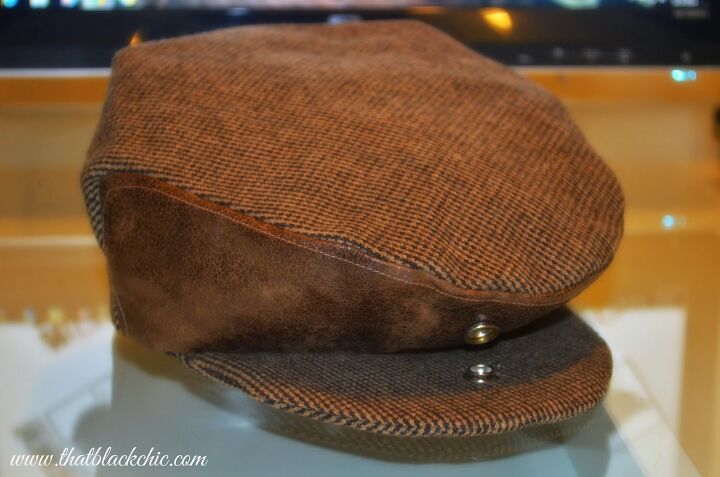
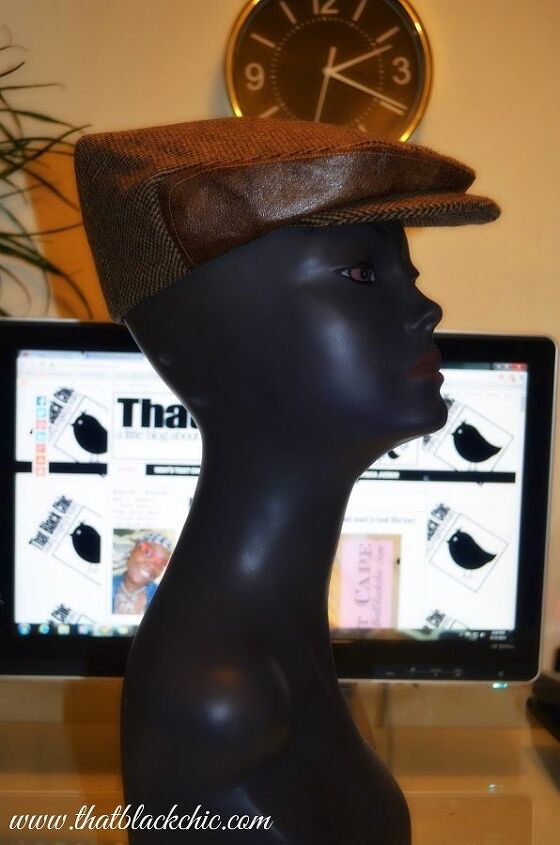

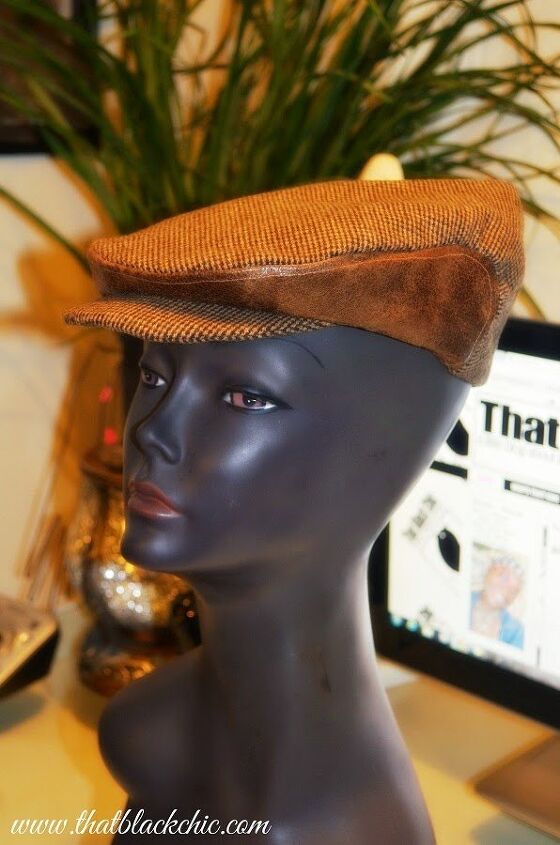
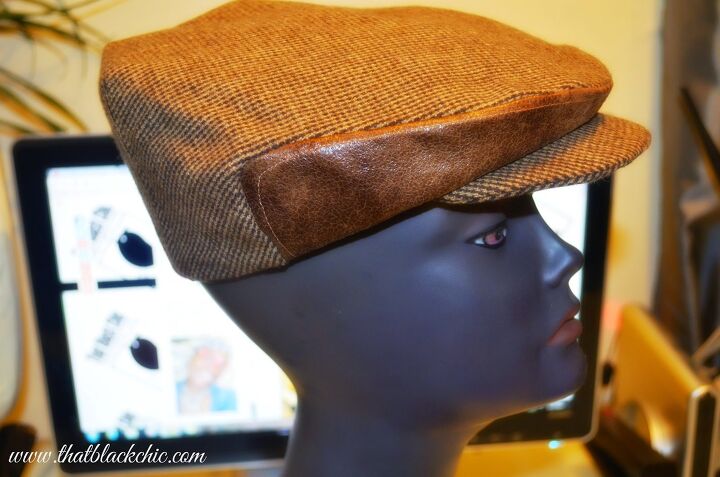
You will get to see this hat on a real head once it get my other project done, so until then....

The author may collect a small share of sales from the links on this page.


Comments
Join the conversation
Cute