How to Draft a Sewing Pattern & Create a Cute DIY Hoodie

Today I'm DIYing a hoodie with side pockets and plastic snap closures instead of a zip.
Although I'm making this for my daughter, you can of course you can easily adjust the measurements to draft a sewing pattern for a hoodie in any size at all.
This also gave me the chance to use some different techniques like reinforcing the shoulders and taping the neck edge.
Tools and materials:
- 60" wide fabric
- Close-fitting T-shirt or top as template
- Fusible interfacing
- Cotton twill or bias tape (optional)
- 1" wide non-roll elastic
- Plastic snap closures
- Erasable fabric marker or tailor's chalk
- Pins
- Ruler/straight edge
- Measuring tape
- Scissors
- Sewing machine
- Serger (optional)

1. Pattern drafting and cutting
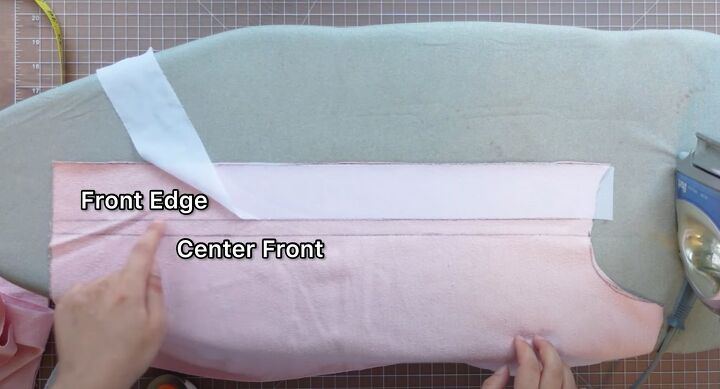
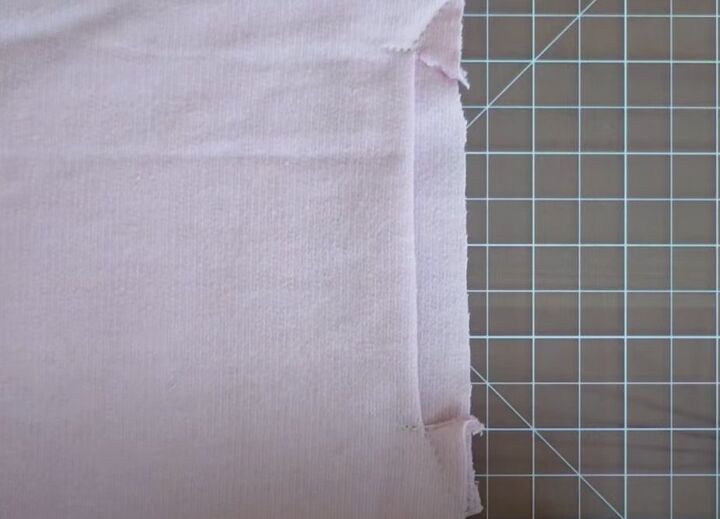
Fold your fabric in half with the selvedges on the left. Draw a line down the selvedge edge about an inch away from it to straighten it.
Draw a second line 2.5 inches from the first line, as the center front. Draw a line across the bottom cut edge to clean it up.
Measure the length of the hoodie from the shoulder to the hem and add a 2 inch seam allowance. Mark this measurement down the selvedge edge.
Bring the folded edge of your fabric to the center front line. Fold the t-shirt in half lengthways and place the folded edge along the center front line.
See the video at 1:00 for exactly how I drafted the hoodie sewing pattern and cut out the pieces.
2. Reinforce shoulder seams
Iron a 2 inch strip of fusible interfacing on to the front facing on the wrong side.
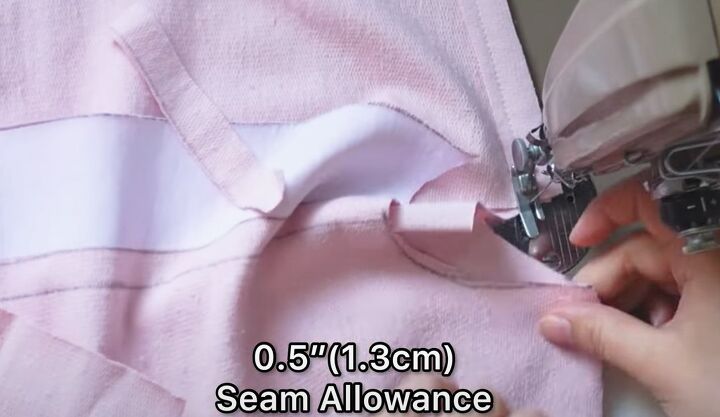
With right sides facing, sew the shoulder seams. Cut small strips of the same fabric the length of the shoulder seams and slightly wider than the seam allowance.
Put them on top of the front body shoulders and sew with a half inch seam allowance.
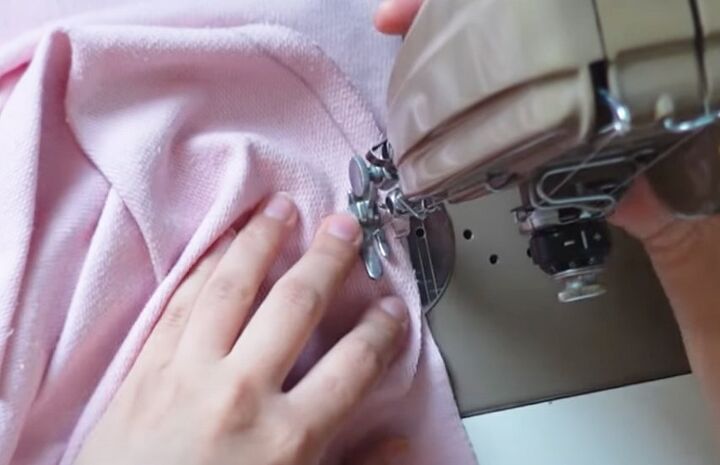
Trim the shoulder seam allowance, cover it with the strip and sew all three layers together on the right side.
3. Attach sleeves
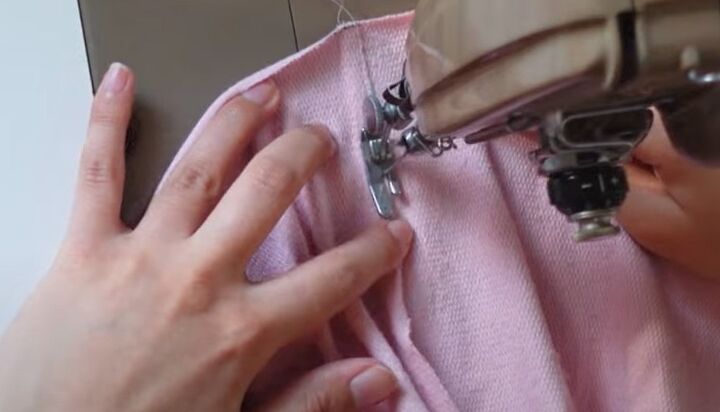
Match the center of the sleeve head with the shoulder seam and sew from the center to the underarm on each side.
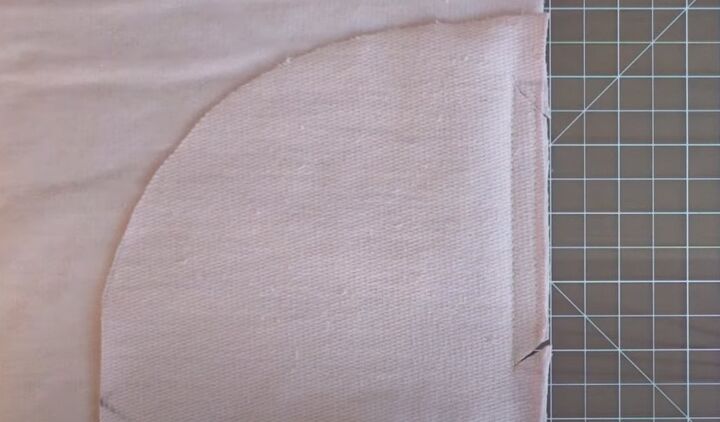
4. Hood
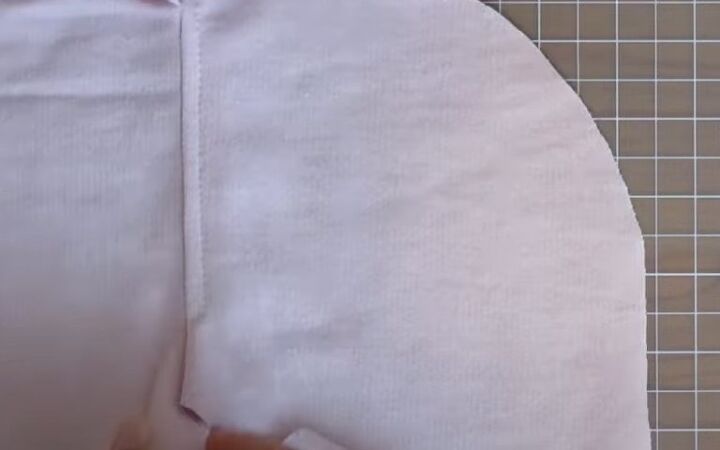
Sew the back seam of the hood with right sides together, taking a half inch seam allowance.
Trim one side of the seam allowance in half. Tuck the wider seam allowance under it to encase the raw edges and stitch down.

Make a double half inch hem on the front opening and sew close to the edge.
5. Attach the hood
Serge or zigzag stitch the front edge of the jacket (I forgot to do this).
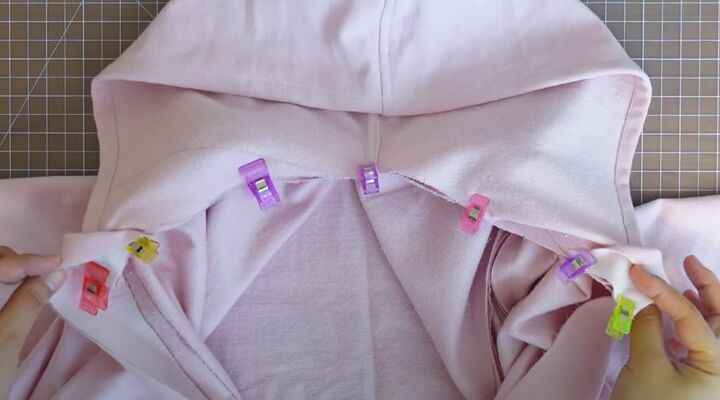
Match the back seam of the hood with the center back of the jacket.
Pin the hood to the neck edge with right sides together, folding the front facings back over the front edge of the hood on each side. Sew the hood in place.
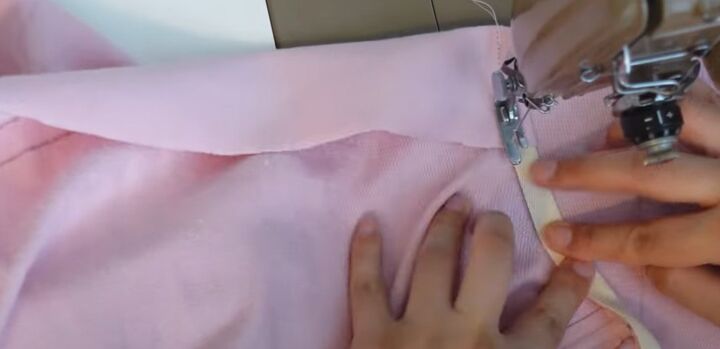
Use cotton twill or bias tape to encase the seam allowances.
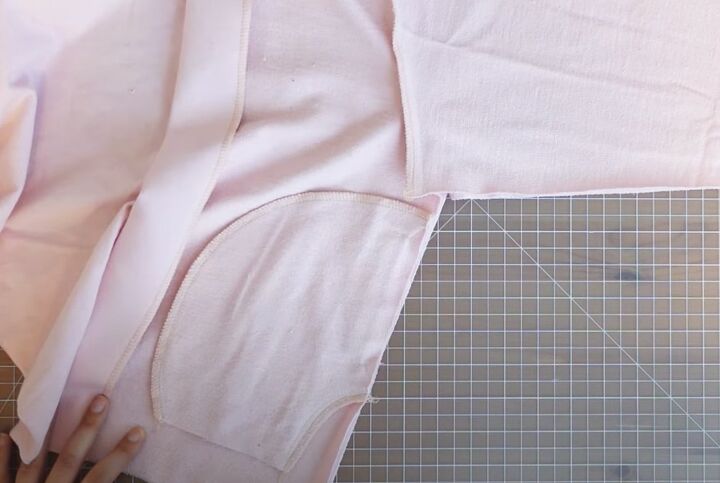
6. Slit pockets
Sew one pocket piece to the right side of each front, between the opening, with right sides together.
Sew another line of stitching close to the edge and slightly shorter than the first line.
Snip into the corners, then flip the pocket over and sew through the pocket piece and seam allowances.
Turn the pocket piece to the inside of the front and pin the second piece over it, with right sides together.
Stitch the top and bottom of the opening on the right side and sew around the curved edges of the pocket.
7. Underarm and side seams
Serge or zigzag stitch around the pockets, sleeve hems and armholes.
Join the underarm and side seams, being careful not to catch the front pocket opening in the seam.
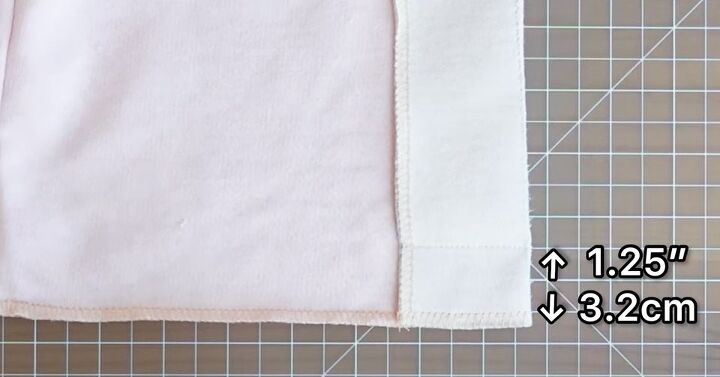
8. Lower hem
Fold the front facing to the right side of the jacket front. Stitch the facing to the front 1.25 inches from the bottom edge.
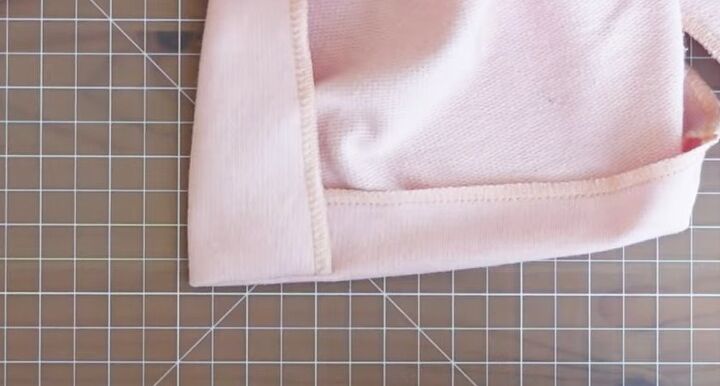
Cut off the excess fabric below the stitching on the facing, fold up the lower edge and turn the corner of the facing to the right side.
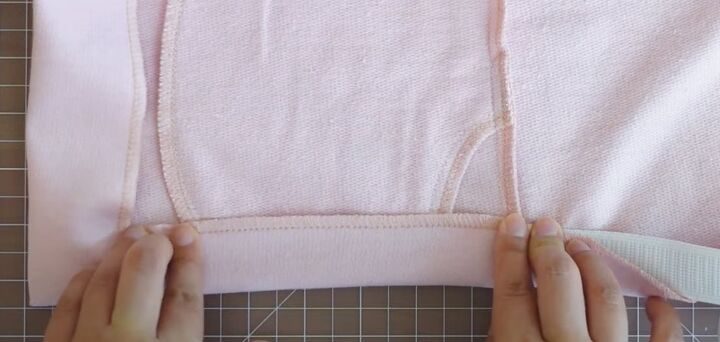
Place the elastic inside the hem.
Sew the lower corner of the facing vertically through all layers, including the elastic.
Sew the hem close to the edge, encasing the elastic and the bottom edge of the pocket.
9. Finishing
Insert elastic into the sleeve hem in the same way.
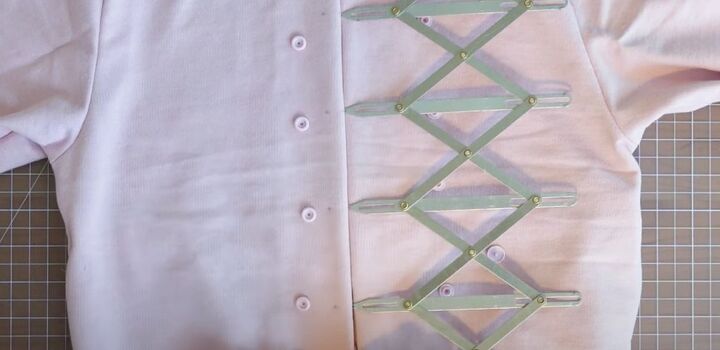
Space out the plastic snaps evenly down the front edge of the hoodie.

Sewing pattern for a hoodie
My daughter was delighted with her DIY hoodie and I was pretty pleased with it! You can easily adjust this to any size.
The hoodie sewing pattern itself is straightforward. You could use colored bias tape around the neck on the inside for an interesting design effect.
If you enjoyed this tutorial, please let me know in the comments below.
The author may collect a small share of sales from the links on this page.


Comments
Join the conversation