Shabby Flower Tutorial

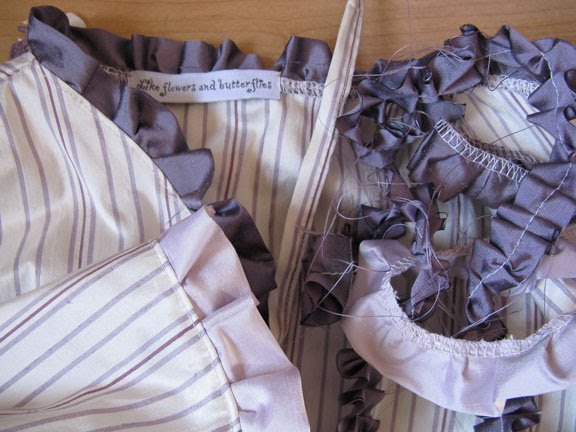
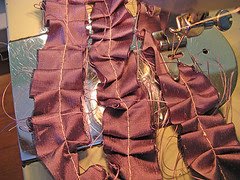
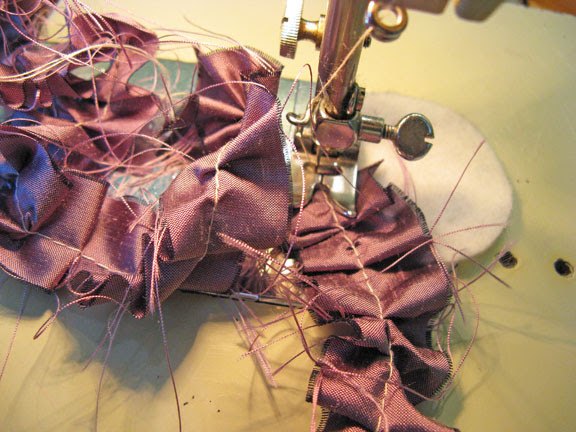
To start, you'll need to ruffle the fabric strip. There are many ways to do it, but maybe the simplest with the sewing machine is to either gather with your fingers, ruffling it on your own or by setting the tension wheel on the machine so that one thread will be tighter than the other.
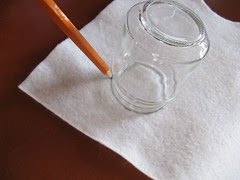
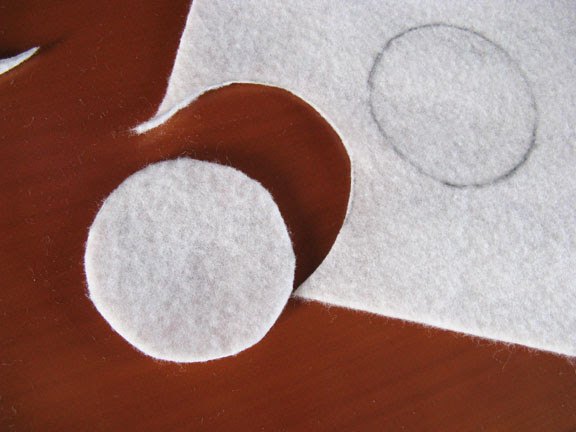
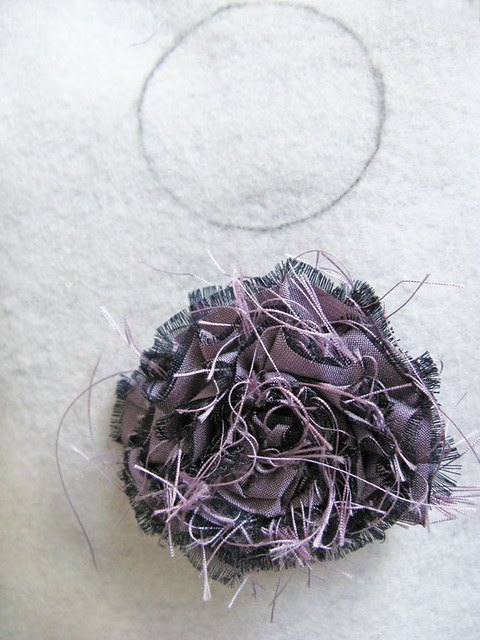
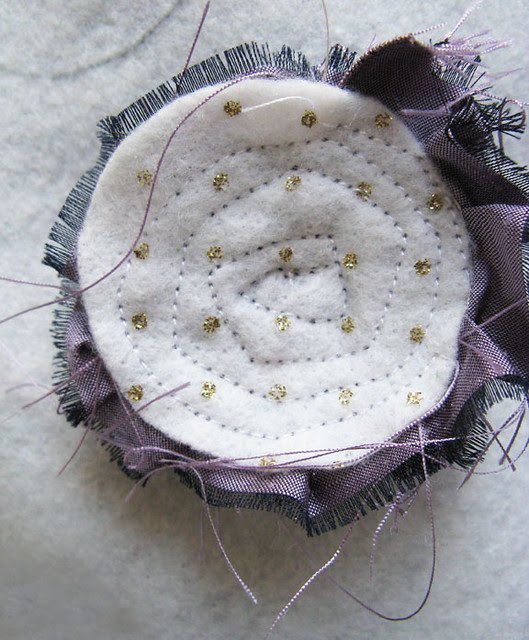
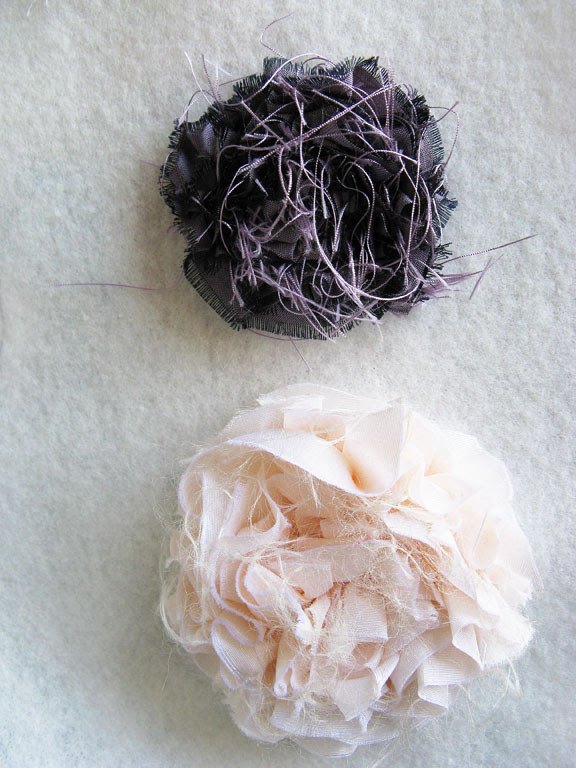
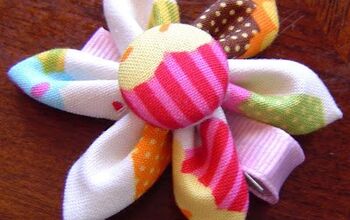
For the bases, you'll need to cut the felt(or other sturdy fabric), upon desired size of the flower. The peachy flowers shown in the first picture are made on the 3"(7 cm) diameter base. You can use any circular jar, plate or similar thing to draw the circle on the base.

To start, you'll need to ruffle the fabric strip. There are many ways to do it, but maybe the simplest with the sewing machine is to either gather with your fingers, ruffling it on your own or by setting the tension wheel on the machine so that one thread will be tighter than the other.
For the bases, you'll need to cut the felt(or other sturdy fabric), upon desired size of the flower. The peachy flowers shown in the first picture are made on the 3"(7 cm) diameter base. You can use any circular jar, plate or similar thing to draw the circle on the base.
The author may collect a small share of sales from the links on this page.


Comments
Join the conversation
Super cute! I want to make this like a brooch too.