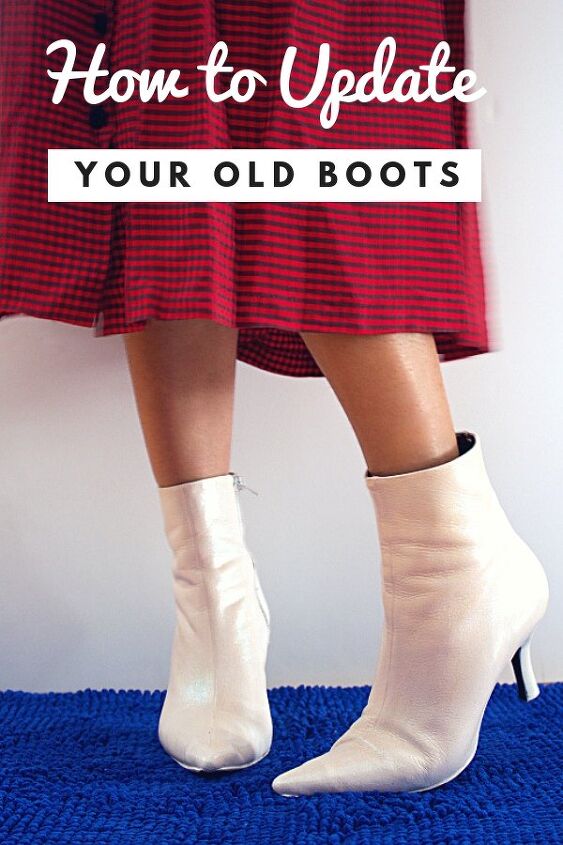
How to Update Old Boots With Paint
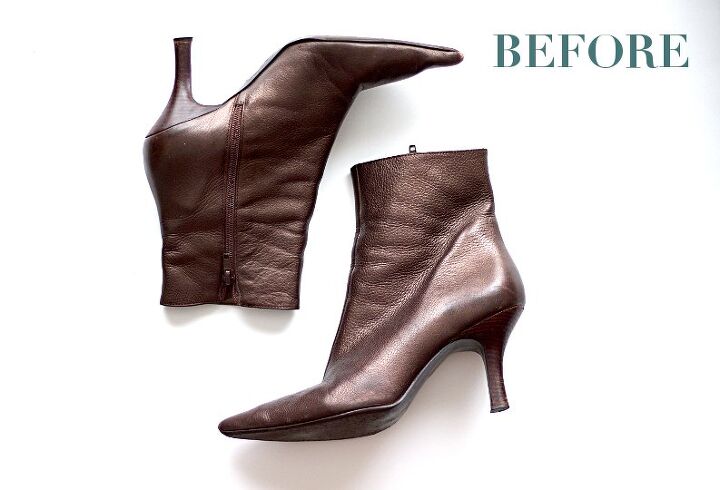
Are you tired of rocking the same old boots year after year but don’t have the funds to spend on a brand new pair? Here’s where this DIY come in! You can give them a facelift by customizing them yourself at a fraction of the cost!
Now I usually go for white footwear because they get messed up easily. BUT after seeing white booties pop up everywhere I turn, no lie they grew on me. That and I liked the idea of adding a lighter neutral to my wardrobe and could already see all the endless styling possibilities.
I wasn’t completely sold on the idea though. So instead of buying a pair, I took a trip to my local thrift store. Once there, I went in search of a leather pair when I came across these and knew they were a winner. Pointy-toe shoes are my thing and these were in pristine condition.
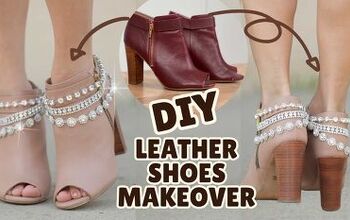
My inspiration for this DIY came about after watching the tutorial (shown below), created by Angelina over at BluprintDIY. After seeing the fabulous job she did on her pair, it gave me the courage to DIY my own. With a touch of glam of course! Besides, considering my pair was from the thrift shop, what did I have to lose?
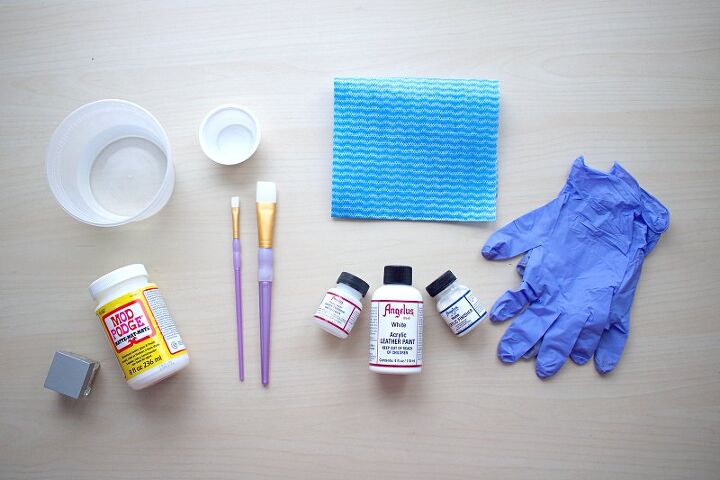
You’ll Need:
Pair of Gloves
Paper Towel/Cloth (preferably microfiber)
Container of water + another for paint/mixing
Masking Tape (secure areas you don’t want painted)
Paint Brushes (2 different sizes)
Mod Podge (I used Matte)
Glitter (extra-fine; recommend same color as shoe paint)
Angelus Leather Preparer & Deglazer (cleans and strips old finish)
Angelus Leather Paint (white + color of your choice; if other than white)
Angelus Acrylic Finisher (available in 3 finishes: matte, satin & high gloss)
Here’s What I Did
In addition to Angelina’s video, I’ve included a few tips below based on my experience:
- Don’t skip on using gloves when deglazing the shoes. Especially if you’re stripping dark-colored shoes that have a gloss. Save yourself the trouble of having to scrub that gunk off your hands later on. On that note…
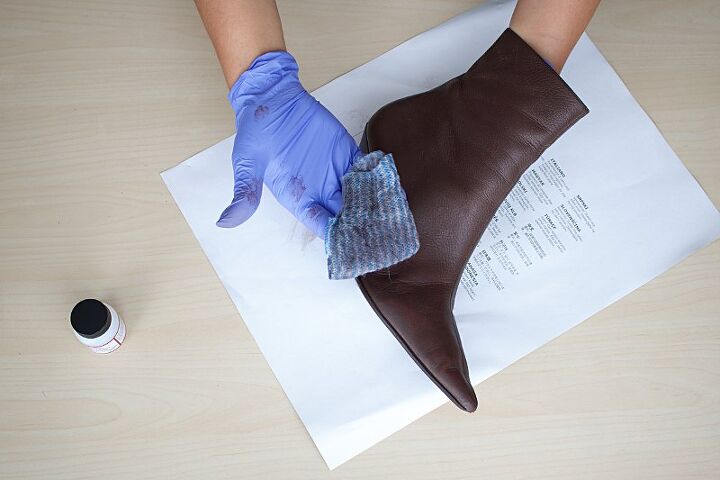
- Avoid using cotton balls or anything that produces lint when deglazing. The shoes may get a little tacky, causing a lot of lint transfer which can be difficult to remove.
- Rinse and clean brushes in between coats, to prevent paint clumps in your handy work.
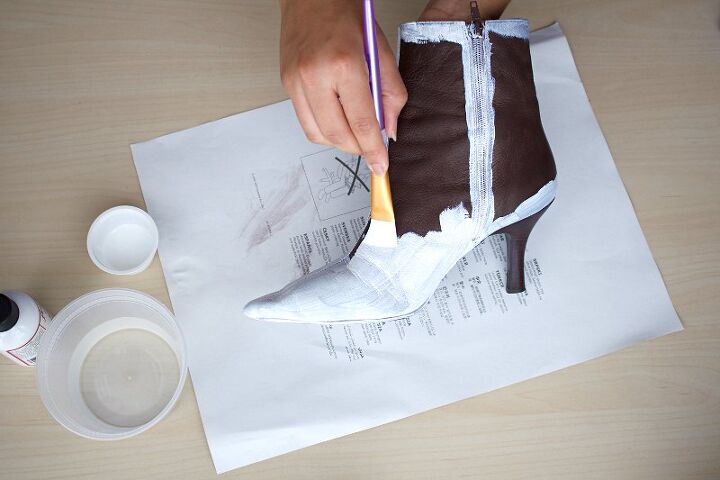
- Start with a white base if you’re painting over a dark color (2 coats). This only applies to you if your chosen color isn’t white. Doing this before applying your shoe color will make the color pop.
- Use a blow dryer or heat gun to speed up drying time. Be careful not to put heat too close to shoes.
- To prevent brush strokes make sure to use quality brushes. Also, don’t overload your brush with paint but instead apply thin layers pressing lightly and going in one direction. It helps if you start by painting the edges and hard-to-reach areas first (see below).
Adding a Touch of Glam
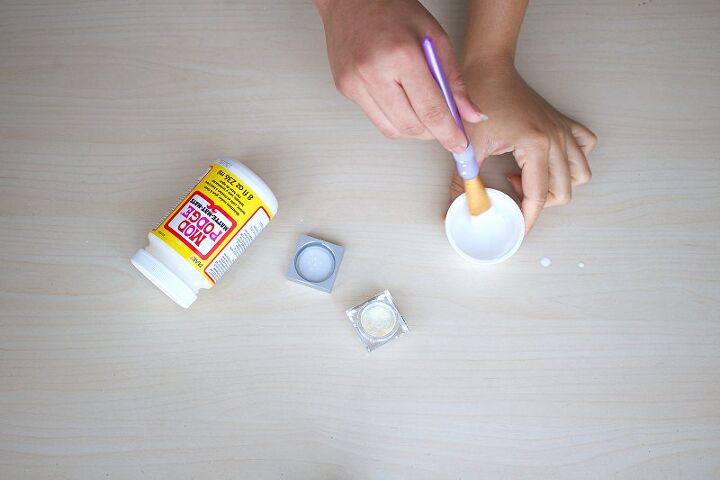
- Combine a small amount of Mod Podge and glitter together with enough water to thin the mix (eyeball it). This will make it easier to apply. The mixture will look milky but dries clear so it won’t dull the sparkle. This method seals in the glitter and prevents flaking. Do 2 coats paying attention that the glitter is distributed evenly and allow to dry in between coats.
- For the final step, apply a coat of Acrylic Finisher. This will seal everything in and offer an extra layer of protection. I used the Matte finish but found it to be more like Satin.
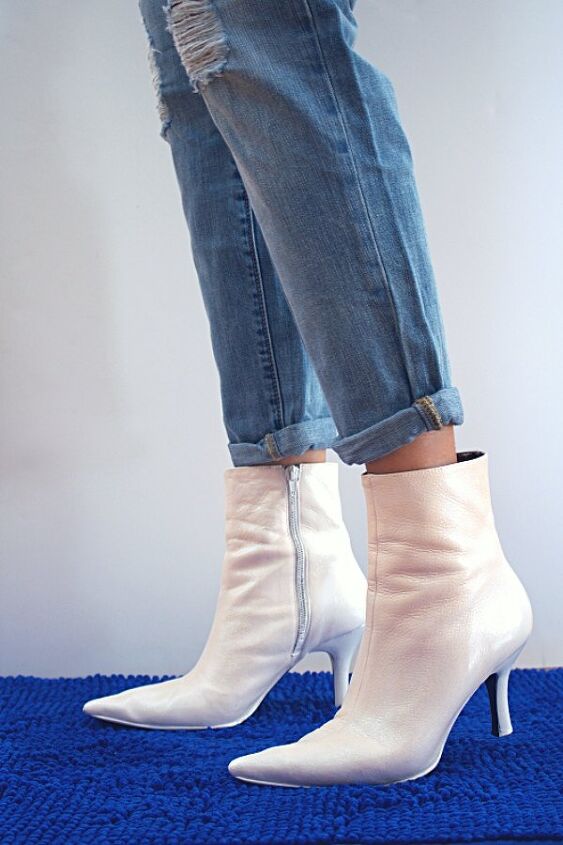
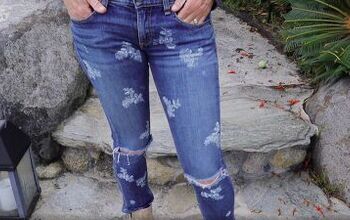
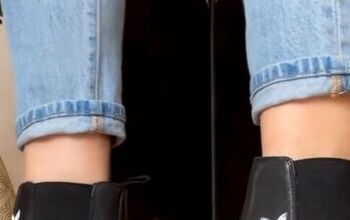
I’m SO pleased with the way these turned out that I’ve been wearing the heck out of em! They sure take a basic outfit to the next level! Btw, you may have noticed that I painted over the zippers as well so they wouldn’t stand out like a sore thumb. So far they’ve held up really well even after multiple use.
Although this paint is made specifically for leather projects, it can be used on other materials as well, such as patent leather, vinyl, canvas, suede/nubuck etc. But be aware that the prep work varies and is NOT the same for all, so be sure to do some research. Preparation is key in achieving quality results!
Would love to hear from you! Share your thoughts on this DIY, in the comments below.
Disclosure: I may receive a small commission (at no charge to you), if you purchase products through links above. It helps me to continue creating videos like this, so your support is greatly appreciated. Thank you!
Tags: before & after, boots makeover, diy booties, diy glitter boots, diy leather boots, fall fashion, upcycled boots
The author may collect a small share of sales from the links on this page.


Comments
Join the conversation