How DIY Super Glam Rhinestone Boots

Join me, Orly Shani, as I teach you how to make your own custom ROCKNOT inspired rhinestone boots! It’s super quick and easy. So, let’s get started!
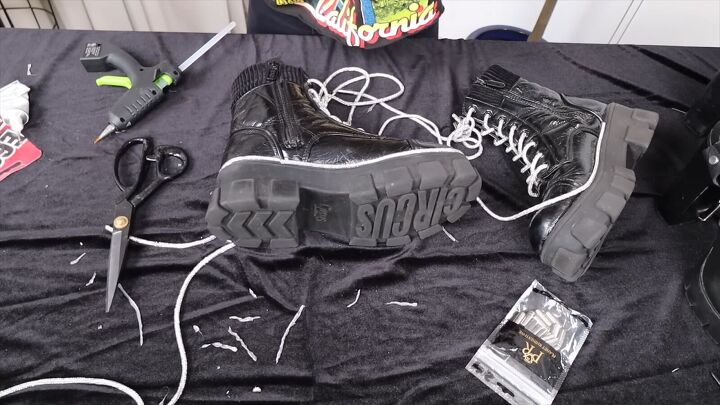
Tools and materials:
- Black boots
- 3, 4, or 5 mm rhinestone cord
- Hot glue gun
- End caps to match the size of the cord
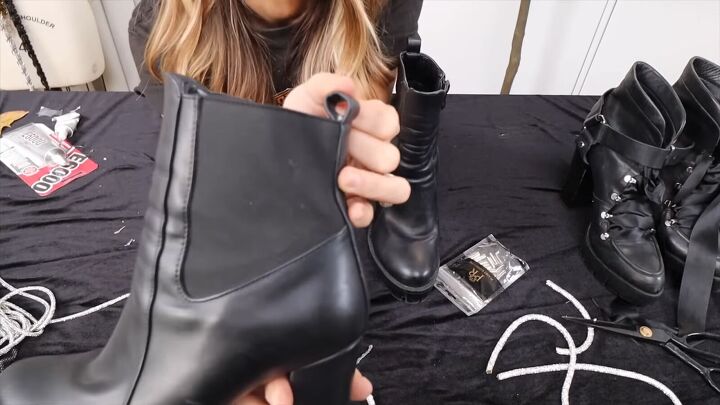
Option 1: The moto boot
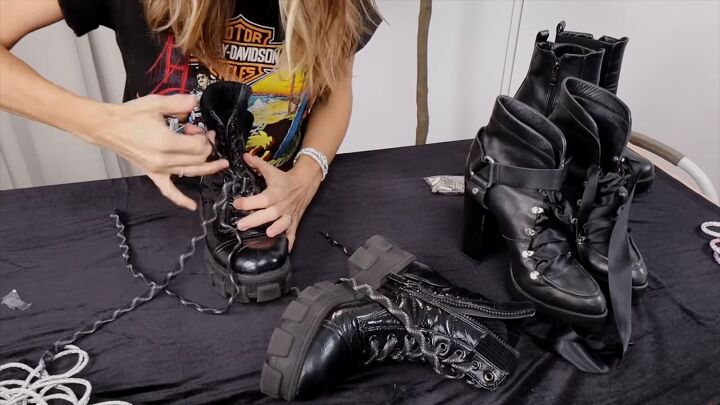
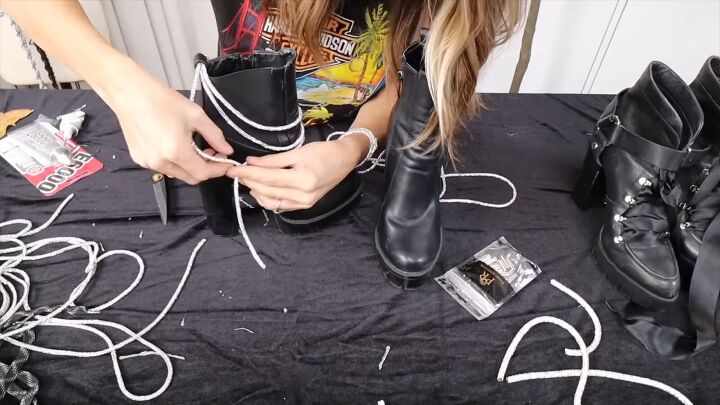
1. Measure and cut rhinestone cord for laces
Remove the old laces of your boots.
Then take your original lace and use it as a guide to cut your new cording.
Then use the first cord as a guide to cut the second cord for 2 identical laces.
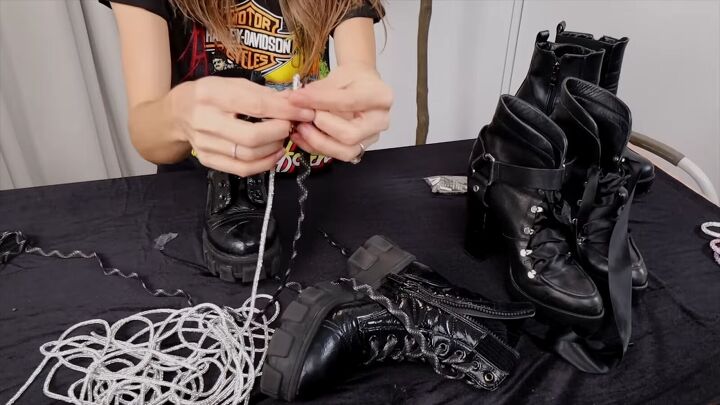
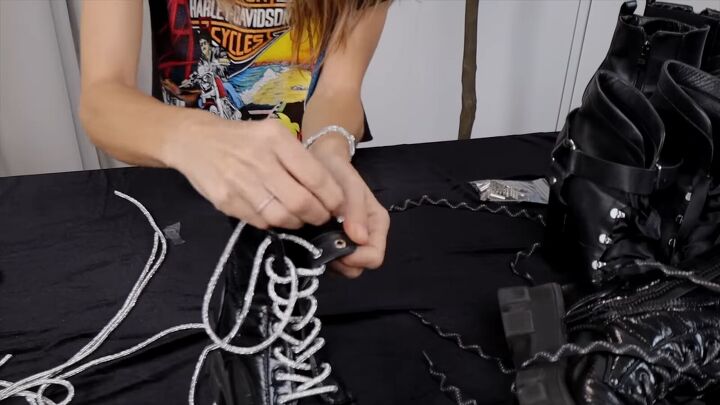
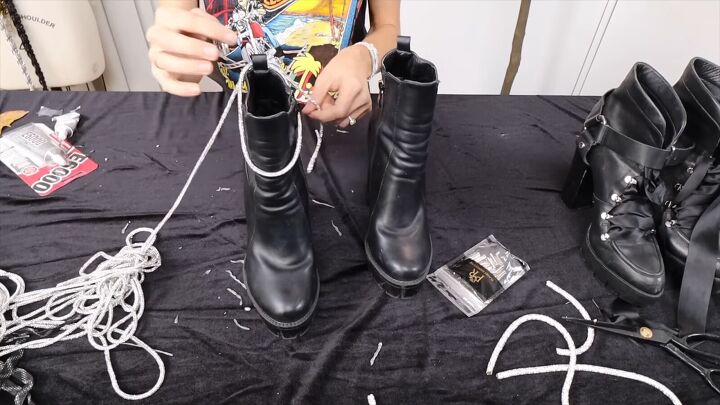
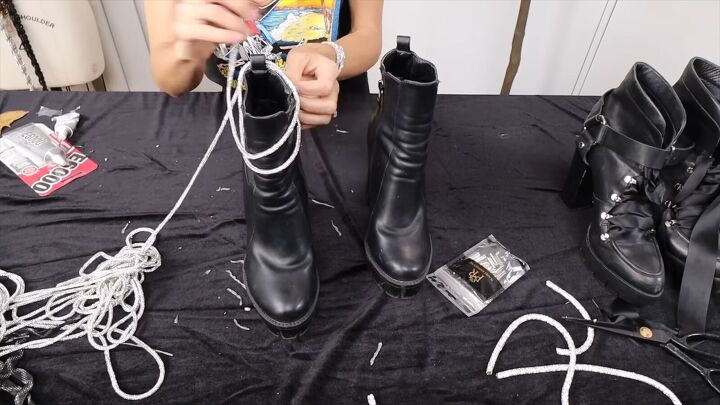
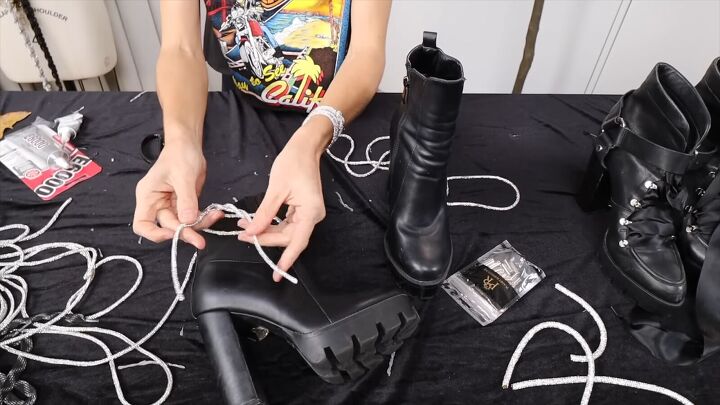
2. Re-lace your boots
Now find the center so you can lace them up evenly.
Lace them in whatever pattern you like.
Here, I’m lacing my boots using the version where it goes up over the top first. I think this shows off more of the lace.

Once you get to the last grommets, pull the cord through the back side to make it easier to tie a bow.
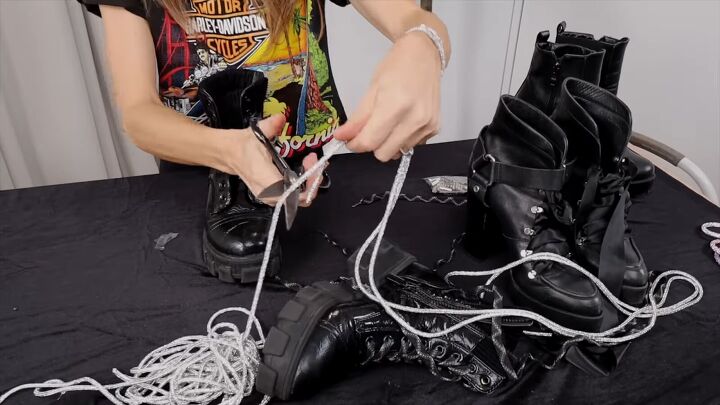
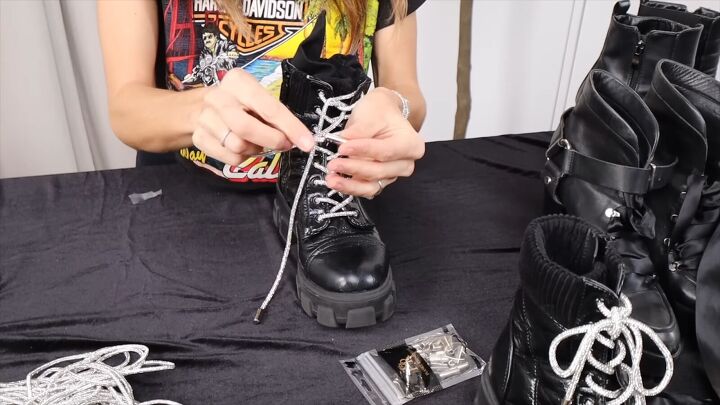
3. Add end caps
Tie the bow on each boot to double check the final length.
Then, glue on the end cap to the tips of the cords.
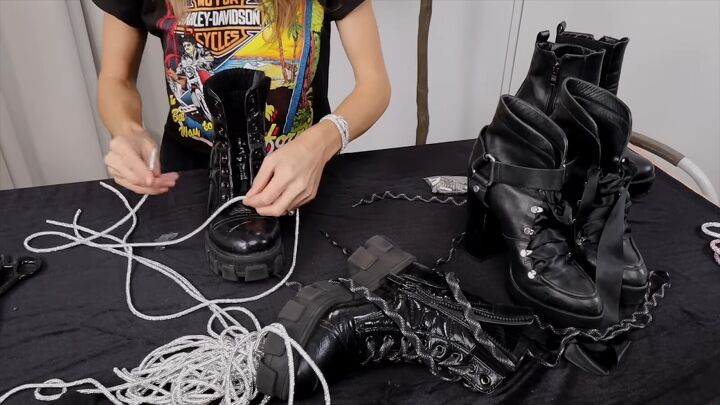
4. Line the sole
You can use the same size cording or go bigger/smaller for this part.
Make sure to apply the glue on the material of the shoe as opposed to the rubber sole. Work in sections, applying a thin line of glue and then pressing the cord in place.
Hot glue might not be strong enough to hold the cord to your boot, depending on the material.
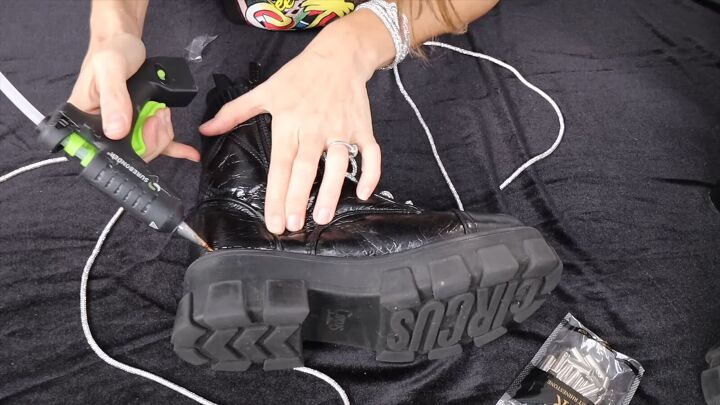
If the cord seems to come off easily with hot glue, then try the heavier duty E6000 glue.
I worked in about 6” sections at a time, switching off between the 2 boots.
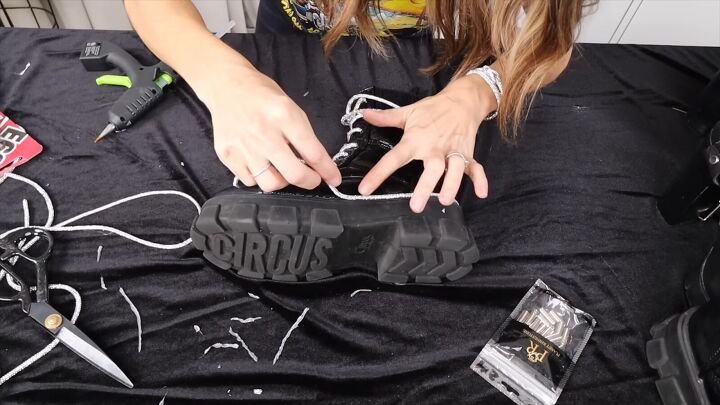
Keep gluing the cord until the seam disappears. Then just let them dry.
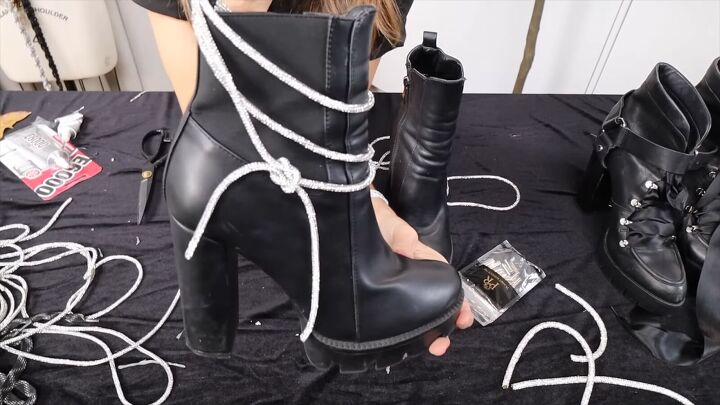
Option 2: The draped rocknot
This style will work for any shoe with a loop in the back.
1. Brainstorm the cord length
Start by threading the cord through the back loop. Then wrap the cord around the front.
Now play around with the cord to determine the desired length.
Take into consideration how many times you want to wrap the cord around the front, what size cording you prefer, the size of the loop in the back etc. It’s totally customizable.
Once you decide on a length, unravel it to cut an identical piece of cord for the second shoe.
2. Re-thread the cord
After cutting the cord, put it back through the loop and play around with it to fine tune the length that you want.
3. Tie a knot tassel
Next, tie one knot as you normally would.
Now, let’s say you went right over left. So for the second knot, go left over right to create a really pretty knot that stays in place and looks decorative. The just add end caps with glue, and you’re done!
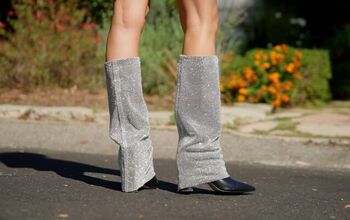
Here you can see the final result of these two rocknot styles.
The moto boot:

The draped rocknot:
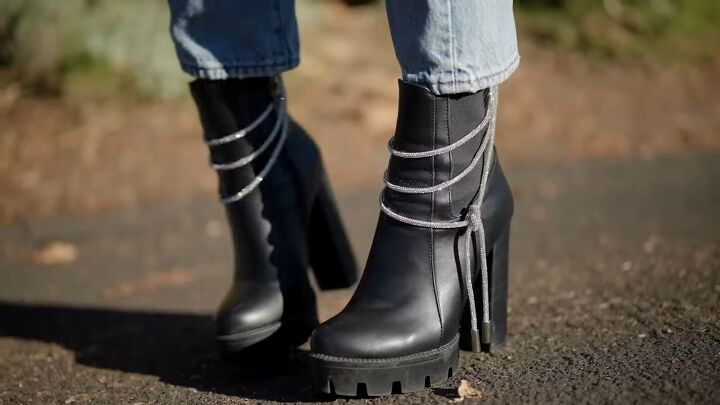
DIY rhinestone boots
I hope you liked this rhinestone boot tutorial. Let us know in the comments below which one of these glitzy boots is your favorite.
And if you’re looking for more DIY fashion, check out my post on How to Upcycle Flannels Into a Super Cute New Shirt and Dress.
The author may collect a small share of sales from the links on this page.


Comments
Join the conversation