How to DIY Super Glam Rhinestone Sock Boots

In this DIY, we’re making a totally custom, one-of-a-kind pair of statement rhinestone sock boots!
We’ll be using leftover bits and bobs from old projects to create this sustainable pair of black crystal boots. Let’s get started!
Tools and materials:
- Sock boots
- Rhinestones
- E6000 glue (or sewing materials)
- Scissors
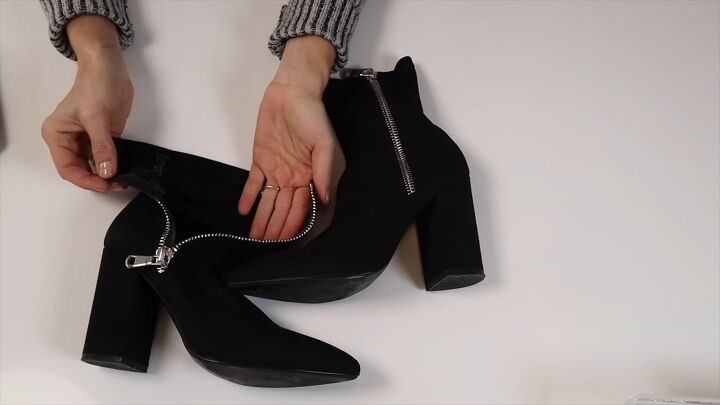
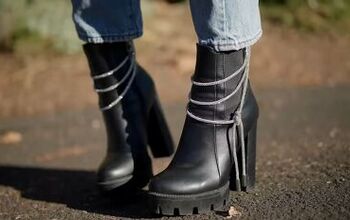
1. Pick your boots
I recommend using sock boots because you can sew through them like butter, but it’s okay if you don’t have any because we’ll also be using pretty strong glue!
The boots I’ve chosen also have a zipper, which is great because it’s going to put very little tension when I stretch them on.
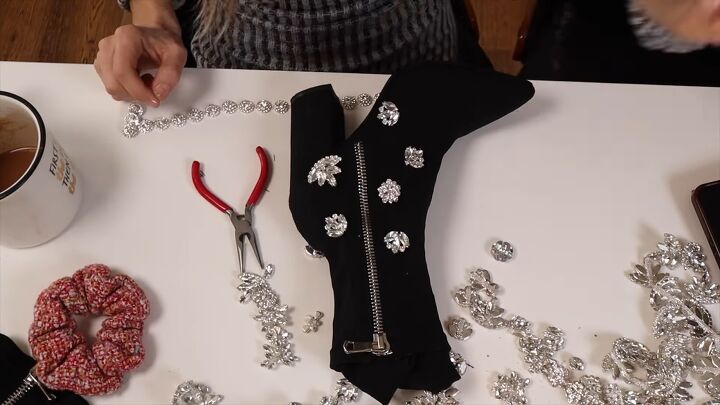
2. Pick the crystal appliques you like and lay out a design
Lay out all of your leftover trims and rhinestone appliques, and get a sense of what you like.
Decide whether you want to be super saturated in the back with less in the front, saturated on the top and less on the bottom, or you could evenly space them out.
As you play around with designs, I recommend snapping photos of each potential version because you can swipe through and decide which one feels best.
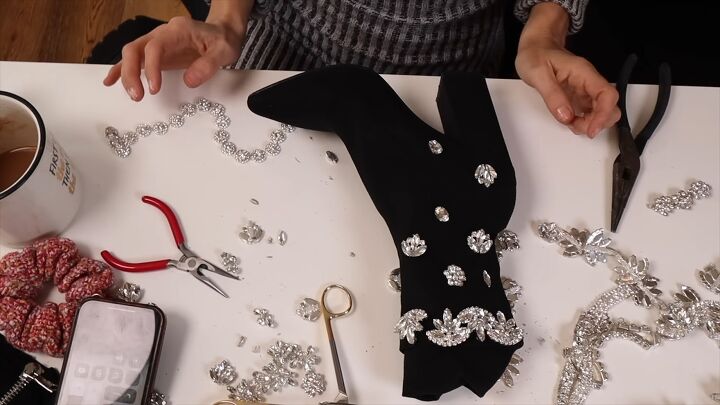
Here’s the version I picked. I liked the way the trim almost created a scalloped edge on the top so I cut up the trim into a bunch of different pieces.
You’ll need super strong scissors for this since you’ll be cutting through a metal mesh that connects the appliques of the trim together.
Make sure whatever you have you divide in half so you have enough to do both boots.
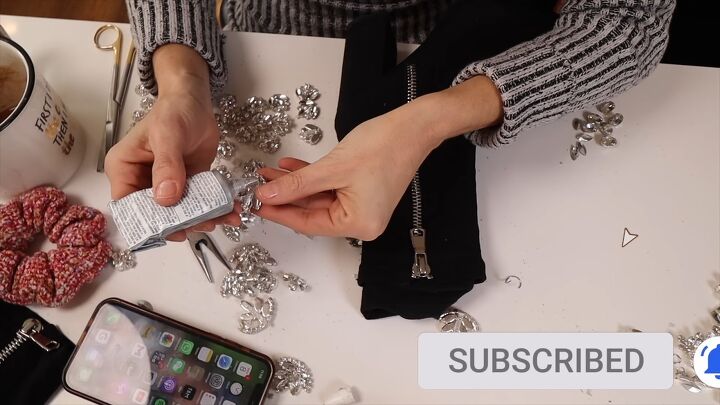
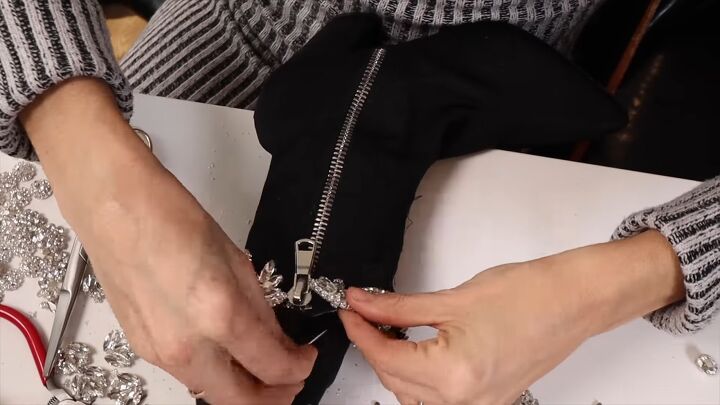
3. Glue (or sew) the appliques to the boot
Apply E6000 glue to the applique with a line straight across the back of it and apply it to your boot.
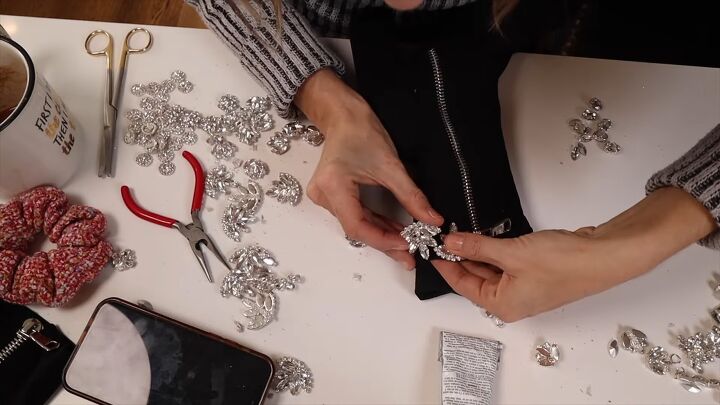
I’m alternating one facing up and one facing down so it fits like a puzzle.
The E6000 can take a while to set up, and if you’re impatient like I am and want to move faster, you can also sew them down.
Use a clear thread if you have it. How you tack it down is going to be different depending on the applique you’re using.
Sometimes you can go through the prongs and sew them that way. Others will have holes in them.
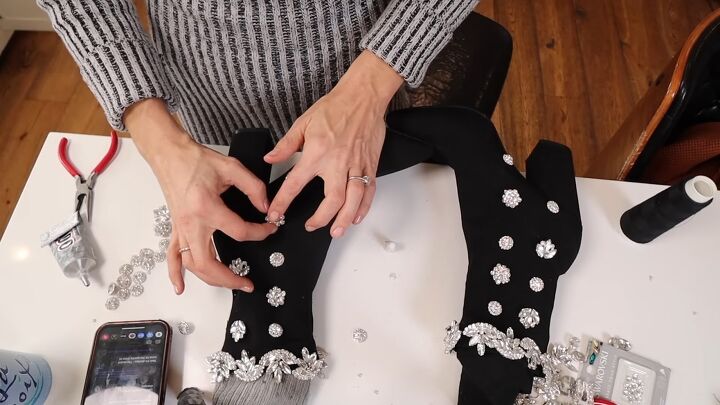
Do this with the rest of your boot.
Make sure your boot is laid down flat. I placed towels within my boots to make sure they laid flat and I could glue my design on and leave it there to dry and set up.
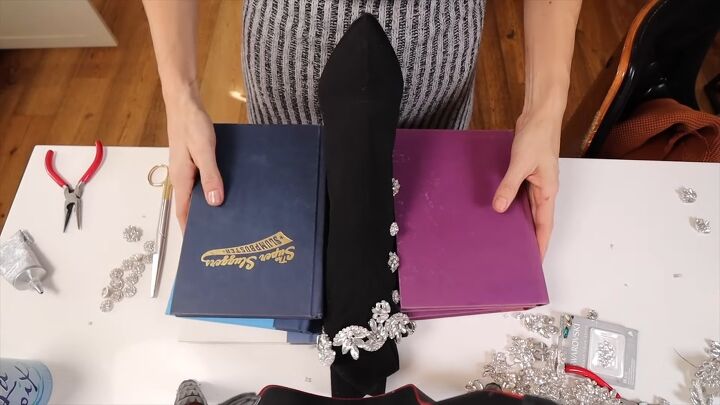
You can put some books around the boot to hold it while you do the front section so it will be level and flat.

DIY rhinestone sock boots
Here are the finished DIY sock boots!
These black rhinestone boots are so fun and so customizable. You can mix tons of different colors together, or you can do all one color as I did.
Another cool idea is to start with something super saturated that ombres out into something really delicate.
There are so many different options but remember: you are the designer.
Let me know what you guys think about these rhinestone sock boots down below!
For another awesome fashion DIY, check out my Dolce & Gabbana Dupe Tutorial: How to DIY a Denim Patchwork Bag.
The author may collect a small share of sales from the links on this page.


Comments
Join the conversation