How to DIY Michelle Obama-inspired Sequin Boots

I was asked if I could recreate the most talked about Balenciaga boots worn by former First Lady Michelle Obama.

I couldn't pass up the challenge so let's see if I can do them justice.
Tools and materials:
- Pins
- Marker pen
- Measuring tape
- Yardstick
- Scissors
- Safety pins
- Needle and thread
- Stretch sequin fabric (1 yard)
- Knit mesh lining (½ yard)
- Elastic
- Pointed-toe pumps
- Rubber bands
- E6000 glue
- Weights
- Plastic bottle
- Drafting paper
- Tweezers
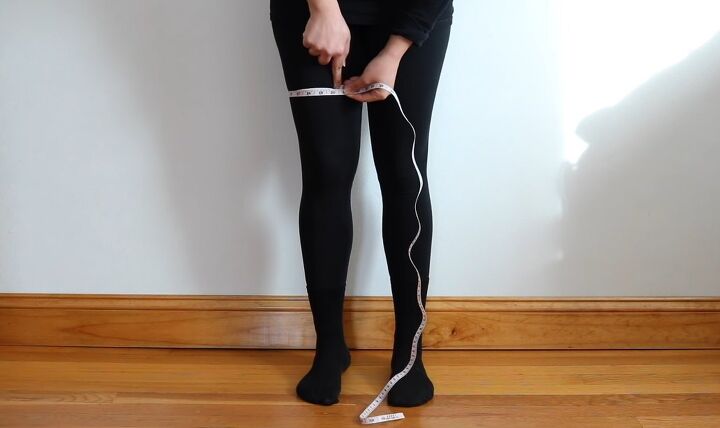
1. Measure the elastic
Place some elastic around your thigh where you want the top of the boot to sit. Measure and note the circumference.
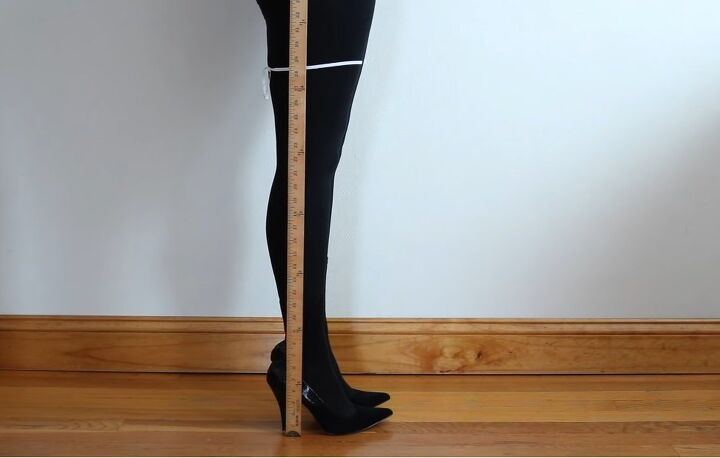
2. Measure the boot height
With your heels on, measure from the floor to the top of the boot.
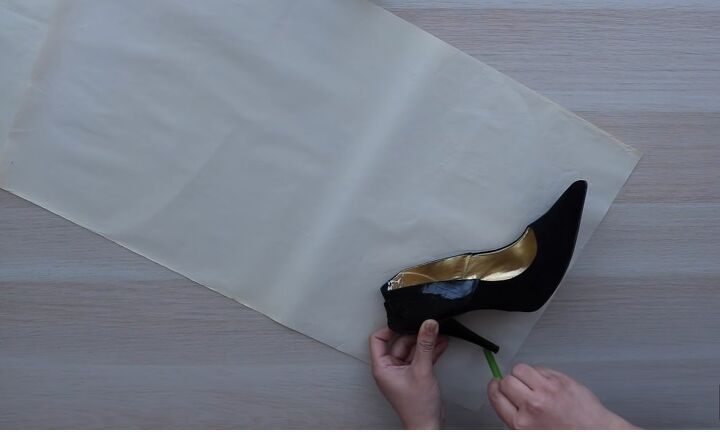
3. Trace around the shoes
Lay out a piece of paper a couple of inches larger than your measurements. Place one of the shoes on one end of the paper and trace around it.
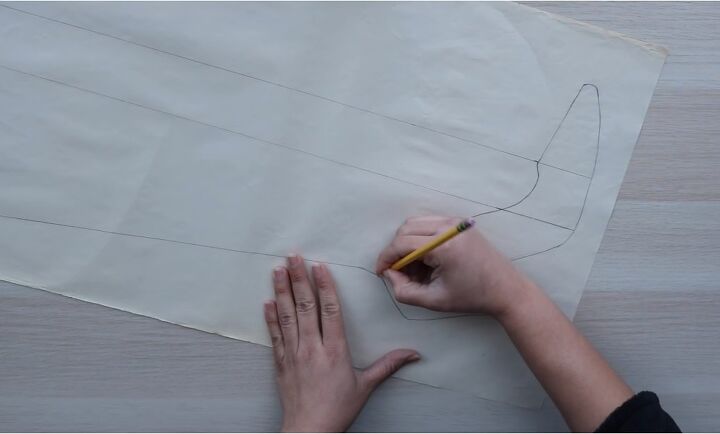
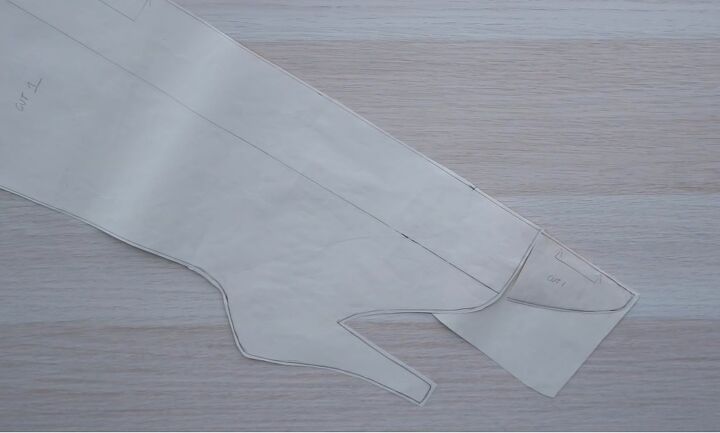
4. Draw the pattern
Measure the width of the shoe pattern to locate the center point.
Then, using your boot height measurement, draw a line upwards from the base of the shoe pattern.
From the top of the toe box, draw another line running parallel to the center.
For the width of the boot shaft, divide your thigh measurement in half, then deduct a couple of inches since we’ll use a stretch fabric.
To complete the boot pattern, draw a line to meet the heel and do a little shaping up.
5. Adjust the toe box
Remove the toe box and position it under the boot, making sure it is in a straight line with the center front before taping it on a strip of paper.
Doing this allows you to cut the boot on the fold.
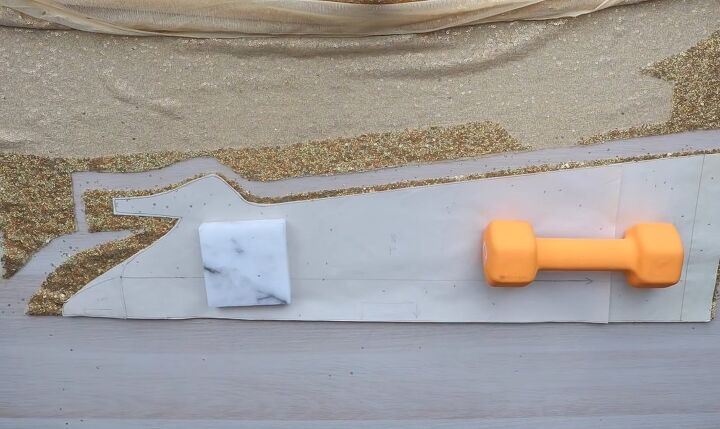
6. Cut the pattern
Fold the fabric in half with the wrong sides together, then place your pattern along the fold, leaving a couple of extra inches at the bottom.
Use some weights to keep the fabric in place and cut the pattern leaving some extra inches at the bottom.
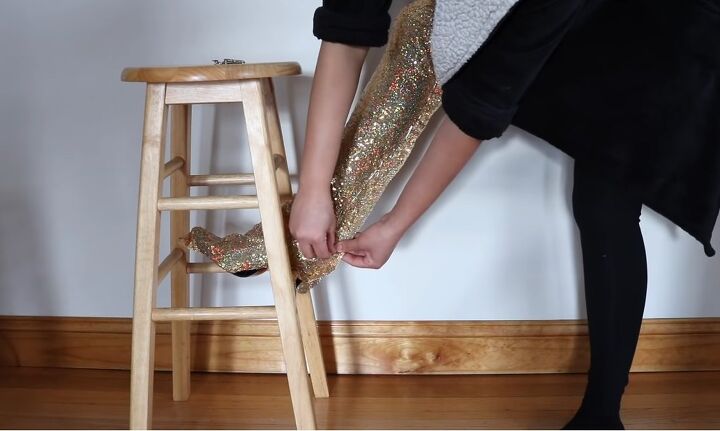
7. Do the first fit
Take a few safety pins and loosely pin them along the side. Then sandwich the shoes between the fabric before pinning the bottom.
Use safety pins to adjust the fit, making sure it is snug all the way down but not too tight around the knees. Pin the seam around the shoe and the heel.
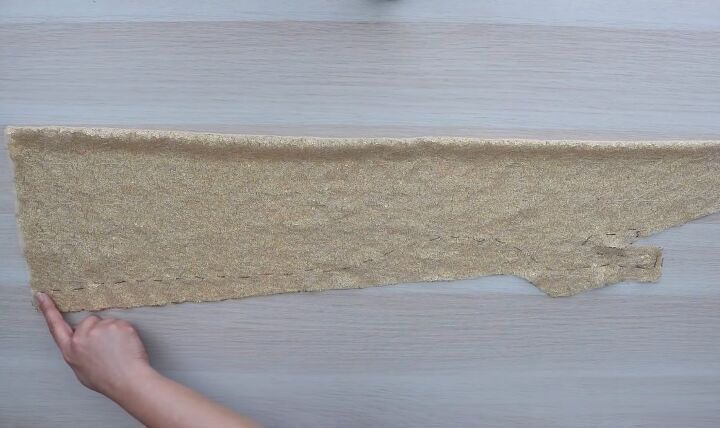
8. Sew the fabric
Remove the shoe from the fabric. Remove the safety pins from one side of the fabric, turn it inside out. Then, pin the fabric together again.
To prevent the fabric from shifting while sewing, baste the seam following the pins.
Then, with your sewing machine, sew following the basting thread. Cut a small gap around the heel area so you can later turn the fabric back to the right side.
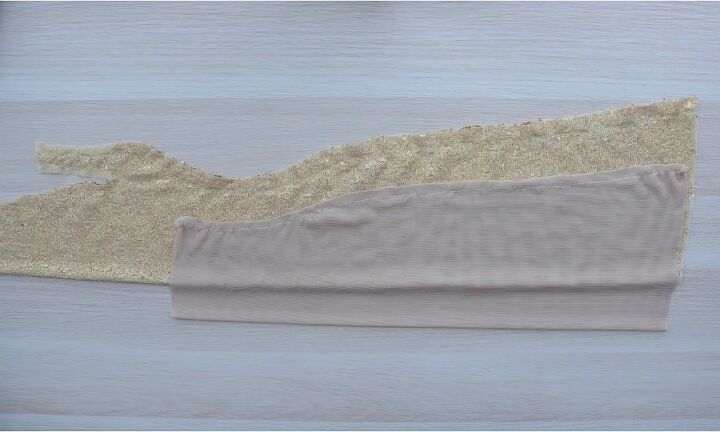
9. Cut and sew the lining
Using the boot pattern, cut a piece of lining for the shaft. Place it on top of the boot and trace the allowance following the basting thread.
Sew the lining and then remove all the basting threads.
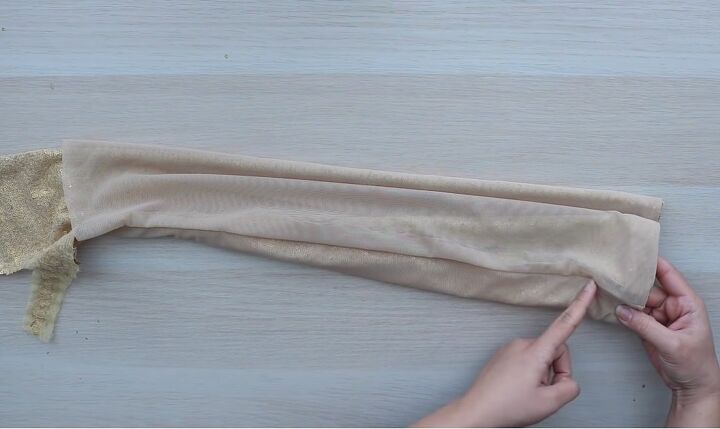
10. Attach the lining to the fabric
With the right sides facing, pin and sew the top edges together, starting at the side seams.
Once attached, turn the lining over onto the boot. To keep it in place, tack it along the seam allowance at the top and areas around the bottom.
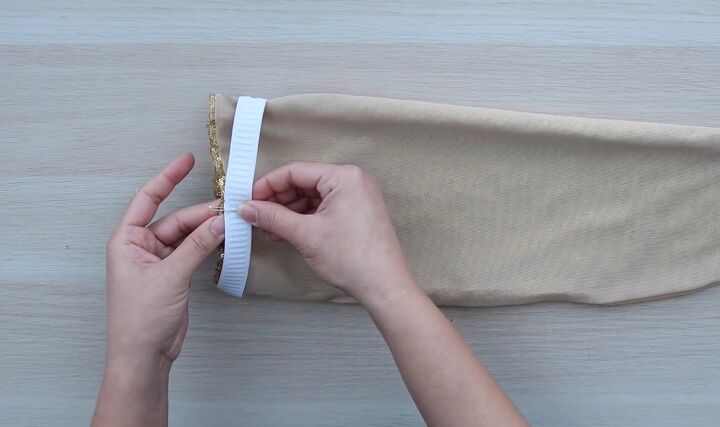
11. Attach the elastic
Sew the ends of the elastic together and then section both the elastic and the top edge in four equal parts. Match each section together, starting with the seams.
Using a small zig-zag stitch, sew them in place by working in sections pulling the elastic as you go along. When done, turn the fabric the right way out.
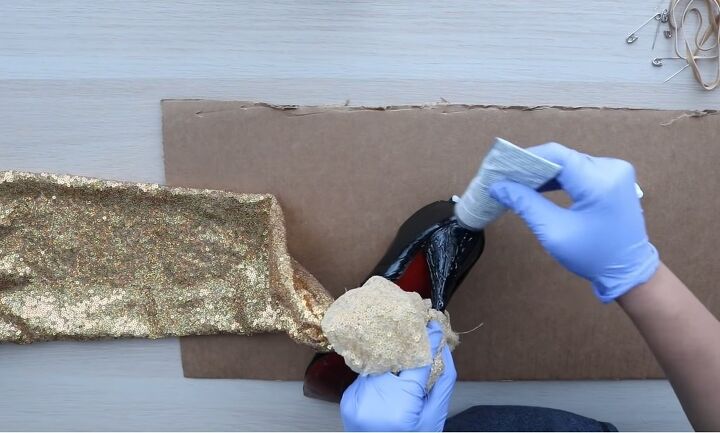
12. Glue the shoe to the fabric
Stuff the shoe with a water bottle to retain its shape. Place the end of the heel in the fabric and start gluing from the heel, working your way toward the front.
Afterward, pull the cover over, making sure the seam is centered down the back.
Once the heel is in place, apply glue to the rest of the shoe before pulling on the cover.
When the shoe is fully covered, pin the bottom pieces together and make sure everything is lying smoothly. Wrap a couple of rubber bands around it to keep it all in place while it dries.
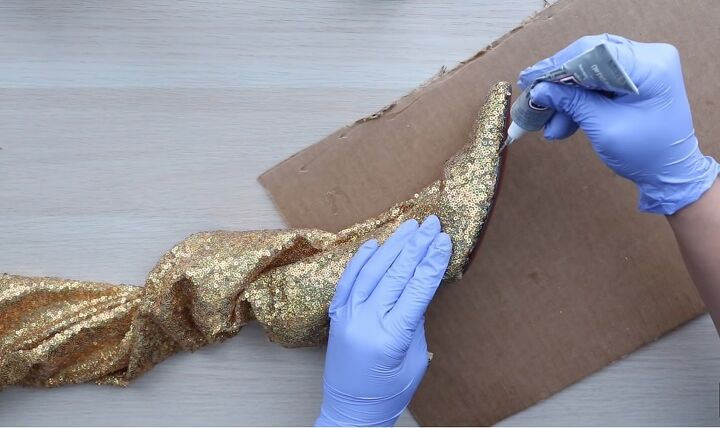
13. Tidy up the bottom
Trim the excess fabric from the heel cap and the sole, leaving about a quarter-inch hanging over the sides.
Run your tweezers along the edge of the outsole just enough to lift it so that you can tuck the raw edges under. Then go in with your glue to seal it back up.
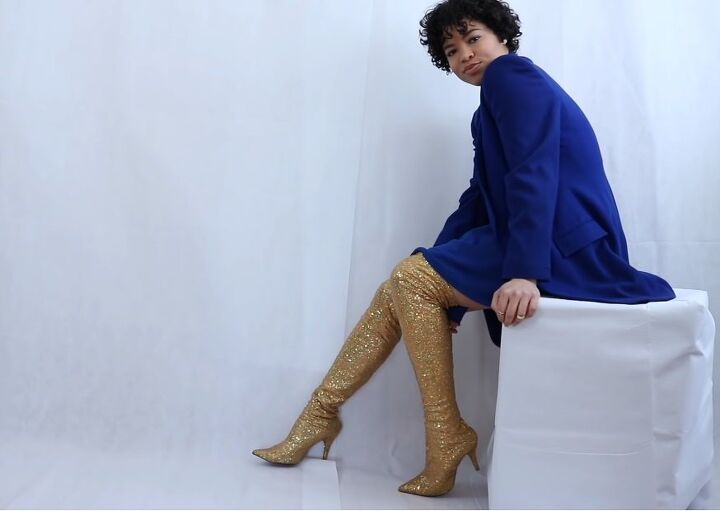
DIY sequin boots
Here are the finished DIY Michelle Obama boots, and aren’t they just a beauty?
I mean they will be the star of the show no matter what occasion you wear them to. I don’t want to take them off!
If you enjoyed this tutorial, leave a comment down below and check out my post on How to Reuse Fabric Face Masks.
The author may collect a small share of sales from the links on this page.


Comments
Join the conversation