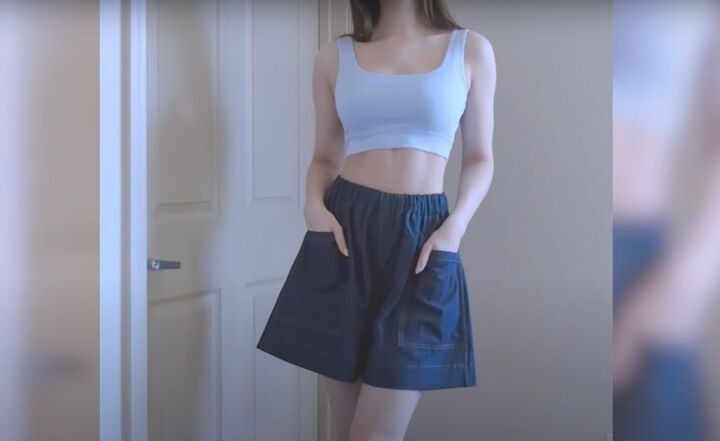
How to Sew High-Waisted, Wide-Leg Shorts for Summer & Beyond

Have you seen these wide shorts all over Pinterest and Instagram? High-waisted flare shorts are the hottest look for summer. Today I’m going to show you how to make these cute denim shorts so you can wear the most stylish look for warm weather.
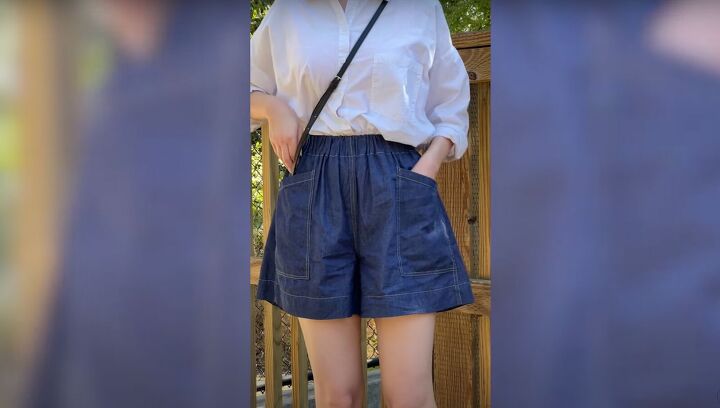
These high-waisted shorts feature beautifully topstitched, angled front patch pockets along with that lovely wide silhouette that is so in now. Let’s get started sewing flare shorts for warm weather.
Tools and materials:
- Pattern for high-waisted shorts
- 1½ yards fabric (I used lightweight indigo denim)
- Elastic (wide)
- Fusible interfacing
- Matching or contrasting thread
- Pins
- Scissors
- Measuring tape
- Ruler
- Tailor’s chalk
- Serger (optional)
- Sewing machine
- Iron
- Clapper
- Pattern weights
- Safety pin
For the best results, prewash the fabric with color-catching sheets so it won’t bleed later.
1. Make the pattern
Download and print the pattern. Lay the pattern on the fabric with weights and cut the fabric. Transfer the marks to the fabric so it’s easier to sew.
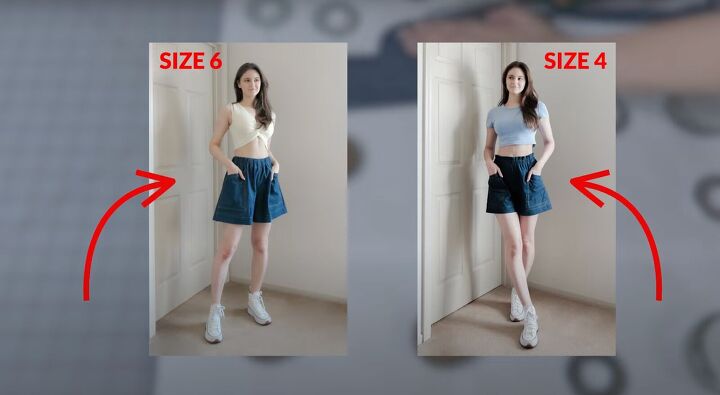
For a wider look go up a size and for a narrower look, size down.
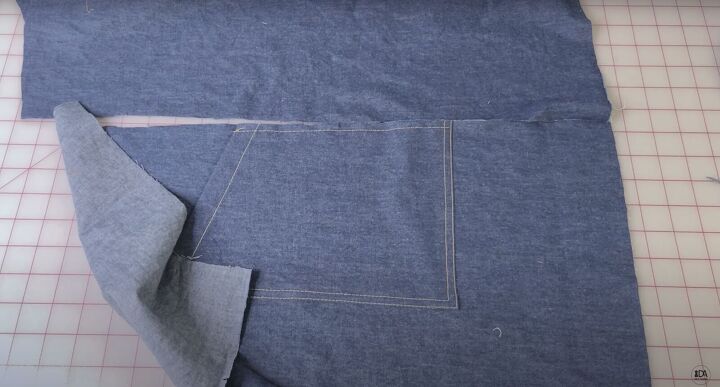
2. Make the pockets
Apply fusible interfacing to the top edge of the pocket. Press with a pressing cloth so the interfacing doesn’t stick to your iron. Apply to both pockets.
Fold in ¼ inch to the wrong side. Press and cool. Fold again ¾ of an inch, following the marks on the sides of the pockets. Press and cool. Pin the fabric in place so it doesn’t move when you sew. Trim the edge of the fabric if needed.
Repeat for the second pocket.
Topstitch the pocket just before the edge. Press. Staystitch the pocket ¼ inch from the edge. Fold in the seam allowance on the bottom of the pocket to the wrong side and press.

Use double-sided fusible web tape if you have it to hold the fabric down.
Fold in the sharp corners. Press to flatten. Cool.

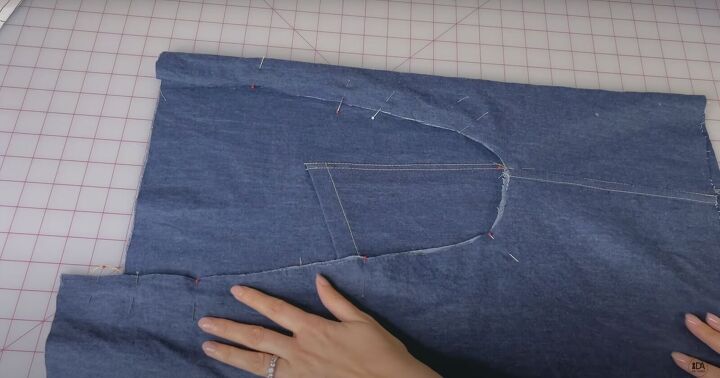
3. Attach the pockets
Transfer the marks for the pocket placement on both sides of the front pieces. Place the pockets between the marks. Pin in place.
Topstitch the pockets to the shorts as close as possible to the edge. Place another stitch close to the other stitch along the side. Secure the pocket at the side seam. Sew the second pocket. Make sure they are symmetrical.
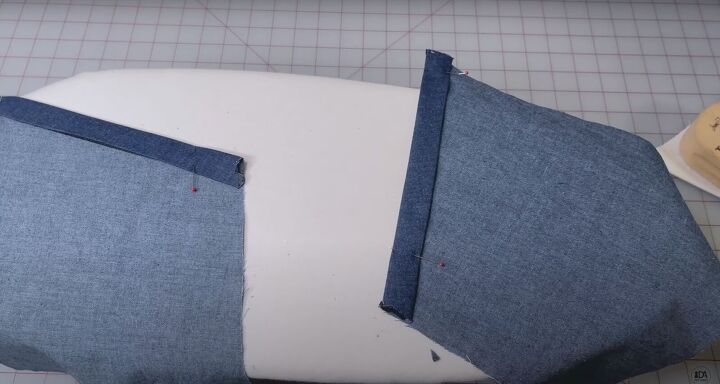
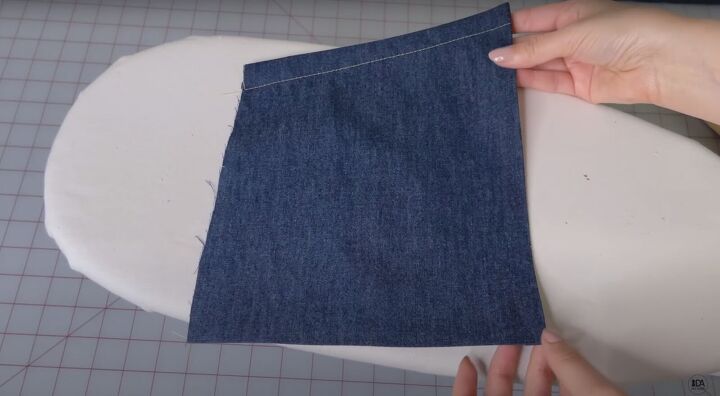
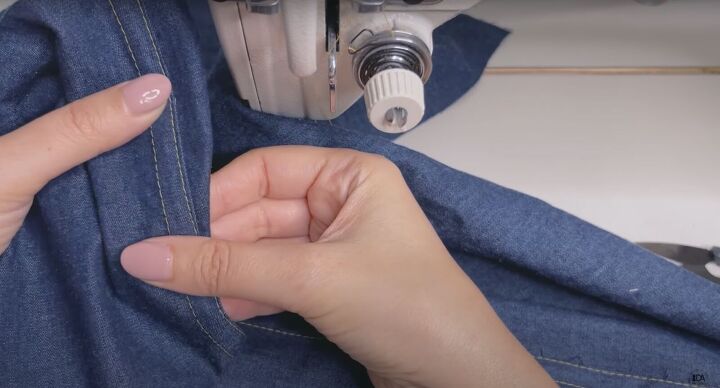
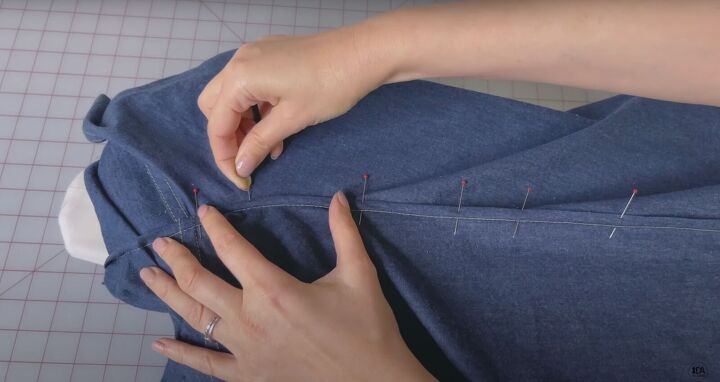
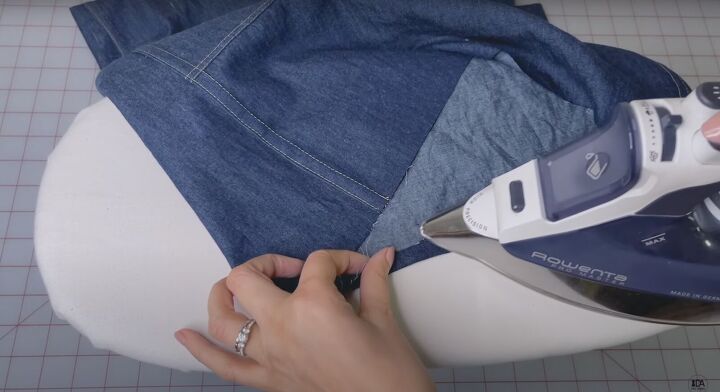
4. Sew the side seams
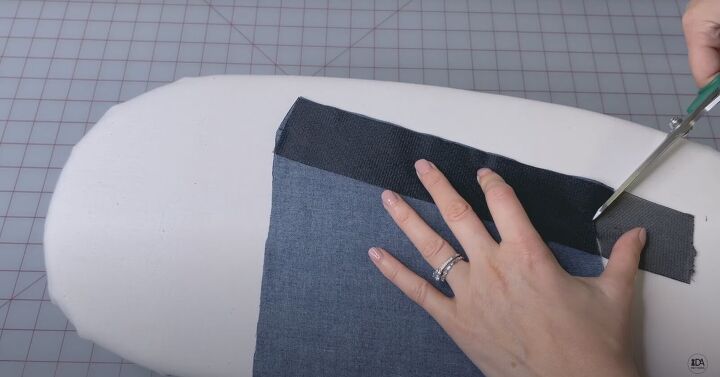
Place the front and back pieces right sides together. If you have a serger, serge the side seams. If you don’t, use a flat felled seam. The side seam allowance is ½ inch from the edge.
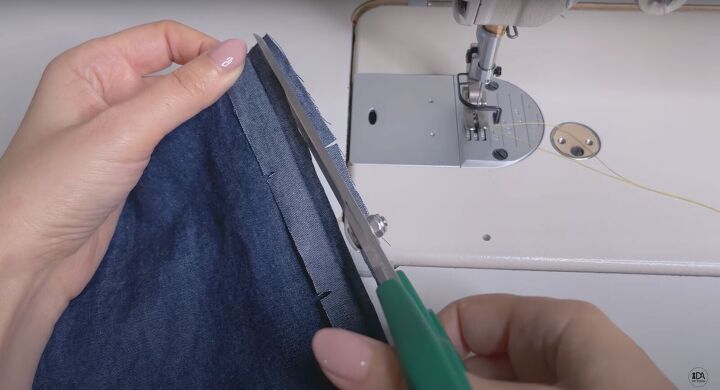
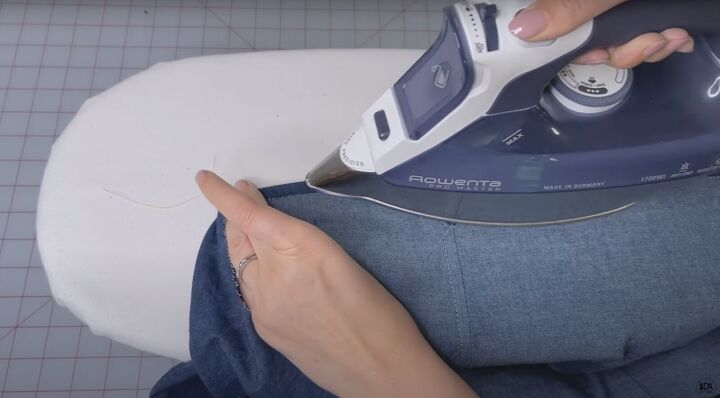
Trim the seam allowance on the back piece, leaving about ⅛ of an inch. Take out the temporary stitch that held the pocket in place and press the side seam to the back.
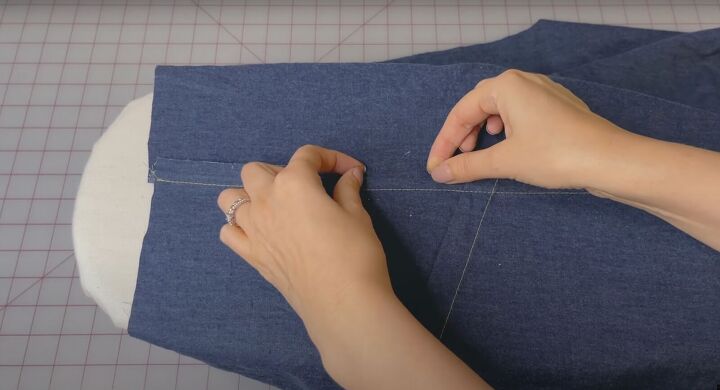
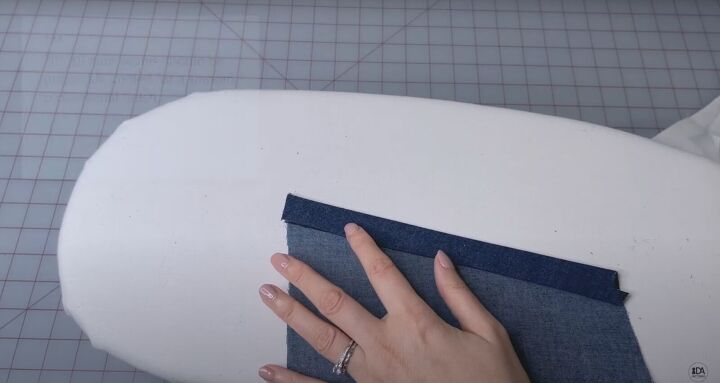
From the right side of the shorts, fold the bigger seam allowance over the trimmed side.
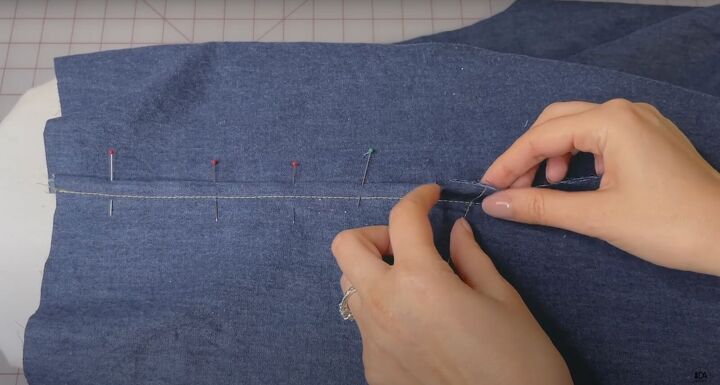
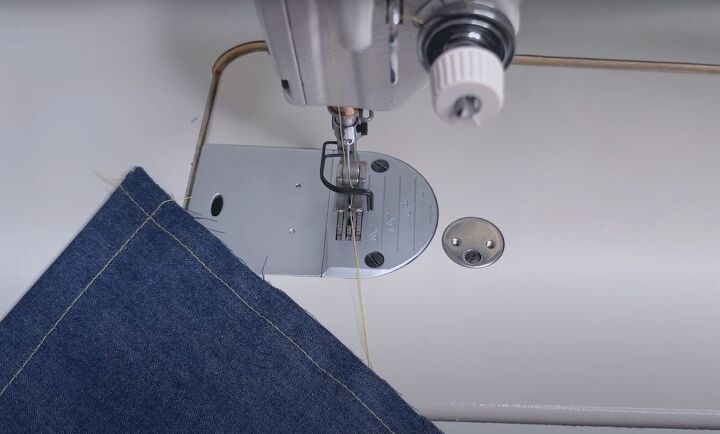
Pin in place. Press flat. Topstitch close to the folded edge.
Your seam should be parallel to the previous seam. Press the side seams. Use the same technique for the inseams. Watch from 5:55 to 6:25 for the inseam.
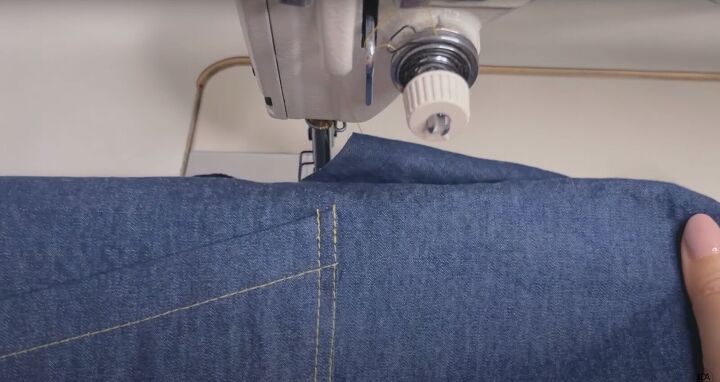
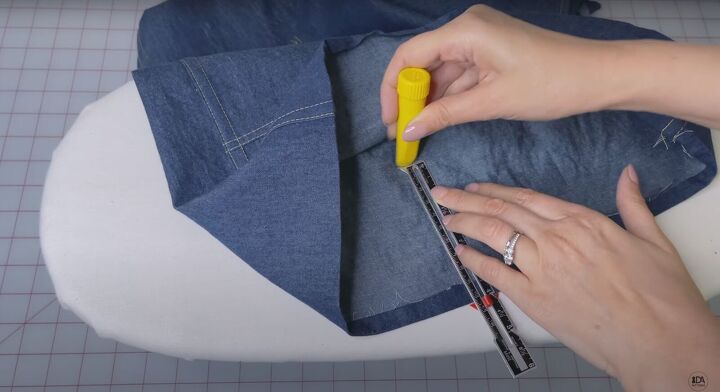
5. Sew the crotch
Turn one of the legs inside out and place it inside of the other leg. Pin at the crotch seam, aligning the marks at the inseam. Start sewing at the first mark at the top edge of the back side. Sew the crotch seam ½ inch from the front side of the shorts.
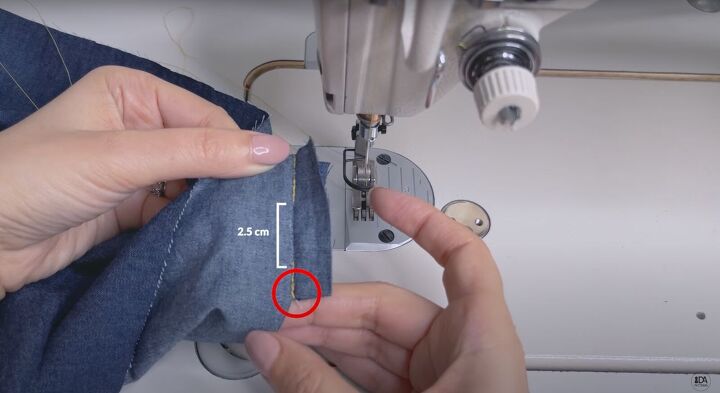
Clip the fabric ¼ inch from the mark and make a 1-inch space. Sew the rest of the seam, backstitching at the beginning and end.
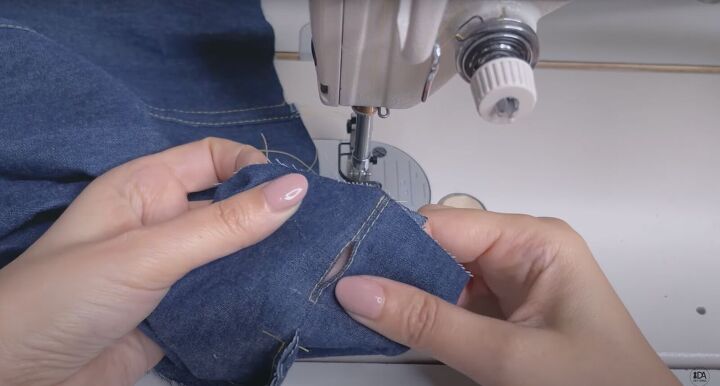
Topstitch around that opening. Trim the seam allowances around it. Continue sewing using a flat felled seam. Trim the seam allowance at the inseam to make it less bulky.
Pinning is more difficult around a curve so take it slow or sew a basting stitch to help. Tuck in the corner of the seam allowance and then sew a parallel seam. Watch from 6:28 to 8:20 for more detailed instruction.

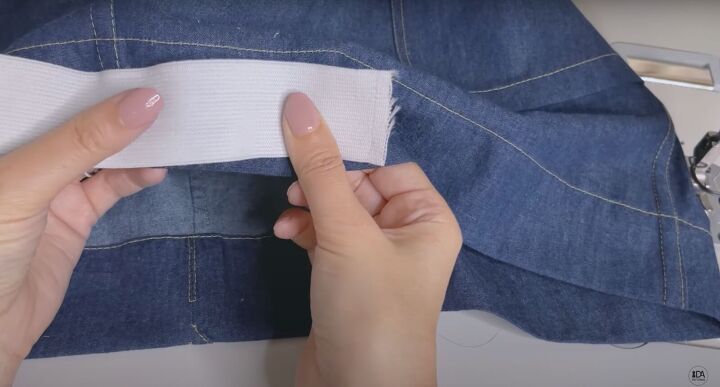
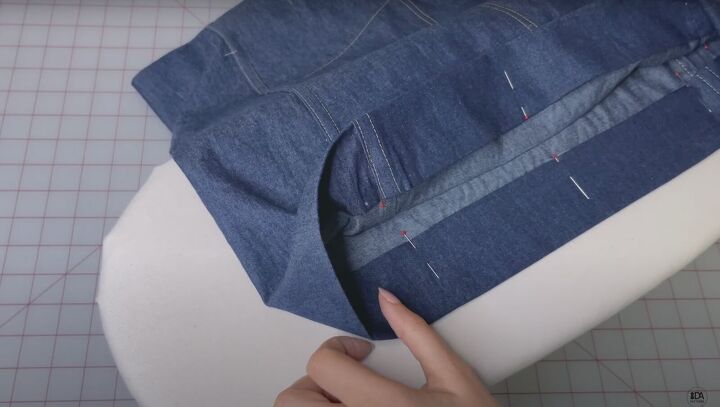
6. Sew the waistband
At the waistline, clip the corner of the seam allowance.
Fold in ¼ inch around the top edge. Press flat.
Measure 4 inches (10 cm) from the folded edge. Fold in to the marked line.
Pin along the side seams, center front and back, and in between. Press the pinned area flat. Topstitch the inner edge of the waistband.
Use an elastic that is a bit smaller than the casing.
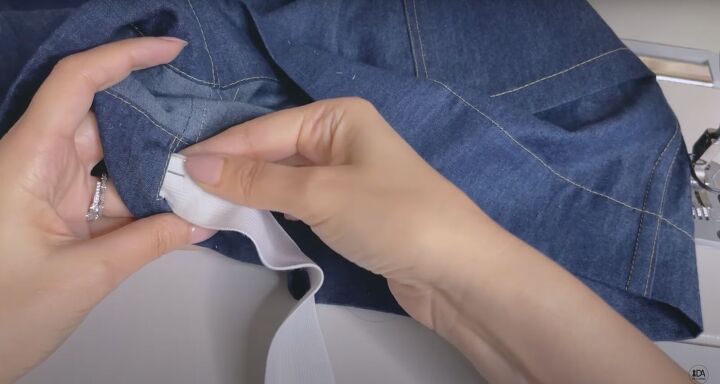
Insert the elastic, using a safety pin through the 1-inch space. Join the elastic together.
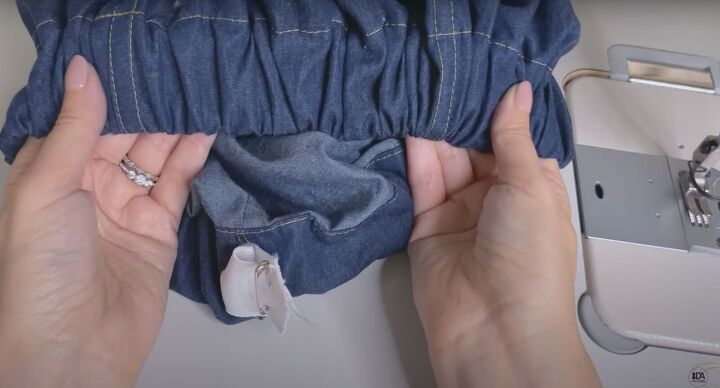
Distribute the gathers evenly, making sure it’s not twisted. Sew the elastics together.
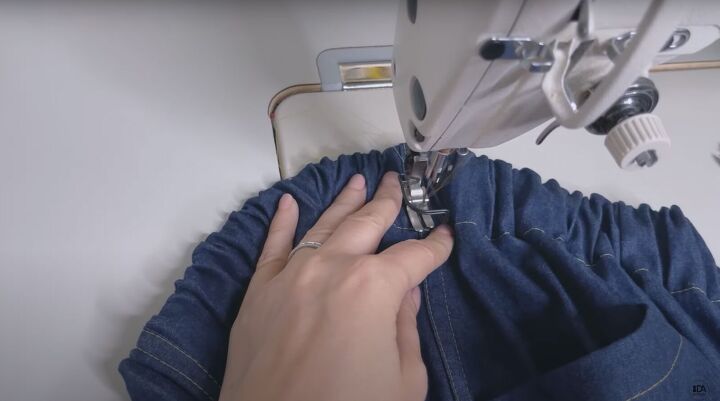
Secure the elastic to the side seams.
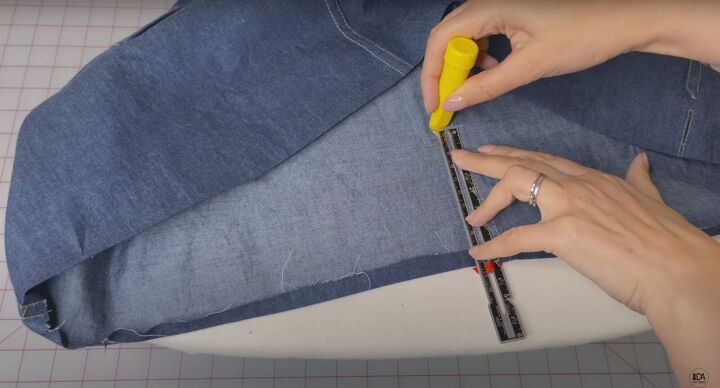
7. Sew the hem
Fold in ¼ inch at the bottom. Press.
Mark 4 inches (10 cm) from the folded edge. Fold in to the marked line.
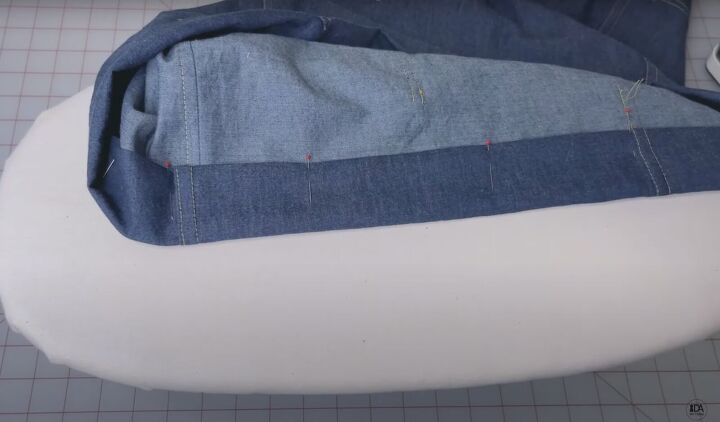
Pin. Press. Make sure both legs are the same length. Topstitch the hem. Press the waistband to flatten. Give your shorts an overall press.
How to sew wide shorts
How pretty are these shorts?
Please let me know in the comments if you made them. I love hearing from you.
The author may collect a small share of sales from the links on this page.


Comments
Join the conversation
Love your tutorial