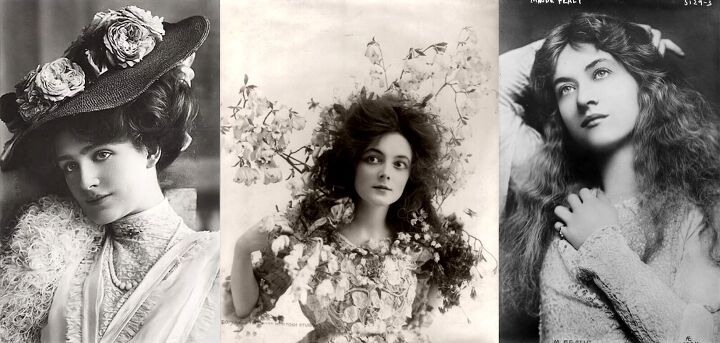
A Silent Movie Makeover Inspired by Looks From the 1910s

In this tutorial, I’m going to give myself a silent movie makeover inspired by the actresses of the 1910s. Follow along as I take you through step-by-step and show you how to achieve this look.
Tools and materials:
- Primer
- Foundation
- Makeup brush
- Concealer
- Finishing powder
- Eyeshadow
- Eyebrow pencil
- Gel
- Mascara
- Eyeliner
- Lipgloss
- Hair extensions
- Side combs
- Bobby pins

1. Primer
Start by prepping your skin with primer.
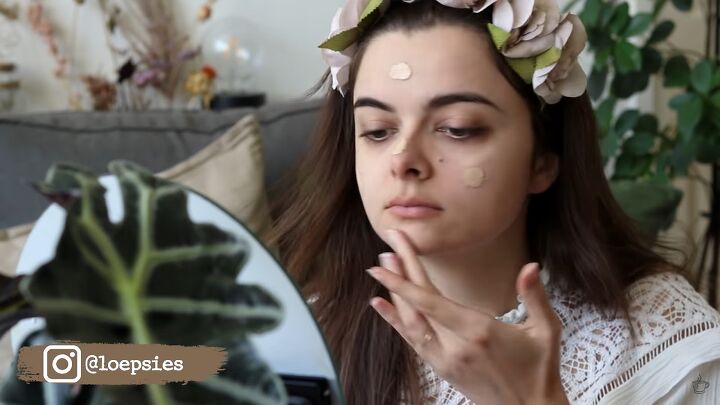
2. Foundation
Next, apply foundation. I like to place it on my forehead, nose, cheeks, and chin and then blend it in with a makeup brush.
3. Concealer
Place concealer under your eyelids and smooth it in.
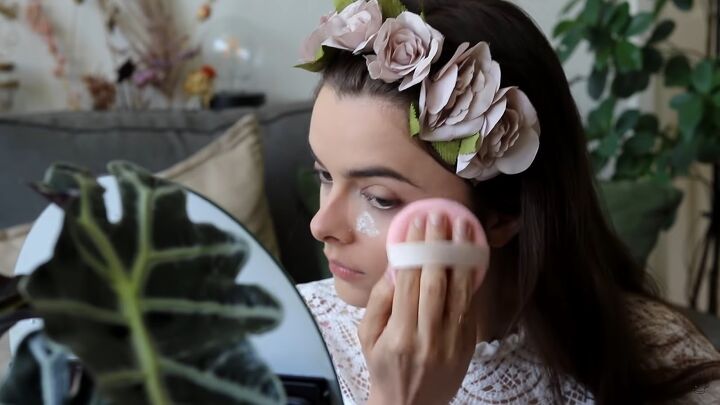
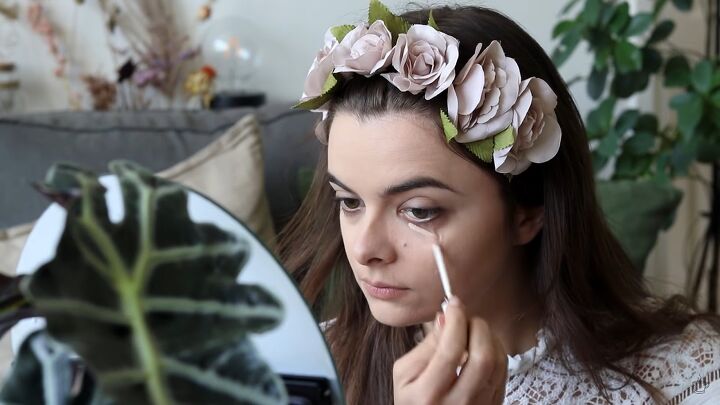
4. Finishing powder
Pat in some finishing powder. Then take a mascara comb and brush any powder out of your eyebrows.
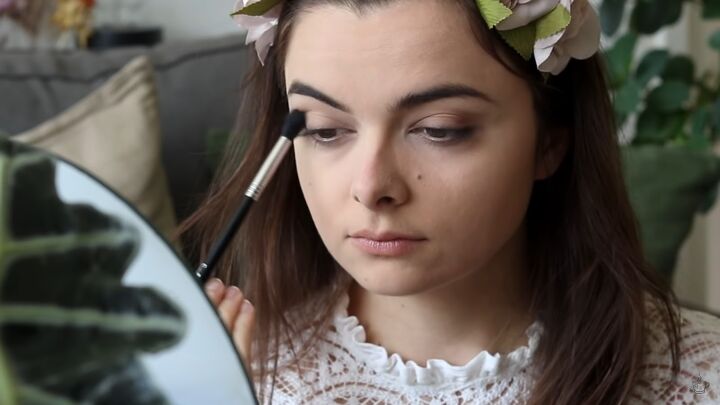
5. Eyeshadow
Start the eye makeup with a light base color. Then darken the outside of the crease to create more depth.
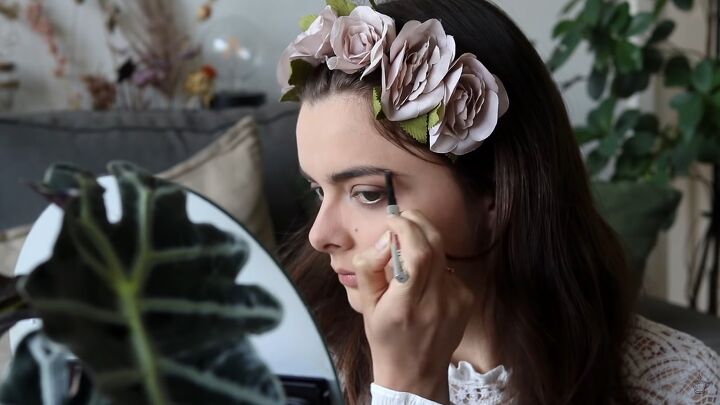
6. Eyebrows
Dark eyebrows are an important part of the look. First, pencil them in and then set them in place with a strong hold gel.
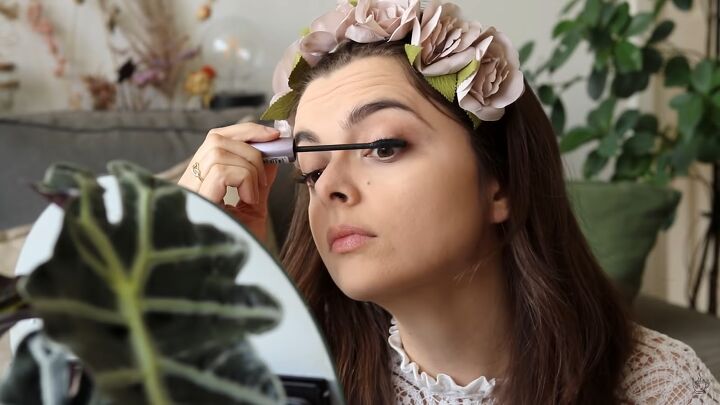
7. Mascara
Apply mascara.
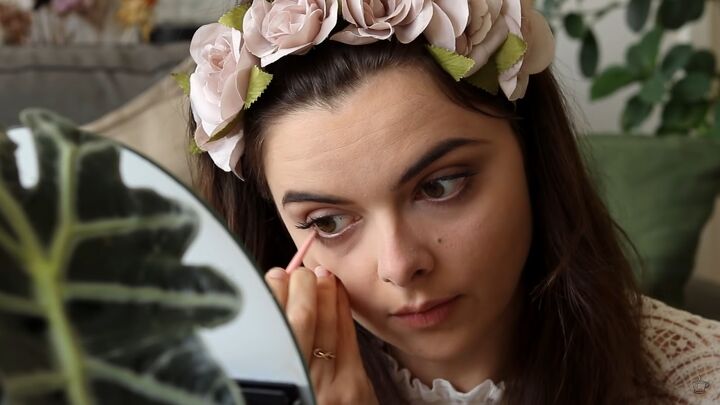
8. Eyeliner
Using white or light eyeliner on the waterline is a common trick in stage makeup to make the eyes look larger and more expressive.
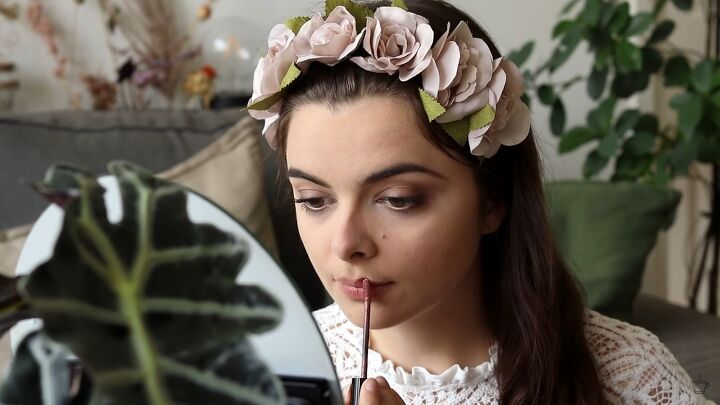
9. Lipgloss
The popular lip style of this era is doll-like, so that is what you are going to recreate.
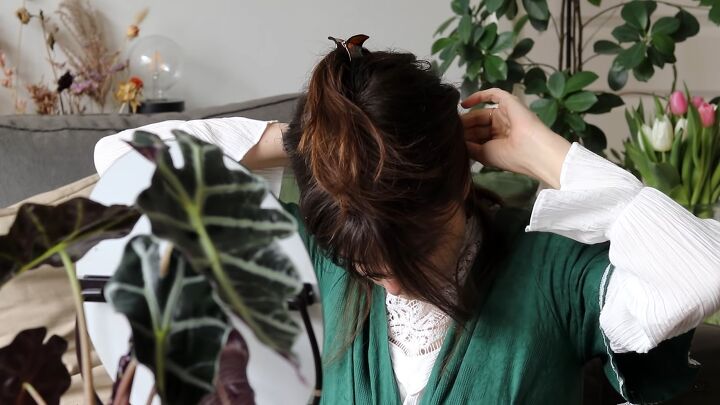
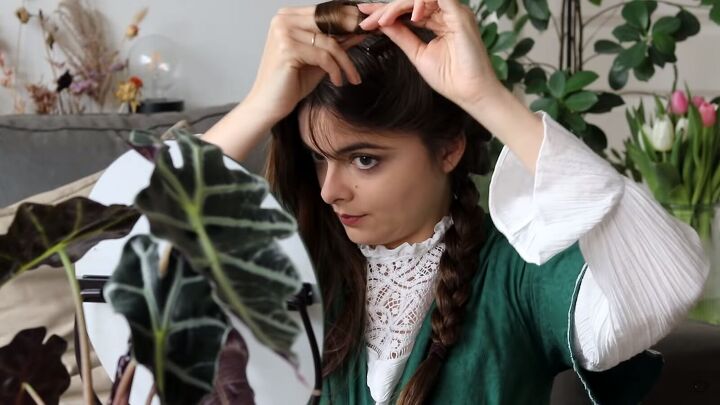
10. Create the hairstyle
Next, add in some hair extensions.
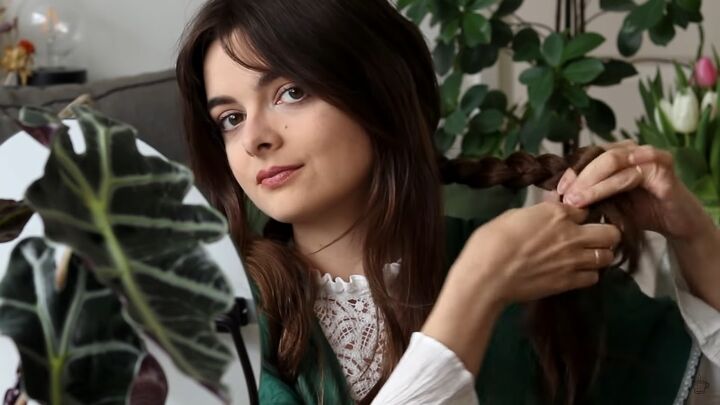
Split the back of your hair into two sections and braid it.
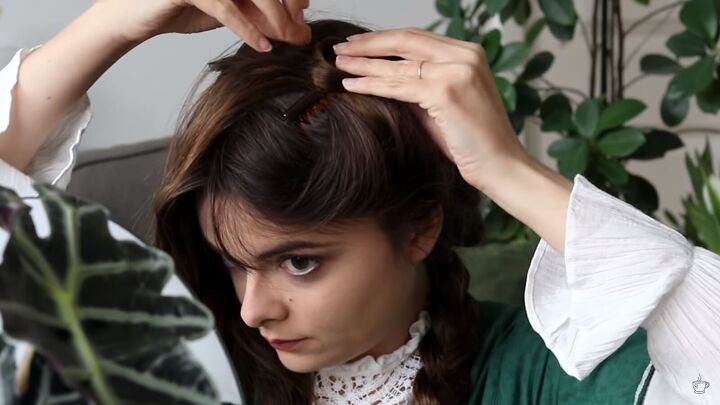
Then take the front part on one side, pull it up loosely and slide a side comb down near the top of it. You want this to look voluminous so don’t style it too tightly.
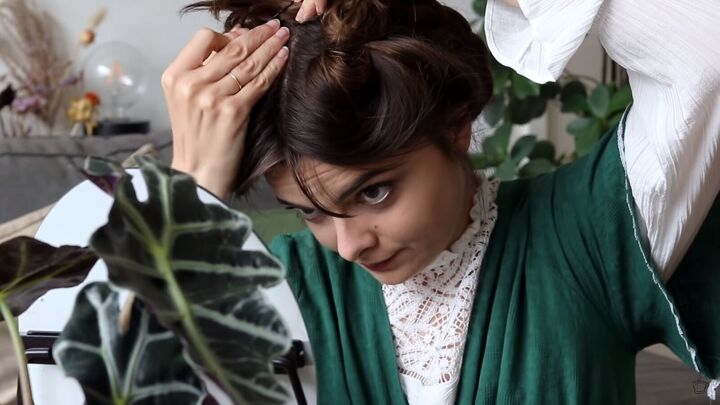
Take the bottom part of your hair, and divide it into two. Then take one section and twirl it around two fingers.
Release the twirled up hair from your fingers and affix it to your head, above where the side comb is, with some bobby pins. Use as many pins as you need to ensure that your hair is secure and it doesn’t move around when you walk. Then repeat this with the other section of your hair and pin the twirl next to the first one.

Here you can see the two pinned twirled sections next to each other. Now, repeat this on the other side of your head.
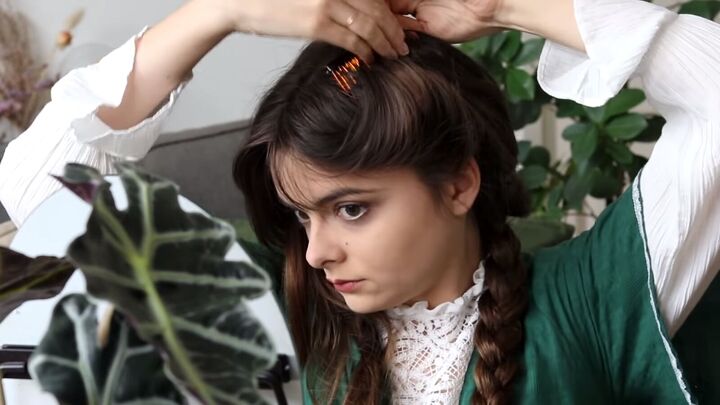
Next, pick up the braids from either side, bring them to the center of your head and pin them down. The ends of the braids will be sticking up and will look a little messy but don’t worry as this will be covered.
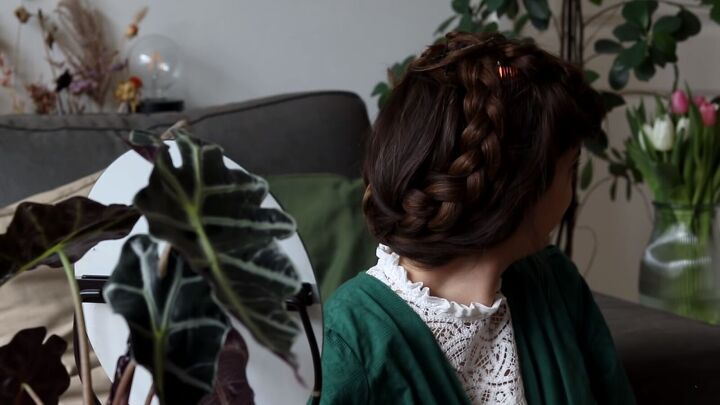
Here is my hair all pinned up.
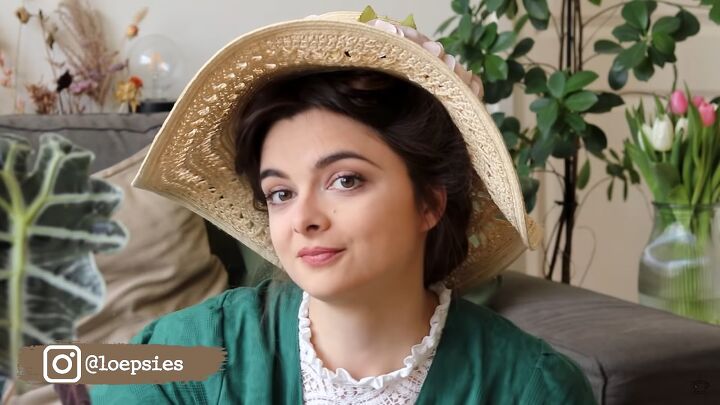
Finally, pop on a straw hat, and you’re done! I added on an elastic headband of flowers around the brim of the hat for a charming touch.
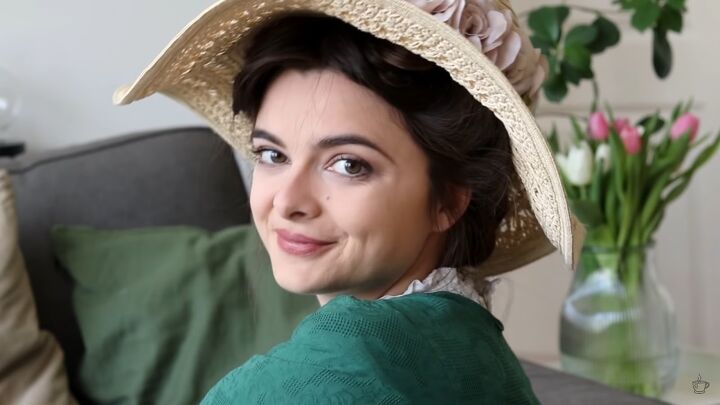
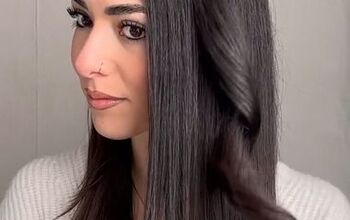
Silent movie makeover
Here is the finished silent movie makeover-inspired look. I love the 1910s vibe this gives off, and I feel just like a movie star! This look is feminine and elegant, and I hope you like it as much as I do.
The author may collect a small share of sales from the links on this page.


Comments
Join the conversation
I haven't seen anyone copy this look.
This was so calming and lovely. 🎶