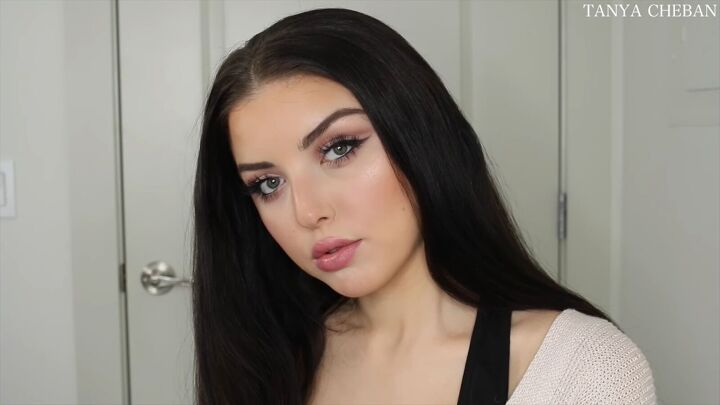
How to Do Simple Valentines Day Makeup For a Soft & Feminine Vibe

I created a soft pink eye makeup look that is perfect for Valentine’s Day, and I’m going to share it with you here. If you’re looking for a romantic and feminine makeup look, this simple Valentine’s Day makeup tutorial is for you.
In my last tutorial, I did a more glam and sexy look with bold red lipstick. However, that kind of look isn't for everyone and may not be appropriate for a more low-key Valentine's date. So, here's a softer alternative.
Tools and materials:
- Eyeshadow primer
- Makeup sponge
- Tape
- Eyeshadow
- Makeup brushes
- Gel liner
- Mascara
- Individual lashes
- Makeup primer
- Foundation
- Concealer
- Powder
- Eyeliner
- Brow pencil
- Bronzer
- Blush
- Highlighter
- Lipstick
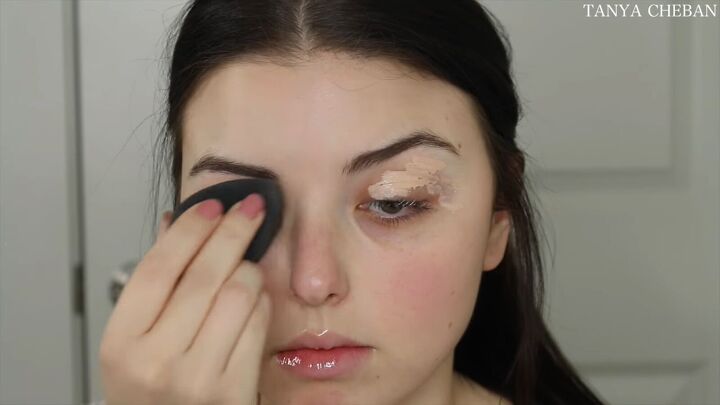
1. Prime
Start off by applying some eyeshadow primer. I painted the primer onto my eyelids with a brush and then blended it in gently with a sponge.
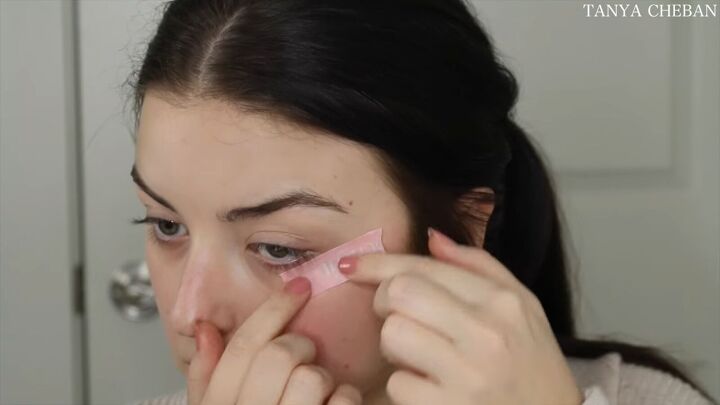
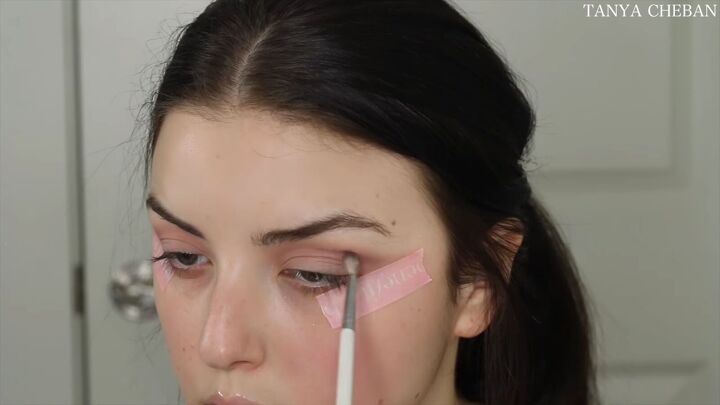
2. Tape (optional)
This step is optional, but I stuck some tape to the side of my eyes. Doing this allows you to be a little bit messier when you apply your eye makeup because when you peel the tape off at the end, you’ll get a really clean finish.
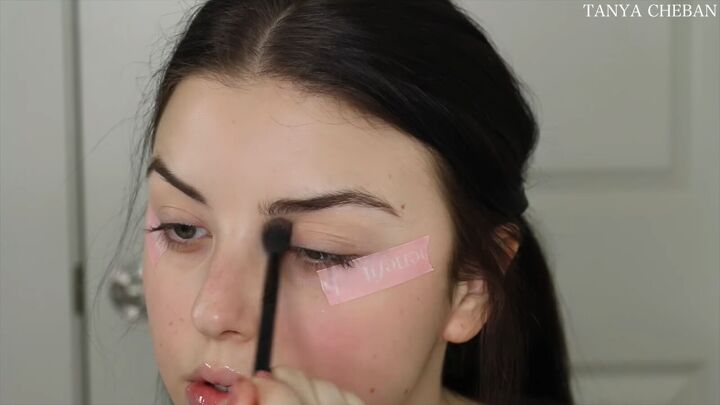
3. Eyeshadow
For eyeshadow, start off with a cream shade just to set that primer. Then go over that with a light pink shade to have a wash of color over your lid.
Then, take a darker dusty pink color, and with a fluffy angled brush, lightly dust it into your crease to create some depth.
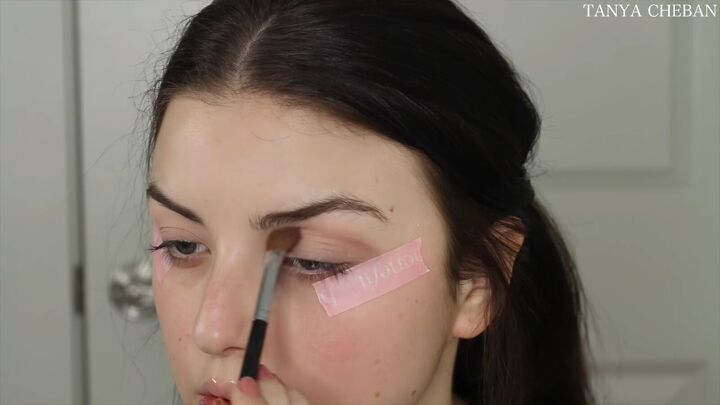
Continue by switching your brush into a much smaller, defined, blending brush to really enhance that crease.
Next, take a berry color, and with an even smaller and more precise blender brush, really define your crease.

Finally, place a beautiful creamy, nude eyeshadow all over the mobile lid. Finish off the eyeshadow by placing the darker pink shade along the lashline.
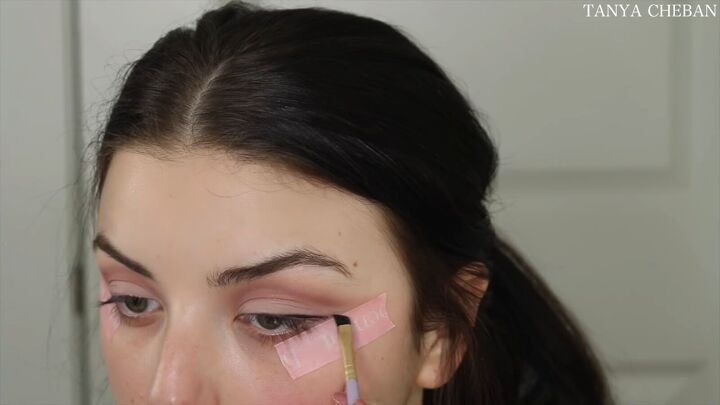
4. Wing
With gel liner, create the softest, smallest wing. You want to keep the winged liner very short but enough to define your eyes.
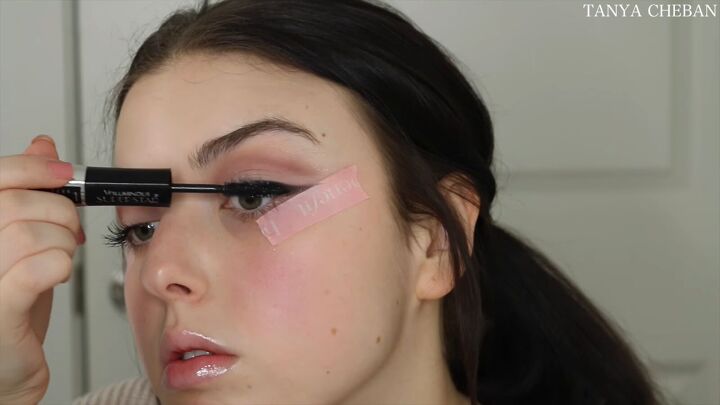
5. Mascara and false lashes
The next step is to apply mascara. You could honestly get away with just mascara in this look, but I decided to be a bit extra and apply some individual lashes.
Individual lashes last a lot longer than strip lashes, and they feel really light and like your natural lashes. I used about 5-6 of them on each eye.
Once your false lashes are on, remove the tape and fix up the winged liner.
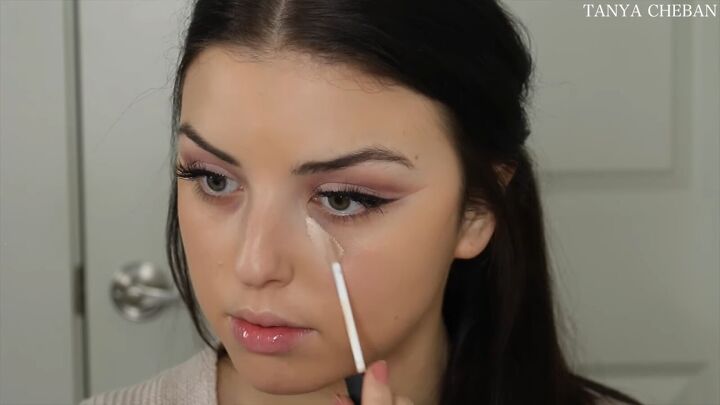
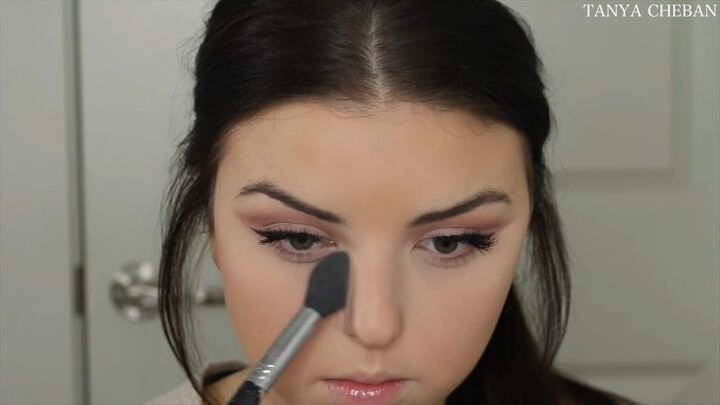
6. Face
For your face makeup, start by applying primer and then add some foundation. Carry on with concealer for that extra coverage underneath the eyes and a bit of highlighting.
I also applied some concealer under my mouth to cover up any shadows there.
Proceed to go over the makeup with some powder; I set my t-zone and under eyes with the powder.
I then added some more pink eyeshadow under my lower lashline as well as some mascara and eyeliner. Then, add some bronzer to contour.
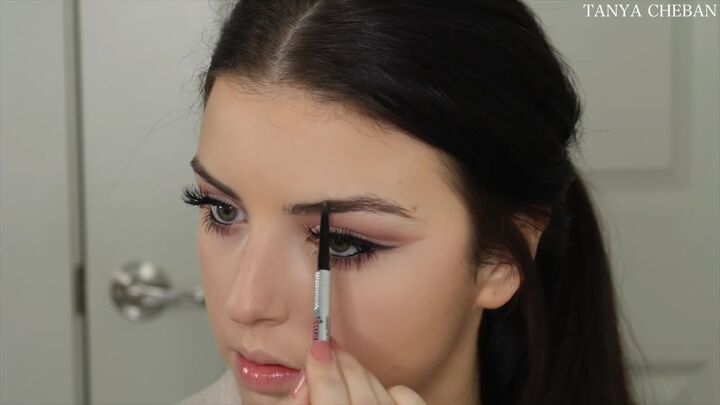
7. Brows
The next step is to do a bit of brow filling with a brow pencil to get your brows looking on point.
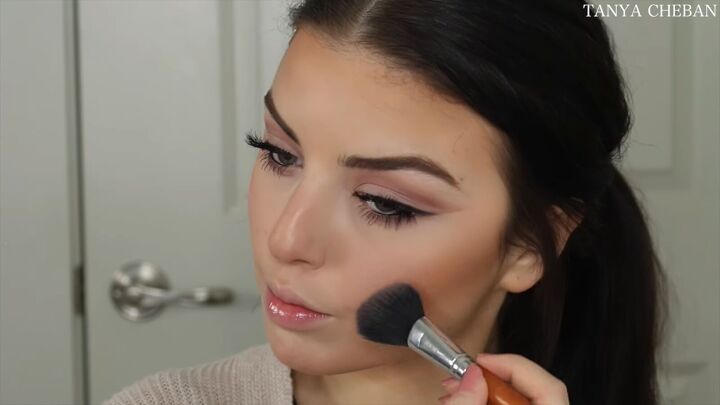
8. Cheeks
You then want to add blush to give a little bit of color to the apples of your cheeks. Proceed to add a highlighter to your cheekbones, the center of your face, and brow bone.
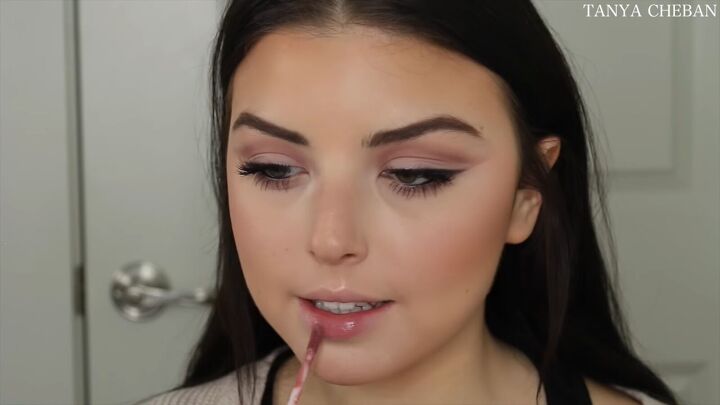
9. Lips
On the lips, I am using a beautiful rosy lipstick that is just a your-lips-but-better kind of color.
The cute Valentine’s day makeup look is now complete.
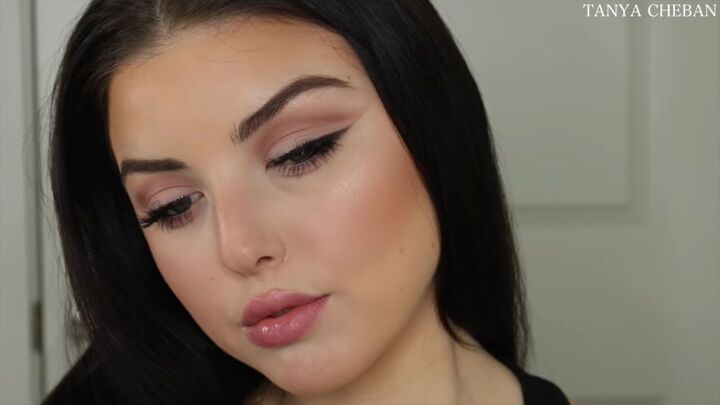
Simple Valentine’s Day makeup tutorial
You could add some glitter to the lid to make it even more dramatic, but I wanted to keep the look soft and minimal.
I think that the gentle pink and nude shades look gorgeous and feminine, and I’m really happy with how the look turned out.
Products used:
- Benefit Stay Don’t Stray Eyeshadow Primer
- Lorac Pro Palette
- Dose Of Color Eyeshadow Palette
- Maybeline Gel Liner
- Voluminous Mascara Loreal
- Ardel Individual Lashes
- Nuance Blur Perfection Primer
- Loreal Pro Glow Foundation
- Nars Radiant Creamy Concealer Vanilla
- Flower Loose Setting Powder
- MAC Extended Play Gigablack Lash Mascara
- Marc Jacobs Highliner
- Benefit Precisely My Brow Pencil
- Rimmel Natural Bronzer 022
- Benefit Hoola Bronzer
- Benefit Dandelion Blush
- Elf Highlighter Blush Gems
- Dose Of Colors Liquid Lipstick Stone
The author may collect a small share of sales from the links on this page.


Comments
Join the conversation
yes but am 66 And it kinda cakes up on my eyes powder does can you recommend a brand that won’t do that?
I agree with Debbie. This make up tutorial is beautiful for young taut skin. How about doing one on a typical gal in her 60s? We wear make up too.