How to DIY a Cute Button Front Skirt From Oversized Jeans

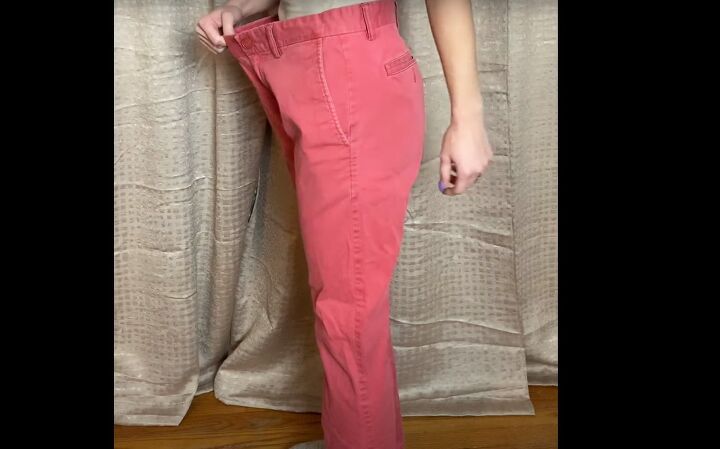
Today, I'm going to show you how I took these old, oversized men's pants and turned them into a button up skirt.
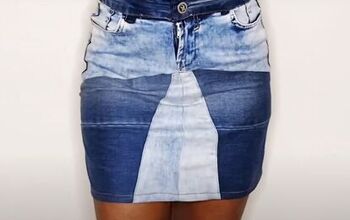
My upcycled skirt is super cute and definitely looks good enough to wear out in public.
So, if you're looking for a great way to upcycle pants, follow along and find out how I did it.
Tools and materials:
- Oversized pants
- Buttons
- Tailor's chalk
- Ruler
- Pins
- Scissors
- Sewing machine
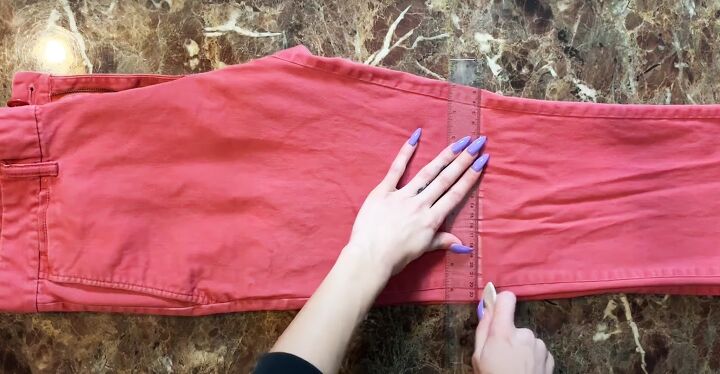
1. Cut off the legs
Put the pants on and mark the length for your skirt on the pants' leg with tailor's chalk.
Fold the pants in half, chalk a straight line across the leg and cut along the line, so you now have a pair of shorts.
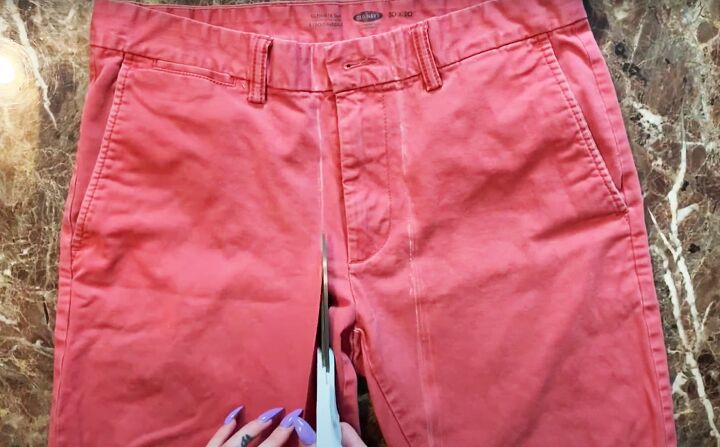
2. Remove zipper
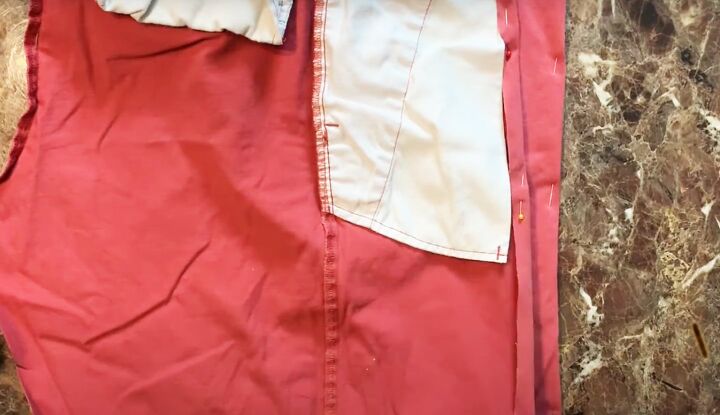
Lay the pants out flat and find the seams either side of the zipper.
Draw a straight line down on the outside of the seams to the inside edge of the legs. Cut along both lines on the front of the pants only.
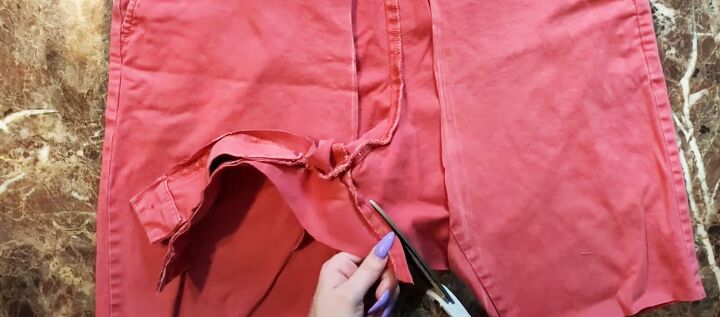
Flip down the cut section and cut away the crotch seam on the front and the inner leg seams.

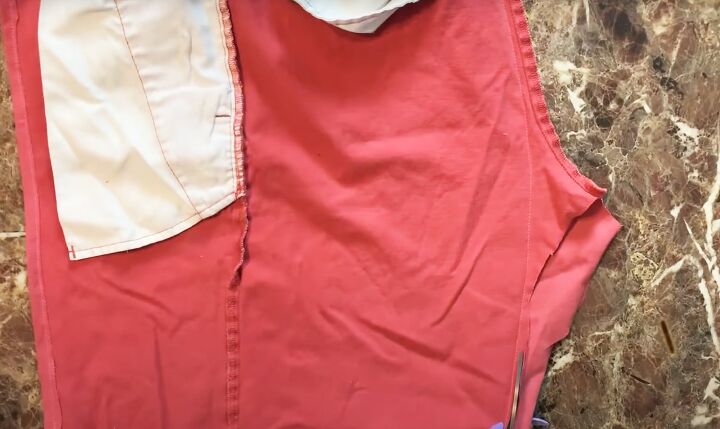
3. Hem front seam
Open the pants out wrong side up, and fold them in half lengthways along the back seam.
Straighten up the front edge by marking a line down from the waistband and cutting.
Hem the raw edges by folding them to the wrong side on the front and back separately. Pin and sew them in place with a straight stitch.
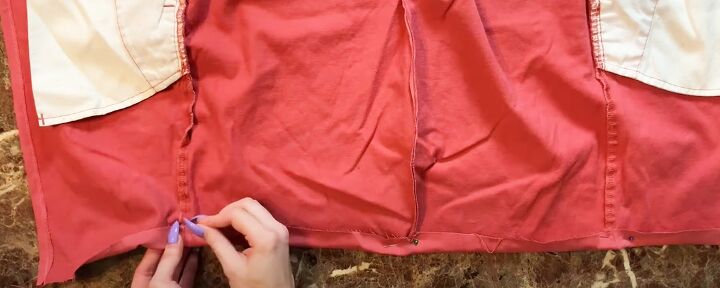
4. Straighten back seam
Stitch a straight line from the top of the back seam to the lower edge of the legs.
Cut off the excess fabric, including the old seam, close to the stitch line. Sew a zigzag stitch over the raw edges.
5. Hem lower edge
Pin a narrow hem at the lower edge and sew with a straight stitch.
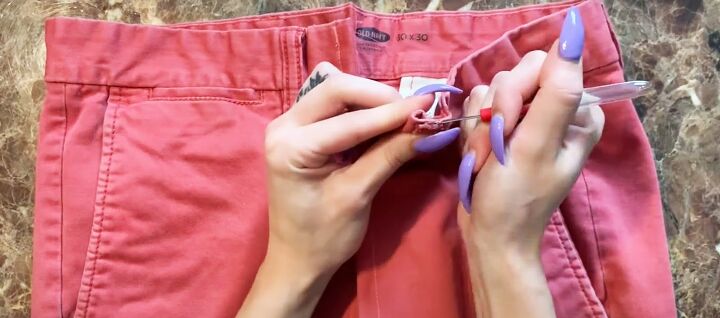
6. Remove front belt loops
Use a seam ripper to carefully remove the two belt loops at the front.
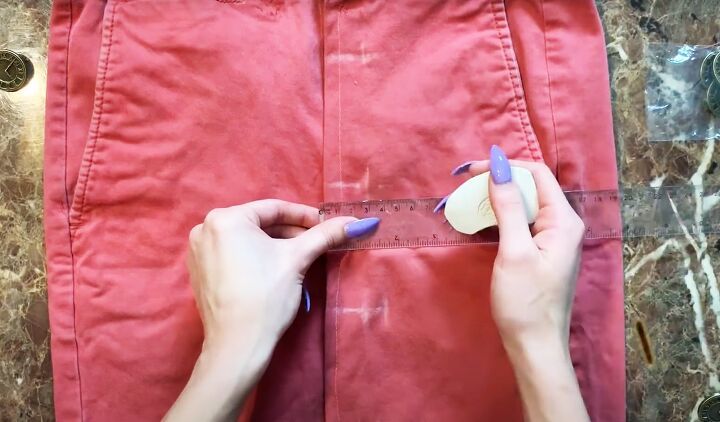
7. Make buttonholes
Lay your buttons down one of the front edges and mark their position with chalk.
Use a ruler to make sure they're equally spaced. Measure and mark the length of the buttonholes at each button mark.
I used 5 large buttons that were too big for my buttonhole attachment so I made the buttonholes manually, but if your buttons are small enough you could make yours on the sewing machine.
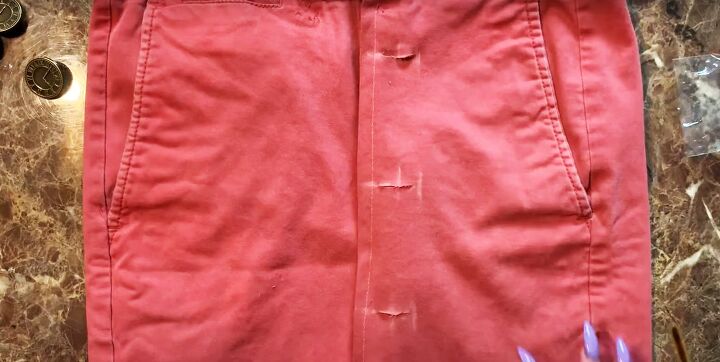
I cut open each buttonhole and checked that the buttons fit through them, then pushed my chalk through each slit to mark where the buttons needed to be sewn on the other side.
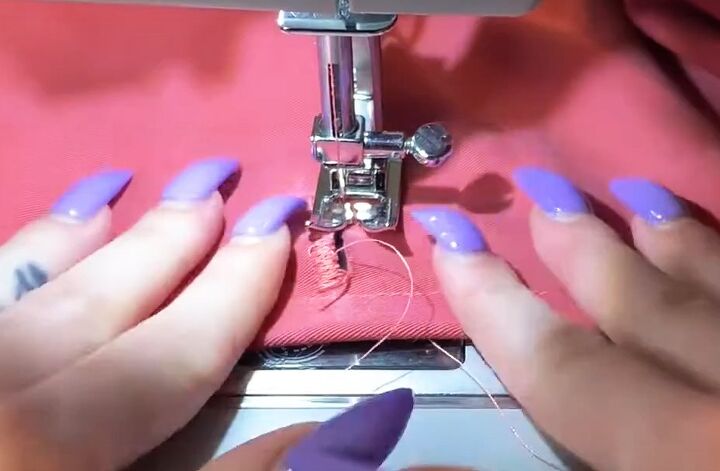
I hand sewed the buttons in place, then machine sewed all around the buttonholes with a narrow zigzag stitch, holding the slit open as I sewed.

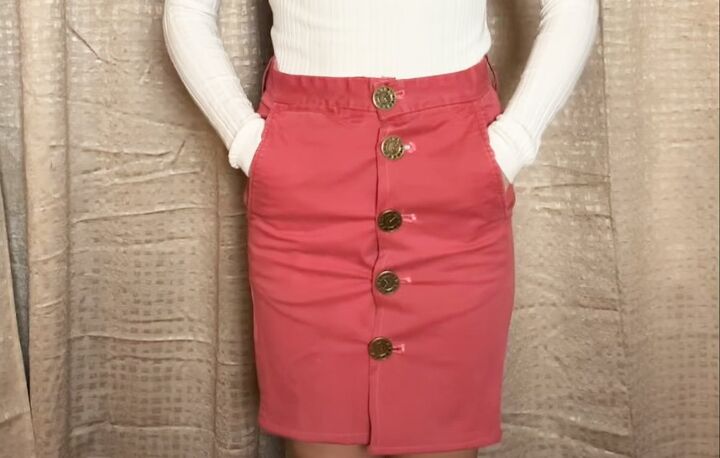
DIY button front skirt
I ended up with a really neat button front skirt after just a few hours of work and for the cost of the buttons.
I’m really pleased with how my upcycled skirt turned out. It was something I’d been wanting to do for some time.
If you enjoyed it, I’d love it if you let me know in the comments. Also tell me if you’ve ever done a project like this yourself.
The author may collect a small share of sales from the links on this page.


Comments
Join the conversation