How to DIY a Cozy Shrug and Skirt Set From a Thrifted Sweater

I had a thrifted 80s sweater that was in excellent condition but was long enough to wear as a mini dress!
I realized I would never wear it as it was, but the knit fabric was so good I wanted to use it to make something special. A DIY shrug and skirt seemed the obvious choice.
In this tutorial, I also show you how to make a striking speciality edging called a lettuce hem.
Tools and materials:
- Long sweater or hoodie
- Elastic for waistband
- Safety pin
- Tailor's chalk
- Scissors
- Pins
- Sewing machine with zigzag or satin stitch
- Zigzag presser foot
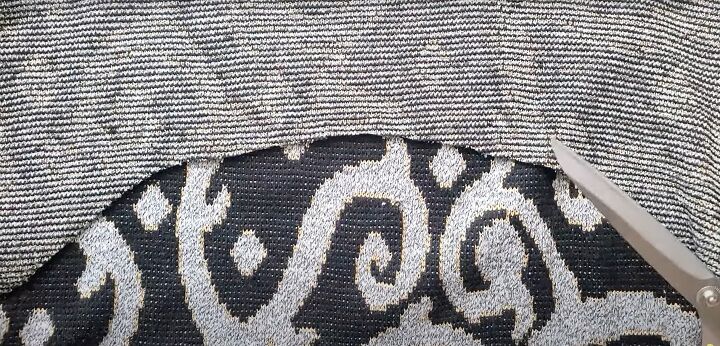
1. Cut the shrug shape
I usually cut directly onto the fabric and rarely measure anything.
If you're new to this, I suggest you draw out the shape you want on the fabric first with tailor’s chalk, or even make a paper pattern for it.
You want to cut a balanced curve shape on the front that starts an inch under one armhole, goes up in the center and curves down to an inch below the other armhole.
I cut the back in a straight line an inch below the armholes, so I cut the two layers separately. You could also cut the back in a curve, the same length as the front or longer.
Try the shrug on and make any adjustments needed to the basic shape.
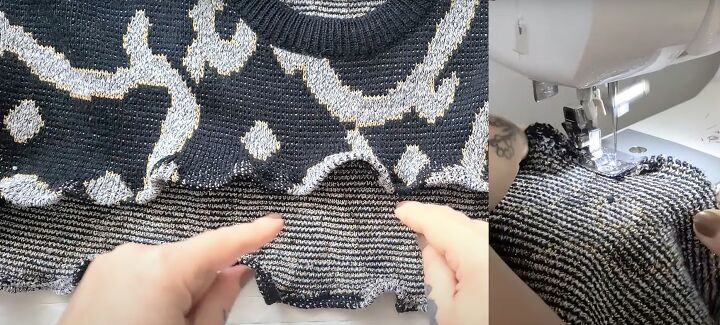
2. Lettuce hem
If your fabric is non-fray, such as a jersey or sweatshirt fabric, you don't need to make a rolled hem.
Simply stretch 2 - 3 inch sections of the edge widthways between your fingers to make a wavy edge.
To make a lettuce hem, set your machine for a zigzag stitch with a small stitch length and thread tension, or for a satin stitch.
Sew along the fabric edge on the wrong side, rolling it manually if necessary. Pull the fabric from in front and behind the needle as you sew, to stretch it.
The more you stretch it, the more wavy the hem will be.
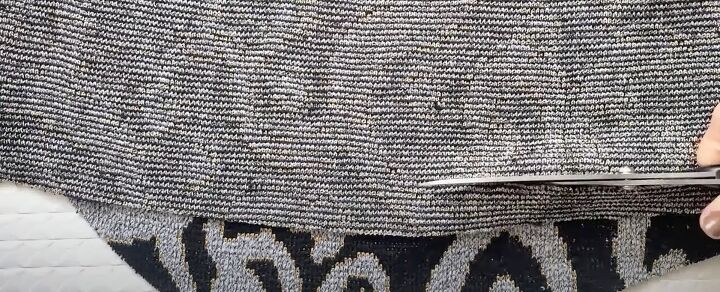
3. Skirt hem
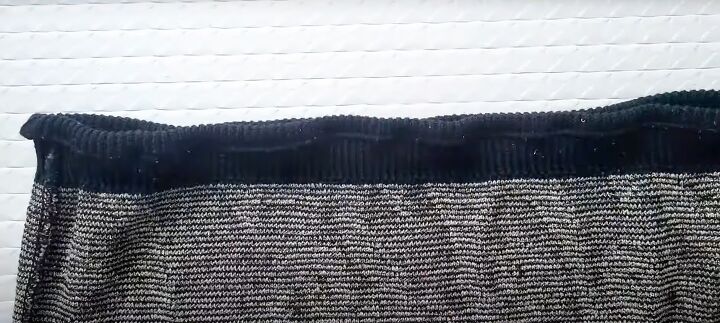
Turn the rest of the sweater upside down, so the ribbed edge becomes the waistband.
You can leave the shape of the lower edge as it is to make a high-low skirt, or cut it across in a straight line, as I did.
Finish the edge with a lettuce hem.
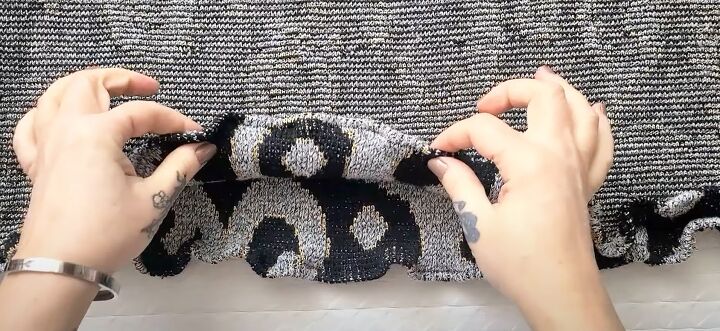
4. Waistband
Try the skirt on to see if you need to make the waistband smaller.
If you need to, choose one of these options.
Either a) take in the side seams and taper them into the body of the skirt at about hip level.
Or b) turn about an inch of the ribbing to the wrong side and sew it down to create a casing, leaving a small gap.
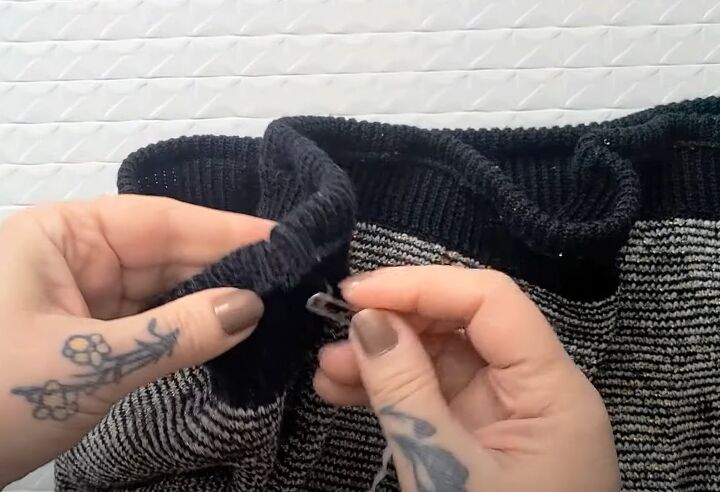
Use a safety pin to thread the elastic through, join the ends and hand sew the gap closed.
I chose the elastic option, because my sweater was quite thick.

DIY shrug and skirt set
I don't know why I've never made a shrug DIY before - it's so easy to do and looks so cool.

Thrift flipping is my specialty - taking a thrifted or found unwanted garment and turning, or flipping, it into something wearable and stylish.

I'd love to know if you're going to make this DIY shrug and skirt outfit, and if so what you'll be making it from. Knitwear, jersey or something non-fray like a hoodie? Please let me know in the comments below.
For more thrift flip ideas, check out my No-sew Granny Square Poncho Tutorial.
The author may collect a small share of sales from the links on this page.


Comments
Join the conversation