Awesome Upcycle Idea: How to Make a Suspender Skirt From an Old Shirt

In this tutorial, I will show you how to make a skirt from a shirt.

We will take a men’s shirt and turn it into a suspender skirt. Be sure to go for a large men’s shirt, so you have a lot of material to work with.
Tools and materials:
- Men’s shirt
- Seam ripper
- Tailor’s chalk
- Tape measure
- Scissors
- Ruler
- Sewing machine
- Pins
- Iron
- Safety pin
- Button
- Needle and thread
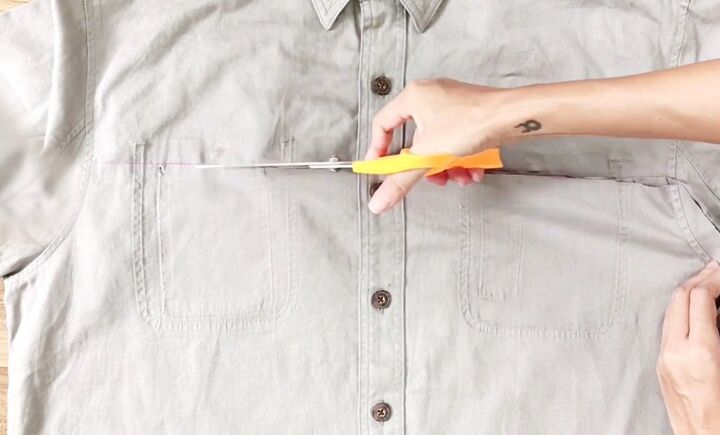
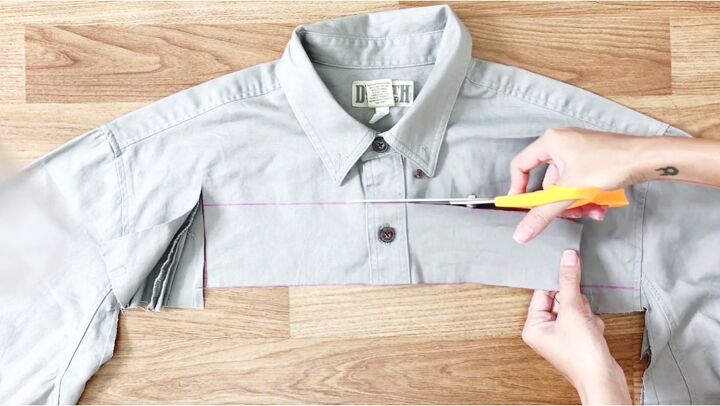
1. Cut the top of the shirt
Use a seam ripper to remove the two front pockets. Then draw a straight line across the top of the pockets and cut along this line.
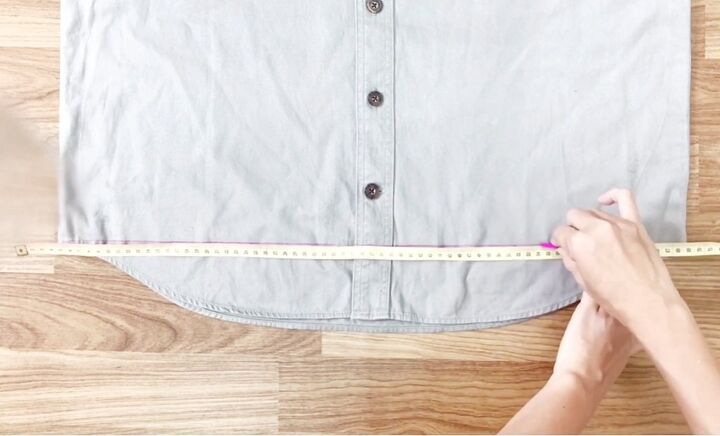
2. Cut the bottom of the shirt
Draw a straight line along the bottom of the shirt and then cut along this line.
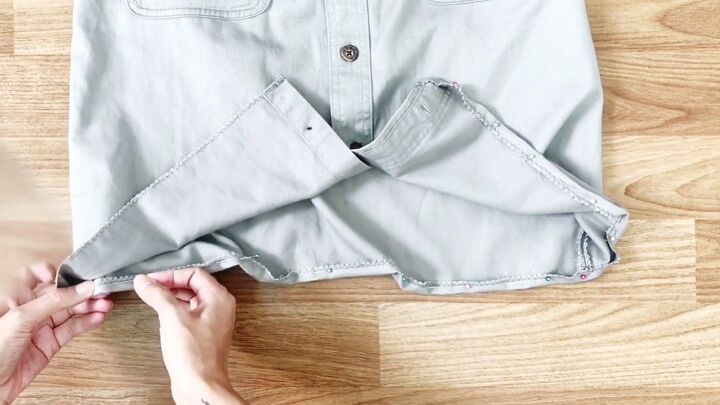
3. Cut the sides
Draw a diagonal line from the top to the bottom of the shirt to give your skirt an A-line shape. Then cut along this line.
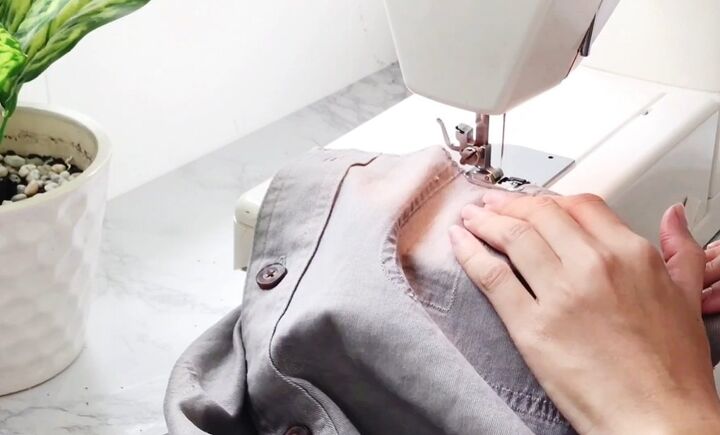
4. Sew the edges
Sew along each edge with an overcast stitch to make sure they don't fray.
You want two separate parts - the front and back of the shirt. You’re not sewing them together yet.
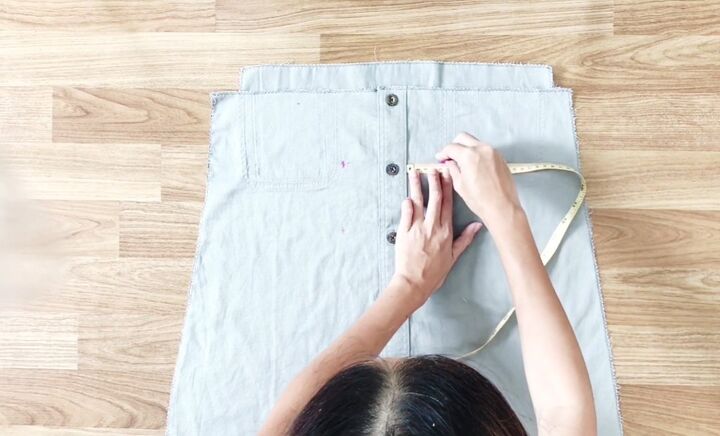
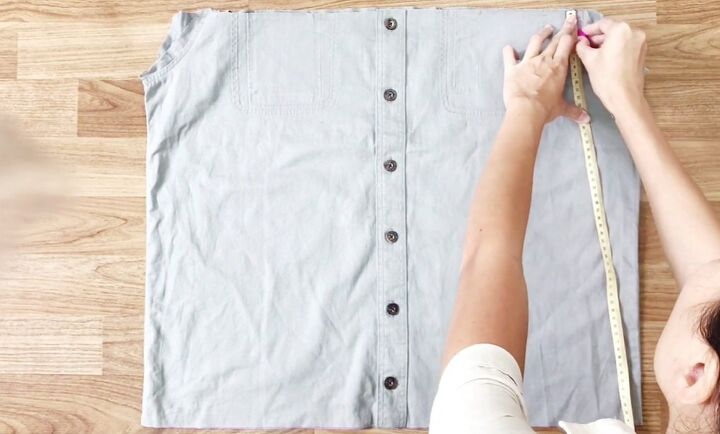
5. Mark the pockets
Mark where you want the front pockets of the skirt to be.
Measure 12cm (4.7 inches) down from the top of the skirt and 5cm (2 inches) away from the button, then mark this point.
Do this on the other side of the skirt as well.
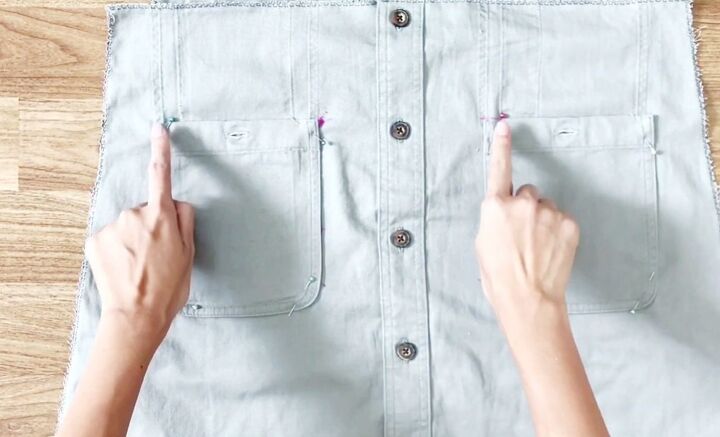
6. Sew the pockets
Take the pockets that you took off the shirt at the beginning and pin them into place.
Proceed to sew the pockets onto the skirt. Sew along the sew lines that are already on the pockets from before.
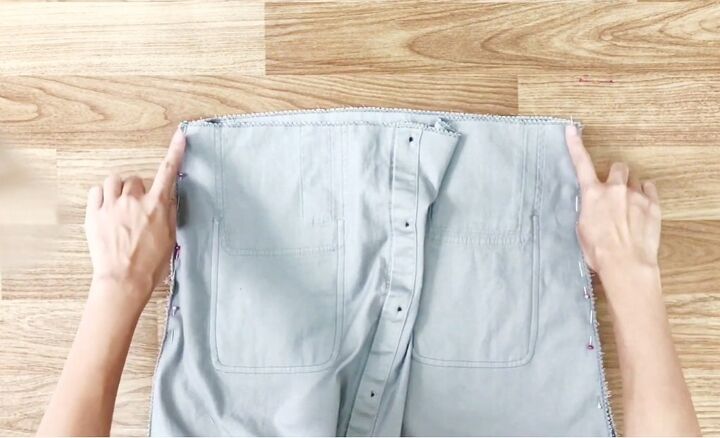
7. Attach the skirt
Pin the front and back of the skirt together along the sides and then sew them.
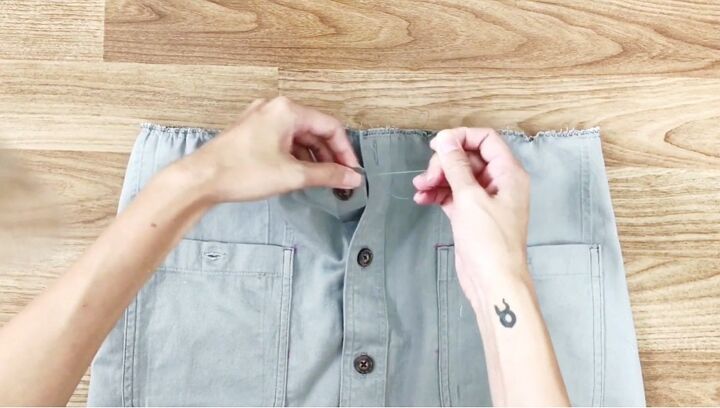
8. Adjust the waistline
Sew a basting stitch at the top of the skirt and then pull along the thread so that the top of the skirt fits your waist.
9. Cut the waist belt
Now create the waist belt of the skirt. From the center of the shirt, measure 19cm (7.5 inches) on both sides.
Then, from either end, measure up by 8cm (3 inches). Connect the rectangle and cut it out.
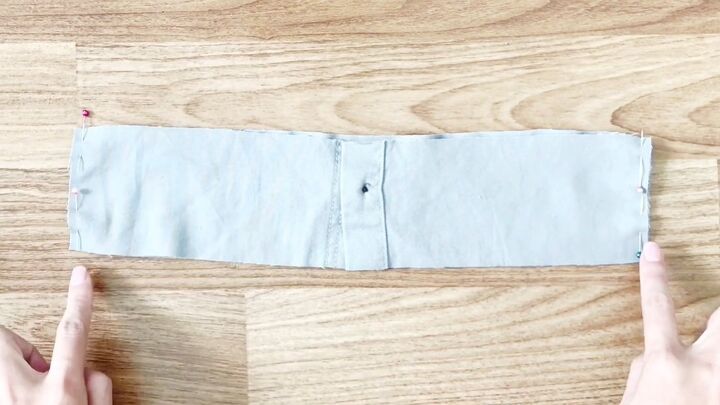
10. Sew the pieces together
Pin and sew together the small sides of the belt pieces. Overcast the long sides to protect the fabric.
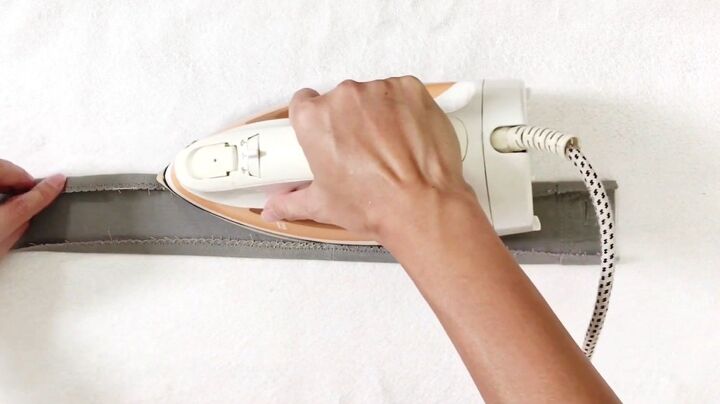
11. Iron the belt
Use an iron to fold over the long sides of the waist belt by about 1cm (0.4 inches). Then fold the belt in half and iron it down.
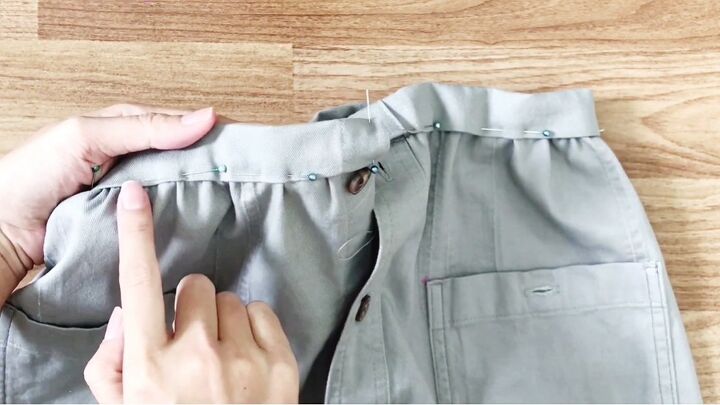
12. Attach the waist belt to the skirt
Pin the waist belt to either side of the top of the skirt so that it covers it, then sew it down.
13. Sew the bottom hem
Fold the fabric at the bottom of the skirt inside by about 1cm (0.4 inches), pin and sew it down.
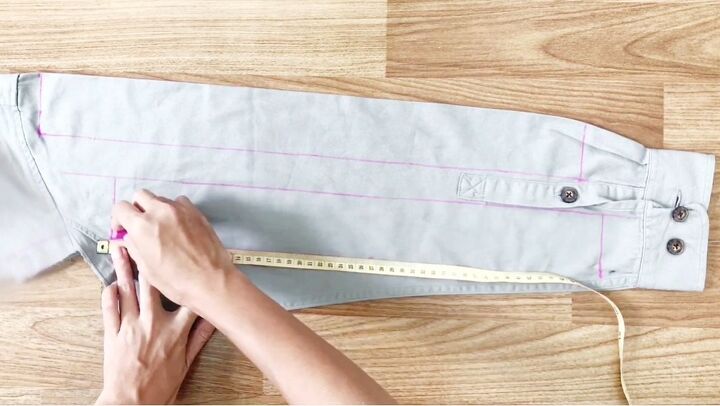
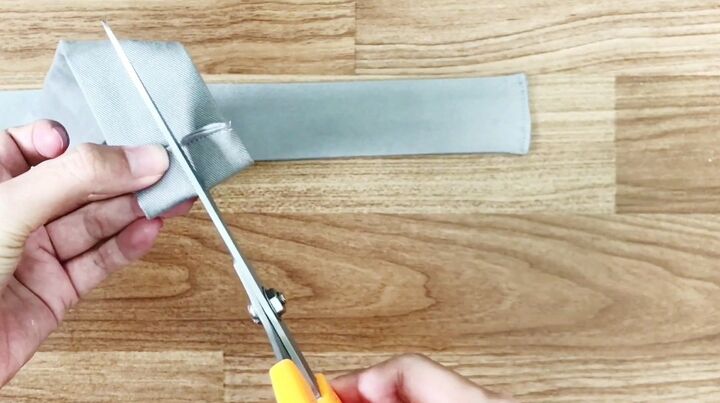
14. Cut out the suspenders
Use the fabric from the sleeves to create the suspenders.
Draw a rectangle that measures 6x30cm (2.4x11.8 inches) and cut it out.
Cut out four rectangles in total as you need two rectangles to create one suspender belt.
Two of the rectangles can be a little bit shorter as you might not have the space to make them as long as the other two.
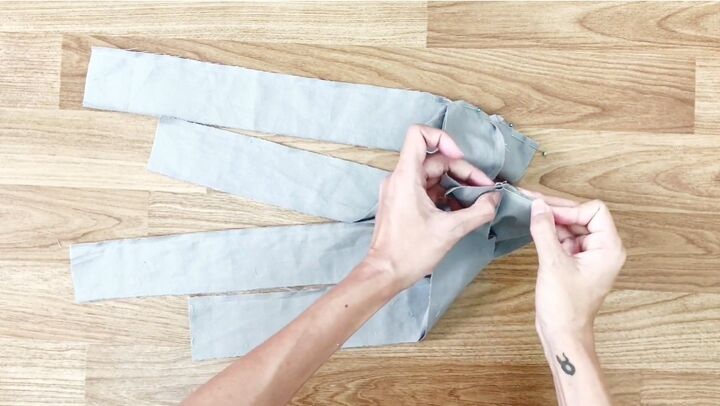
15. Sew the suspenders
Sew the long sides of the rectangles together first, then sew two rectangles together to create one suspender belt.
When done, sew together the long sides with the right sides touching.
Use a safety pin to turn the belts right side out and then iron them down to make them flat.
16. Sew the ends
At either end of the suspenders, fold the fabric inside and sew it to close the ends.
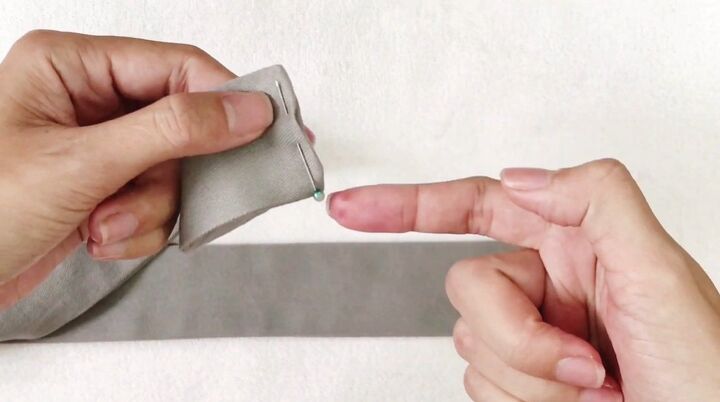
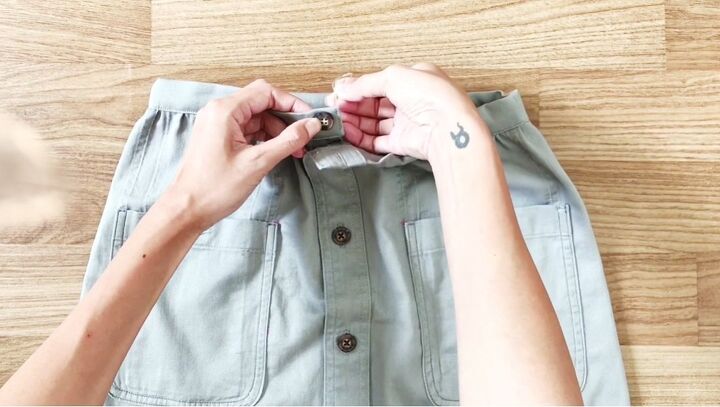
17. Make a buttonhole
Next, make a buttonhole at either end of the suspenders.
Fold the bottom of the suspenders up and cut a small hole that is big enough for your button, and then hand sew the hole.
18. Sew buttons
Sew buttons to the skirt - one at the end of the waist belt and others opposite the button holes on the skirt.
Mark 12cm (4.8 inches) on either side from the center of the waistband. Then sew buttons at each of these markings inside the waistband.
Sew two buttons in the same place on the back of the skirt as well. Button up the suspenders to the skirt, and you’re finished!

How to make a skirt from a shirt
Here is the finished DIY skirt with detachable suspenders!
It fits my waist perfectly, and the buttons, pockets, and suspenders all come together to create a gorgeous piece.
You would never have guessed that it started off as a men’s shirt.
If you enjoyed this tutorial, leave a comment and check out my post on How to Make a Gorgeous DIY Wrap Dress Out of 2 T-Shirts.
The author may collect a small share of sales from the links on this page.


Comments
Join the conversation
Really cute