How to Make a Skirt Out of a Shirt in 7 Simple Steps

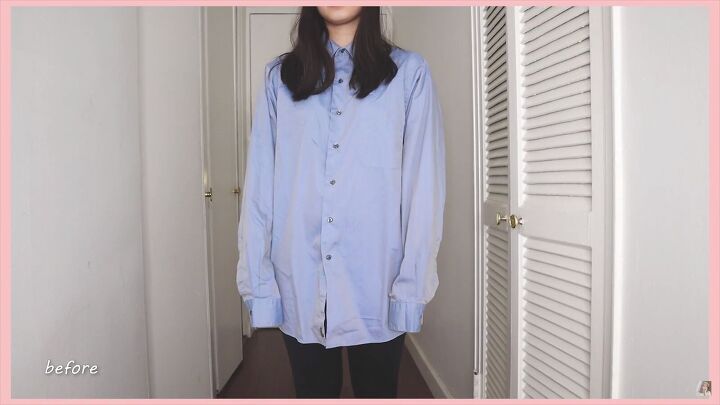
For today’s transformation, I’m going to show you how to make a skirt out of a shirt. I decided to take my grandfather’s shirt and give it a neat upcycle.
Watch how I make this pretty awesome DIY skirt with pockets. I know you’ll love the results! Let’s start.
Tools and materials:
- Oversized button-up shirt
- Sewing machine
- Scissors
- Matching thread
- Pins
- Seam ripper
- Chalk
- Rotary cutter
- Ruler
- Iron
- Elastic
- Marker
- Measuring tape
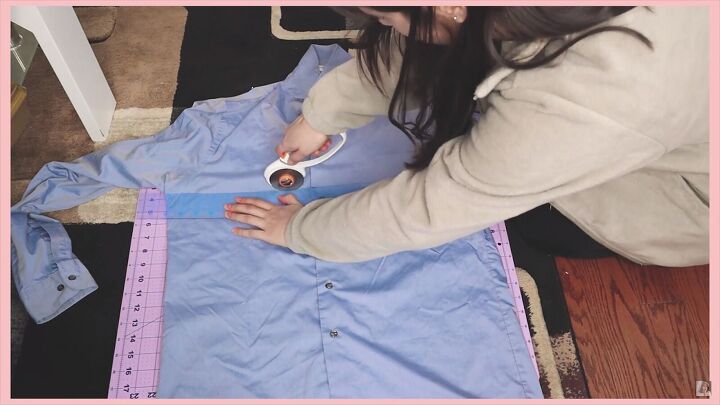
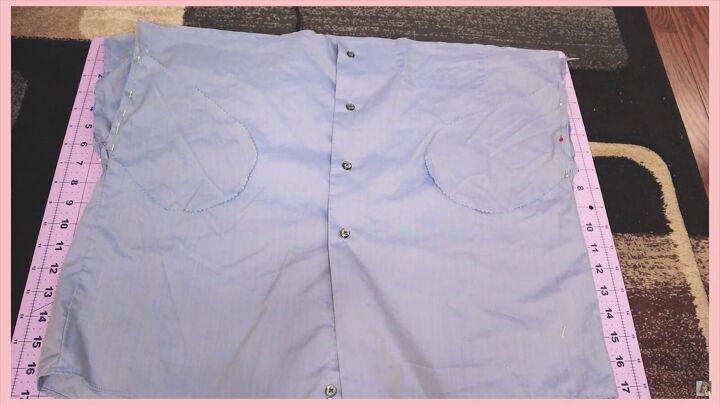
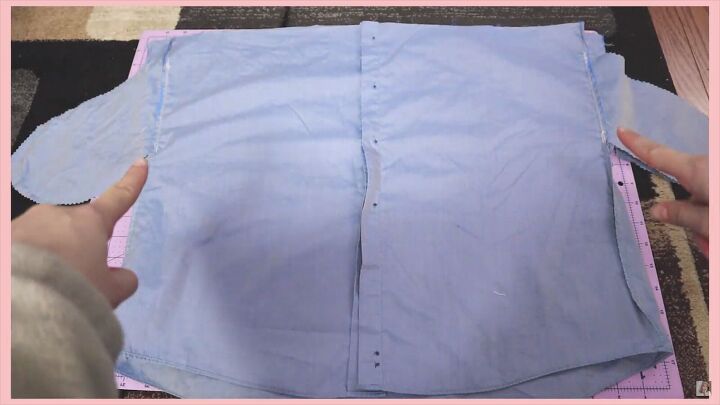
1. Cut the shirt
Lay your shirt under a flat surface and cut straight underneath the sleeves. To make sure it’s straight, use a ruler and chalk.
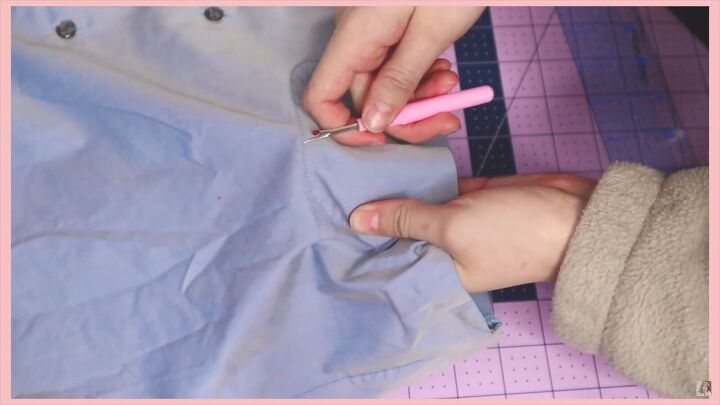
Remove the pocket by seam ripping every 3-5 stitches.
It should come out easily if you pull on it.
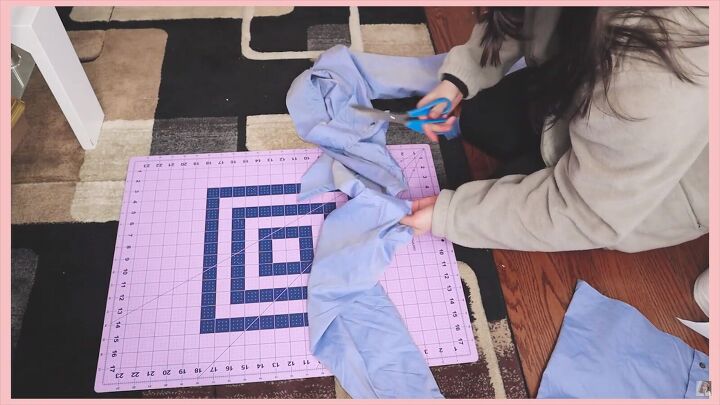
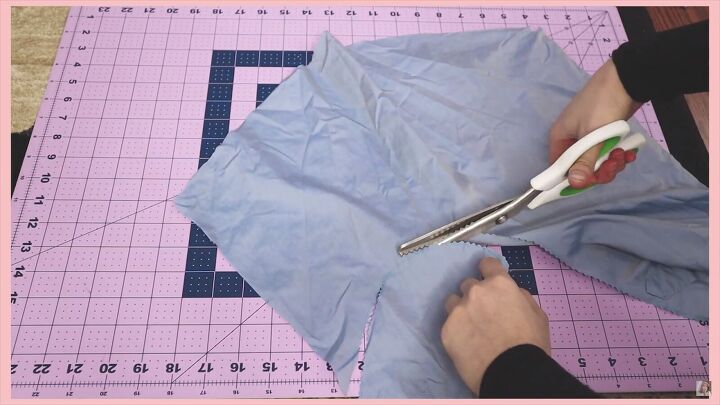
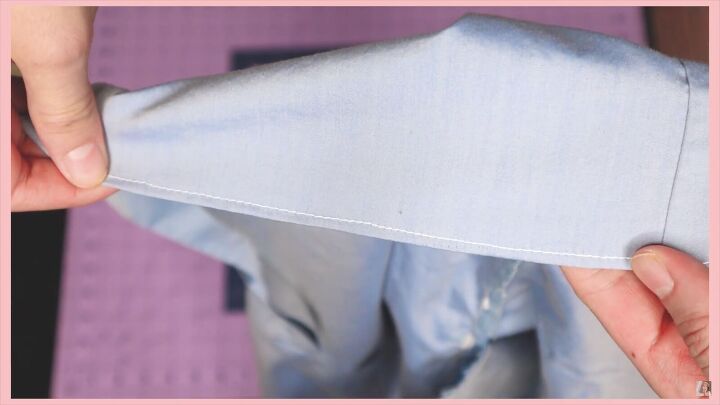
Now, cut off the sleeves. These will be used for the pockets and waistband. Also, if you want your skirt to be wider, you can use the extra fabric from the sleeves.
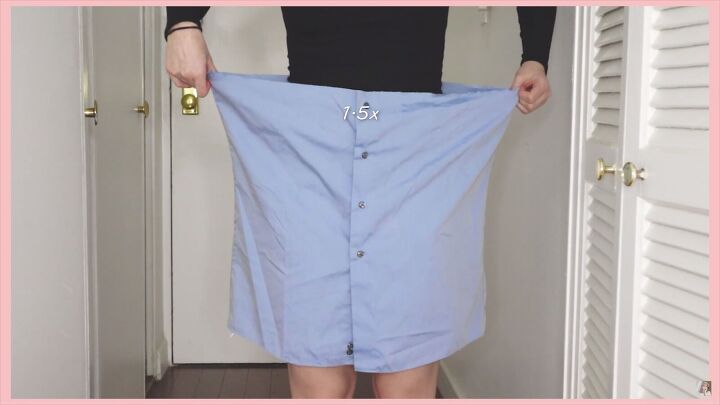
The circumference should be at least 1.5x your waist measurement.
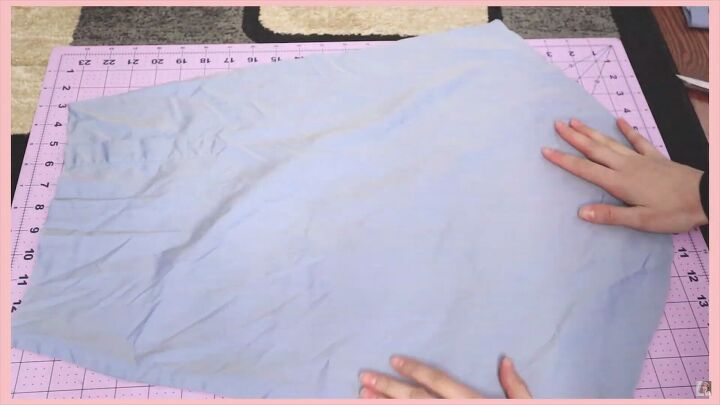
Cut the sleeve open to be able to lay it down flat.
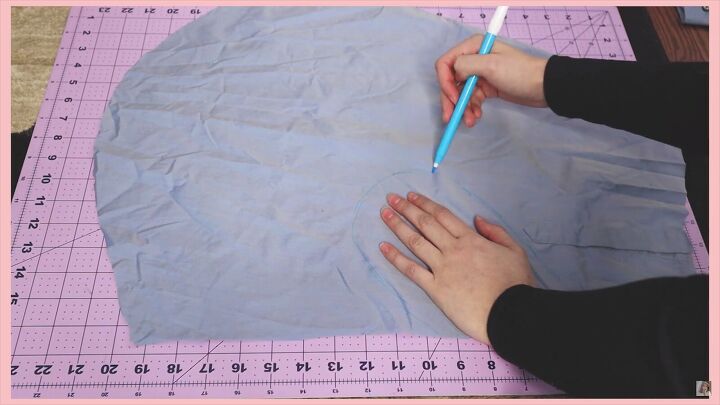
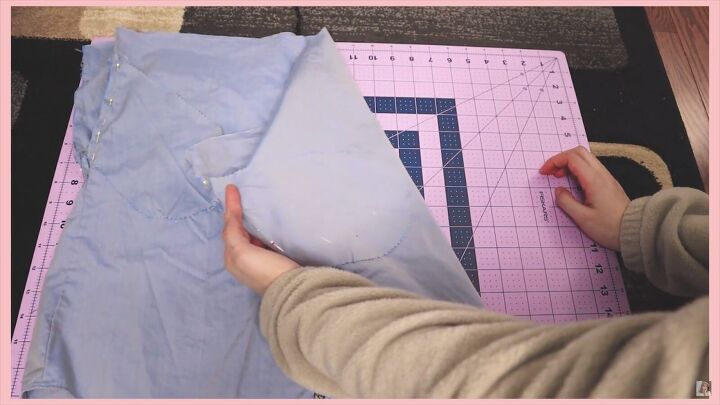
2. Make the pockets
To make the pockets, place your hand down diagonally and trace it around, adding an extra inch all around.
Now, cut around.
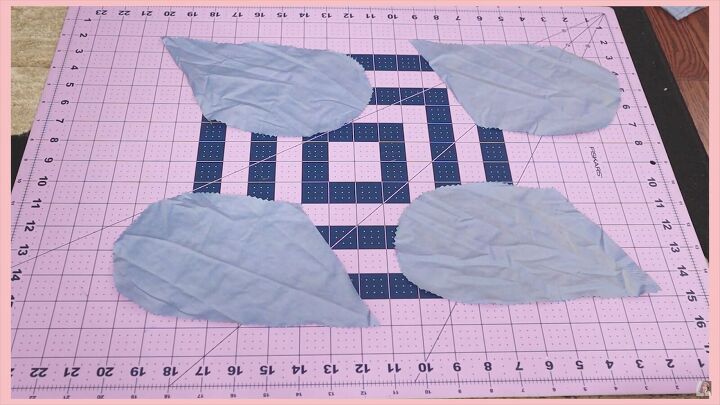
Repeat this step three more times to have four pocket pieces.
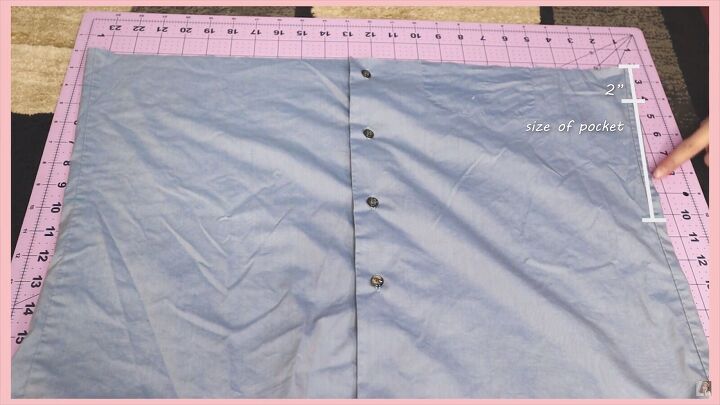
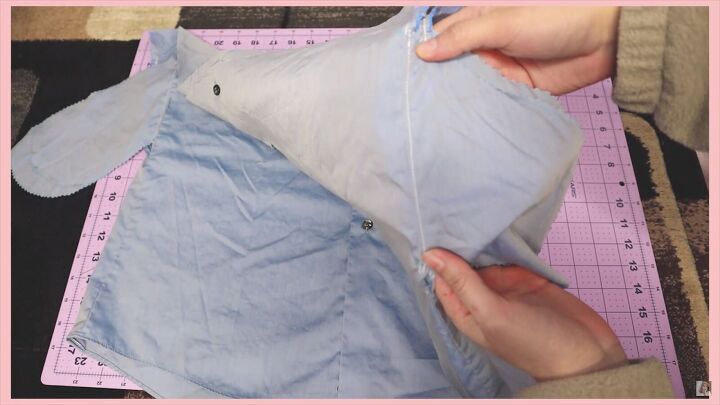
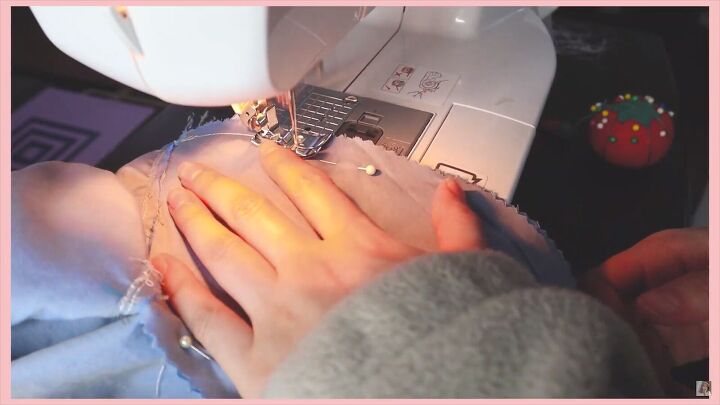
3. Assemble the pockets
Now, I’m going to show you how to sew pockets into a skirt. Mark two inches below the top and mark the size of the pocket.
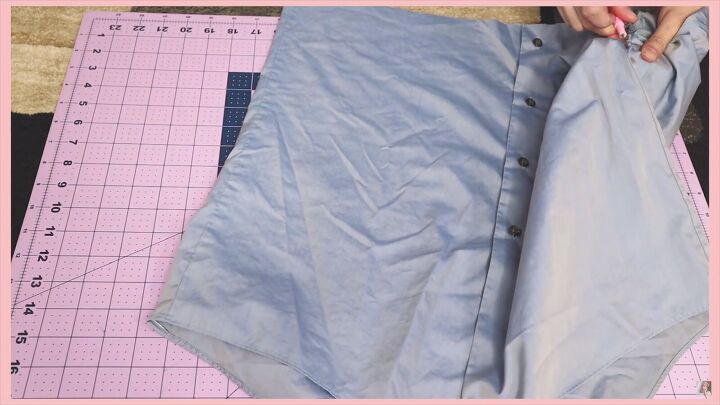
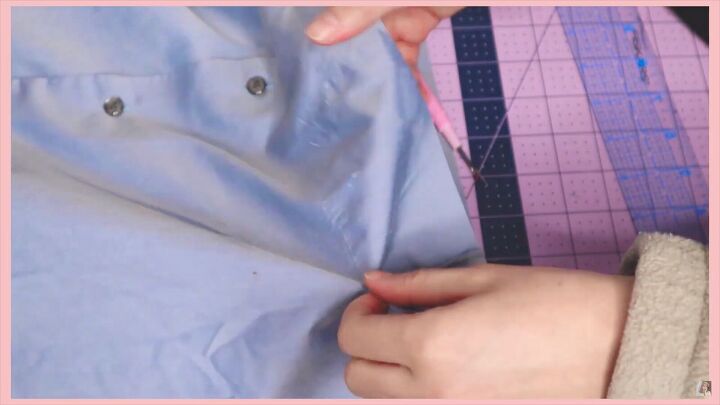
Seam rip the side seam until you get to about one inch below the pocket marking.
Pin the pockets with each pointing to the inside.
Do the same for the back.
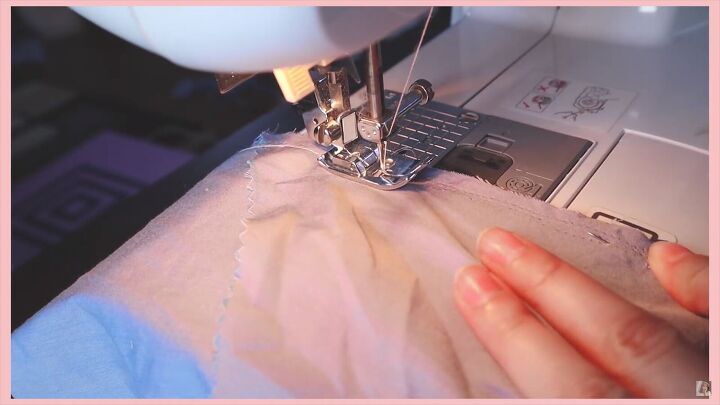
Now, sew the pocket down, layer by layer.
Next, flip the pockets and topstitch them down. Sew as close as possible to the seam to make them lay flat.
Turn the entire skirt inside out and sew the sides down.
Pivot as needed, especially when you get to the start of the pocket’s edge.
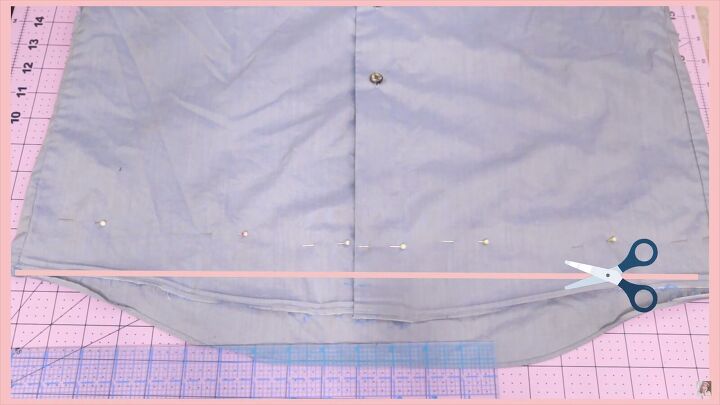
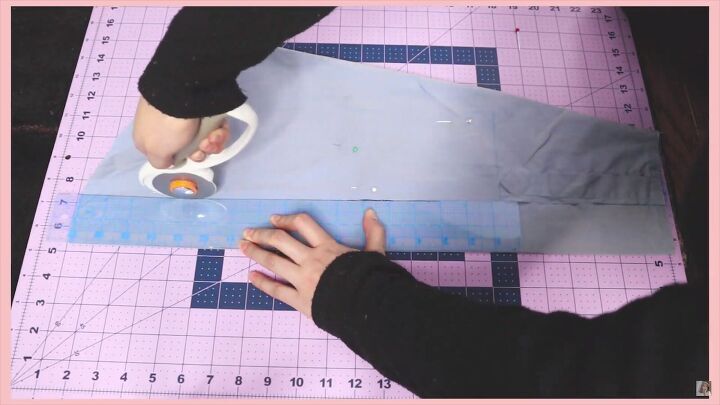
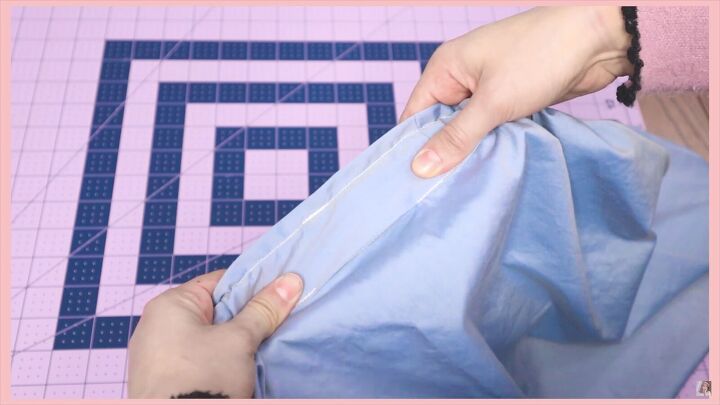
4. Cut and hem the bottom
Cut the bottom of the skirt to the same length.
Fold the raw edges in twice, and pin all around.
Then, sew with a straight stitch.
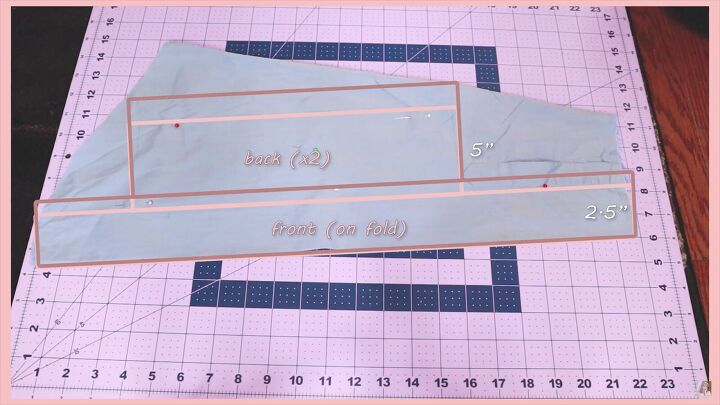
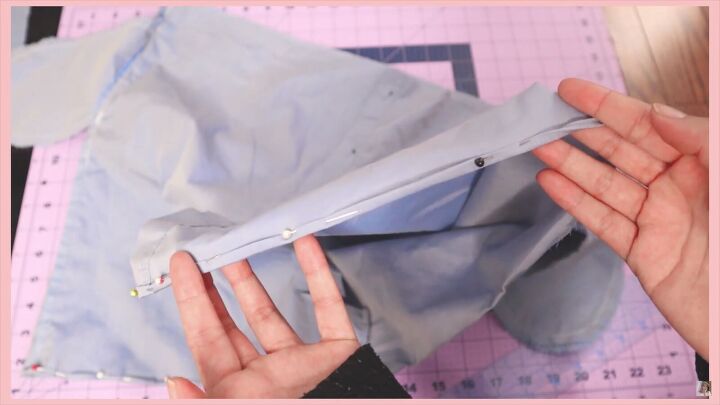
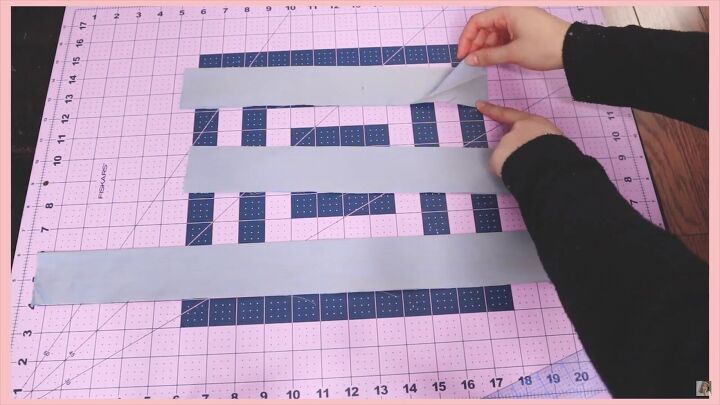
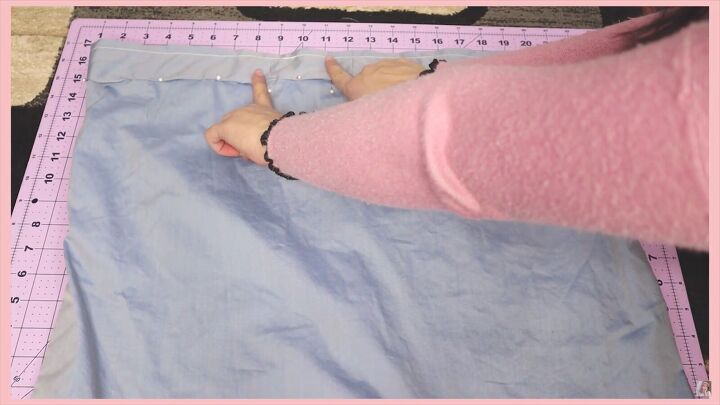
5. Make the waistband
For the waistband, use the other sleeve to make a 2-inch-wide rectangle that’s the same width as the skirt and 5 inches long for the back piece.
I originally had it as 4 inches long, but it would be better to have 1-inch ruffles instead of ½ inch. So, I’d stick to 5 inches in this case.
Cut out all the rectangles, and don’t forget to include seam allowance.
Fold all the pieces in half and go over them with an iron.
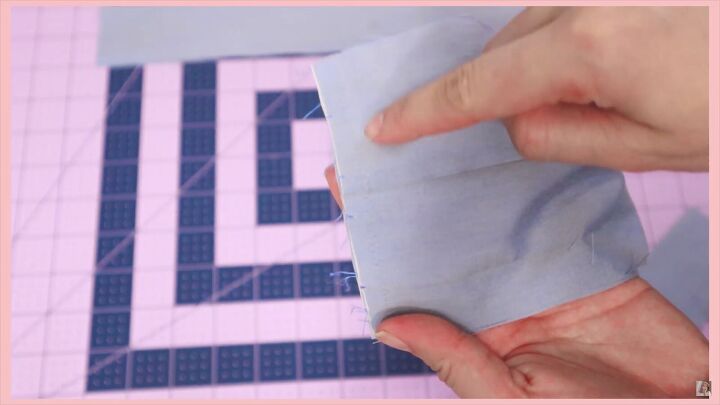
Open them up and place the right sides together, then sew the short end.
Do this for all the pieces; it should give one long fabric loop.
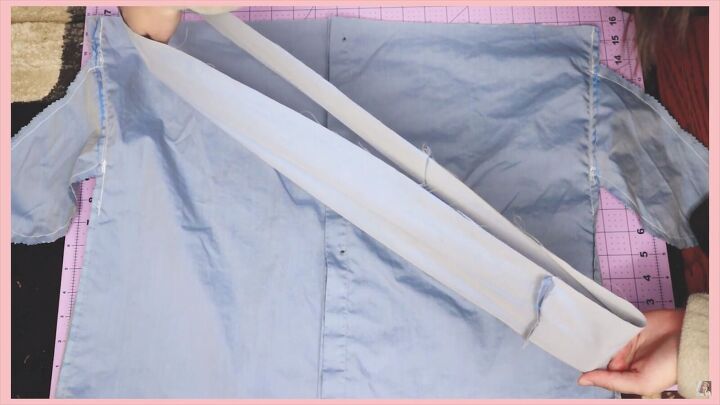
6. Attach the waistband
With the skirt and waistband inside out, place them right sides together and pin the raw edges.
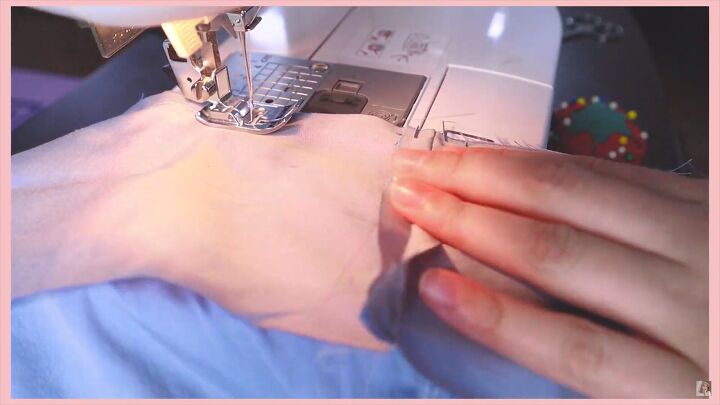
Sew it in about ½ inch.
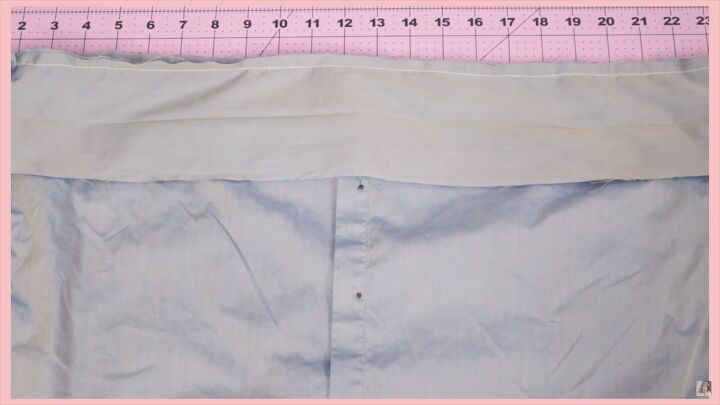
You should have something like this.
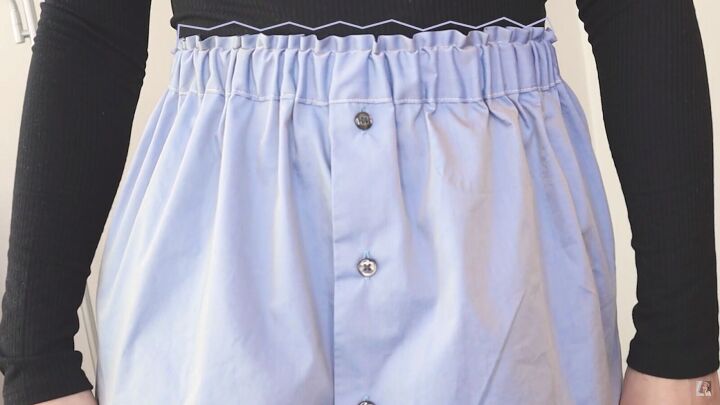
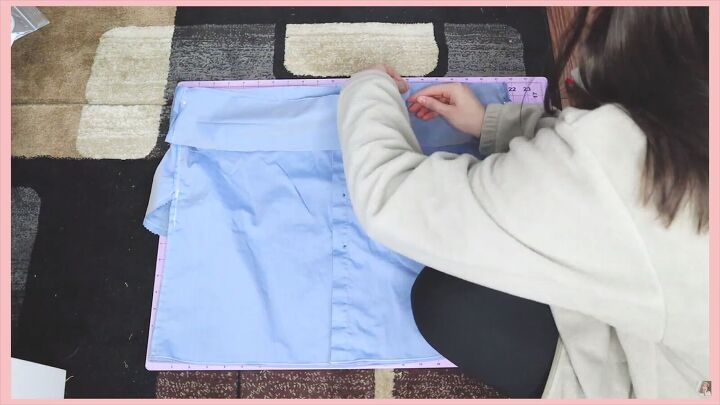
Fold the waistband up and flip the skirt to the right side. Then, fold the waistband in half.
Sew the top part by about ½ an inch. However, if you made the waistband 5 inches tall, sew it in by an inch so the ruffles will be more visible.

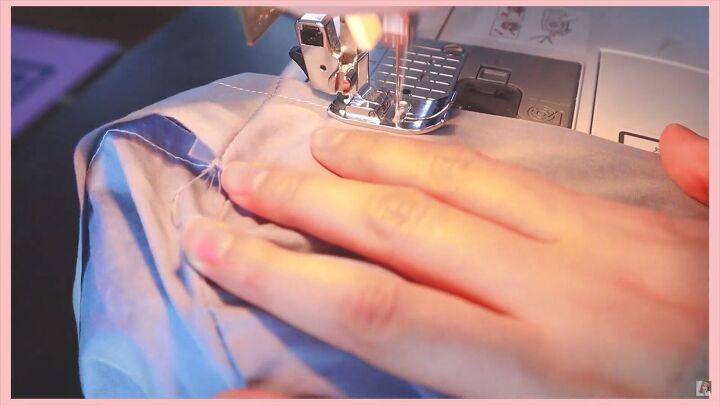
Tuck the raw edges in and fold it down enough to hide the stitches on the other side.
Do this all around the skirt but leave an opening at the back for the elastic.
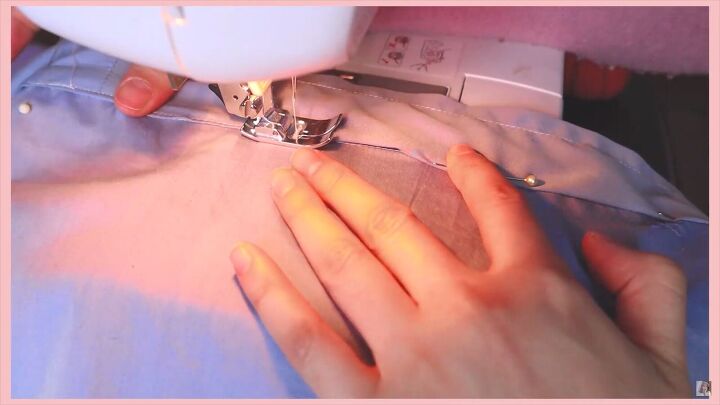
Topstitch the waistband, and don’t forget to stop when you get to the opening.
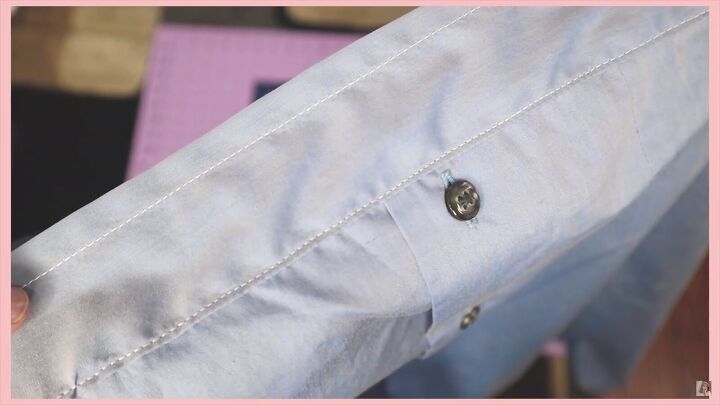
Here’s the completed waistband.
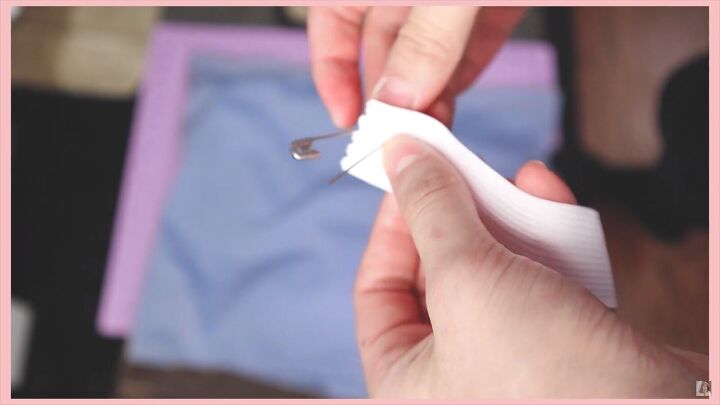
7. Insert the elastic
The last thing to do is insert the elastic. Take a safety pin and attach it to one end.
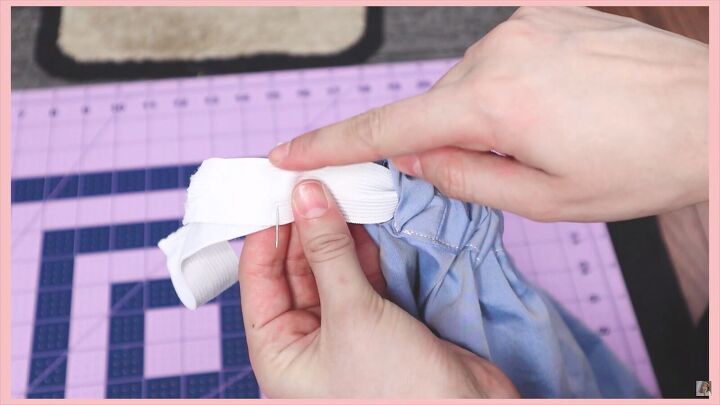
Thread it into the loop until it reaches the other side. Try it on and adjust the elastic to fit you. Then, pin the ends and sew to secure.
Cut the extra elastic off and sew the opening closed with a topstitch.
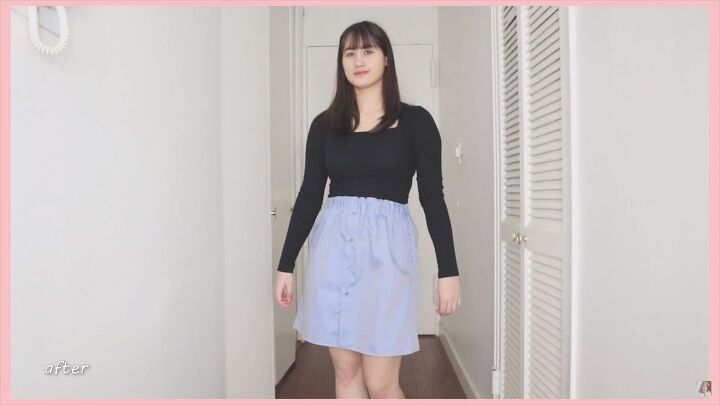
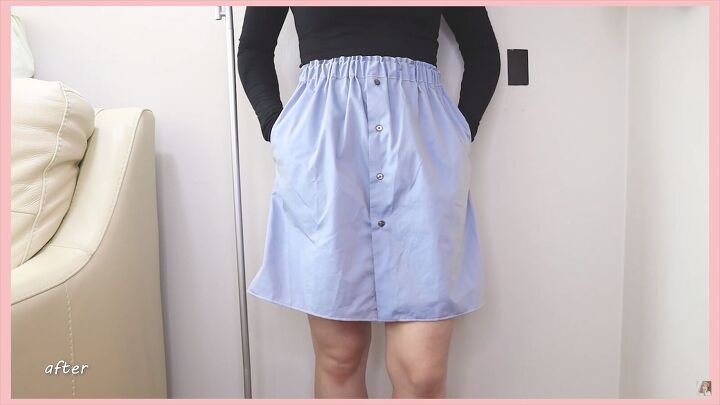
How to make a skirt out of a shirt
We’re done! Here’s the final transformation. This brings us to the end of my tutorial on how to make a skirt out of a shirt. I hope you enjoyed this, and you’ll make this for your next DIY.
Let me know what you think of my lovely DIY skirt with pockets in the comments below. Good luck!
The author may collect a small share of sales from the links on this page.


Comments
Join the conversation
Turned out so well. Love the creativity behind the project!
Such a great idea. Appreciate your clear instructions and pictures. Can’t wait to try this!