Refashion a Bedsheet Into a 3 Layer Ruffle Skirt

I picked up an absolutely gorgeous vintage bedsheet at goodwill. In this sewing upcycle, I took the bedsheet and totally transformed it into the most amazing 3 layer ruffle skirt. This is an awesome sewing project and will definitely make you rethink getting rid of old bedsheets.
Tools and materials:
- Measuring tape
- Ruler
- Pencil
- Scissors
- Pins
- Sewing machine
- Zipper
- Bedsheet

Before you can begin this project, you are going to need this pattern. To learn how to make the pattern go here.
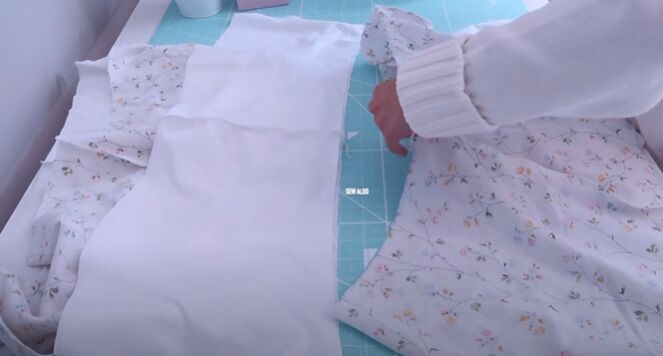
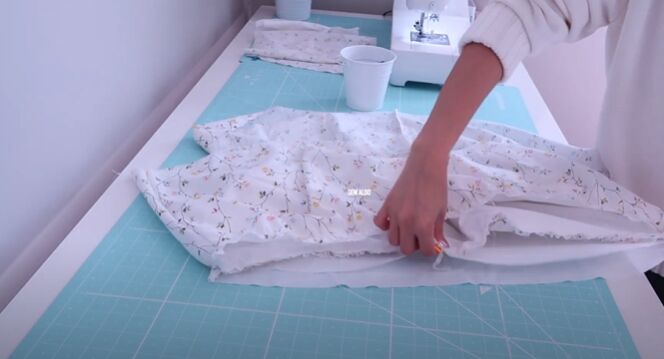
Cut the fabric
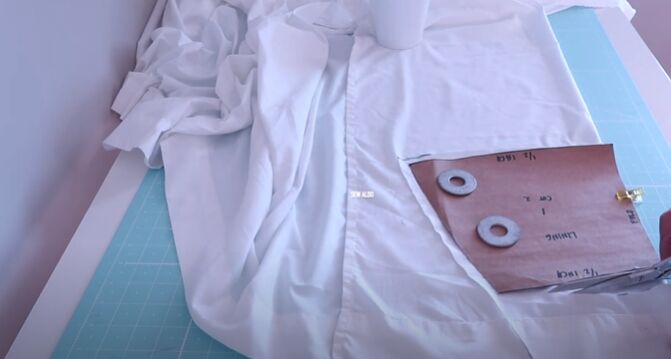
Once you have a well-drafted pattern, you can go ahead and cut the pieces from your fabric or in my case from a bedsheet. For this project, I decided to use lining fabric as well which I cut out first. The front of the skirt should be cut on the fold and the back pieces should be cut out as two separate pieces so that you can add a zipper later. You should end up with 9 pieces, 3 pieces per tier for the skirt.
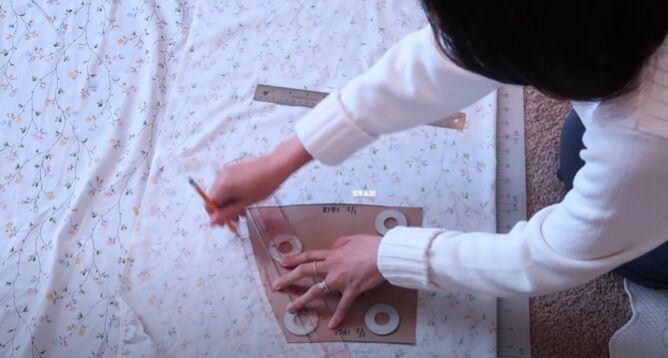
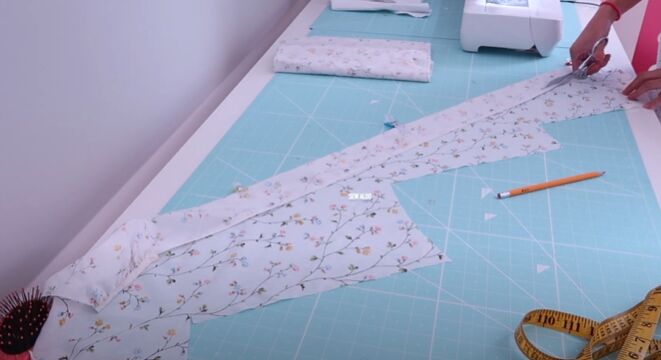
For the outer fabric, place the pattern 4 inches away from the fold so that the skirt can have some gathering. I decided to add 3 inches to the length of the skirt because I wanted overlap to cover up the lining.
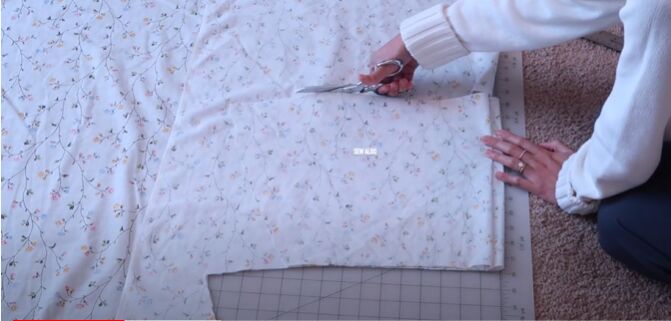
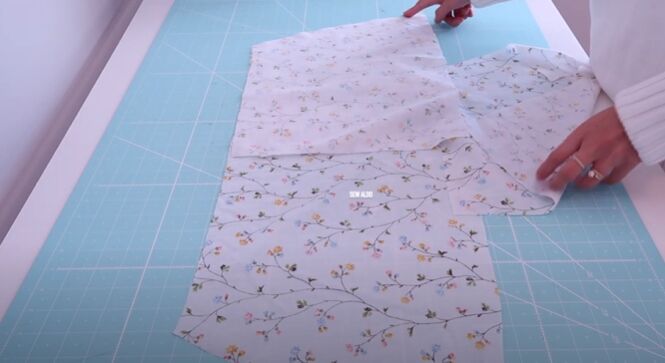
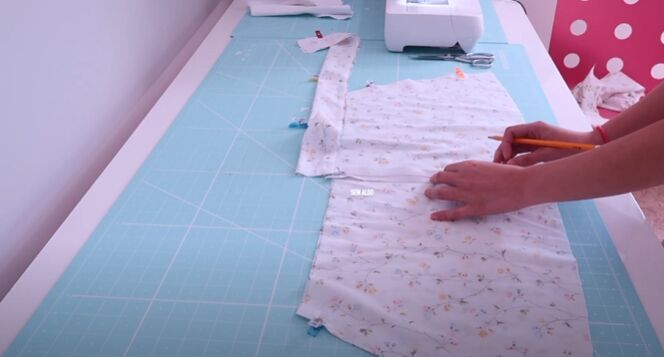
Use the front piece as a template for the back piece, Place it about an inch from the fold so that there will be enough seam allowance to add in the zipper. Repeat the same process for the second and third tier, When cutting, make sure to pay attention to the fabric. If it has a pattern, check that all your pieces are facing the same direction.
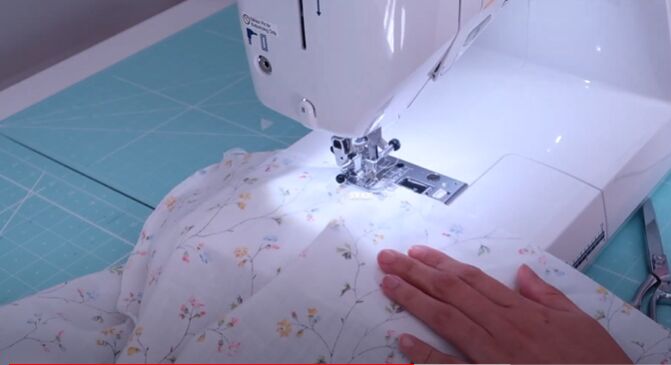
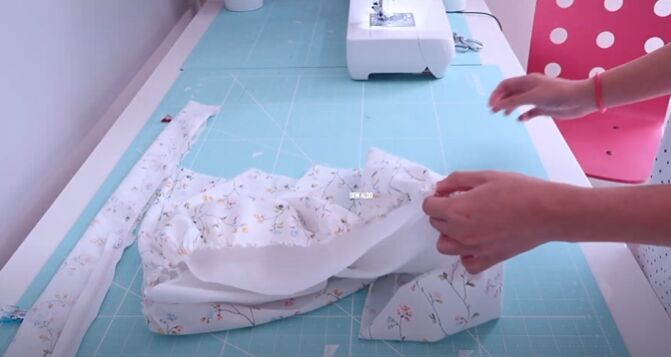
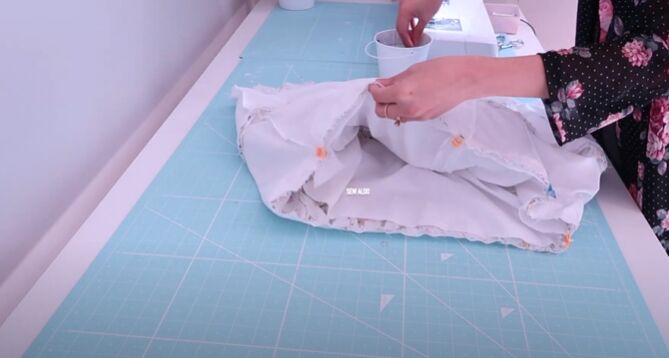
Assemble the skirt
Now for the fun part of this DIY, assembling the skirt. Place the front and back sides together, making sure that the side seams are lined up. You can then go ahead and sew the pieces along the sides. Start with the first tier and then repeat the same steps for the second and third tier.
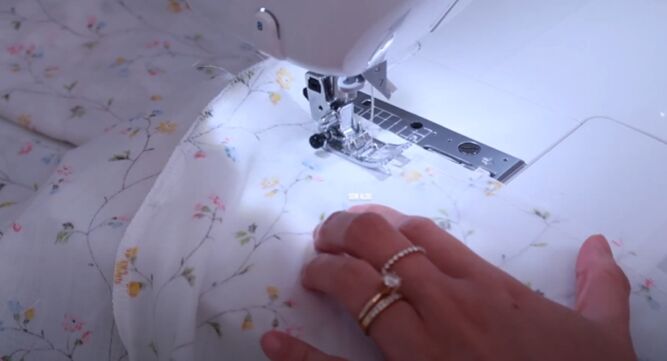
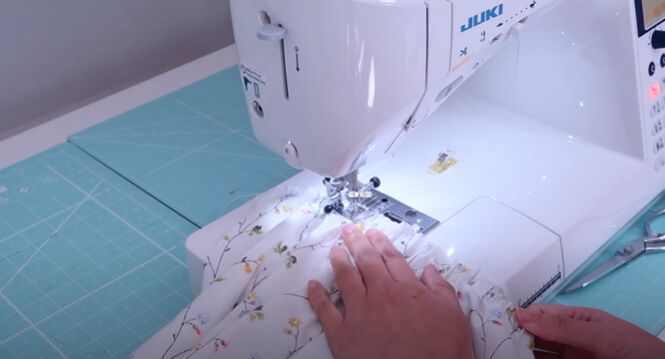
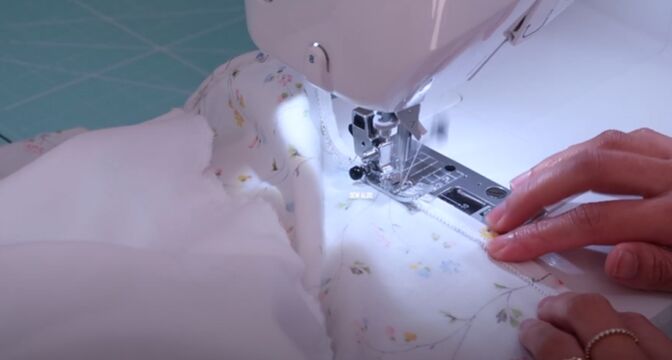
Sew a gathering
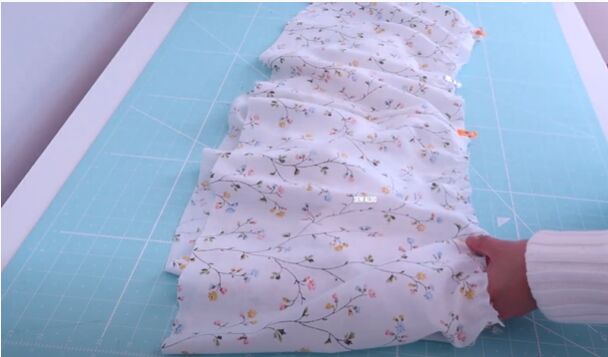
Next, sew a gathering stitch along the top of the second and third tiers. The first tier will be a little different because it will have a waistband and elastic. I always think that two rows of a gathering stitch make the fabric a lot easier to gather.
Then go ahead and gather the panels to match the width of the lining.
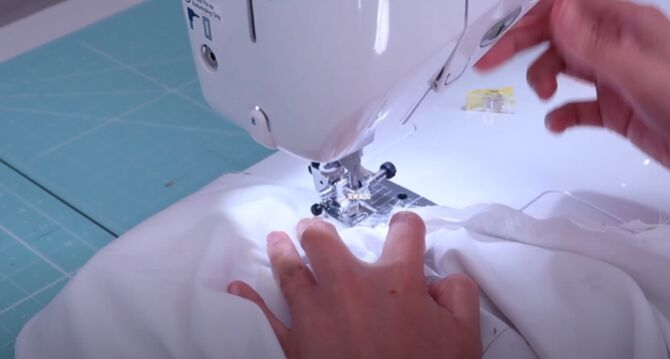
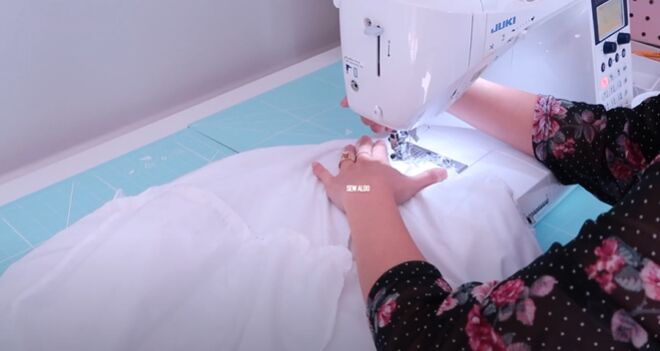
Sew the pieces together
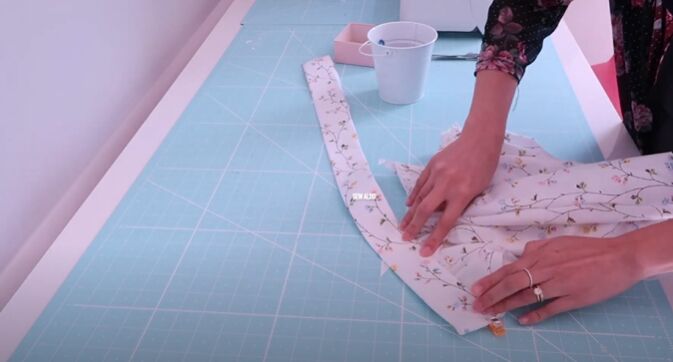
When the pieces are approximately the same width as the lining, you can pin the outer fabric over the lining. Pin on the right side of the lining fabric.
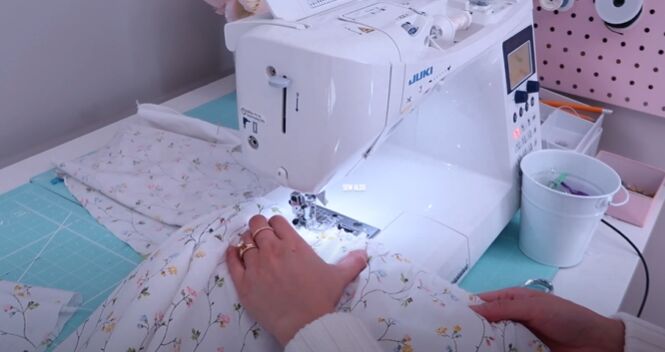
Then go ahead and sew it all around.
Now it’s time to attach the third tier to the lining of the second tier. Make sure that you are pinning on the right side of the lining. The pieces should be right sides facing. Then go ahead and sew all the way around.
Work on the top tier
With your bottom two tiers pretty much finished, it’s time to make a waistband. Cut a strip of fabric 2 inches on the fold. Mine was about 26 inches long.
Next, place your zipper on the back seam and mark where the zipper ends. This way, you will know where you need to sew the back seam. Repeat the same step on the lining.

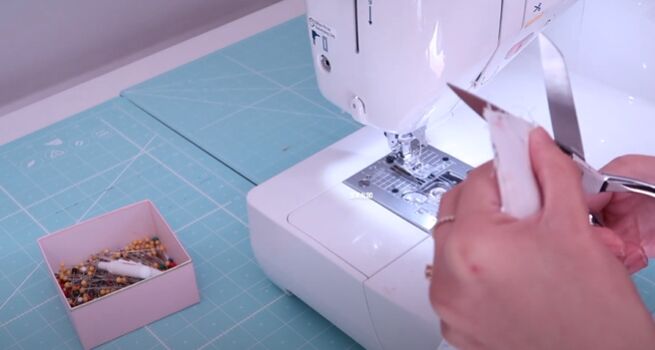
When sewing the back seam, make sure that you backstitch.
Next, sew two rows of gathering stitches just like you did for the second and third tiers.
Gather the fabric to match the width of the lining and then pin the two layers together on the right side of the lining. In this step, the right side of the main fabric should be facing outward.
Then sew all the way around.
While you are sewing, sew the lining and outer fabric together along the zipper seam. This makes it a whole lot easier to work with when attaching the zipper.
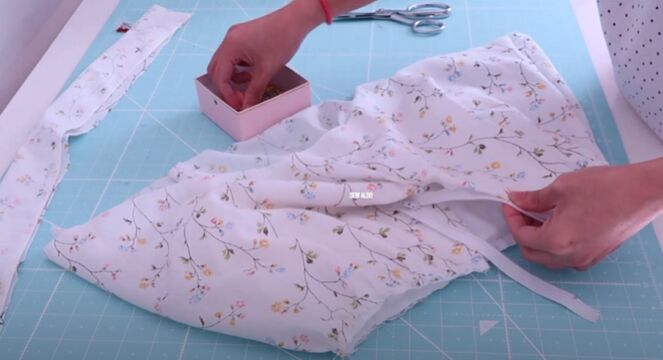
Attach the zipper
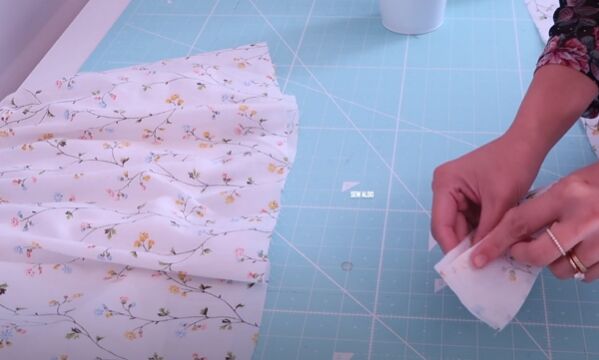
To attach the zipper, fold over one edge of the fabric and pin it on one side of the zipper. Then repeat the same for the other side. I recommend pressing the fabric before you sew on the zipper.
Attach the waistband
To attach the waistband, start off by pressing the fabric and then pressing some fusible fleece on the inside. Then, fold the fabric so that it is right sides facing together and sew along the edge.
Then trim the corners of the fabric ever so slightly and turn the waistband right side out.
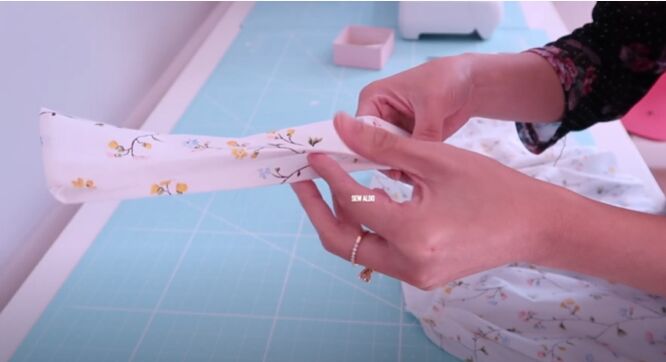
Next, fold the seam allowance inward by an inch and a half.
Open up the zipper, and place the waistband so that it is sandwiching the raw edges of the top tier. Then go ahead and sew on the waistband.
Finish off the skirt
Next, it’s time to attach the top tier of the skirt. Place the right side of the fabric on the right side of the lining of the second tier and pin in place matching the side and back seams.
Finally, you can go back to your sewing machine and sew all the way around.
All that’s left to do is hem the skirt. You can either double fold all the edges or serge them and fold once before stitching.

I absolutely love how this skirt turned out! Let me know if you have any other bedsheet upcycle ideas in the comments!
The author may collect a small share of sales from the links on this page.


Comments
Join the conversation
Nice summer skirt. I hate sewing zippers. Couldn’t you add just a bit more width and do an elastic waist? It might also be a bit more comfortable for us older gals. Like how you used a sheet too.