How to DIY a Fun and Unique Mini Skirt

The simple DIY block-pattern mini skirt that I’ll show you in this tutorial is really quite simple to make. But it looks like you paid a fortune for it!
Follow along and I’ll give you step-by-step instructions for making the mini skirt pattern and how to sew it.
Tools and materials:
- Pattern paper
- Ruler
- Marker
- Skirt fabric
- Block pattern fabric
- Scissors
- Sewing pins
- Thread
- Sewing machine
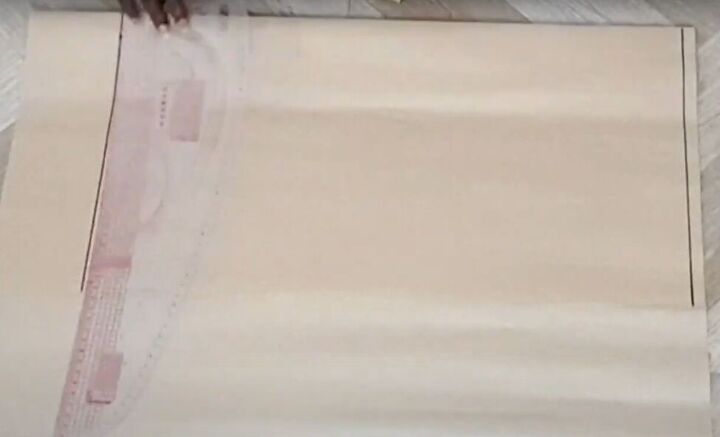
1. Draft mini skirt pattern
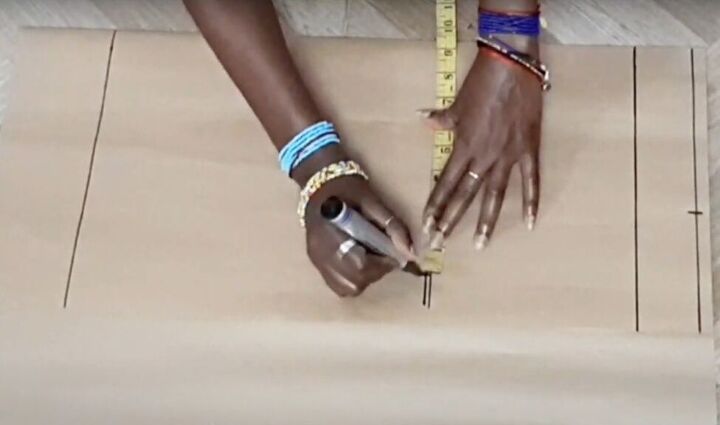
On tracing paper that is folded in half, mark two parallel lines, the distance apart that you want the length of your mini skirt to be, starting at the fold.
Make another parallel line indicating where the waistband of your skirt will be.
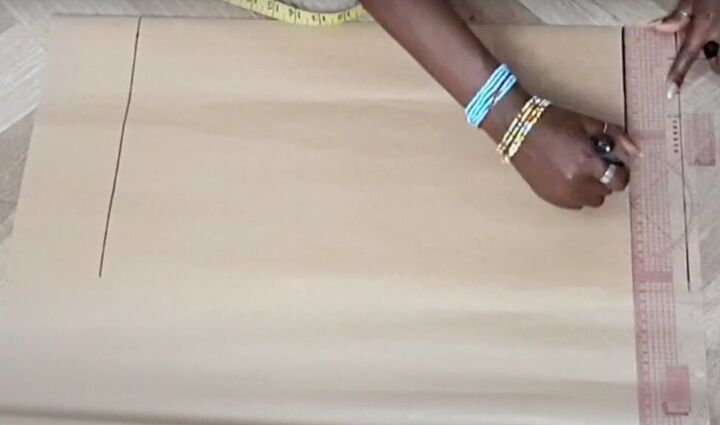
Take the measurement of your waist and divide it by four. Mark that measurement from the fold along the top waistband line.
Take the measurement from your waist to your hip, and place that mark on the pattern paper.
Create a line, parallel to the others, at the hip mark.
Then, measure the circumference of your hips, divide by four, and place that mark on your pattern paper.
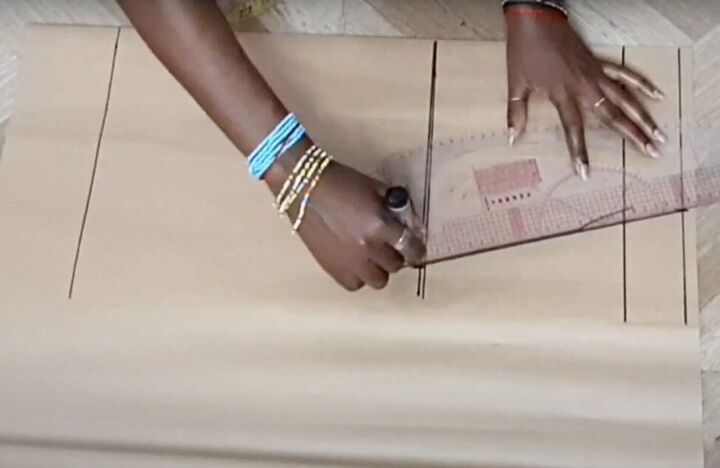
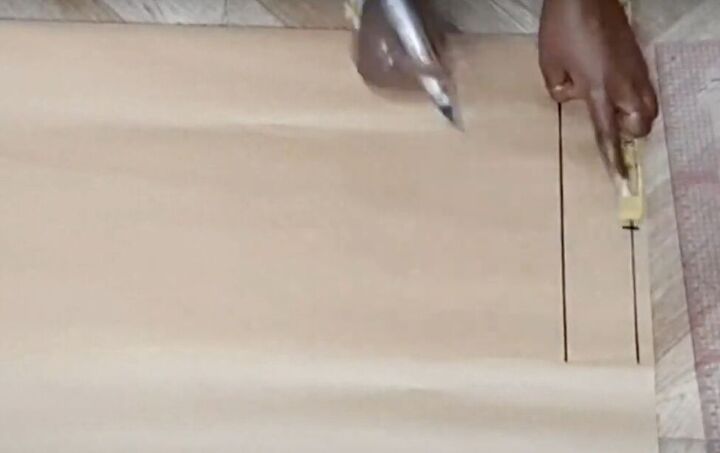
Draw a diagonal line from the waistline mark to the hip mark.
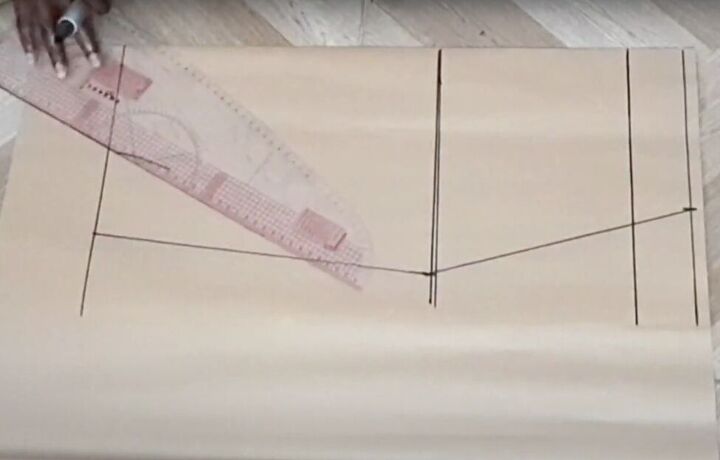
Then, taper the line back in a bit and extend it to the bottom of your skirt pattern.
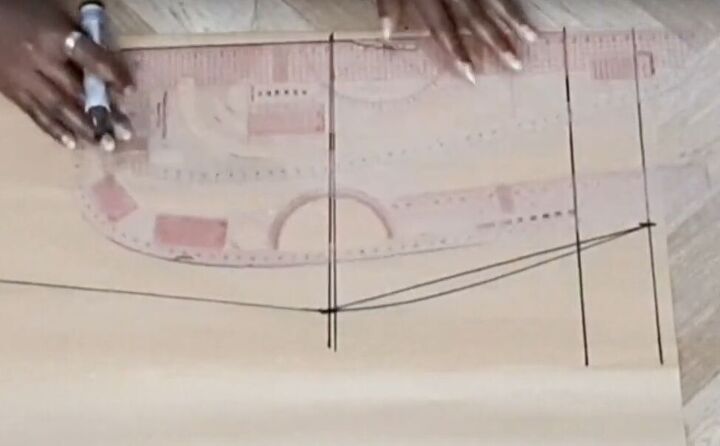
Go back and curve the waist-to-hep line a bit.

Mark out a half-inch seam allowance down the side of your skirt pattern.
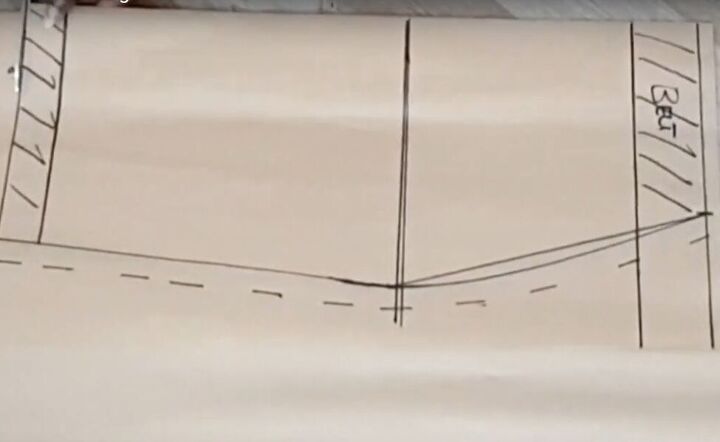
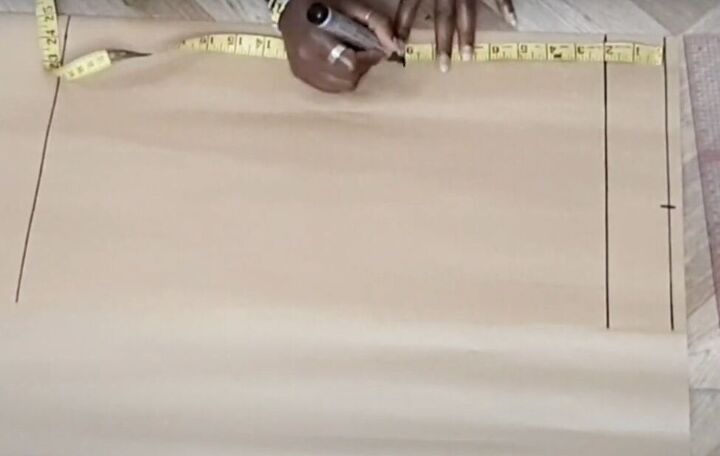
Also create a band at the bottom of your skirt.
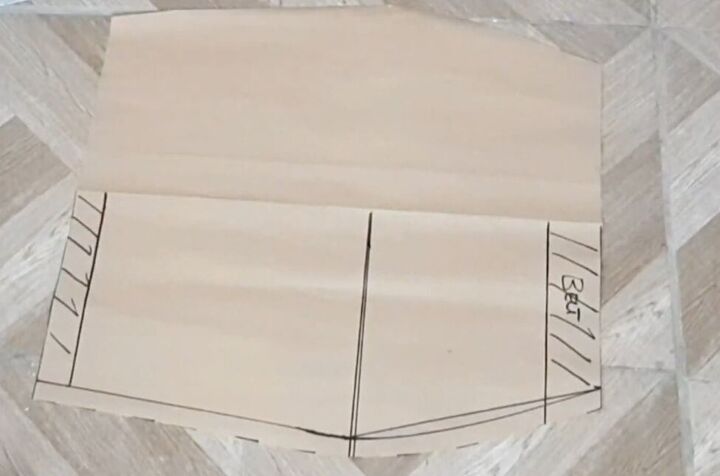
Cut out your pattern and unfold it to see the full front of your skirt.
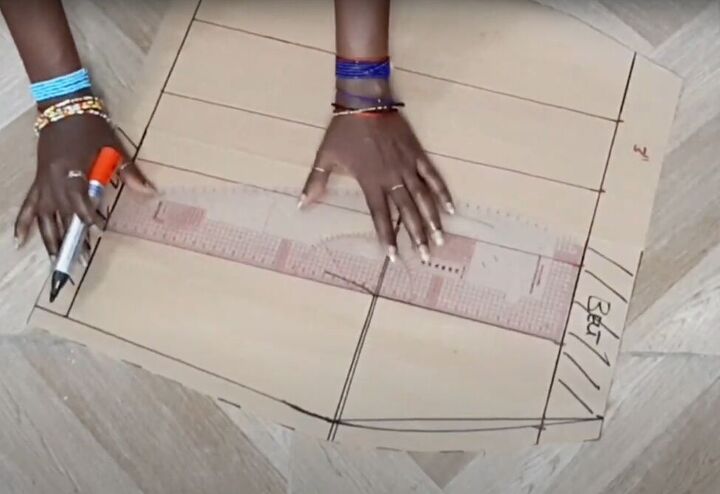
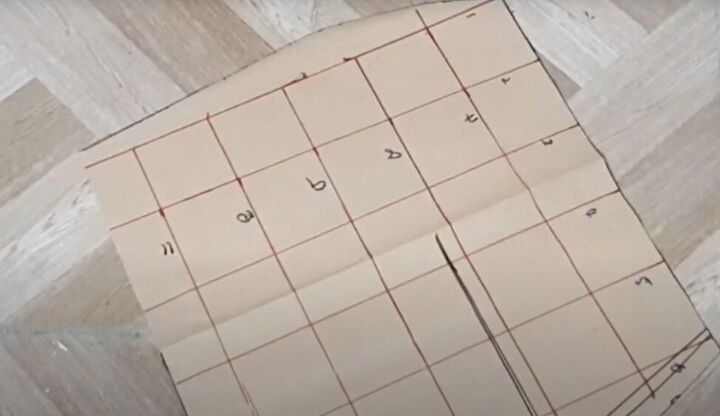
Mark and draw in vertical lines down the front of the skirt pattern, 3 inches apart, from the lower waistline mark to the upper bottom band mark.

Now, mark and draw in 3-inch-wide bands horizontally on your skirt pattern to create boxes.
2. Cut your main fabric
Cut the upper and lower bands off your pattern, and lay the pattern, folded, on the fold of your main skirt fabric.
Pin the pattern in place and cut the fabric.
3. Cut your patterned strips
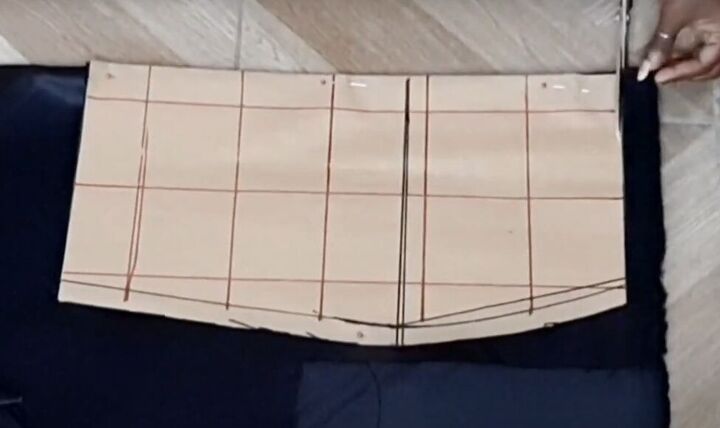
Number the boxes on your pattern piece as above, to determine how many patterned strips you will need.

Mark and cut out 2-inch strips across the width of your fabric. Make them the full length of your skirt and add 2 inches to the length for a seam allowance.
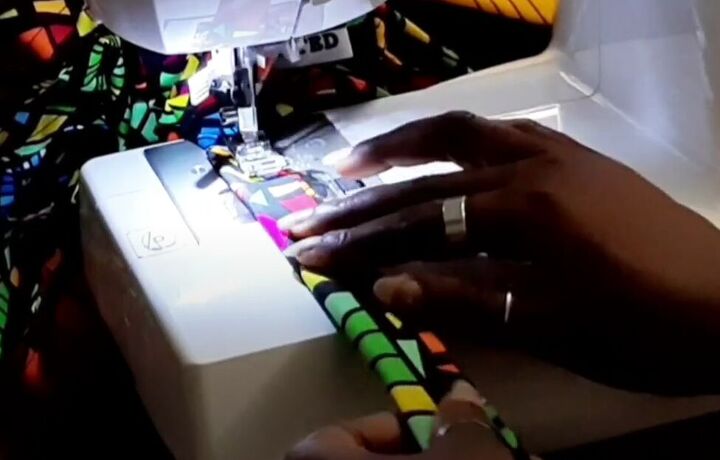
4. Sew the strips
Fold each strip in half and sew the long open edge. If your patterned fabric has a right side and wrong side, sew with the right sides together and then turn it right side out.
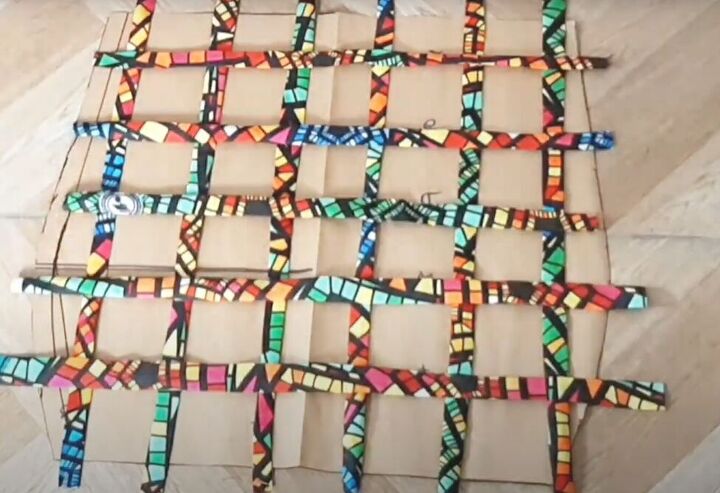
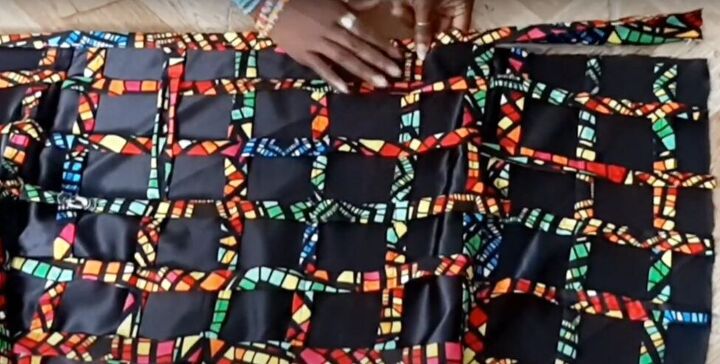
Lay all the strips out on your marked pattern to make sure you have enough and pin them onto the pattern paper.
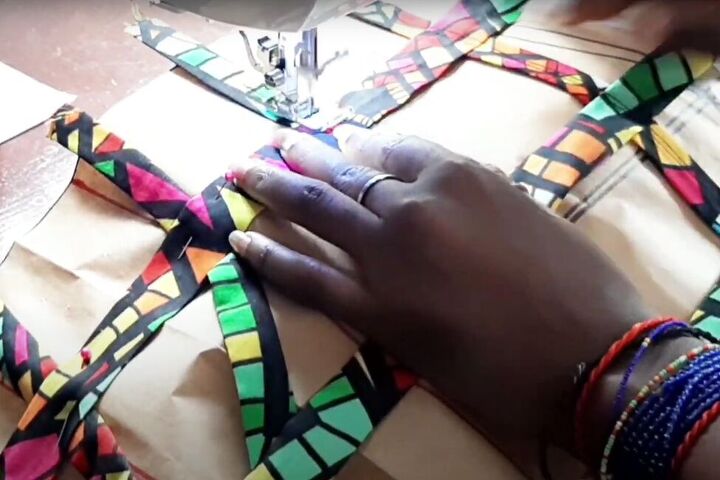
Now, sew down the middle of each strip to attach it to the pattern paper.
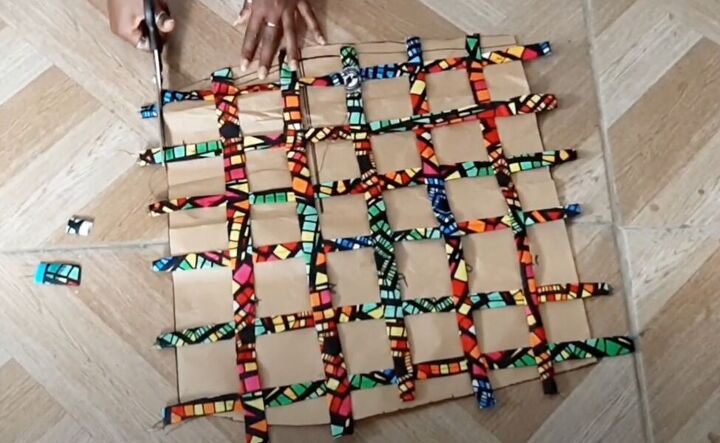
Trim the ends of the strips.
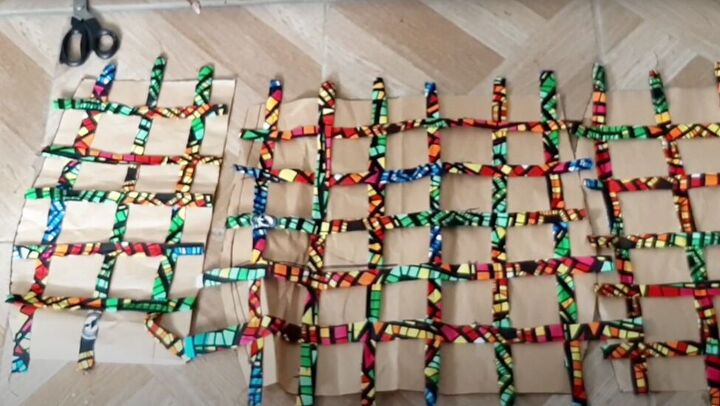
5. Make the back pieces
Follow the same steps to make two back pieces.
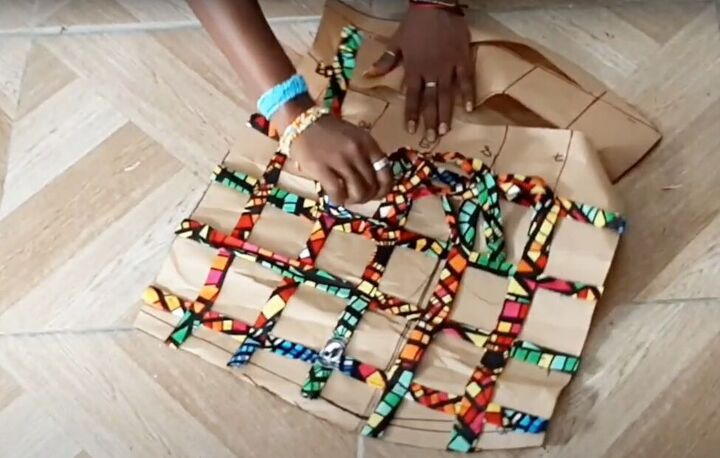
6. Release the grid
Gently pull your patterned grids off the pattern paper.

7. Attach the pattern to the skirt
Place the patterned grids on their respective skirt pieces and pin them in place.
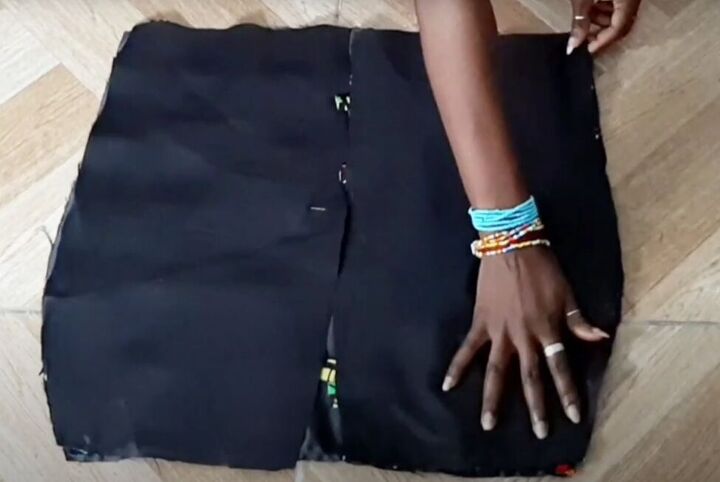
8. Sew the skirt
With right sides facing, pin and sew the two back pieces to the front piece on the side seams
9. Attach the bottom band
Fold each long edge of the bottom band into the center.
Pin the band to the bottom of the skirt, sandwiching the skirt between the two layers of the band.

10. Sew in the zipper
Sew in the zipper at the center back of the skirt following the video from 7:28 to 7:40.
11. Attach the waistband
Attach the waistband following the same technique you used for the bottom band.

DIY mini skirt
Here’s the completed DIY mini skirt with my custom block pattern.
If you decide to try this mini skirt yourself, please leave a comment to let me know how you liked the tutorial and how your DIY mini skirt turned out.
The author may collect a small share of sales from the links on this page.


Comments
Join the conversation