Elastic Waist Skirt

Spring is here. Yay! Is your closet ready? Come along and make your own DIY elastic waist skirt. We’ll start with a basic style, great for beginners!
When the warm weather hits, nothing is easier to wear than a breezy skirt. It’s often hard to find the perfect one though…the right cut, size, or color. But, you can make it yourself.
If you’ve never tried making clothes before, this is a perfect opportunity to push yourself a little and get creative!
When I was in middle school I would make a skirt one night and wear it the next day. They were usually elastic waist styles because they are so quick and easy!
It is a straightforward process and perfect for a beginner.
It’s rewarding to sew your own clothes … and you’ll enjoy the compliments. I know my 7th-grade self did. 😂
When you find a good pattern style, then tweak the fit for your figure, you can make it over and over again in different fabrics.
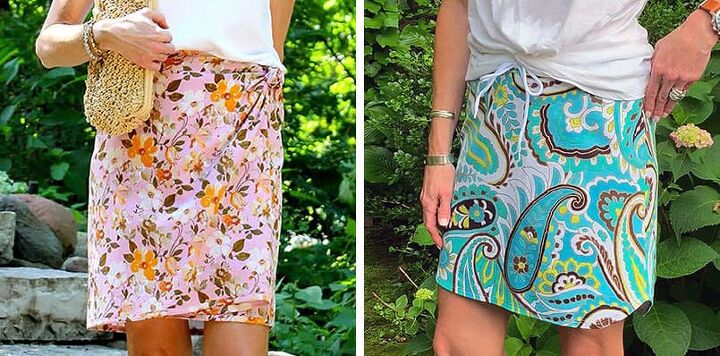
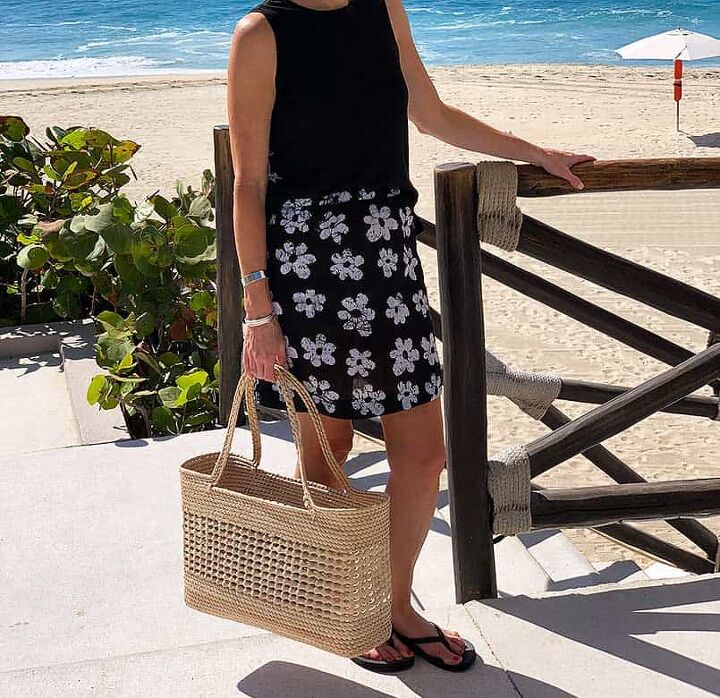
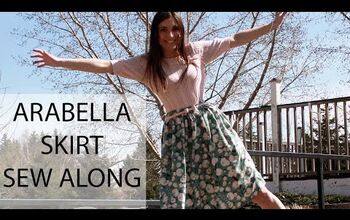
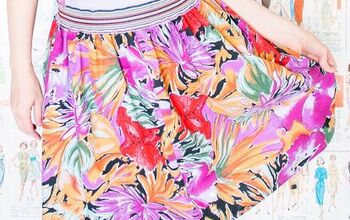
Here are 2 other skirt tutorials on my site you may want to check out!
Okay, back to the tutorial …

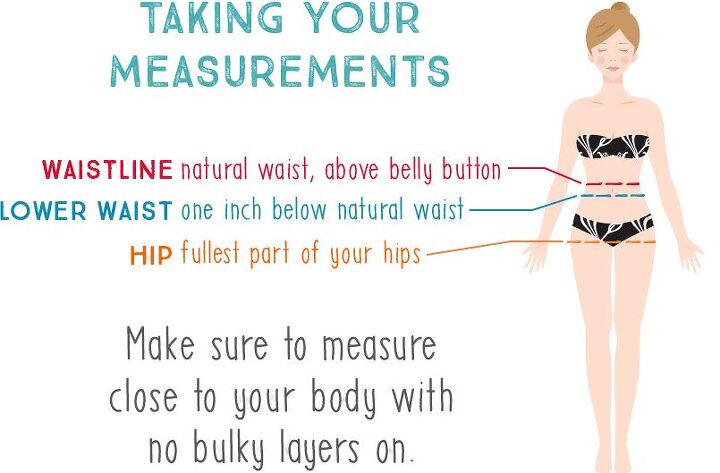
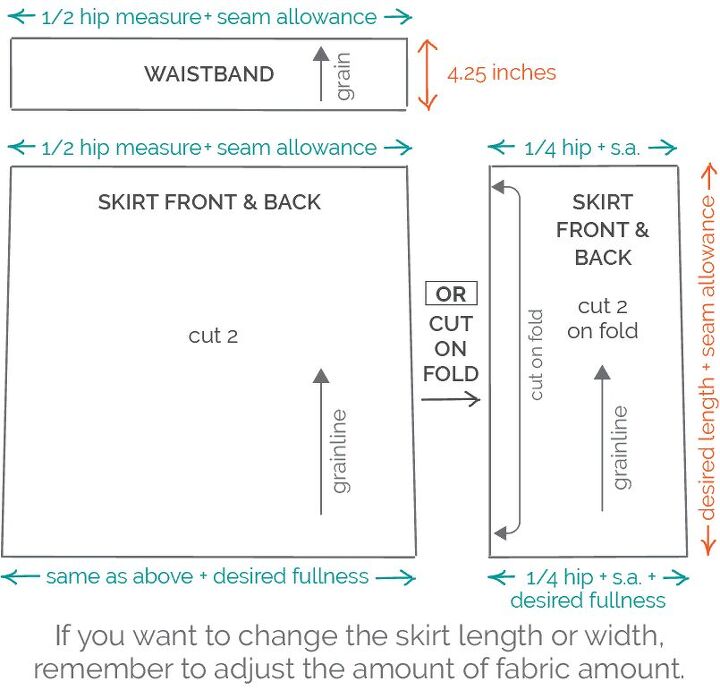
To determine how much fabric to purchase, first, you will need to take your measurements.
With a tape measure, close to your body, take the measurements for your natural waist (the skinniest part of your waist), your lower waist (one inch below your natural waist), and your hips. Write them down.
To determine how much yardage you’ll need, it’s easiest to sketch out your skirt and add in your measurements, to calculate how much fabric your skirt requires.
Use the drawing below as a guide, but customize it to your size and preferences. Remember you can adjust the skirt’s length to as short or long as you wish, and you can add fullness in the width if this skirt is too straight for you.
I added one inch at the bottom, to both the front width and the back for the fullness because I prefer a straighter silhouette. You may want to reference other skirts you already own to get an idea of length and width.
When you have completed your drawing, it’s time to find your fabric. Take your estimate with you to the store or as you shop online.
I used approximately 1 7/8 yards. If you are unsure of how much fabric to buy, ask the employees at your local fabric store. They are always ready to help with yardage questions.
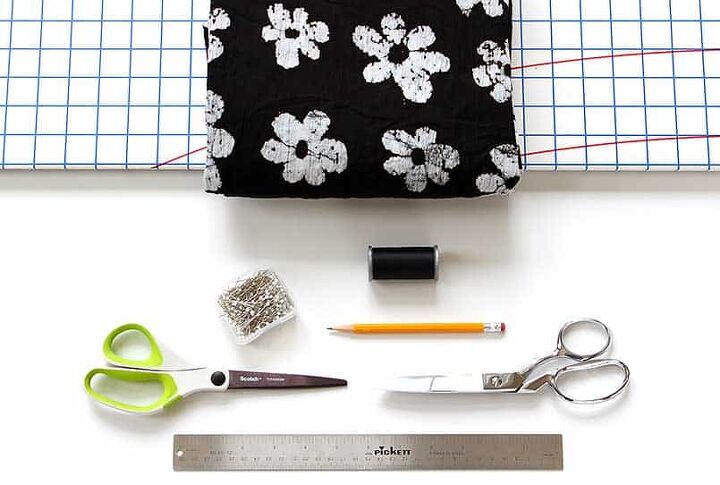
It’s time to gather or purchase your sewing supplies. See below for the basic materials you will need and ideas on where to purchase them.
Fabric
1 First, wash your fabric to help prevent any shrinkage in future washings that would compromise the fit. When it is dry, press with an iron.
Make Your Pattern2 It’s easiest to make your own pattern pieces, then you can reuse the pattern again and adjust for a better fit as you learn.
The pattern paper that I use for all of my pattern making, I found on Amazon (affiliate link). It’s similar to the weight of a commercial sewing pattern. Easy to write on and see-through, if you want to trace anything. The paper is very reasonably priced too.
Measure and cut out your pattern pieces. Refer to your original drawing and measurements. You can certainly skip making a pattern. An alternative method would be using a removable fabric pen and drawing directly on the fabric with a straight edge.
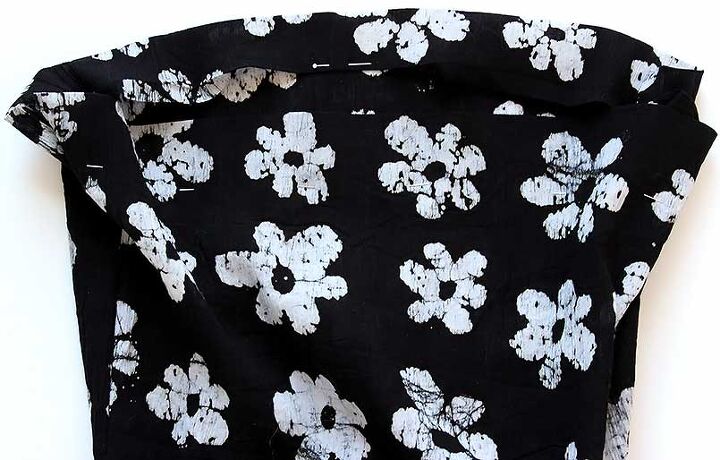
Lay out Pattern and Cut Fabric3 Next, lay out your fabric and the pattern pieces on a cutting board or a surface that is safe to cut on.
Draw out the pieces on the fabric if you are not using pattern paper. Pay close attention to the grain of the fabric and make sure the pattern pieces are positioned correctly.
If you are using a patterned fabric, be extra careful. Make the markings where you want them on the different pieces before cutting them out.
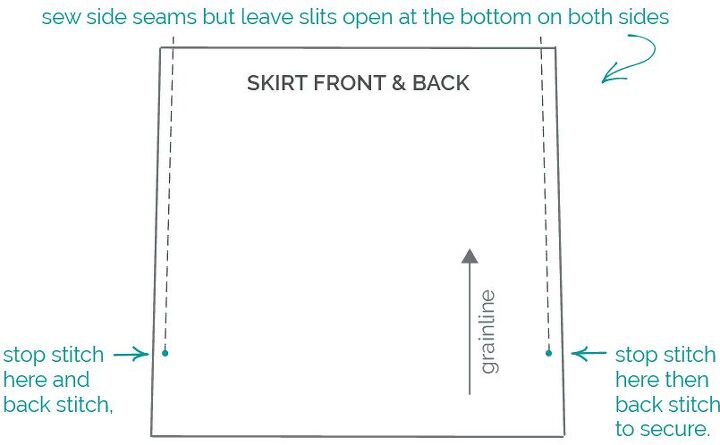
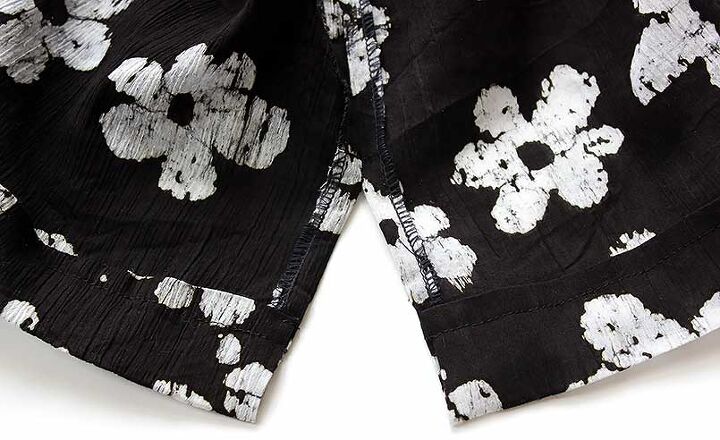
1 Now the fun begins! With right sides together, stitch the skirt front and skirt back at the side seams. Leave the bottom open 3 to 4-inches on both sides, for a kick slit. Iron the side seams open.
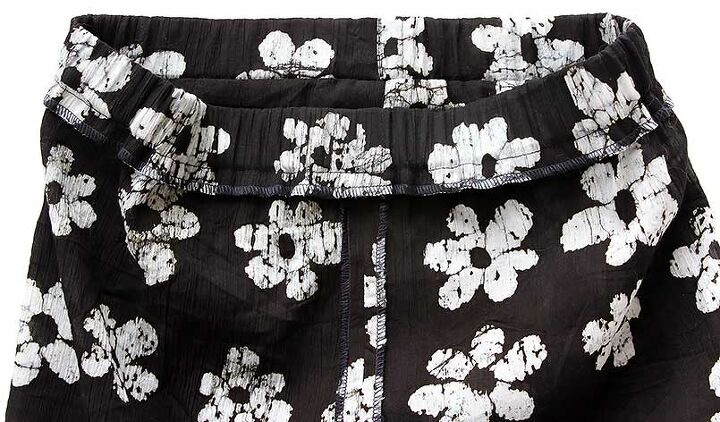
Skirt Elastic Waistband
2 With right sides together stitch the two waistband pieces together at both ends. Leave an opening for the elastic to pass through on one end.
On the other end sew the whole way. Press both seams open, then trim seam allowance or with seams pressed open, sew each seam flap down flat on the waistband, so that the elastic moves freely in the casing.

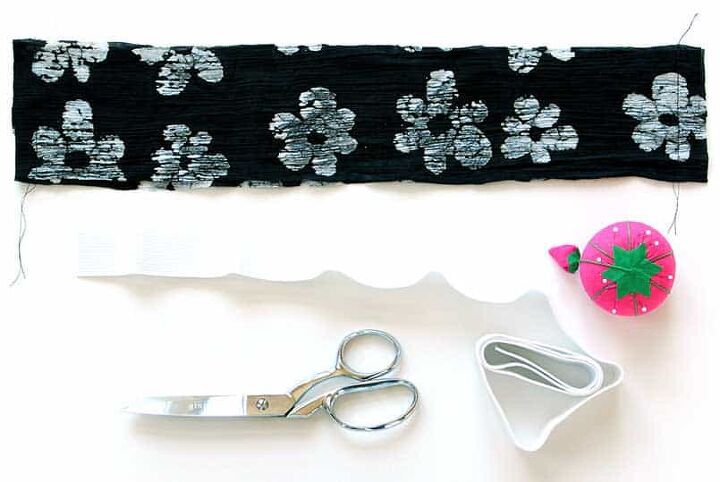
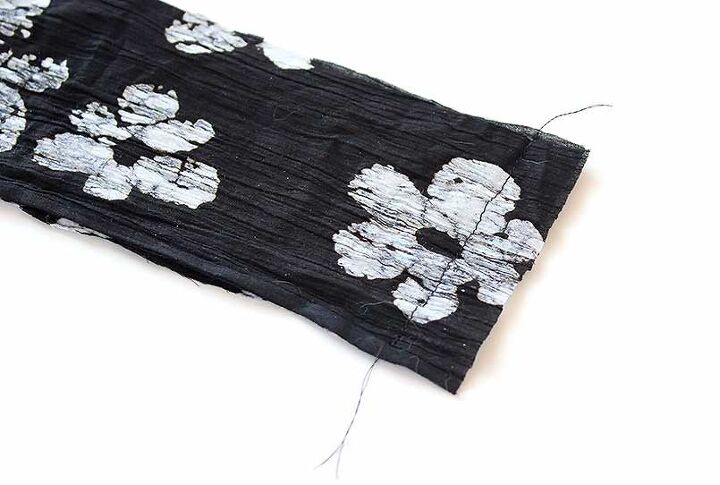
Next, with the wrong sides together, fold the waistband height in half. Press. (This will be your elastic casing. When sewn shut, it will hold the elastic band inside.)
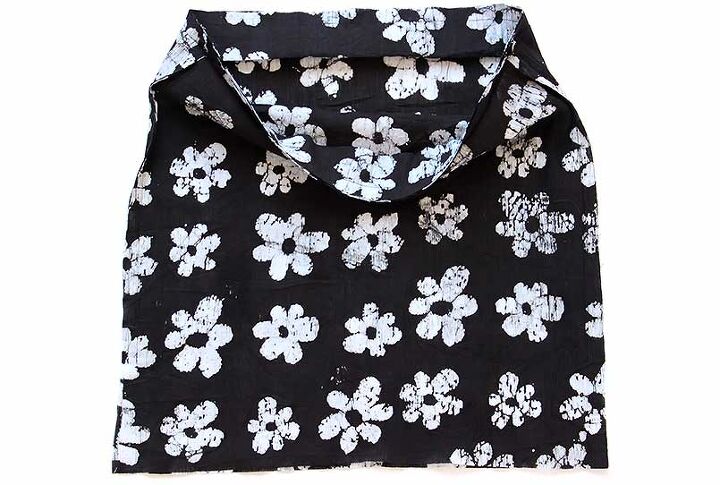
With the skirt body inside out; position the waistband (open side up) inside the skirt. Pin all the way around, right sides together.
Sew all three layers of fabric together. Then, stitch again, 1/4 inch from your first stitches to reinforce.
Finish raw edges as desired, serge, zigzag stitch, or cut with pinking shears.
Press finished seam downwards towards the inside of the skirt.
Cut elastic to be 2 inches longer than your waist measurement.
Insert the elastic into the waistband through the slit you left open.
I used a very large safety pin to help me thread the elastic through the tube of the waistband.
When you are done, pin the two ends of the elastic together. Try the skirt on and adjust elastic as needed.
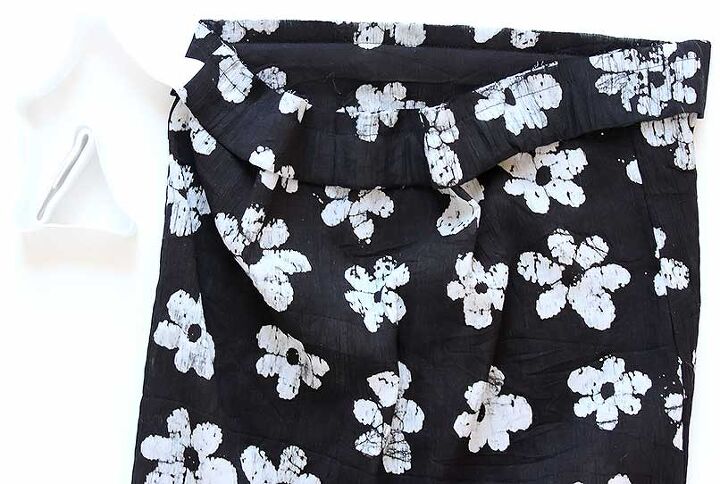
When the fit is right, stitch the two ends of elastic together with two vertical machine stitches, to close.
Trim excess elastic flaps. Feed the elastic fully into the casing, so you can’t see it.
Now you can close up the opening. Gently pull fabric sides to meet to cover the elastic, and make a vertical stitch, through all of the layers.
Distribute waistband fullness evenly around the top of the skirt.
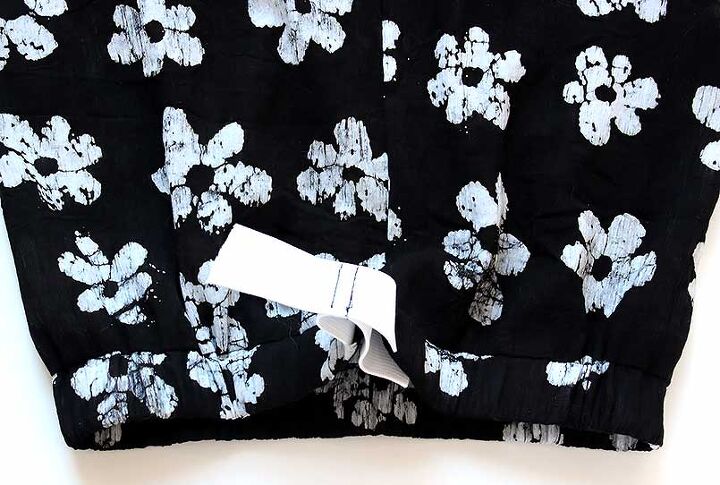
Hem and Side Slits
3 We are almost finished! Go ahead and try on your skirt again to decide on the right length. Pin. Now off to the ironing board.
We will finish the side slits first. For these, our mission is to either finish the raw edges or hide them.
I chose to finish them with my serger, but it’s also nice to tightly fold once, press, and then fold tightly again and press. This makes a nice finish. Now, topstitch, for either option.
Next, we will finish the hem. It’s up to you to decide how deep you want it.
I chose to have a 1 1/4 inch hem, A) because I had the fabric to spare and B) my fabric is so light and airy. I wanted some extra “weight” to hold the skirt down so it would drape well.
Press the raw hem edge up just a tiny bit, like 1/4 inch, then fold up again the rest of the depth of your hem.
This will nicely hide the raw edge and allow you to stitch the opening to close and finish the hem.
Okay, ready? Go ahead and machine topstitch the top of the hem.

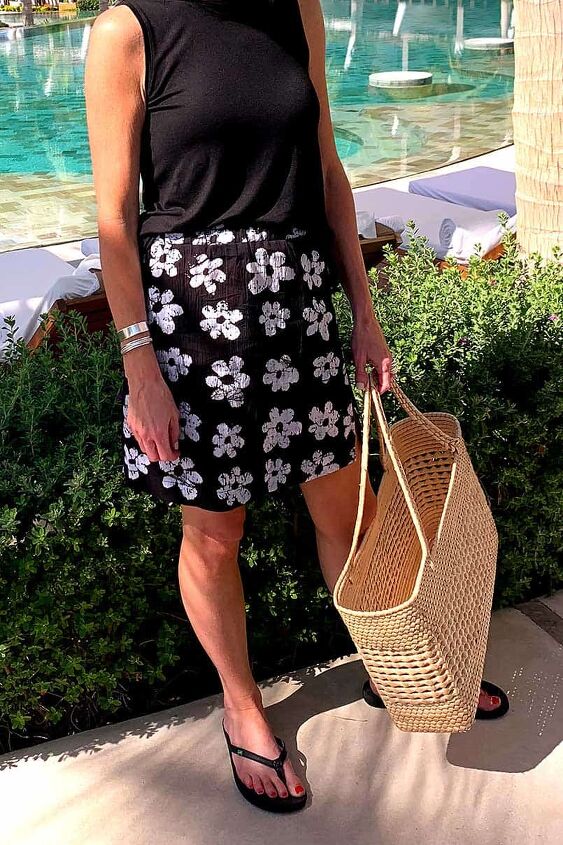
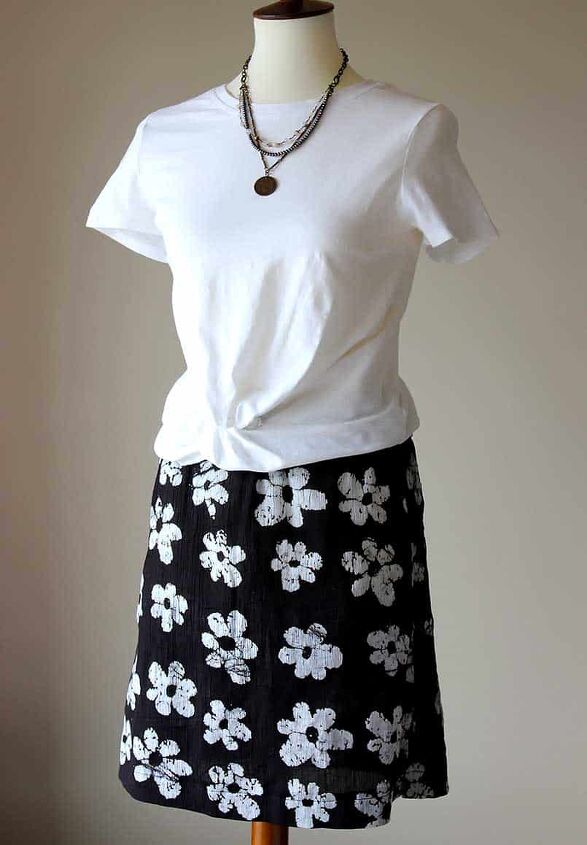
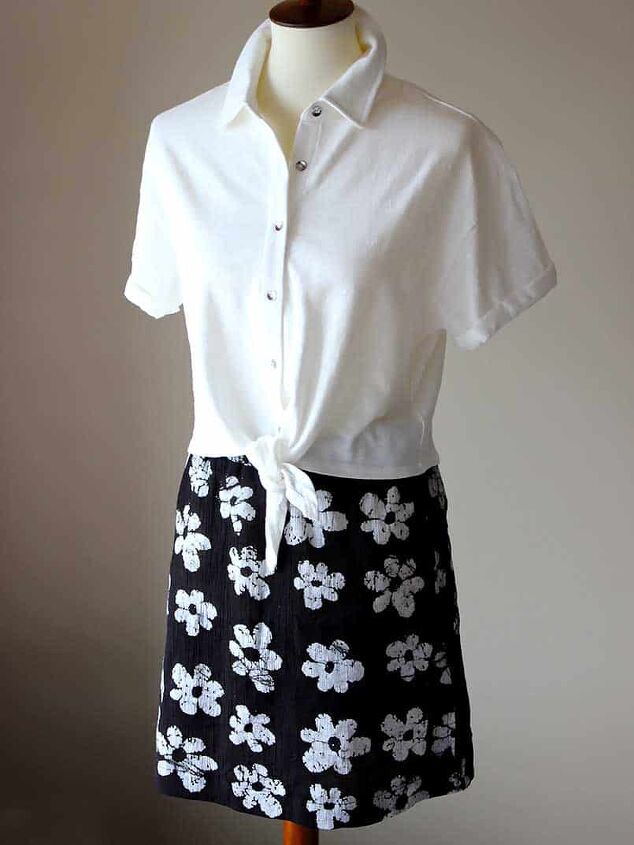
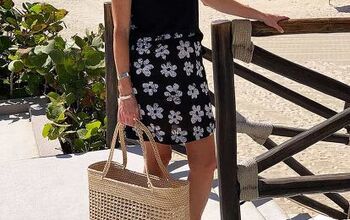
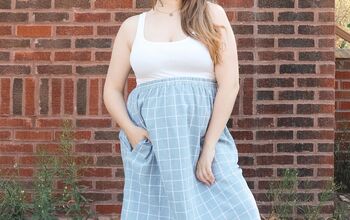
Yippee! You are finished and ready to rock your new skirt! It pairs well with a simple tank, a graphic tee, or a polo shirt.
Please let me know if you make a skirt in the comment box below. I would love to see your creations!
Are you inspired to sew? Tag me @bebraveandbloom or use
xo,
SHOP for info & resources to buy
START HERE for blog home
The blue-colored text contains affiliate links. See the shop page for more information.
The author may collect a small share of sales from the links on this page.


Comments
Join the conversation