How to Sew Pencil Skirt TO THE CITY – Classic Version (woven Fabrics

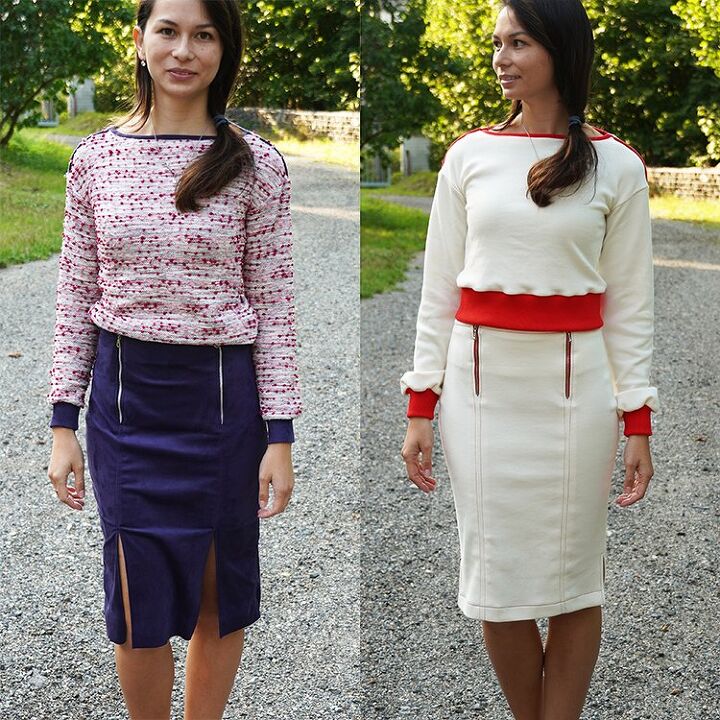
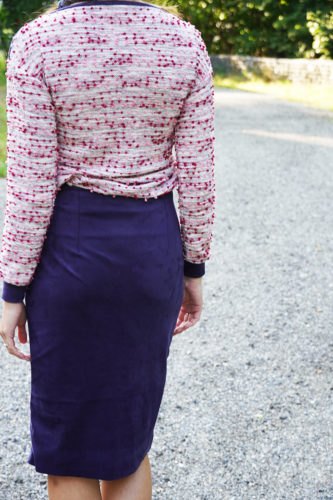
In the previous article, I presented the pencil skirt pattern from the autumn collection. I sewed it from a double knit, so it was necessary to make a few small adjustments to make the skirt fit well. Today we will look at how to sew women's pencil skirt TO THE CITY using traditional materials.
The pattern for women’s pencil skirt
You can get this particular skirt pattern here:

The pattern for elegant women's skirt TO THE CITY
You can get this pattern as part of a set that also includes the pattern for women's T-shirt/Sweatshirt TO THE CITY:
Recommended material
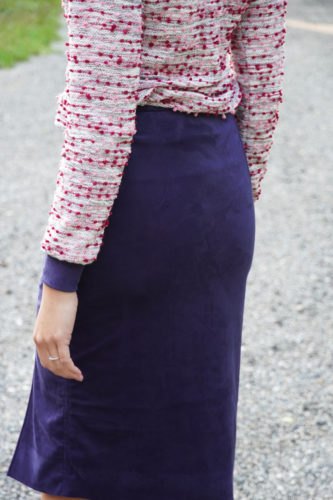
I sewed my dark blue skirt from a beautiful fabric bought in the Dumlatek.cz store. It’s this one:
✂My tip: This fabric has tiny hairs. They are similar to those on velvet or corduroy. This is one of the reasons why it’s a good idea to approach this fabric in the same way as corduroy or velvet. It’s necessary to pay attention to the direction of the hairs and position the pattern parts accordingly. In general, when you cut the pieces so that the hairs point downwards, the garment looks lighter, while if the hairs point upwards, the garment looks darker. On similar fabrics, pattern pieces are usually positioned with the hairs pointing upwards. (For fabrics with longer hairs, it is usually the opposite). As a result, the colors appear richer and don’t look faded.
However, you can use many other types of materials for the classic version of this skirt. But the fabric must be at least somewhat elastic. If you do not plan to modify the pattern, use fabrics that are suitable for pants and skirts. These are fabrics with elastane or other elastic fibers. You can also sew a very comfortable version of this skirt from thicker knit or elastic laid-in knit. In any case, you are going to need a stronger knit or woven fabric of medium thickness. The fabric must contain some kind of elastic fiber (elastane, spandex, lycra, etc.) You can get suitable materials at Dumlatek.cz, for example.
Classic version
(look for materials containing elastic fibers)
Suit fabrics - for example:
- Trouser fabrics (elastic, cotton-based)
- Denim (make sure it is elastic)
- Corduroy (pick the stretchy type)
- Piqué
- Velvet - velour (look for elastic kinds)
- Fabrics for formal wear (laces, lamé, satin...)
- Elastic viscose
- Elastic suede
Comfortable version
(look for fabrics of at least 240g/m2)
Knits - for example:
- Monochromatic cotton knits
- Cotton knits with prints
- Monochromatic mixture knits
- Mixture knits with prints
- Thinner sweater knits and other knits
- Monochromatic French Terry
- French Terry with prints
- Monochromatic laid-in knits with elastane
- Laid-in knits with prints
- Modal fabrics
- Stretch Nicky velour
Elastic denim is also great for this type of skirt:
- Denim (make sure it is elastic)
If you do not dare to use classic denim, you can try denim imitation (knit). It’s easy to work with and comfortable:
The required amount of material
(for 140 cm wide fabric)
- Sizes 32 - 46: 1 m
- Sizes 48 - 60: 1.8 m
Other materials
- One-sided fusible interfacing of medium thickness (to reinforce facings and seams around zippers). I recommend reinforcing all seams when working with knits.
- Two zippers of the same length. Metal ones look nice… Zippers should be 16 - 20 cm long, but it depends on the size of the skirt.
Sewing instructions
My tip:
I’m aware that in some photographs the details may not be clearly visible because my skirt is made of dark fabric. If you don't know exactly what to do from the photos or the description, take a look at the second article about this pattern:
How to sew pencil skirt TO THE CITY Comfortable version (knits)
✂Suggestion: I definitely recommend basting (temporary stitching) important seams. You want the skirt to be hugging your hips and bottom closely, so it’s important that it truly fits you well. Do this even if you decide to use some type of knit. It is very likely that you will want to tighten the skirt a little in the side seams because of the elasticity of the material.
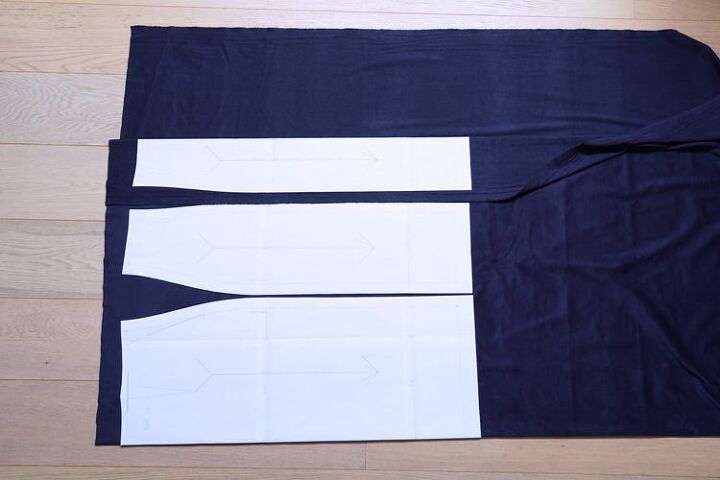
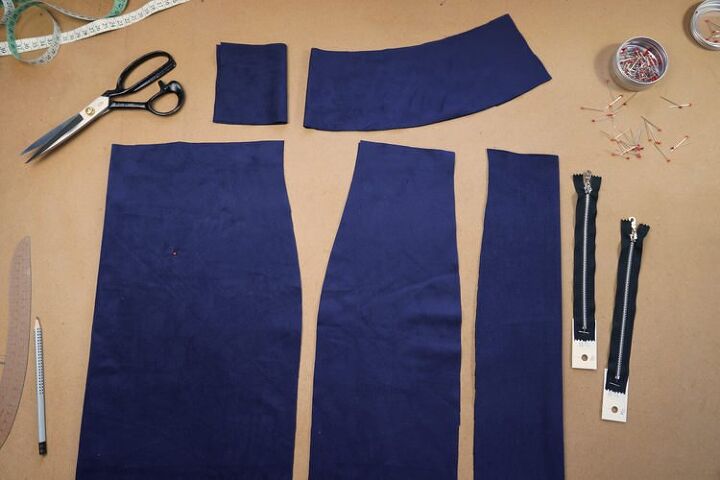
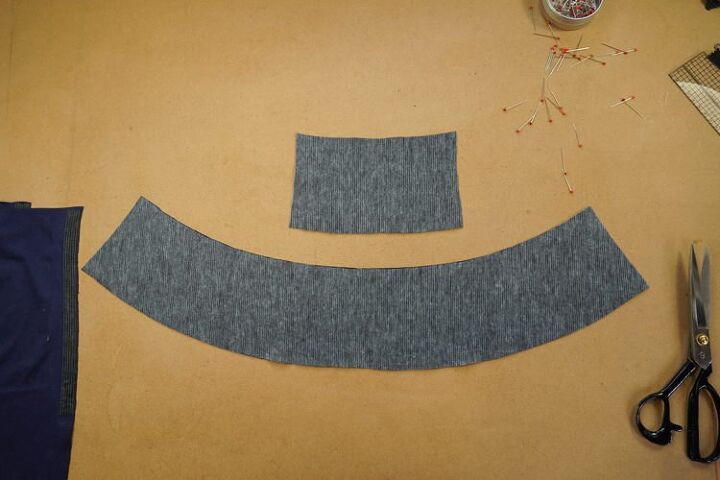
Pattern layout
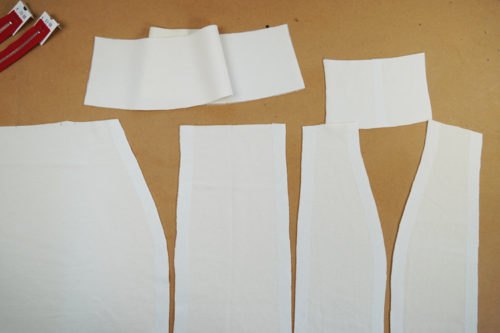
According to the paper pattern prepare:
- 1x back piece (cut on fold)
- 1x front piece (cut on fold) - The photo may seem a bit weird, but I really did cut this piece on fold, I just wanted to save some space...
- 2x side piece
- 1x back piece facing (cut on fold)
- 1x front piece facing (cut on fold)
✂My tip: If you are sewing from scraps and you can’t fit facings on them, it does not matter. You can make them from different, even contrasting fabric. This method is relatively common and you can see it, for example, on this skirt, which I sewed some time ago: Women’s skirt HAVE FUN
Interfacing
Before you begin, it is necessary to reinforce some parts with a thin one-sided interfacing.
Reinforce all front pieces in places that will be in contact with the zipper. Measure the entire length of the zipper (including the zipper tape)...
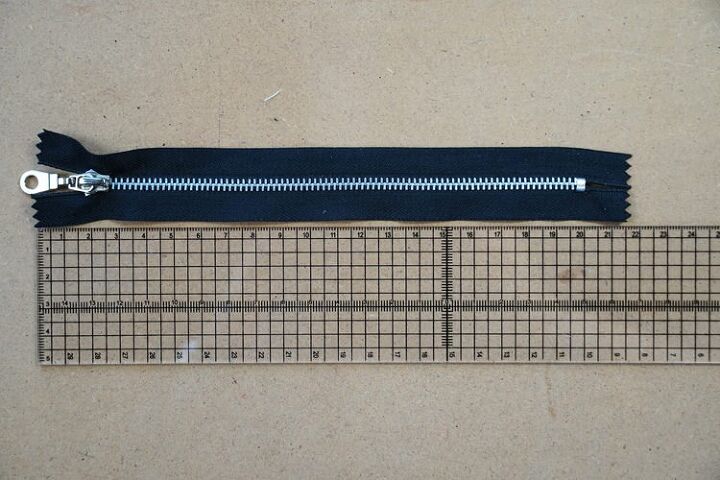
...and add 2 cm to find out the appropriate length of interfacing strips.
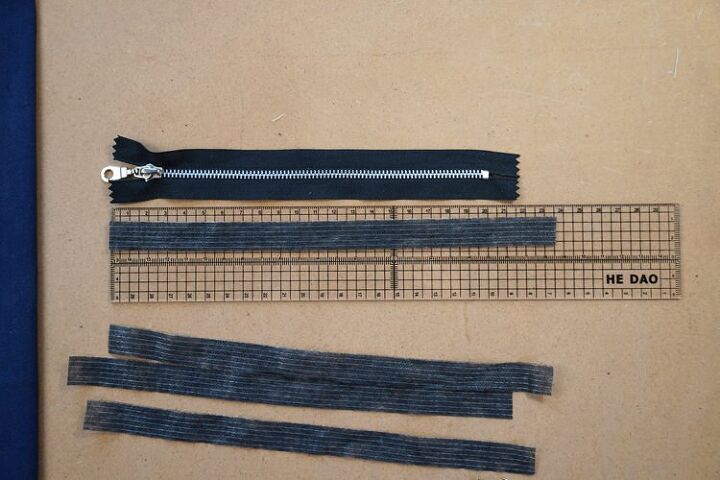
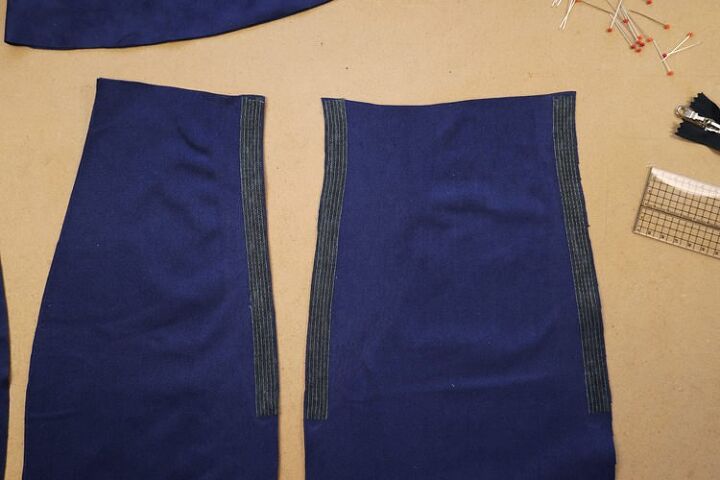
Now cut four interfacing strips and use them on both sides of the front piece and one side of each side piece (on the “zipper sides”, not along their side seams).
If you use a very elastic fabric, you may need to reinforce all seams. I had to do this on the knit version of this skirt: How to sew pencil skirt TO THE CITY – Comfortable version (knits)
Reinforce all facing pieces too.
This step is often neglected, but facings give the garment its shape, they maintain its silhouette, etc. That is why you need to pay proper attention to them.
Edges of the fabric I’m using here do not fray and twist at all, so I don't have to clean the cutting edges. Therefore, you won’t see me finishing them with an overlock or pinking seams in this article. However, if the fabric of your choice needs it, you should of course clean all the edges. If this is your case and you are worried that you will not know when, what and where to clean, then keep an eye on the other article related to this skirt: How to sew pencil skirt TO THE CITY – Comfortable version (knits)
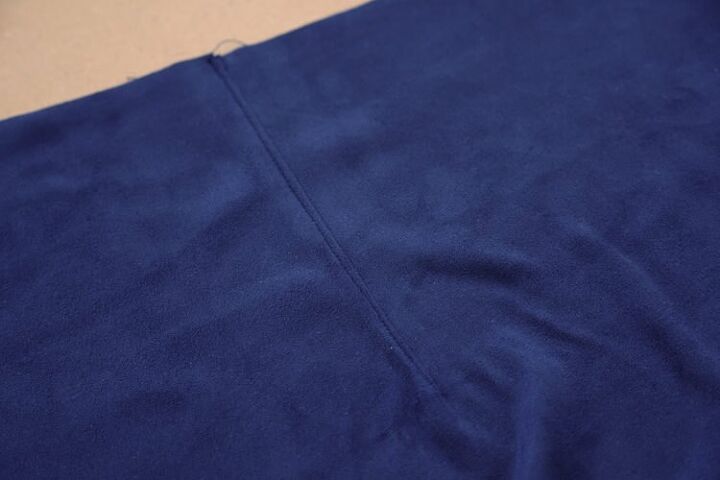
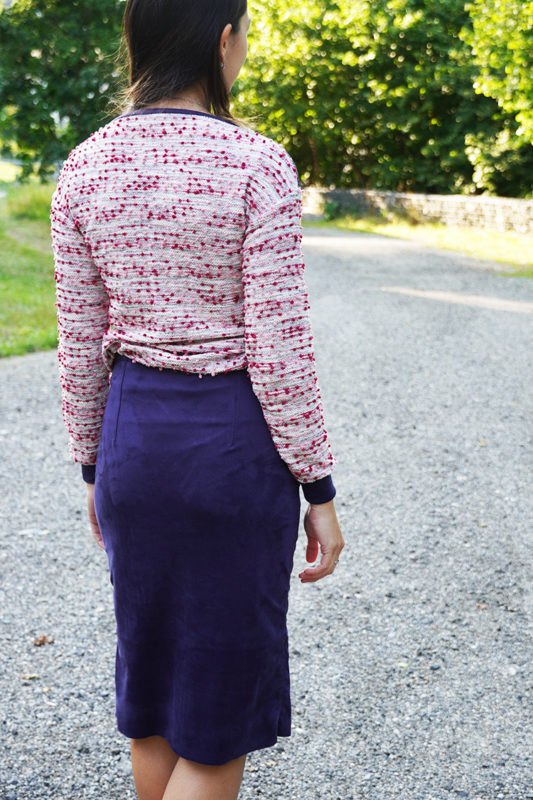
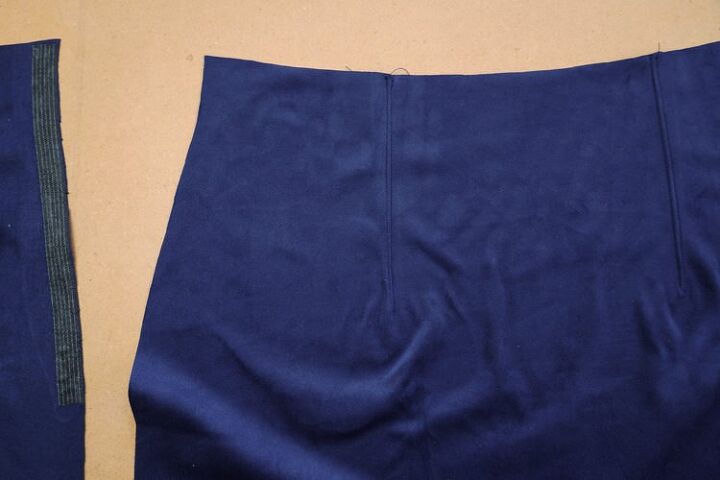
Waist darts
Start by sewing waist darts - they are marked on the back piece of the skirt. It is important that the darts are symmetrical. They must be the same length and point in the same direction. If the darts are not symmetrical, the skirt will look skewed when viewed from behind.
✂My tip: I usually use soap to mark lines, but this time I used chalk wheel "MOUSE" - it uses powdered chalk and draws nice thin marks: Chalk wheel “MOUSE”
Press the darts towards the side seams.
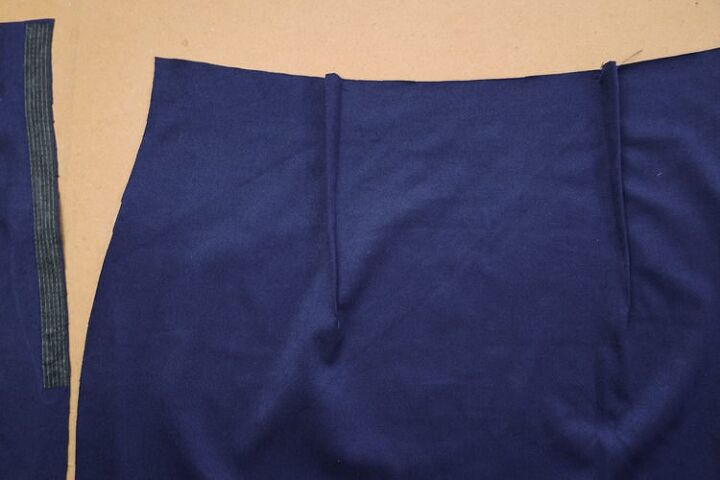
Due to the type of fabric used, I didn’t use the iron much when sewing and instead I topstitched all seams (and all parts that needed to be stabilized and fixed in place). And so I topstitched the waist darts too.
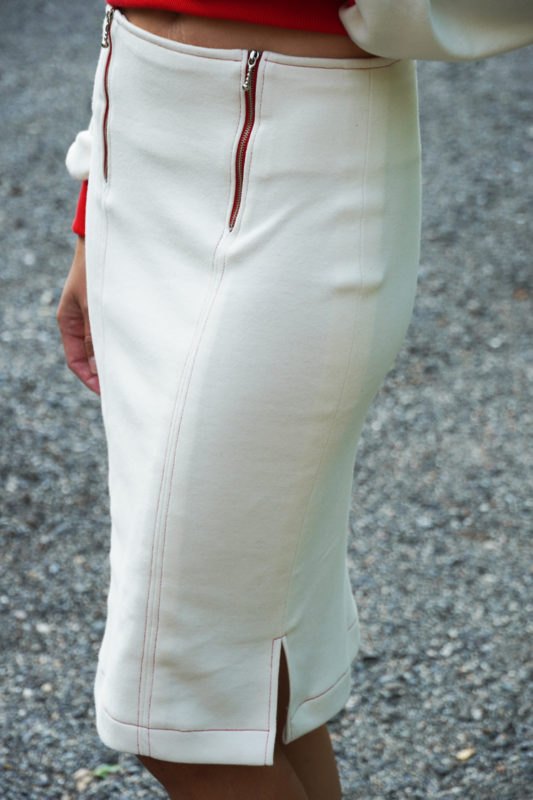
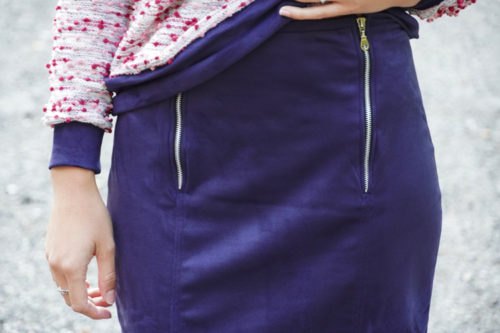
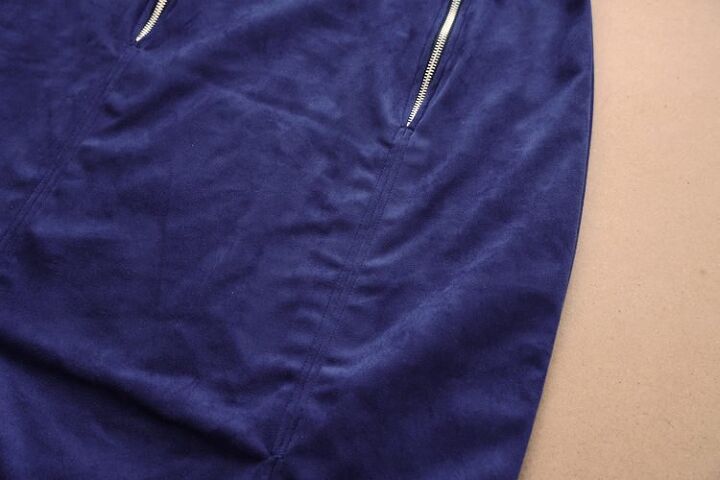
Zippers
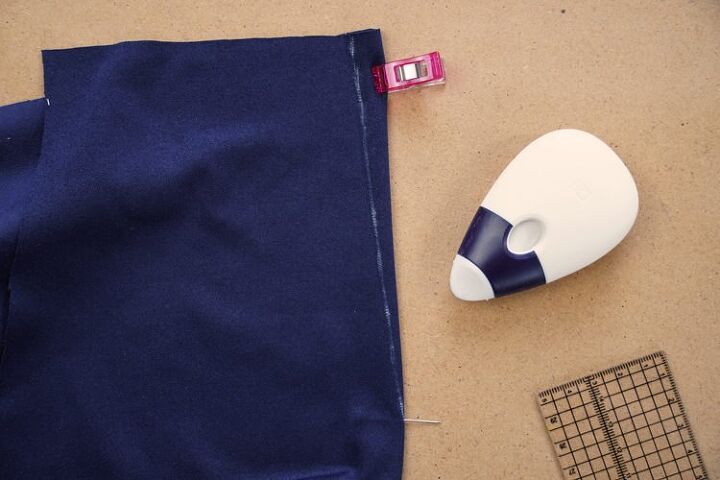
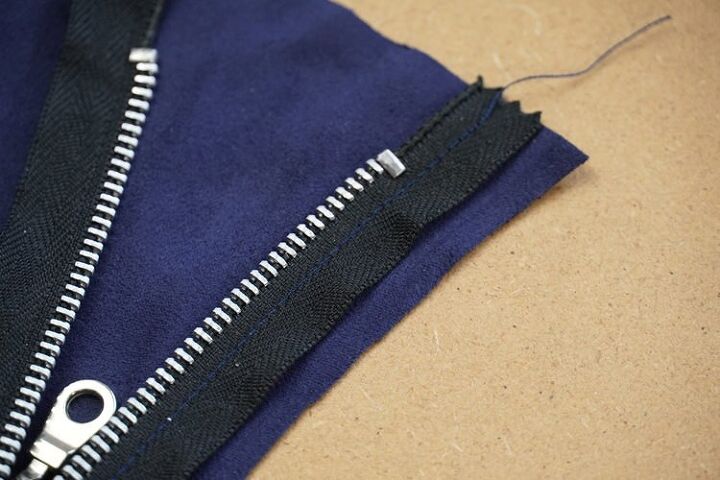
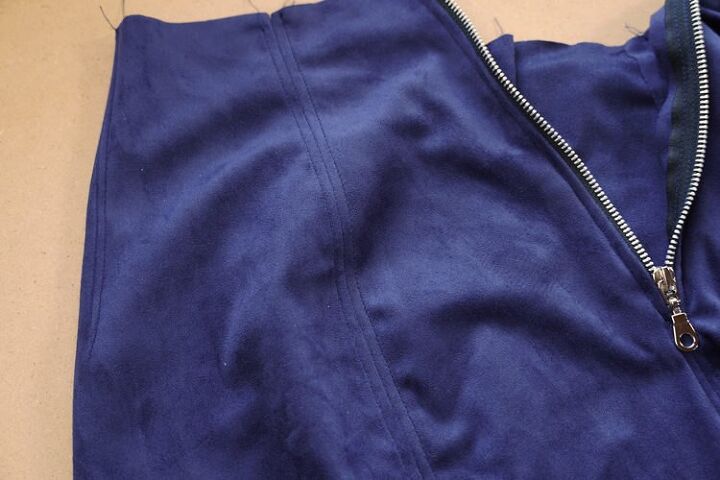
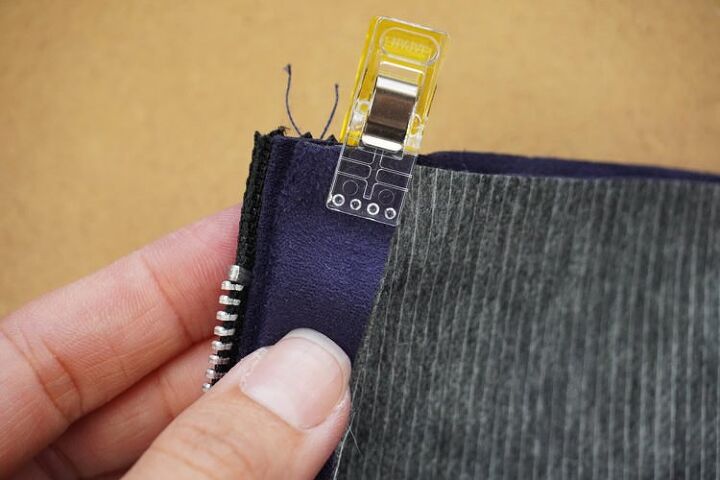
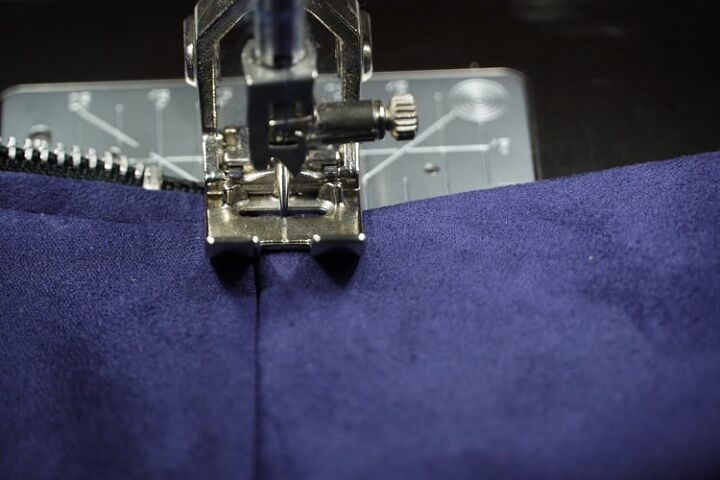
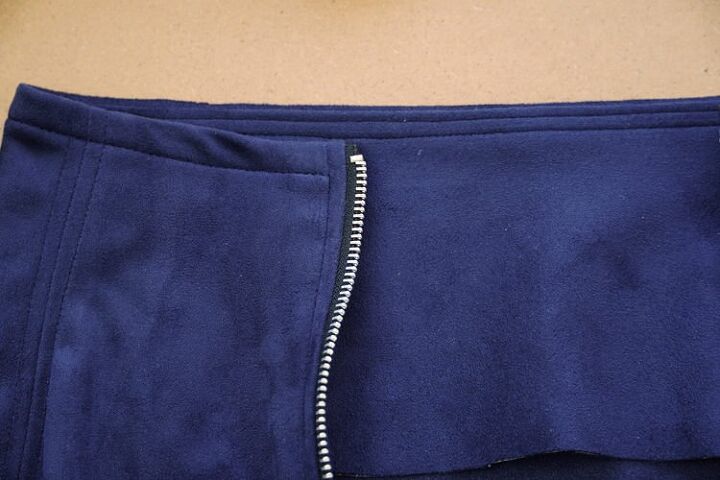
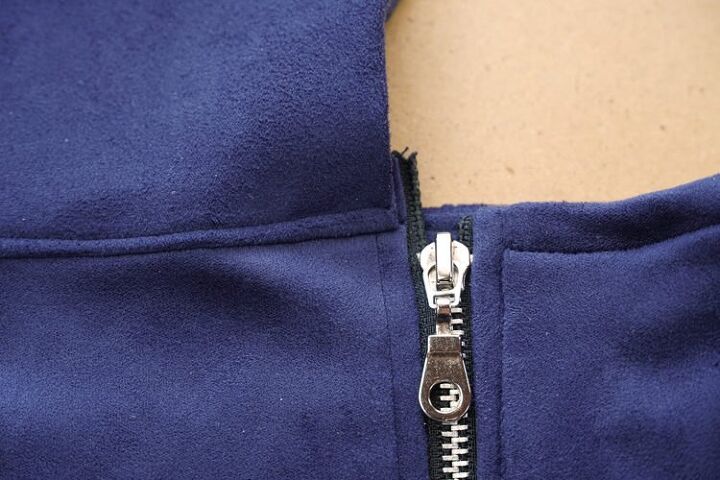
Let’s sew the zippers. It is important that their teeth lie as far from the edge of the fabric as the seam allowance is wide.
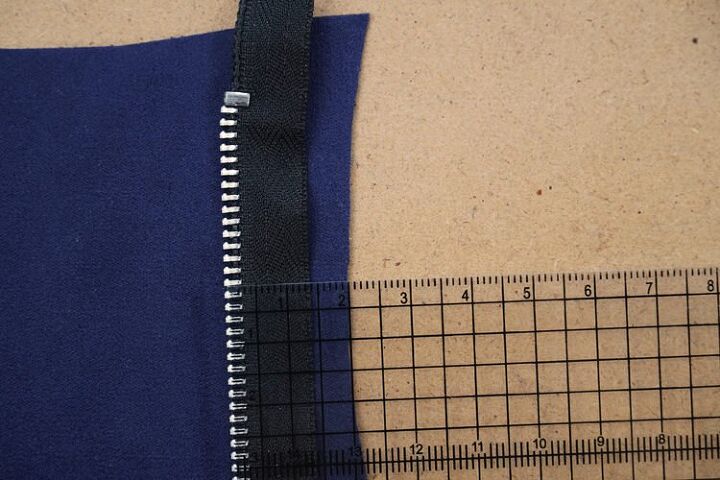
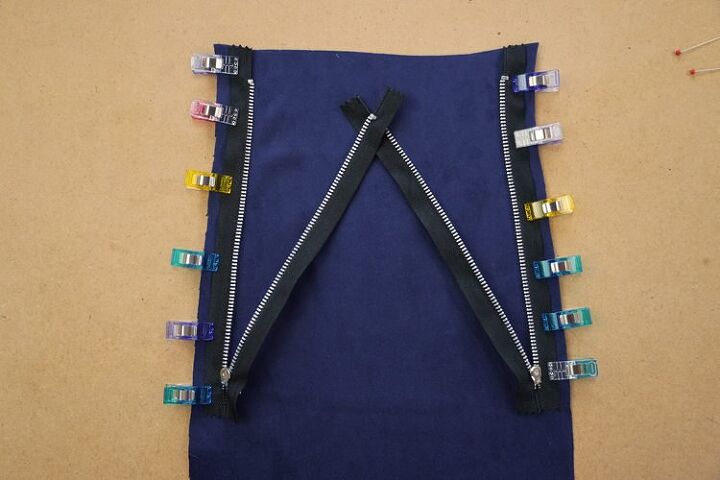
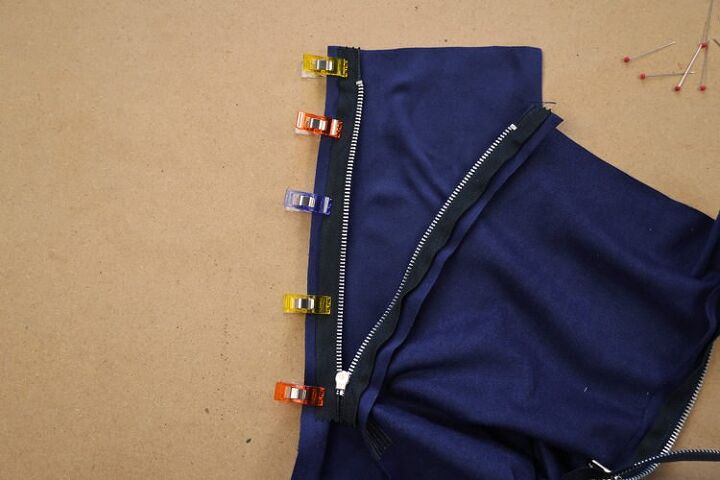
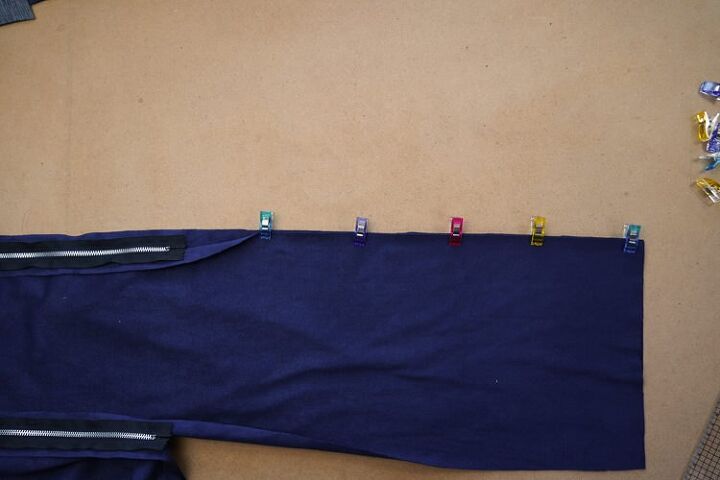
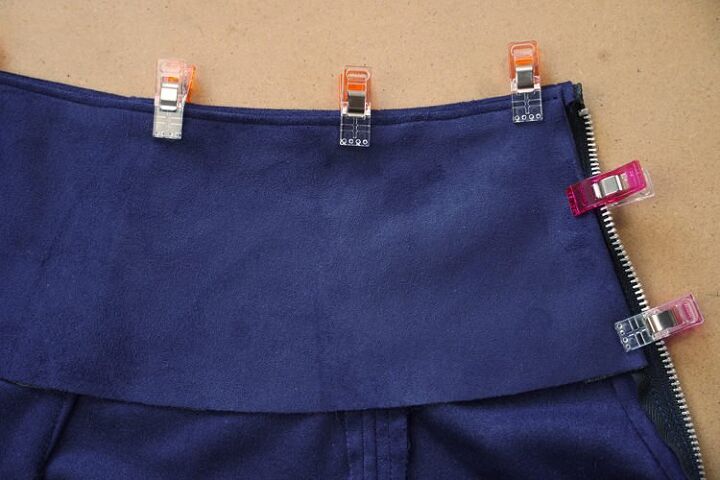
Put both zippers on the front piece (face side to face side).
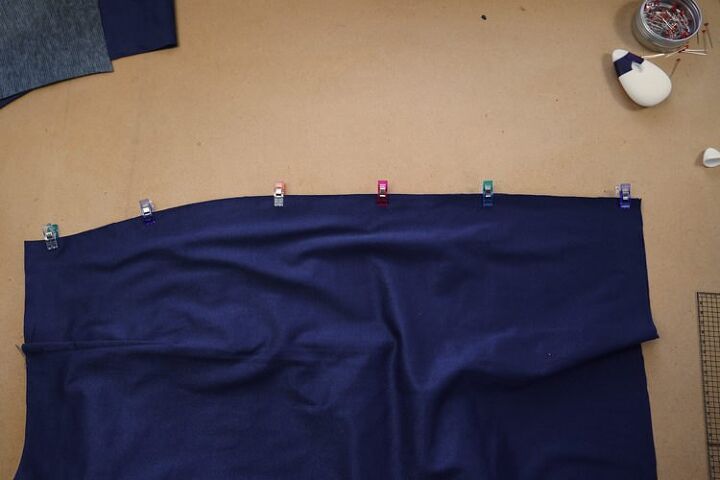
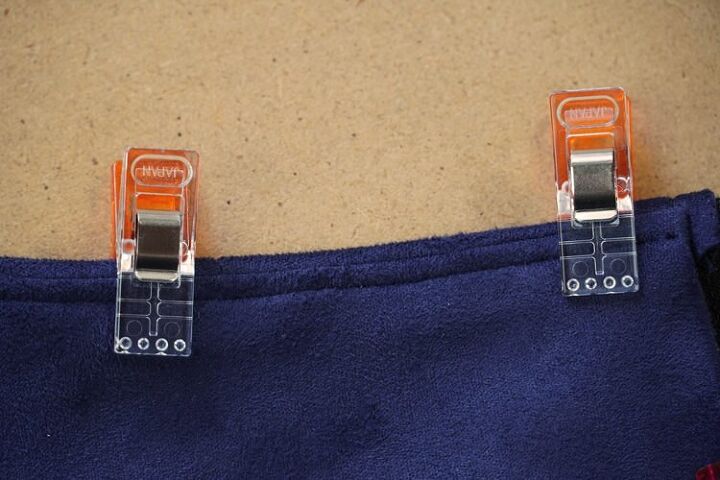
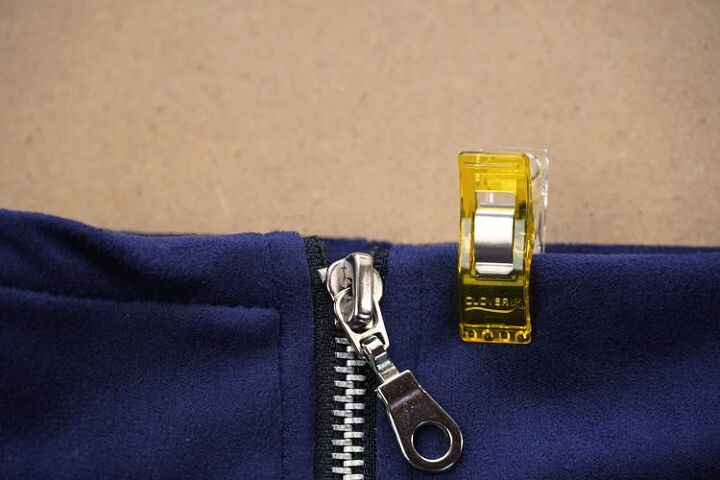
I would also like to note that in addition to ironing, my fabric does not like pins either. Pins could damage this type of fabric, so I used clamps instead.
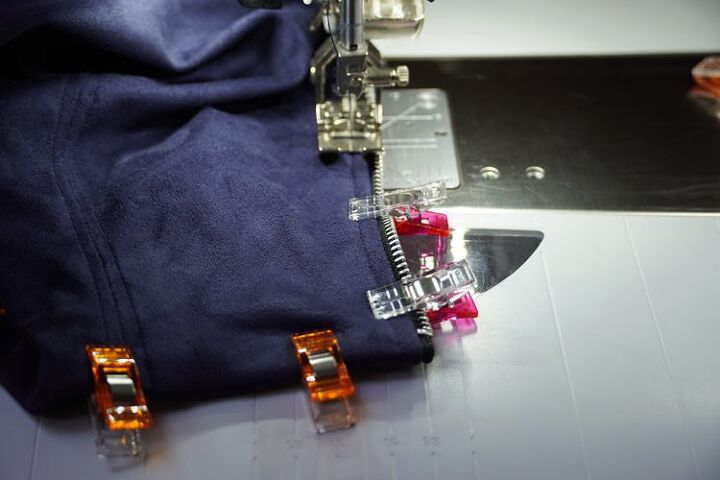
Sew the zippers. Sew about 0.5 cm from the teeth so that the zippers are visible from the face side of the finished skirt.
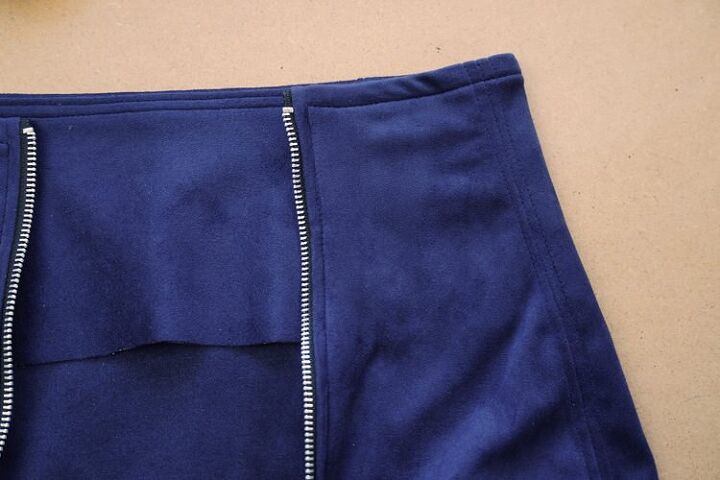
Now pin and sew side pieces to the zippers.
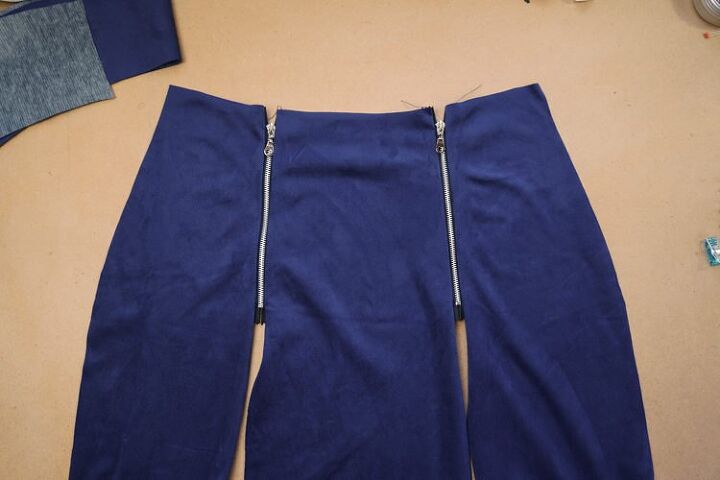
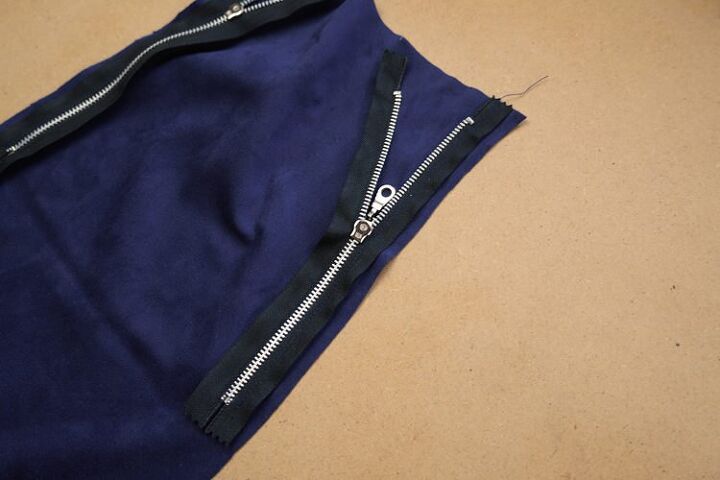
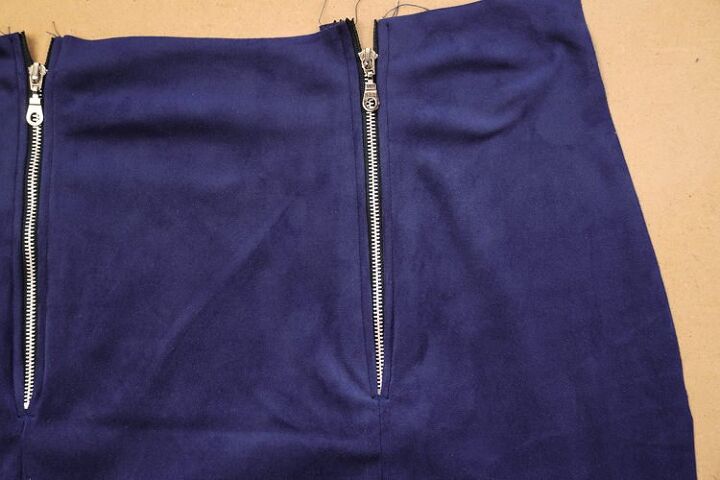
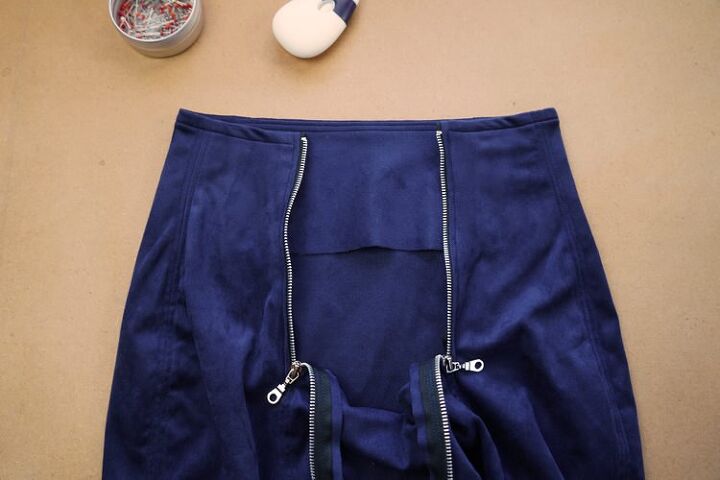
Front seams
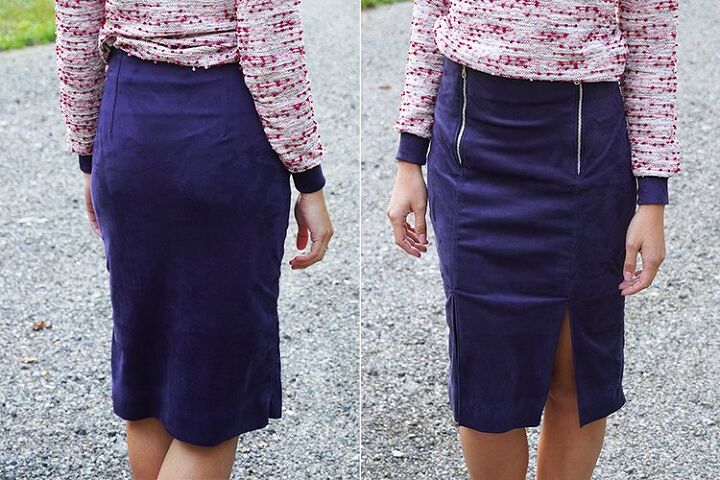
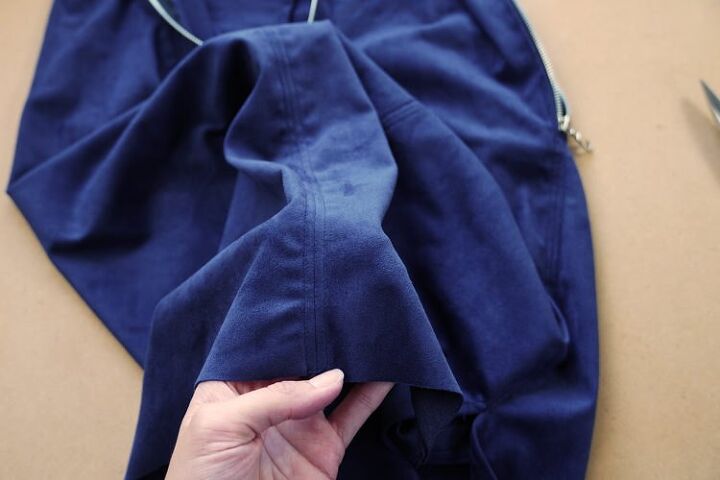
Sew the seams under both zippers (be careful not to sew too far - the ends of these seams are actually slits).
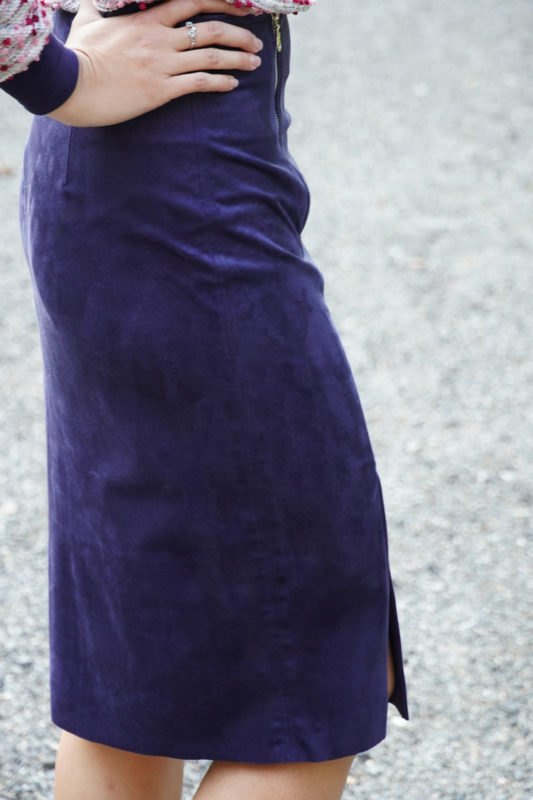
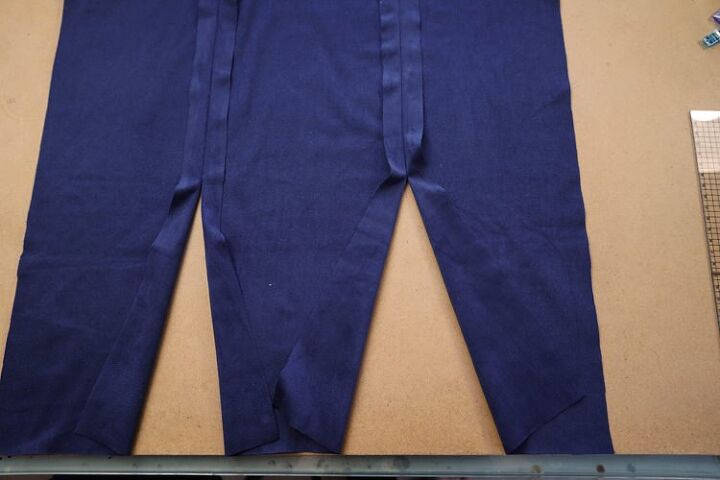
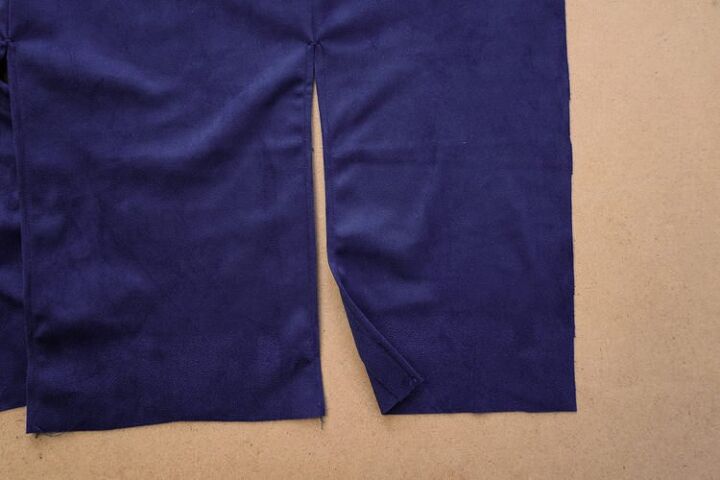
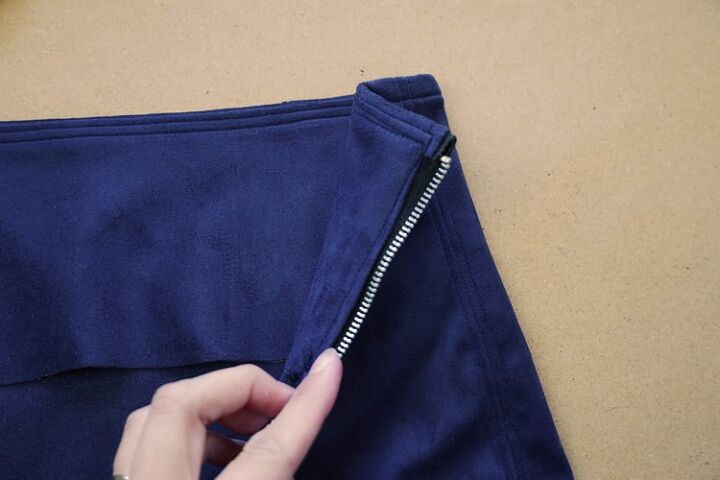
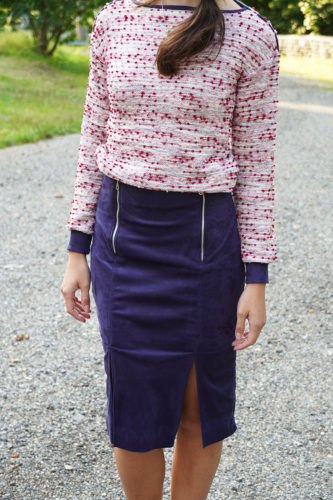
Slits
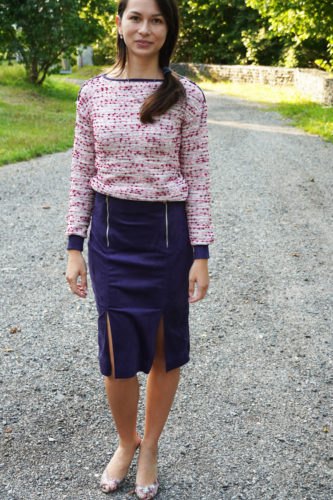
This skirt has slits along the front middle part, not on the sides. I designed them quite large so that they stand out. Thanks to that, they don't look like a mistake. They are 23 cm long now, but it is only 20 cm on the finished skirt - you will later fold the last 3 centimeters of the skirt to the reverse side to create bottom hem. The size and location of the slits is entirely up to you. Make the skirt yours. :)

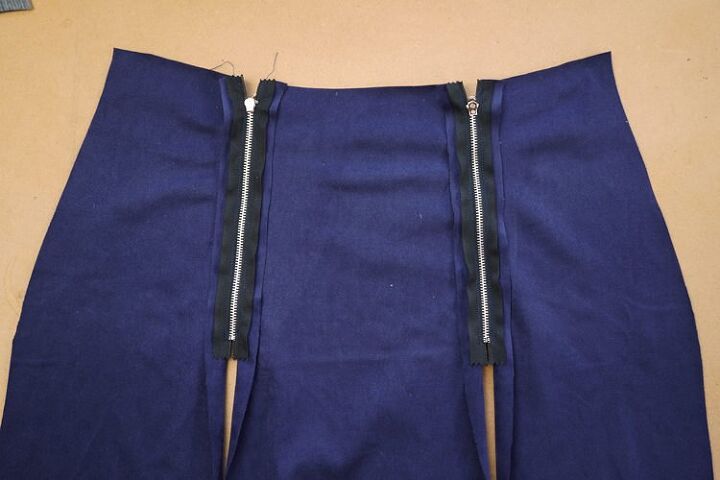
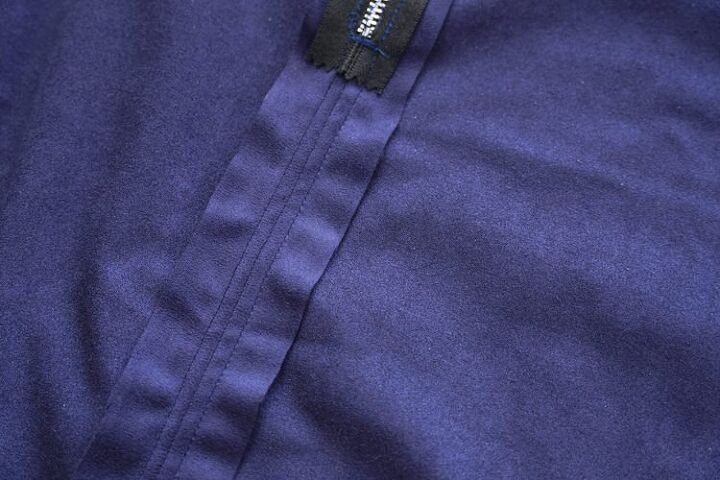
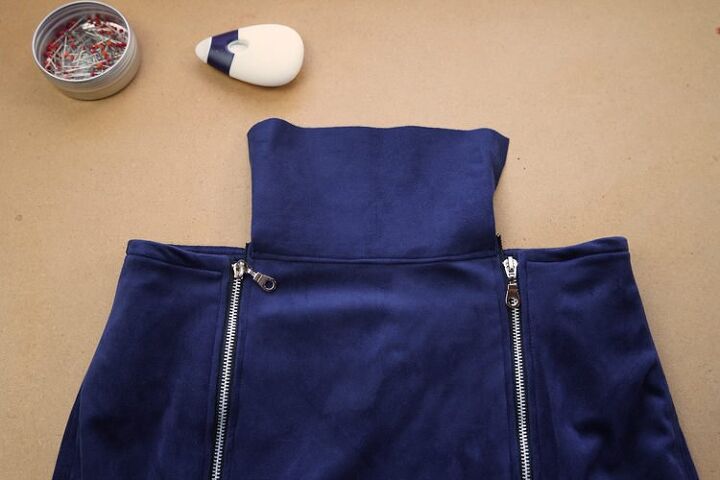
Topstitching
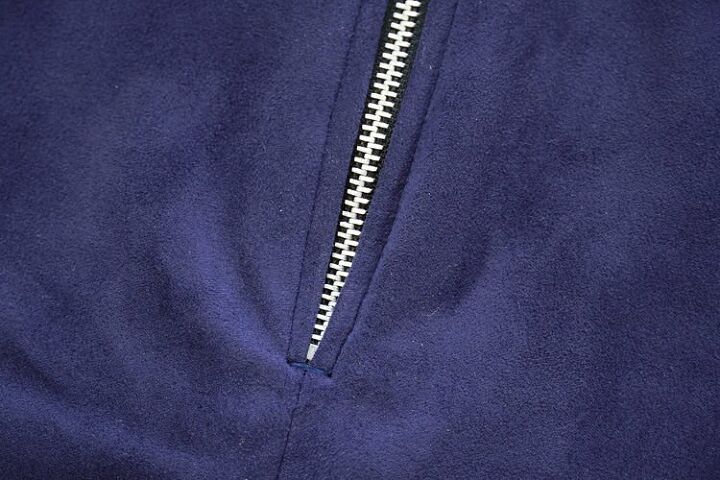
To stabilize the seams, I topstitched all pieces along the zippers...
...and sewed small tacks just below the zippers (a few wide zig-zag stitches in one spot).
I also topstitched both slits...
...and of course the seams themselves.
Raw cutting edges
I cut off the excess parts of seam allowances.
I kept the original width of the seam allowances around the zippers.

First fitting test & adjustments
Now it's time to work on the side seams. Baste (temporarily stitch) or pin the seams first. Stitch the seams exactly 2 cm from the cutting edge (size of the seam allowances) and try the skirt on. See if you need to tighten / loosen the skirt a little. Perform the fitting test even if you cannot pin the fabric (my case). Simply clamp the side seams and put the skirt on inside out. It is not ideal, but this will allow you to will see any major flaws and possible problems.
If you are going to modify the side seams, keep in mind that you have to make the same changes on both sides of the skirt to maintain its symmetry. Think about your adjustments in advance. For example, if you decide tighten the front piece by 1 cm on one side, you will also need to make this adjustment on the other side of the front piece, and on both sides of the back piece. So this adjustment will reduce the overall circumference of the skirt by 4 cm!
Keep in mind that you don't have to adjust the entire side seam at once. You can, for example, adjust the side seams only above the hips to create a smoother curve there and leave the rest of the skirt the same, etc.
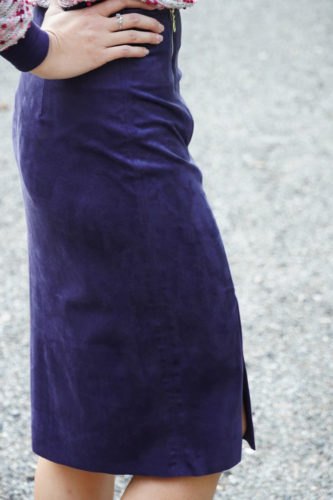
Also, try to walk in your skirt. You may need to add slits to the side seams (especially if you don't have them on the front part of the skirt as designed in the original pattern), but you may not need them at all depending on the elasticity of the material used. If you can walk without problems, you can decide to keep the smooth silhouette of the skirt and not sew the slits at all.
Side seams
Adjust the side seams (if necessary) and sew them. I topstitched both side seams...
...and trimmed their seam allowances.

Facings
Front
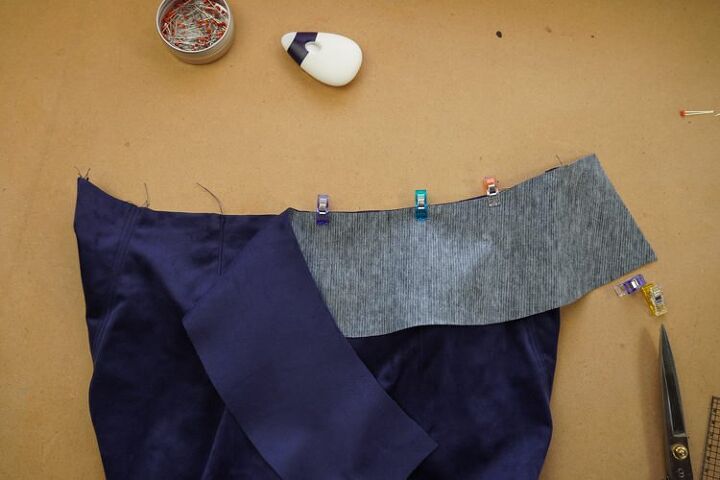
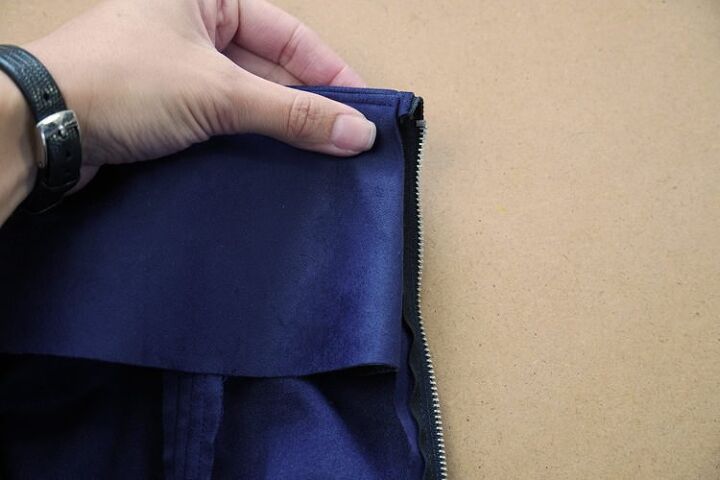
The base of the skirt is done and you can start sewing facings. Take the front piece and unzip the zippers.
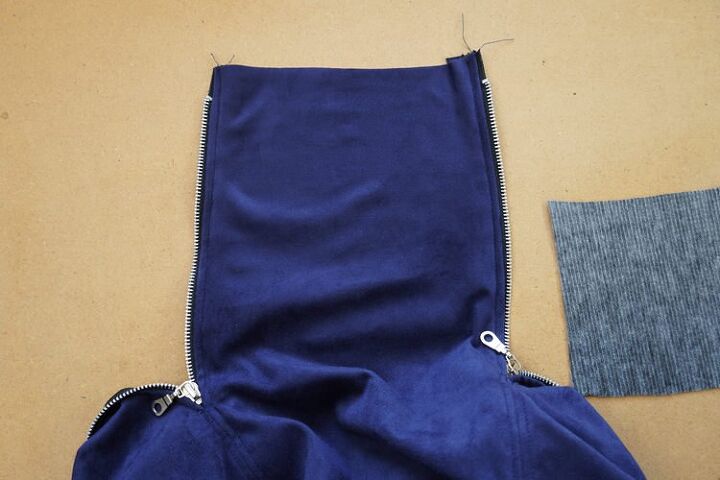
Put the facing on top of the front piece (face side to face side) and pin along the waistline.
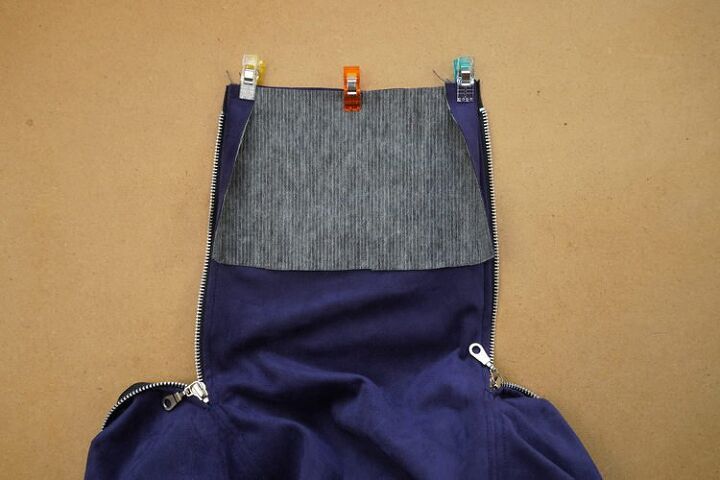
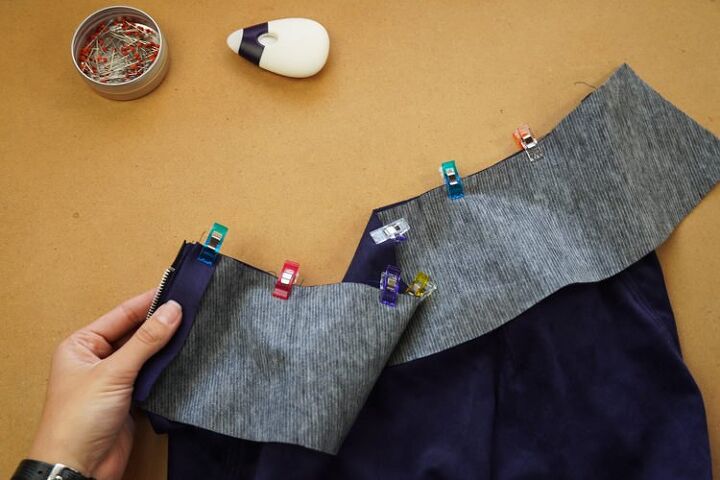
Fold the sides of the facing (near the zippers) as shown below.
Back
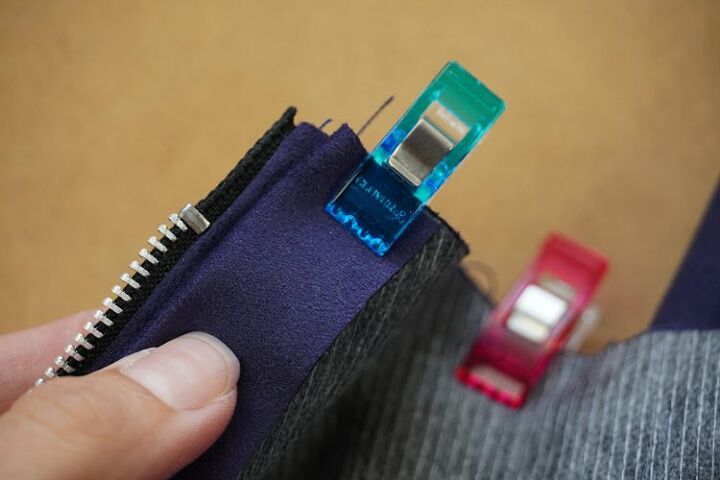
Pin the second (back) part of the waistline facing to the skirt.
Topstitching
Sew both facings to the skirt. And topstitch this way:
- Spread the pieces (facing & front piece in my case) so that you are looking at their face sides.
- Fold the seam allowances towards the facing.
- Sew through the facing (and seam allowances) about 0.5 cm from the original seam.
This is the result. Thanks to the topstitching, the facing will not tend to peek out of the skirt.
Finishing
Now fold the facing to the reverse side the skirt. Thanks to the topstitching, its edge should naturally stay hidden below the “true” waistline edge of the skirt.
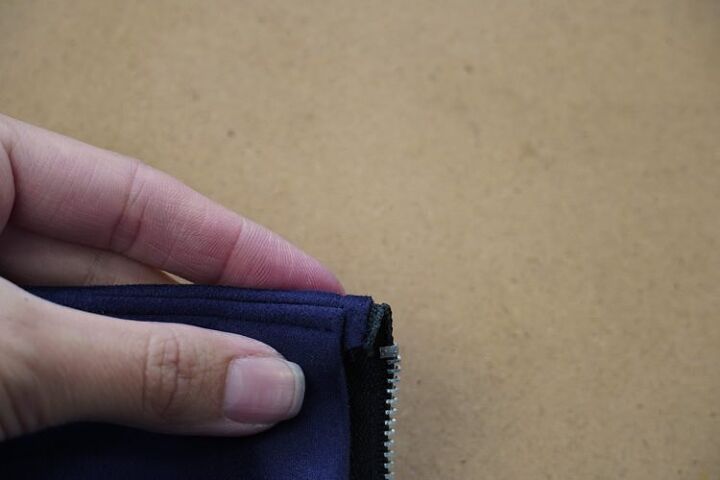
Pin (clamp) the facing to the skirt and topstitch the skirt 1 - 1.5 cm below the edge.
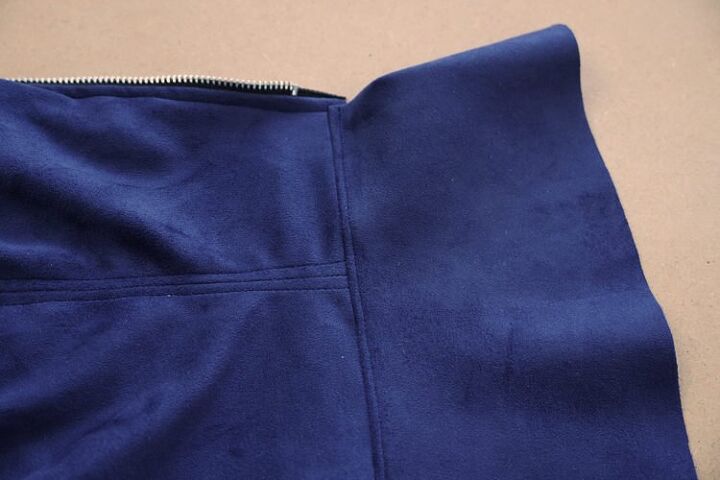
Next, attach the facing along the zippers - sew in the original topstitching seam to avoid creating another visible line of stitches.
This is the result:
I probably don't even have to say this, but make sure that all parts of the skirt (and their seams) align nicely. It doesn't matter which part of the facing you sew first, but before sewing the other one, close both zippers and arrange the pieces so that you can match the topstitching style and “height” of both pieces.
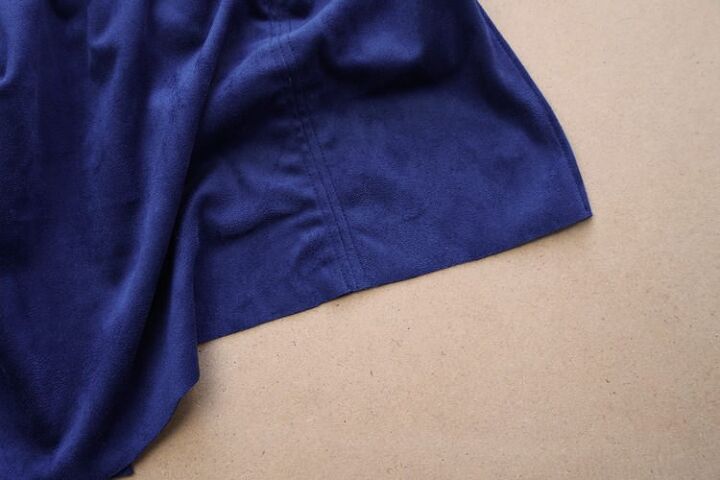
Bottom hem
Now just finish the bottom edge of the skirt. I decided to take advantage of the fact that my fabric doesn't fray, and I left the bottom edge raw. I just checked that the skirt was the right length around the entire circumference and that the bottom edge was not jagged. Moreover, I decided not to cut the bottom seam allowance, so my skirt is 3 cm longer than I intended.
You can finish the bottom hem in according to the instructions from the first article about this skirt (or in any other way you like) and then the skirt will be ready!

You can find the pattern for women’s pencil skirt featured in this article here:

The pattern for elegant women's skirt TO THE CITY
Did you like today's instructions and pattern? If so, share it with your friends and write me a comment below. Have a nice day, Petra
Did you know that there are FREE PATTERNS available on my blog?
The author may collect a small share of sales from the links on this page.


Comments
Join the conversation