How to Sew a Skirt for Beginners Using the Free Juniper Skirt Pattern

In this sewing DIY, I’m going to show you how to sew the juniper skirt using a free pattern. It is a super cute and feminine design that I guarantee you will love to wear. Follow along as I talk you through step-by-step how to sew this skirt.
Tools and materials:
- Juniper skirt sewing pattern
- Fabric
- Lining fabric
- Pins
- Scissors
- Ruler
- Pencil
- Sewing machine
- Zipper
- Iron
- Needle and thread
1. Prepare the pattern
Start by printing the pattern. This pattern has four pieces: the front and back skirt, the front underskirt, and the waistband.
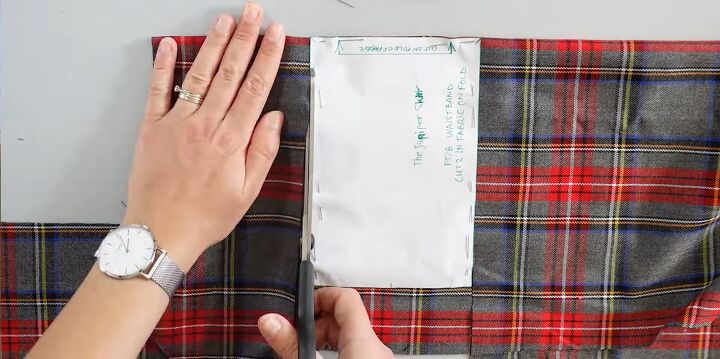
Prepare the pattern by cutting the pieces out, pinning them to your fabric, and then cutting around the pattern. For the waistband, you need two pieces.
If you are using a tartan fabric like I am, make sure to align the pattern when you cut out the second piece of your waistband.
I cut the second waistband piece longer than the first one because I would like to add buttons to cover the zipper. For the front underskirt, you use the lining fabric.
2. Draw the darts
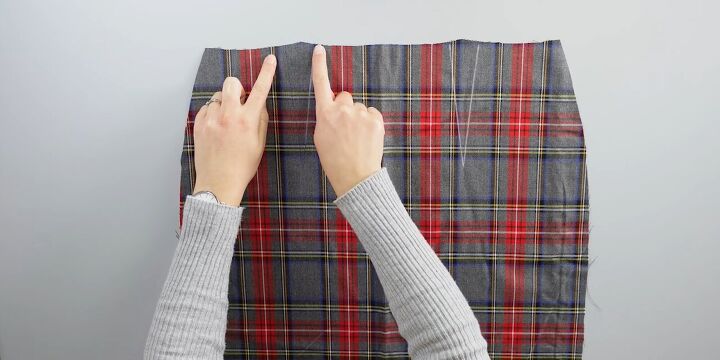
Once all the pattern pieces are ready, trace the darts on the pattern. Then, transfer all the marks that you’ve drawn onto the main fabric and the lining.
Now, add darts to each skirt panel, including the front of the skirt. We will have two darts in the front, two in the back, and one on the front underskirt pattern. Pin the dart lines carefully and while pinning, make sure that both lines are aligned.
3. Sew the dart lines
Next, sew the dart lines. Repeat this process on the lining fabric as well.

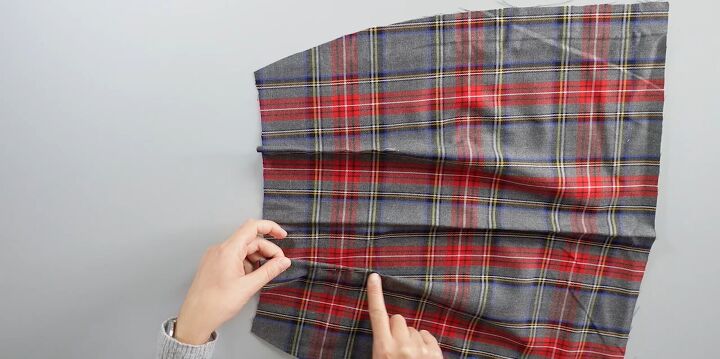
4. Press seams open
When you have finished sewing all the darts, press the seams open with an iron. When you have two darts, press them towards the center.
5. Pin and sew the edges
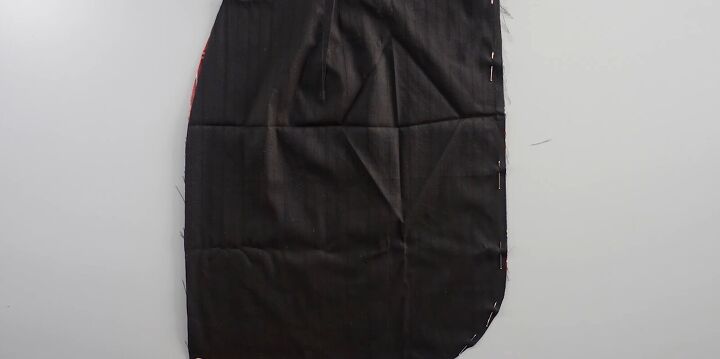
Take the front of the skirt, place it the right way up, and put the lining of the skirt on top, right sides touching. Pin the curved edges and sew along them.
6. Trim seam allowance and iron
After sewing, clip the seam allowance along the curve. Then, open the seam allowance and iron it to make it easier. Now you can turn the skirt right side out and press.
7. Sew the underskirt
Place the underskirt between the front and back panels of the skirt, right sides together. Pin the side where you have three layers of fabric (the front and back panels and the underskirt).
Make sure the underskirt lining is placed toward the front panel of the skirt, then sew along the edge.
8. Sew the waistband
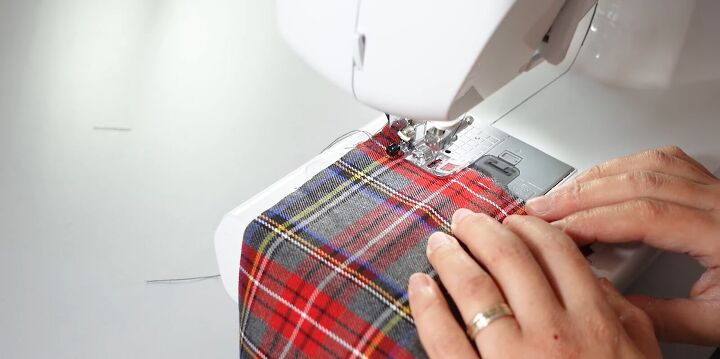
Now take the two waistband pieces, place the shorter edges with the right sides together, and align the design. Pin one side and then sew. Once done, open the seams and iron them down.
9. Attach the waistband
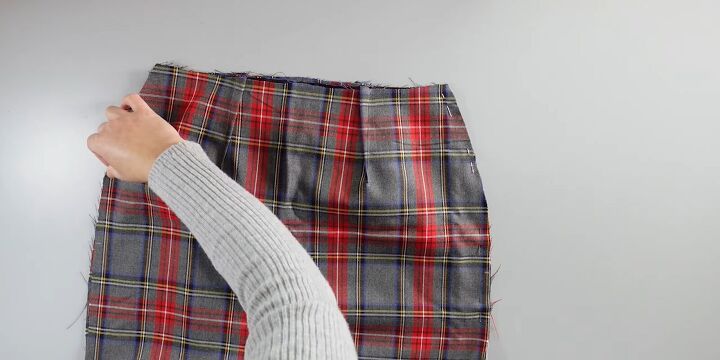
Now place the panel's right sides down and put the waistband on top with the right sides together. Make sure to place the center seam along the side seam of the skirt. Pin along the top edge of the skirt and sew.

10. Press the seam allowances
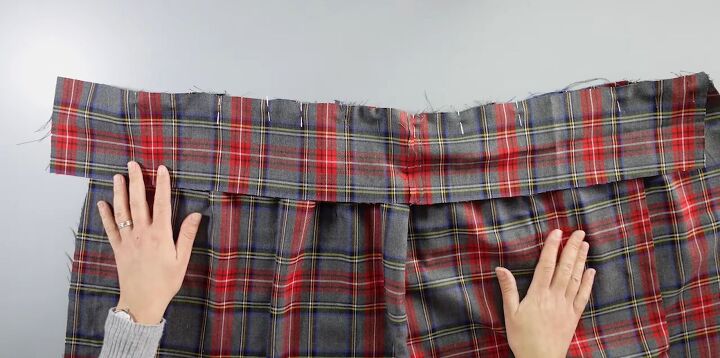
Once that’s done, fold the seam allowances up towards the waistband and press.
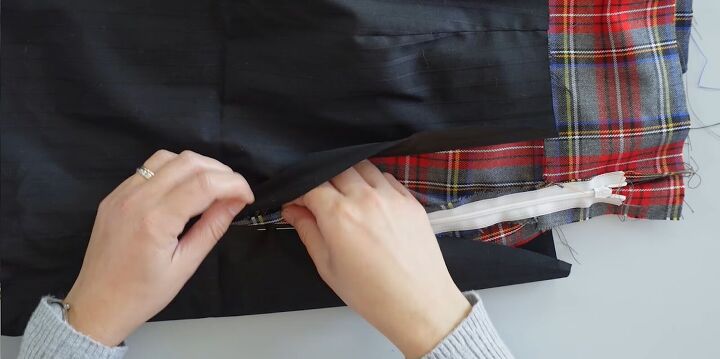
11. Sew the zipper
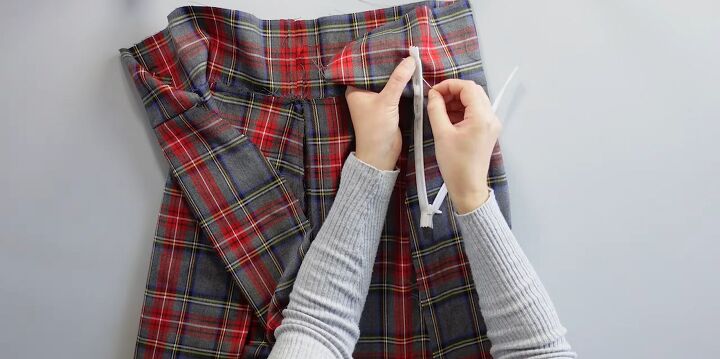
The next step is to sew the invisible zipper along the open side of the skirt. For that, you need to find the middle of the waistband. Fold the waistband in half and place a pin to mark the middle. The zipper will start from halfway down the waistband.
To place the zipper and pin it, I always plan and visualize how the zipper should look, and then I open the zipper and pin one side. First, I carefully sew the pinned side, and then I pin the other side by precisely aligning the seams and then sewing. When done, I close the zipper to see the result.
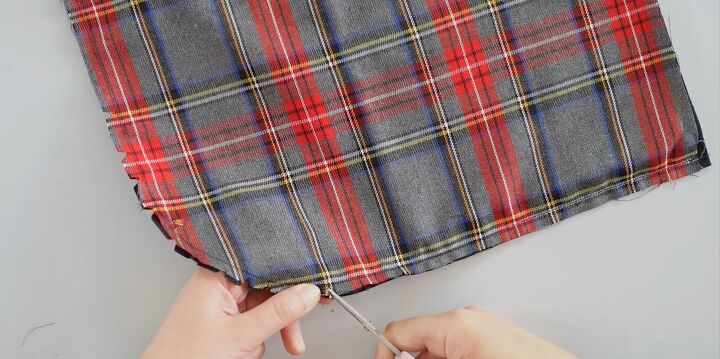
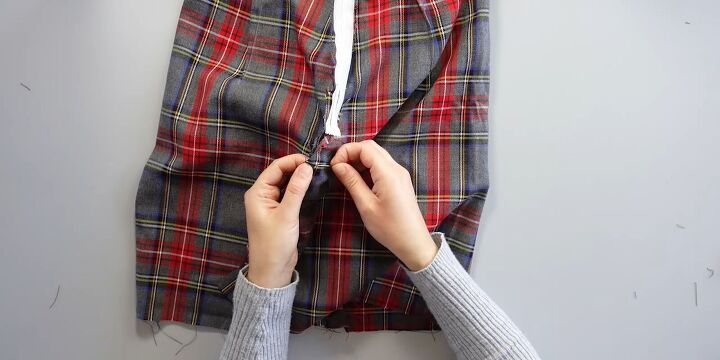
I thought that the invisible zipper looked good, so I didn’t need to hide it with buttons, and I, therefore, cut the longer edge of the waistband.
Turn the skirt inside out and pin the end of the zipper. Then sew the end with a zipper foot to secure it.
12. Sew
Proceed to pin and sew down the rest of the side.
13. Attach the lining to the skirt
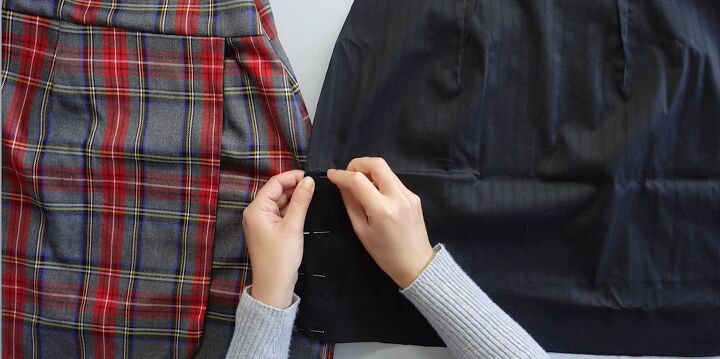
Now assemble the front and the back skirt lining. First, check what side your zipper is on so that you know which side you will sew completely on the lining and which side you will sew until the zipper mark.
Place the front and back lining right sides together and pin one side. After pinning, turn it the right way around to double-check if it’s the right side that you will sew completely. Now pin the other side until the zipper mark and sew the sides.
As always, after sewing, iron the seams open.
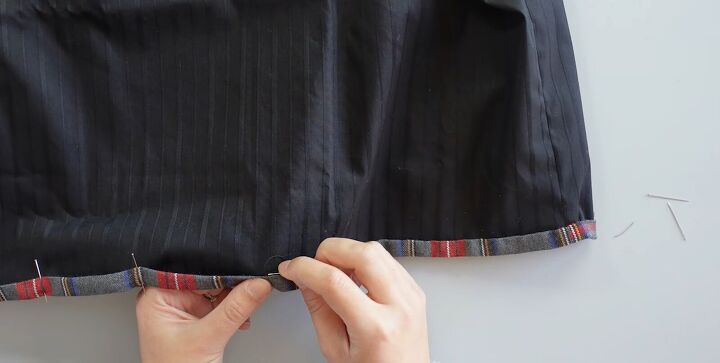
14. Hem the skirt
Iron the bottom of the skirt 2cm (0.8 inches) up from the edge. Then fold back 1cm (0.4 inches) from the edge and iron; the raw edges should be aligned with the crease.
15. Sew the hem
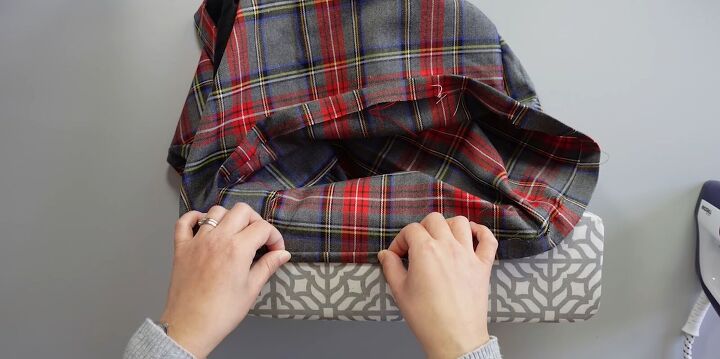
Next, turn the skirt inside out and the lining the right way out. The zipper and the open side should be on the same side of the skirt. Slide the skirt inside the lining.
Make sure the seams are aligned and put the bottom lining edge inside the folded edge of the skirt. Pin all around and sew by hand with invisible stitches.
16. Sew the zipper
Once that’s done, pin the open side to the zipper. Only pin the seam allowances. Then do an invisible stitch by hand. Make sure to not pin or sew the skirt layer.
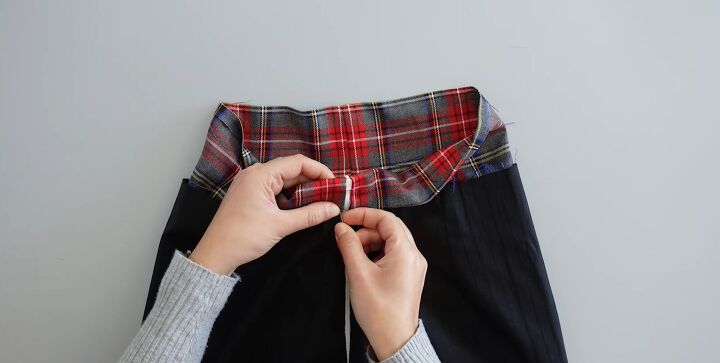
17. Sew the waistband
For the next part, fold the shorter edges of the waistband by 1cm (0.4 inches) and iron them. Then fold the upper part by 1cm (0.4 inches) and iron that as well.
After that, fold the waistband in half and pin it all around. When it’s pinned and secured, sew by hand with invisible stitches. If you want, you can topstitch by the waistband seams.

Juniper skirt tutorial
Here we have the finished juniper skirt. I love the mini length as well as the crossover detail on the front. As you can see, I made my skirt with tartan material, but you can go for whatever color and design you like. I hope you’ll make this gorgeous skirt for yourself!

The author may collect a small share of sales from the links on this page.


Comments
Join the conversation