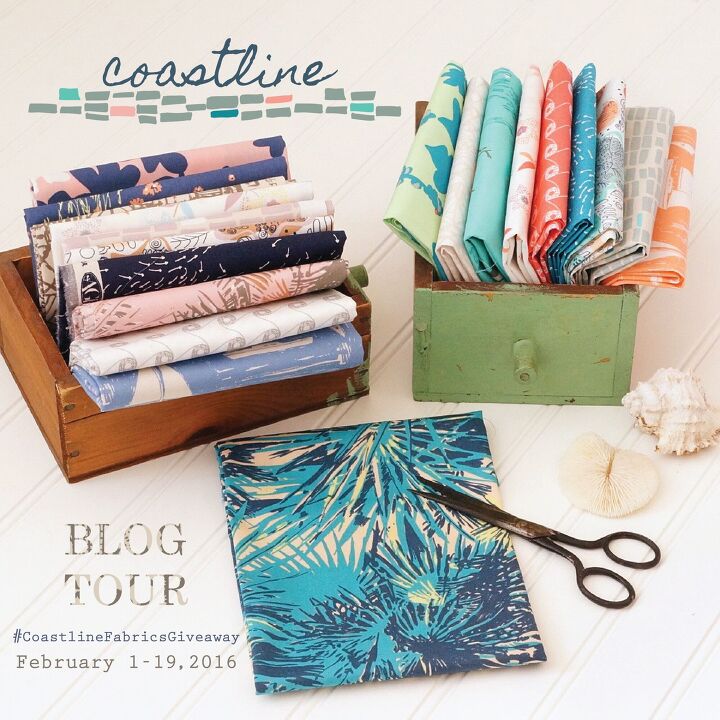
Mermaid Maxi Tutorial and Top: Coastline Blog Tour
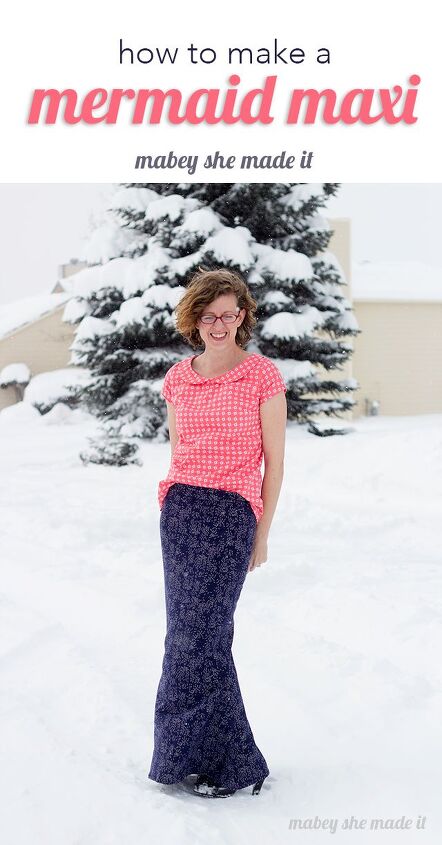
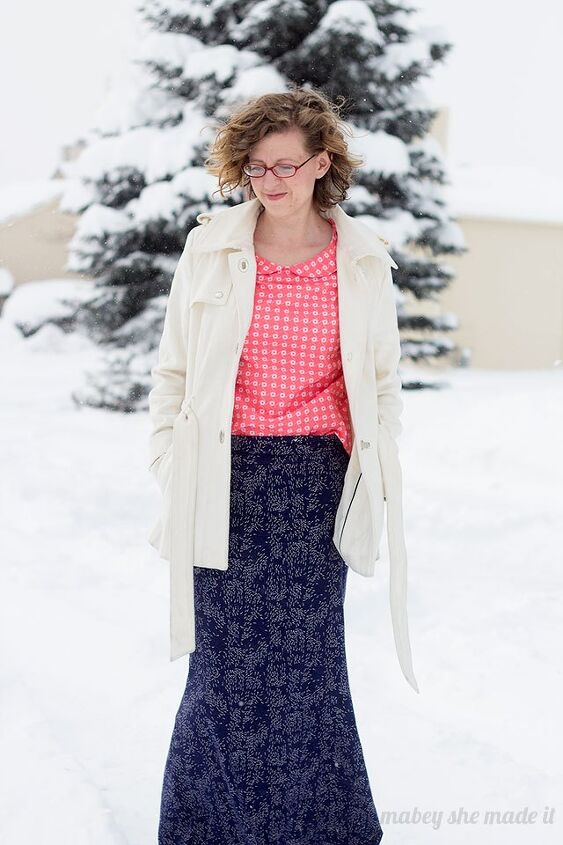
Since the name of the fabric line is Coastline, you’ve already got it in your head that these are fabrics you’d wear to the beach…unless you live in Colorado during a snow storm–then you stand in the snow. Trust me, I’d rather be walking on a beach, but I guess this will do. When I got the chance to be part of this blog tour, I was so excited. I had a vision for a mermaid maxi (you know, since mermaids are coastal creatures) and top that would actually be perfect for any climate.

It might be a winter wonderland in my photos, but these balmy and lovely Coastline fabrics designed by Sharon Holland for Art Gallery Fabrics (you know about my obsession with Art Gallery by now) were a dream to work with.
The top is the Sugar Pop Top pattern from Sew Caroline, and this is my second time sewing it (the first time was my first momiform post). I obviously liked it enough to make it again, but after sewing it the second time, I think I’m done with it. I made a medium which fit my shoulders but the rest was really big and baggy so I ended up taking a lot out of the sides. I also put elastic in the back to cinch it in a bit and used a different sleeve pattern.
Now let’s talk about the mermaid maxi. This skirt is perfectly fitted to YOUR body when you use a skirt sloper.
Don’t know what a skirt sloper is? No problem!
It’s highly flattering and can create the illusion of shape even if you’re pretty straight and don’t have much back side like me. I like optical illusions when they’re working in my favor.
Mermaid Maxi Supplies:
- 2 to 2-1/2 yards knit
- (click here for help making one)
- Sewing machine and thread
- Rotary cutter and mat
- Serger (optional)
Instructions
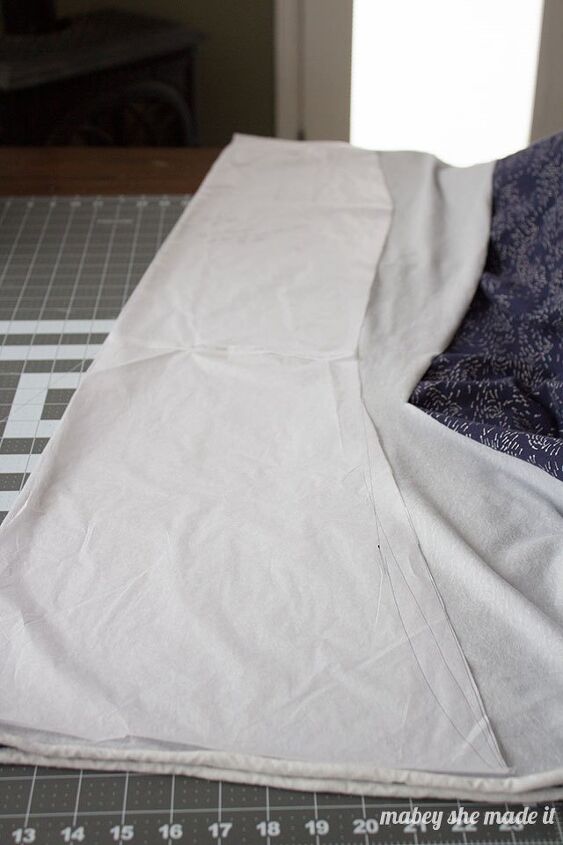
- With your skirt sloper complete, we’ll add the mermaid portion. You’ll need to measure from your natural waist to the length you want your skirt plus one inch. Mine ended up being 42″. Tape a piece of paper to the bottom of your sloper at the right length. Then multiply your knee width by 1.5 and use that as your hem width. Then just connect the curve (you can see I tried 3 different curves before finding the one I liked. Cut it out and your pattern piece is done!
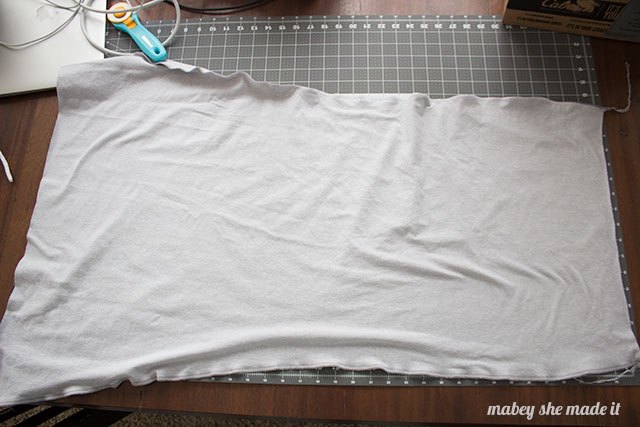
- Lay your the straight edge of your pattern on the fabric fold, and cut 2.
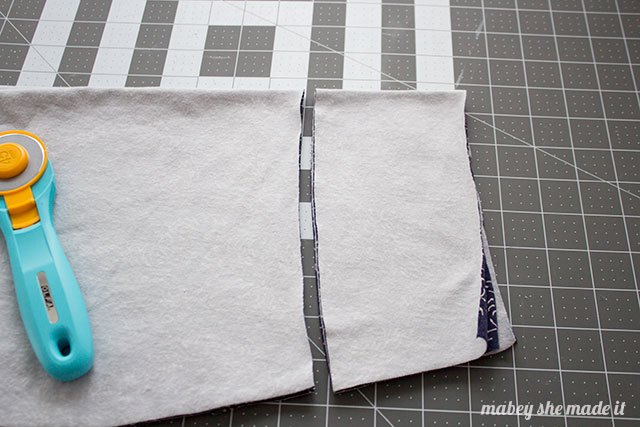
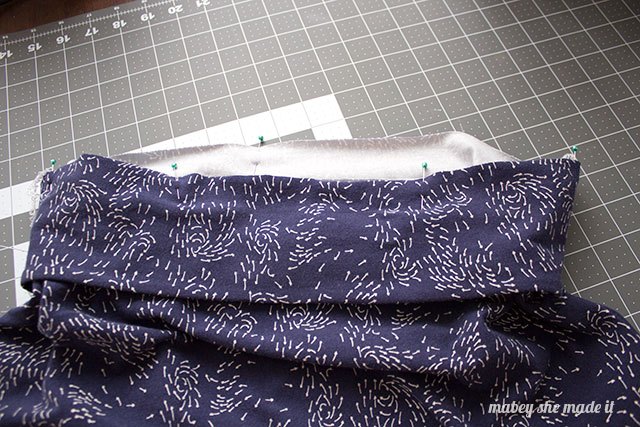
With your pieces still folded, cut the top 4 inches off following the curve. Then use these pieces to cut two more just like it to make the waistband. (You’ll have 4 total.)
Sew both side seams on your main skirt pieces with right sides together (RST).
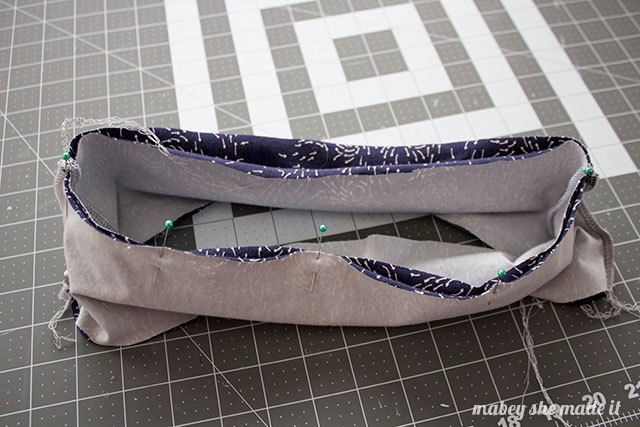
Sew the short ends of two waistband pieces together with RST and then repeat with the remaining two pieces. At this point, check to make sure it fits snugly around your waist–you may need to use larger seam allowances to get a snug fit depending on your body.
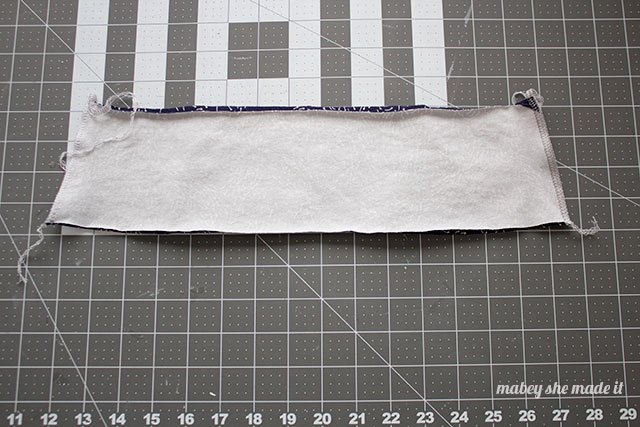
Place both waistband pieces with RST and pin the raw edges. Then sew.
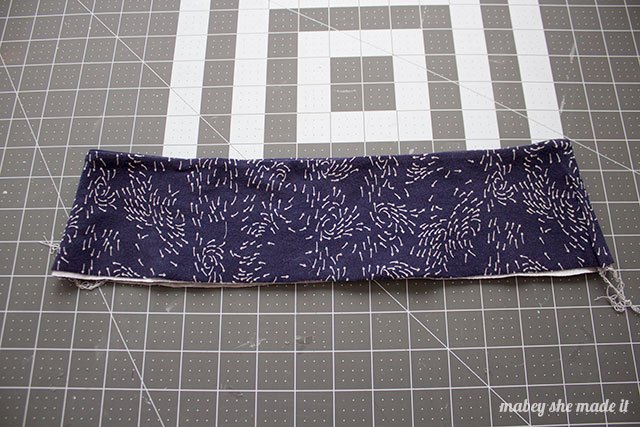
Flip the waistband right sides out and you have a completed waistband. Press well.
Put the waistband and skirt pieces RST and with the raw edges all together. Pin and sew. Press well.
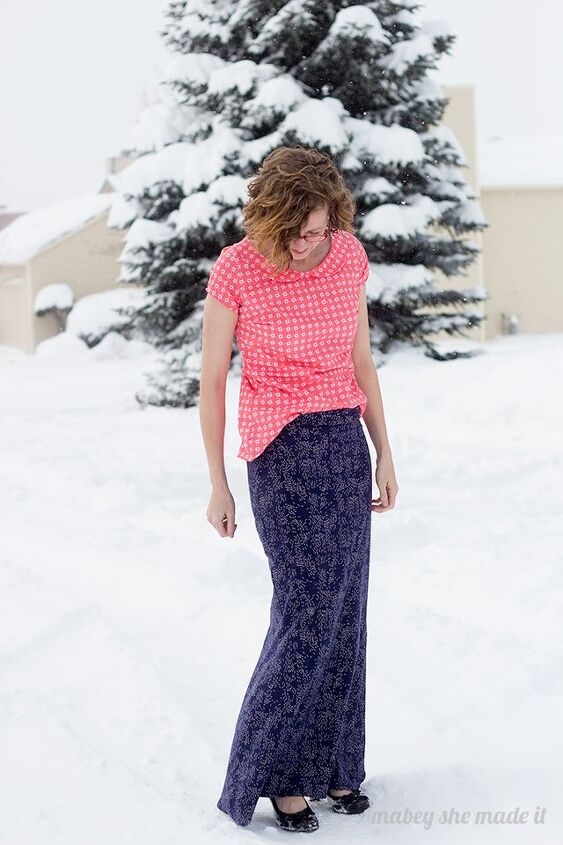
Now you can slide it on and feel costal even if you’re wearing a coat to keep from freezing.
The subtle flare from the knee to the hemline gives the illusion of more curves if you don’t have much and accentuates what you’ve got for a flattering fit. See? my frame looks curvier even though I’m pretty straight.
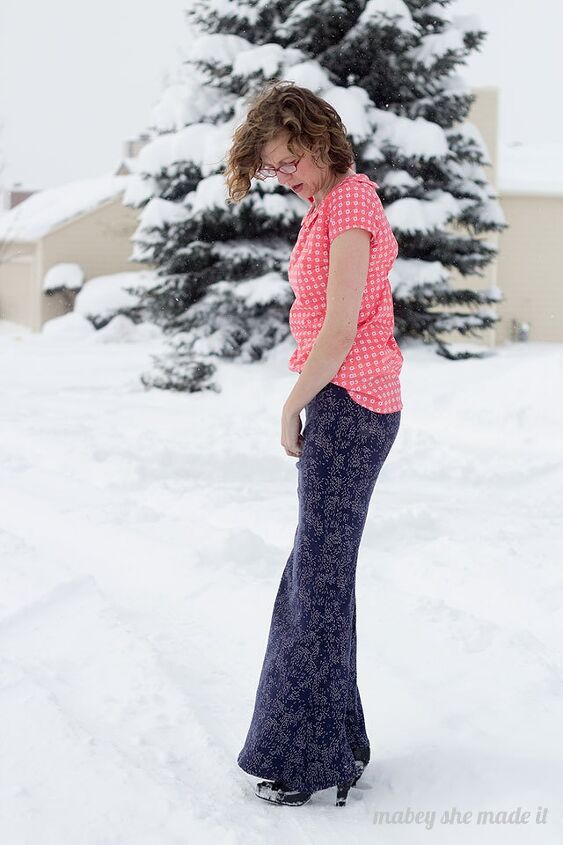
The skirt really is perfect for winters too–you’ve gotta keep those legs covered! I just need to put on a sweater and I’d be just right inside.
Check out all the other bloggers on the Coastline page, because there is such a variety of projects and ways to use this fabric line. You’ll also want to go check out that page for giveaway information…its an Instagram giveaway, and Sharon will be giving away a twenty-piece fat quarter bundle–that’s a lot of fabric.
Yesterday, Bethany from Sew Not Perfect sewed up a knit skirt and tote bag that look fun (and the skirt is super easy) and tomorrow you can catch Corinne from Must Love Quilts for her project–I’m going to guess quilting is involved. 😉
The author may collect a small share of sales from the links on this page.


Comments
Join the conversation